CINEMATOGRAPHY OF AN INDIE FEATURE: JUMPING THE HURDLES
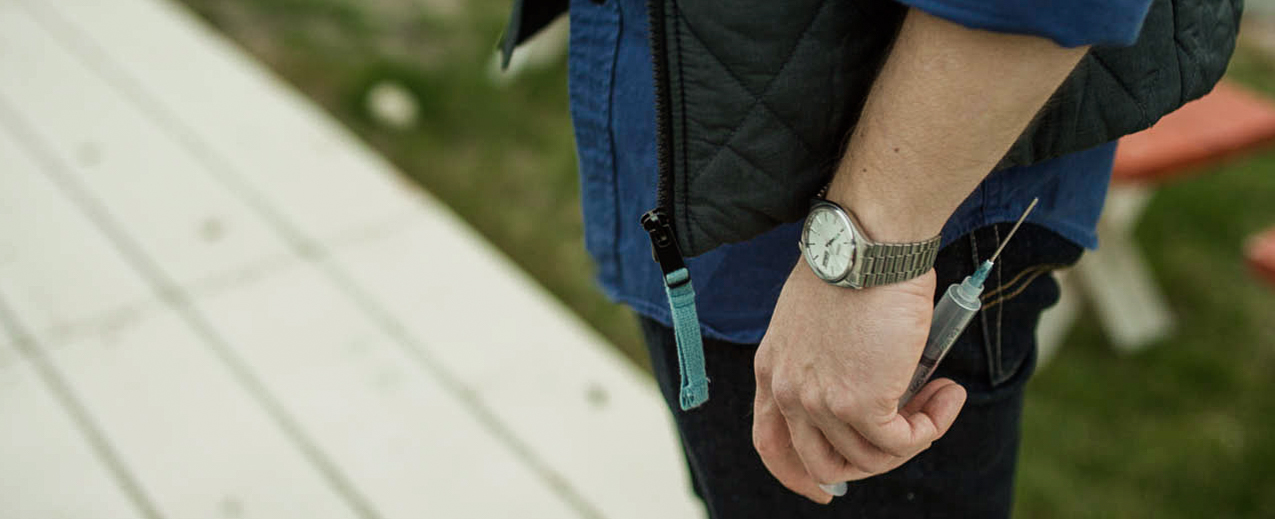
In Jan of 2015 I was approached to shoot a feature called "Paralytic" that would be directed by Joey Johnson. This would be his second feature he's done. We chatted for a while in our interview and I got a feel for what this movie was about. A psychological thriller about a rogue drug cartel assassin looking for revenge by exposing the cartels dirty laundry to the media. The script was very well written and all parties clicked very well. I was booked for the job and we were on to the next round.
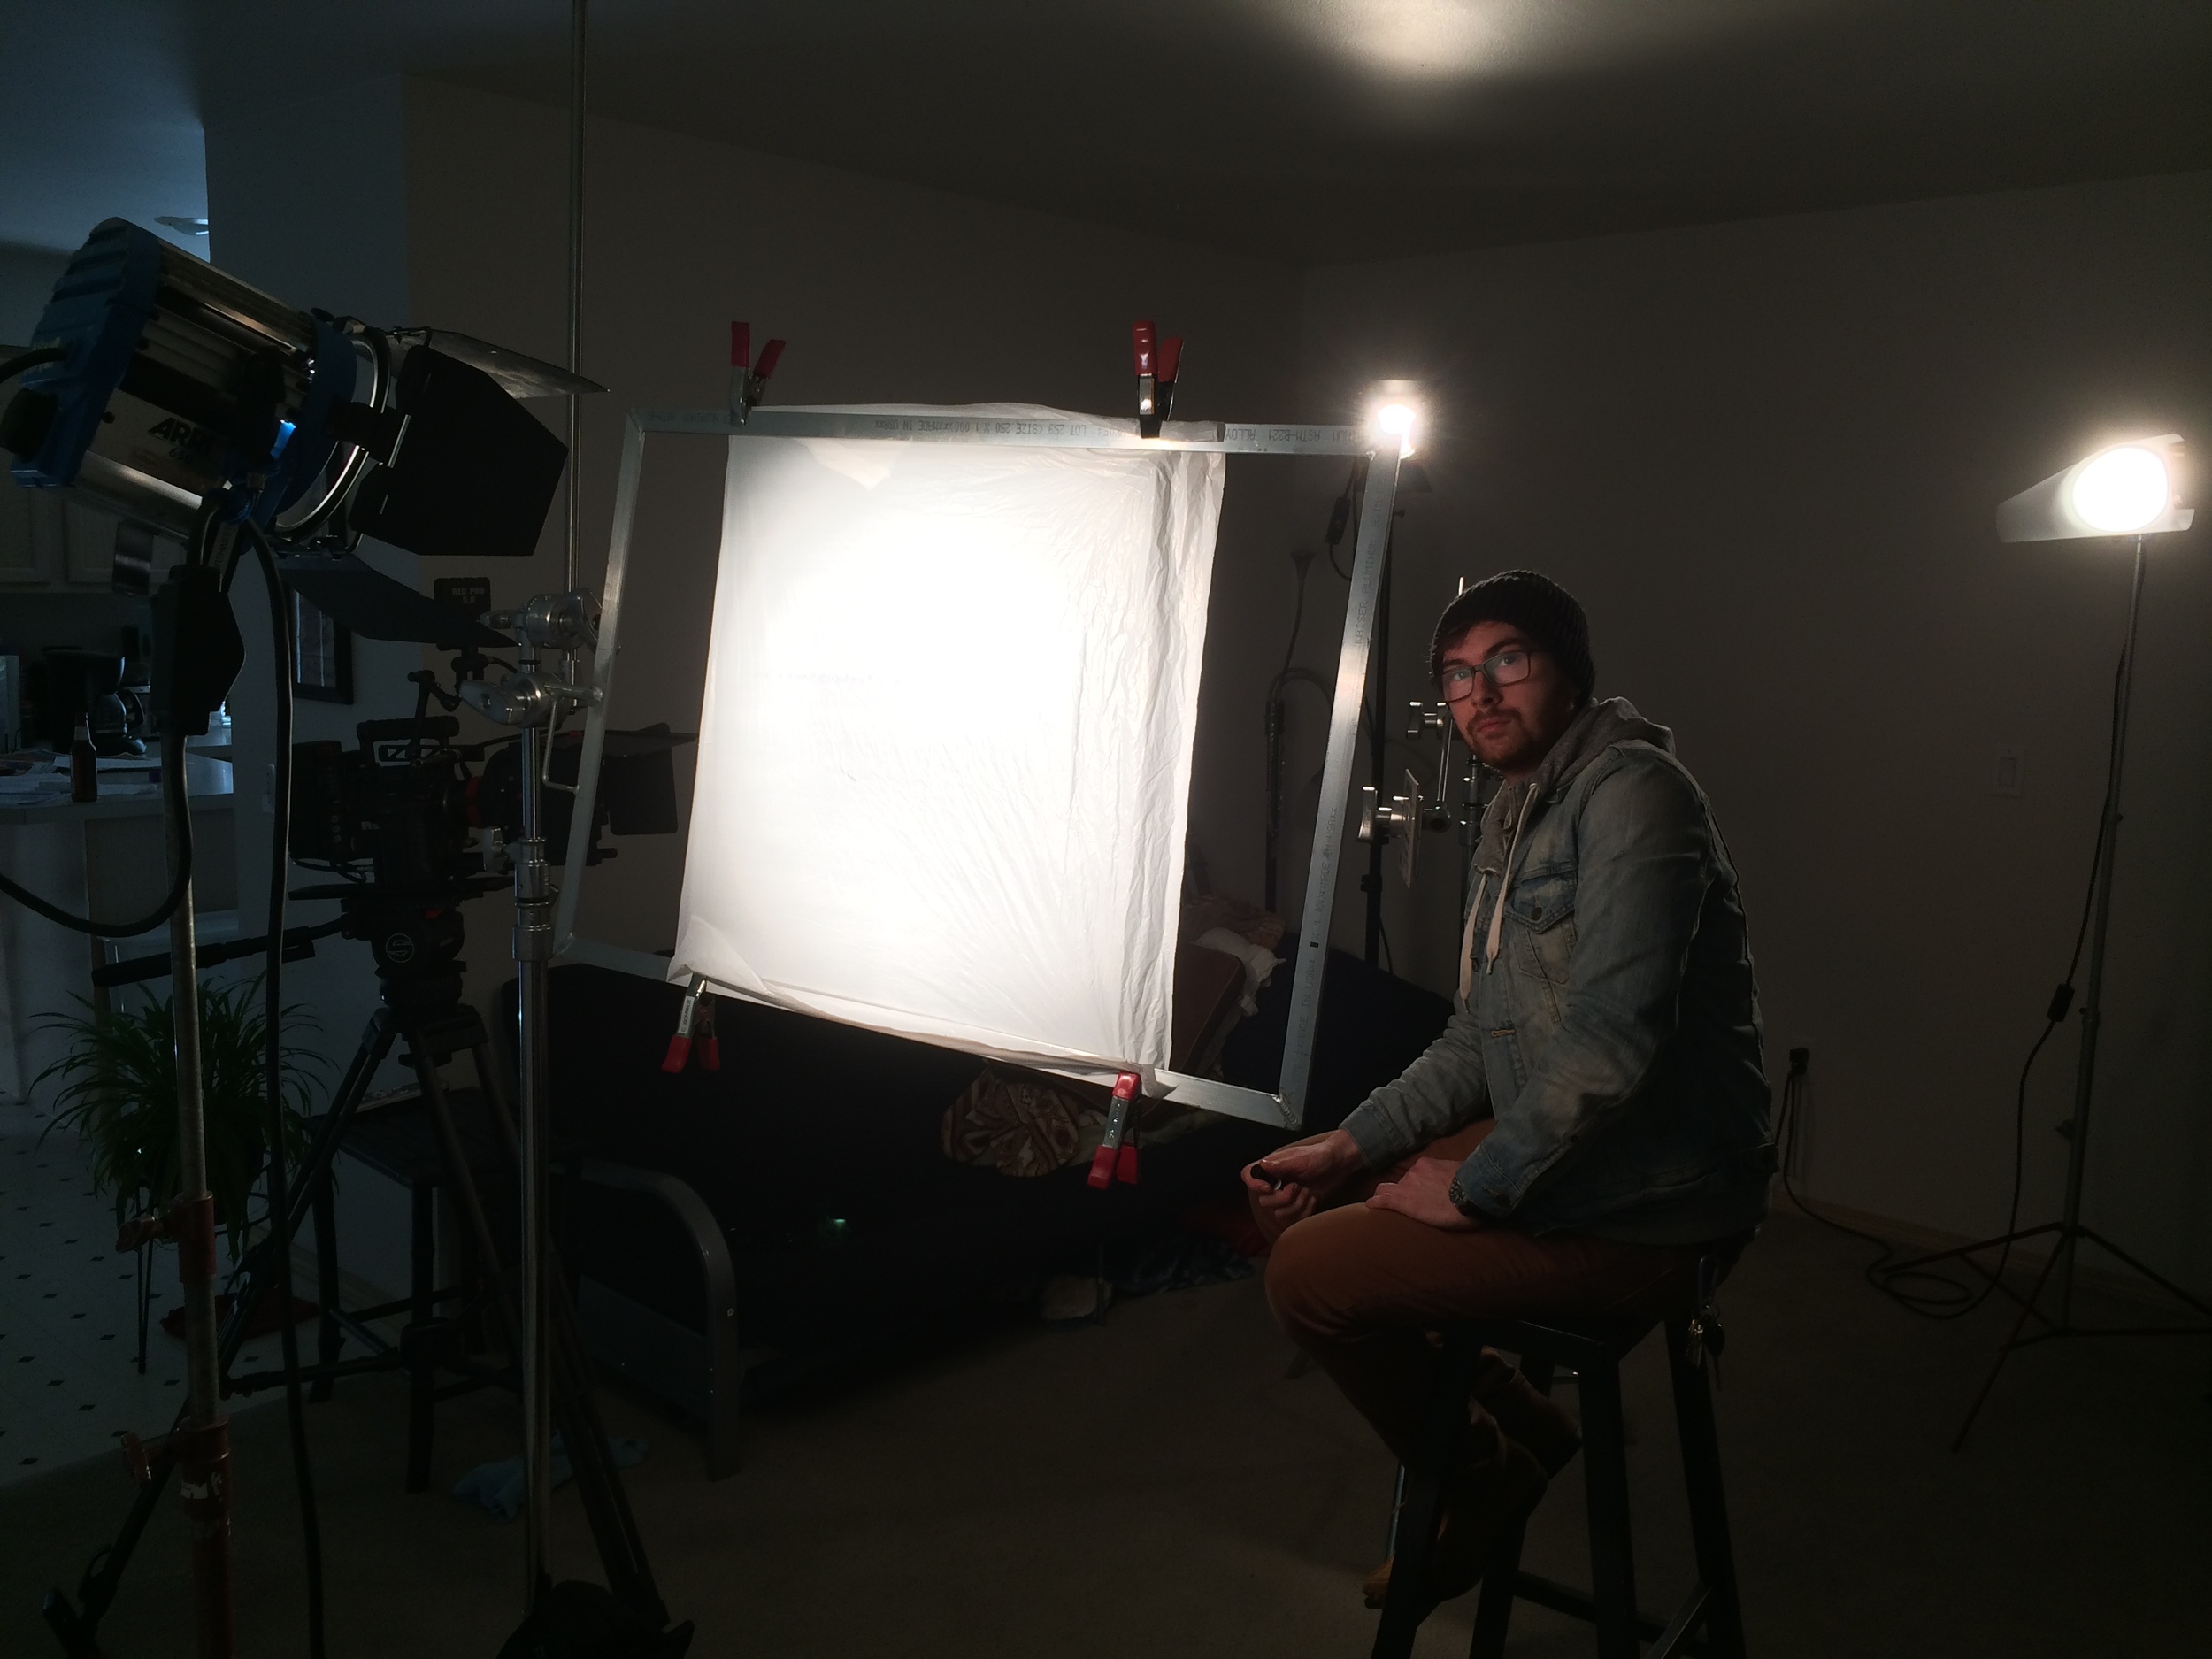
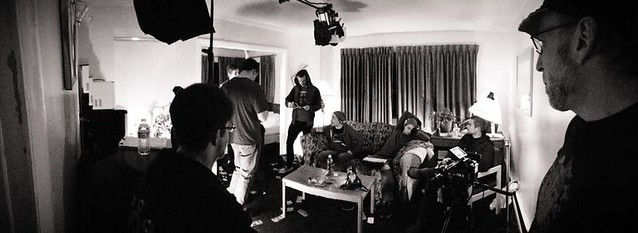
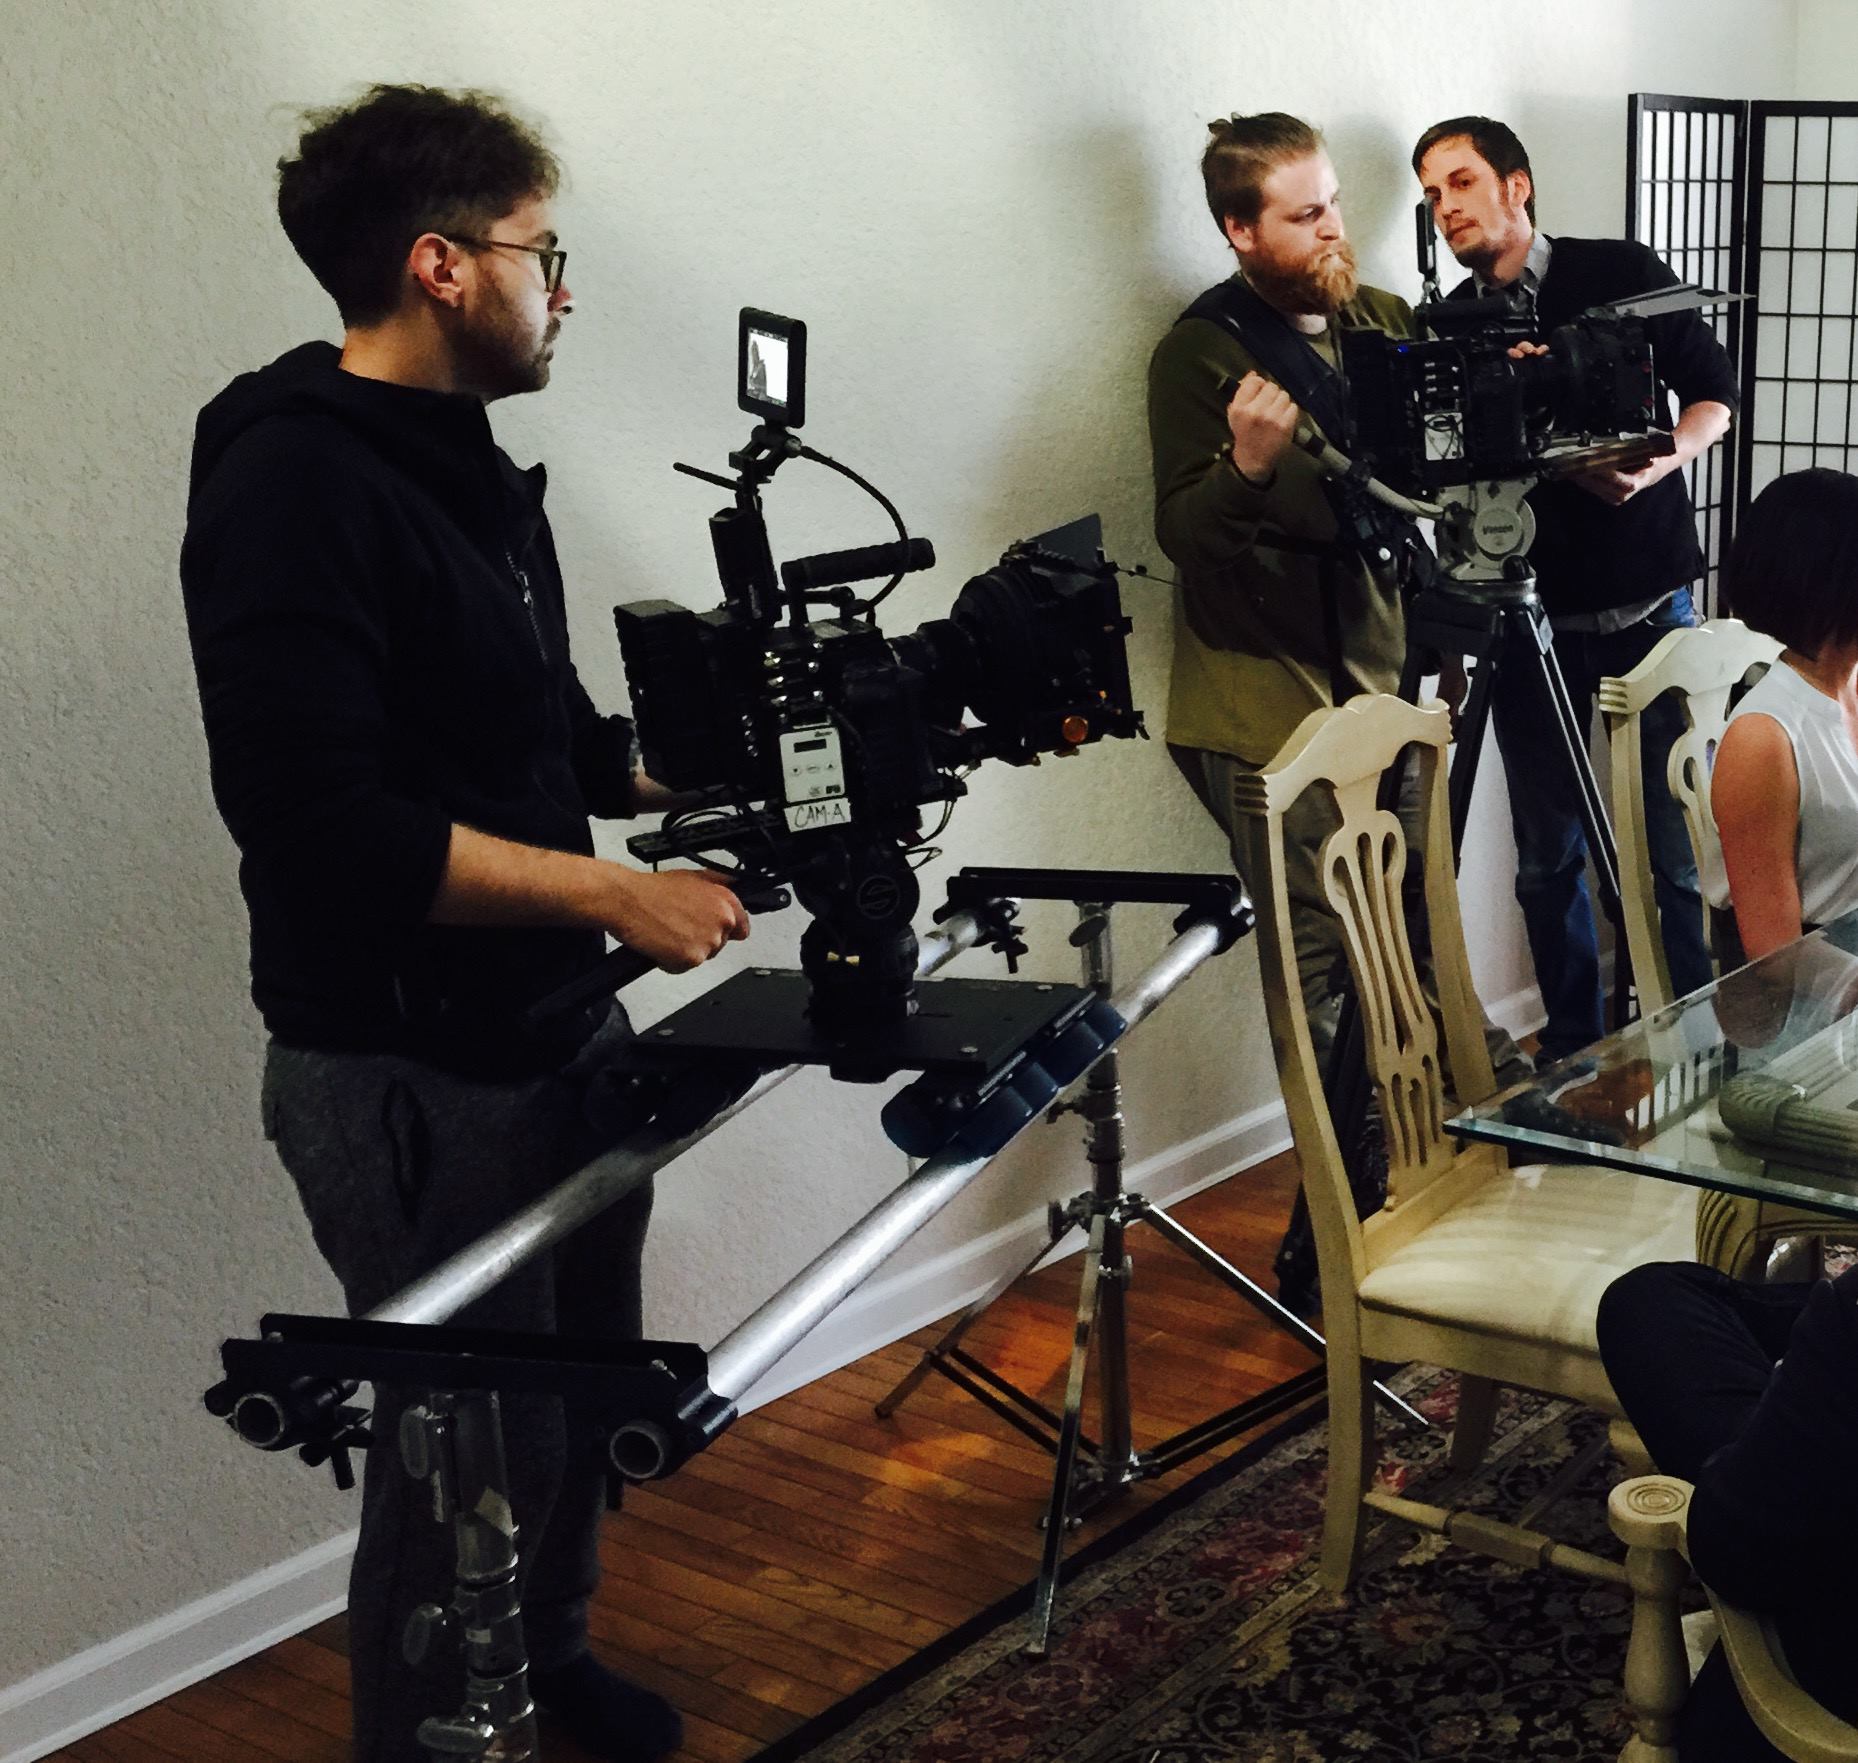
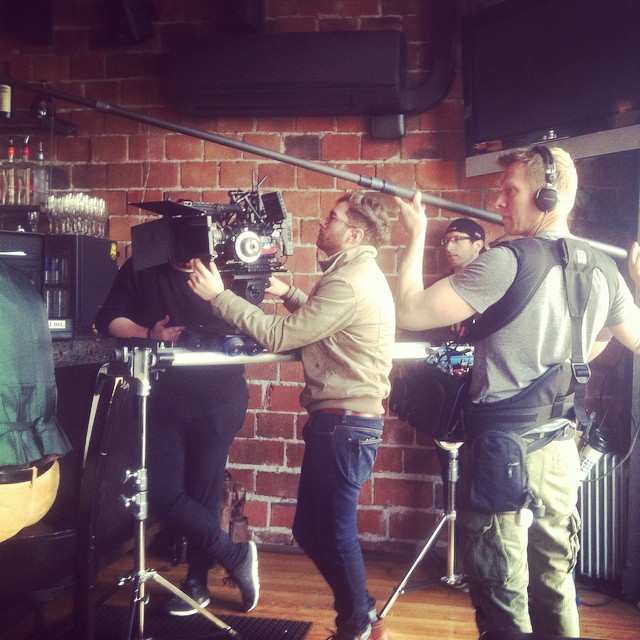
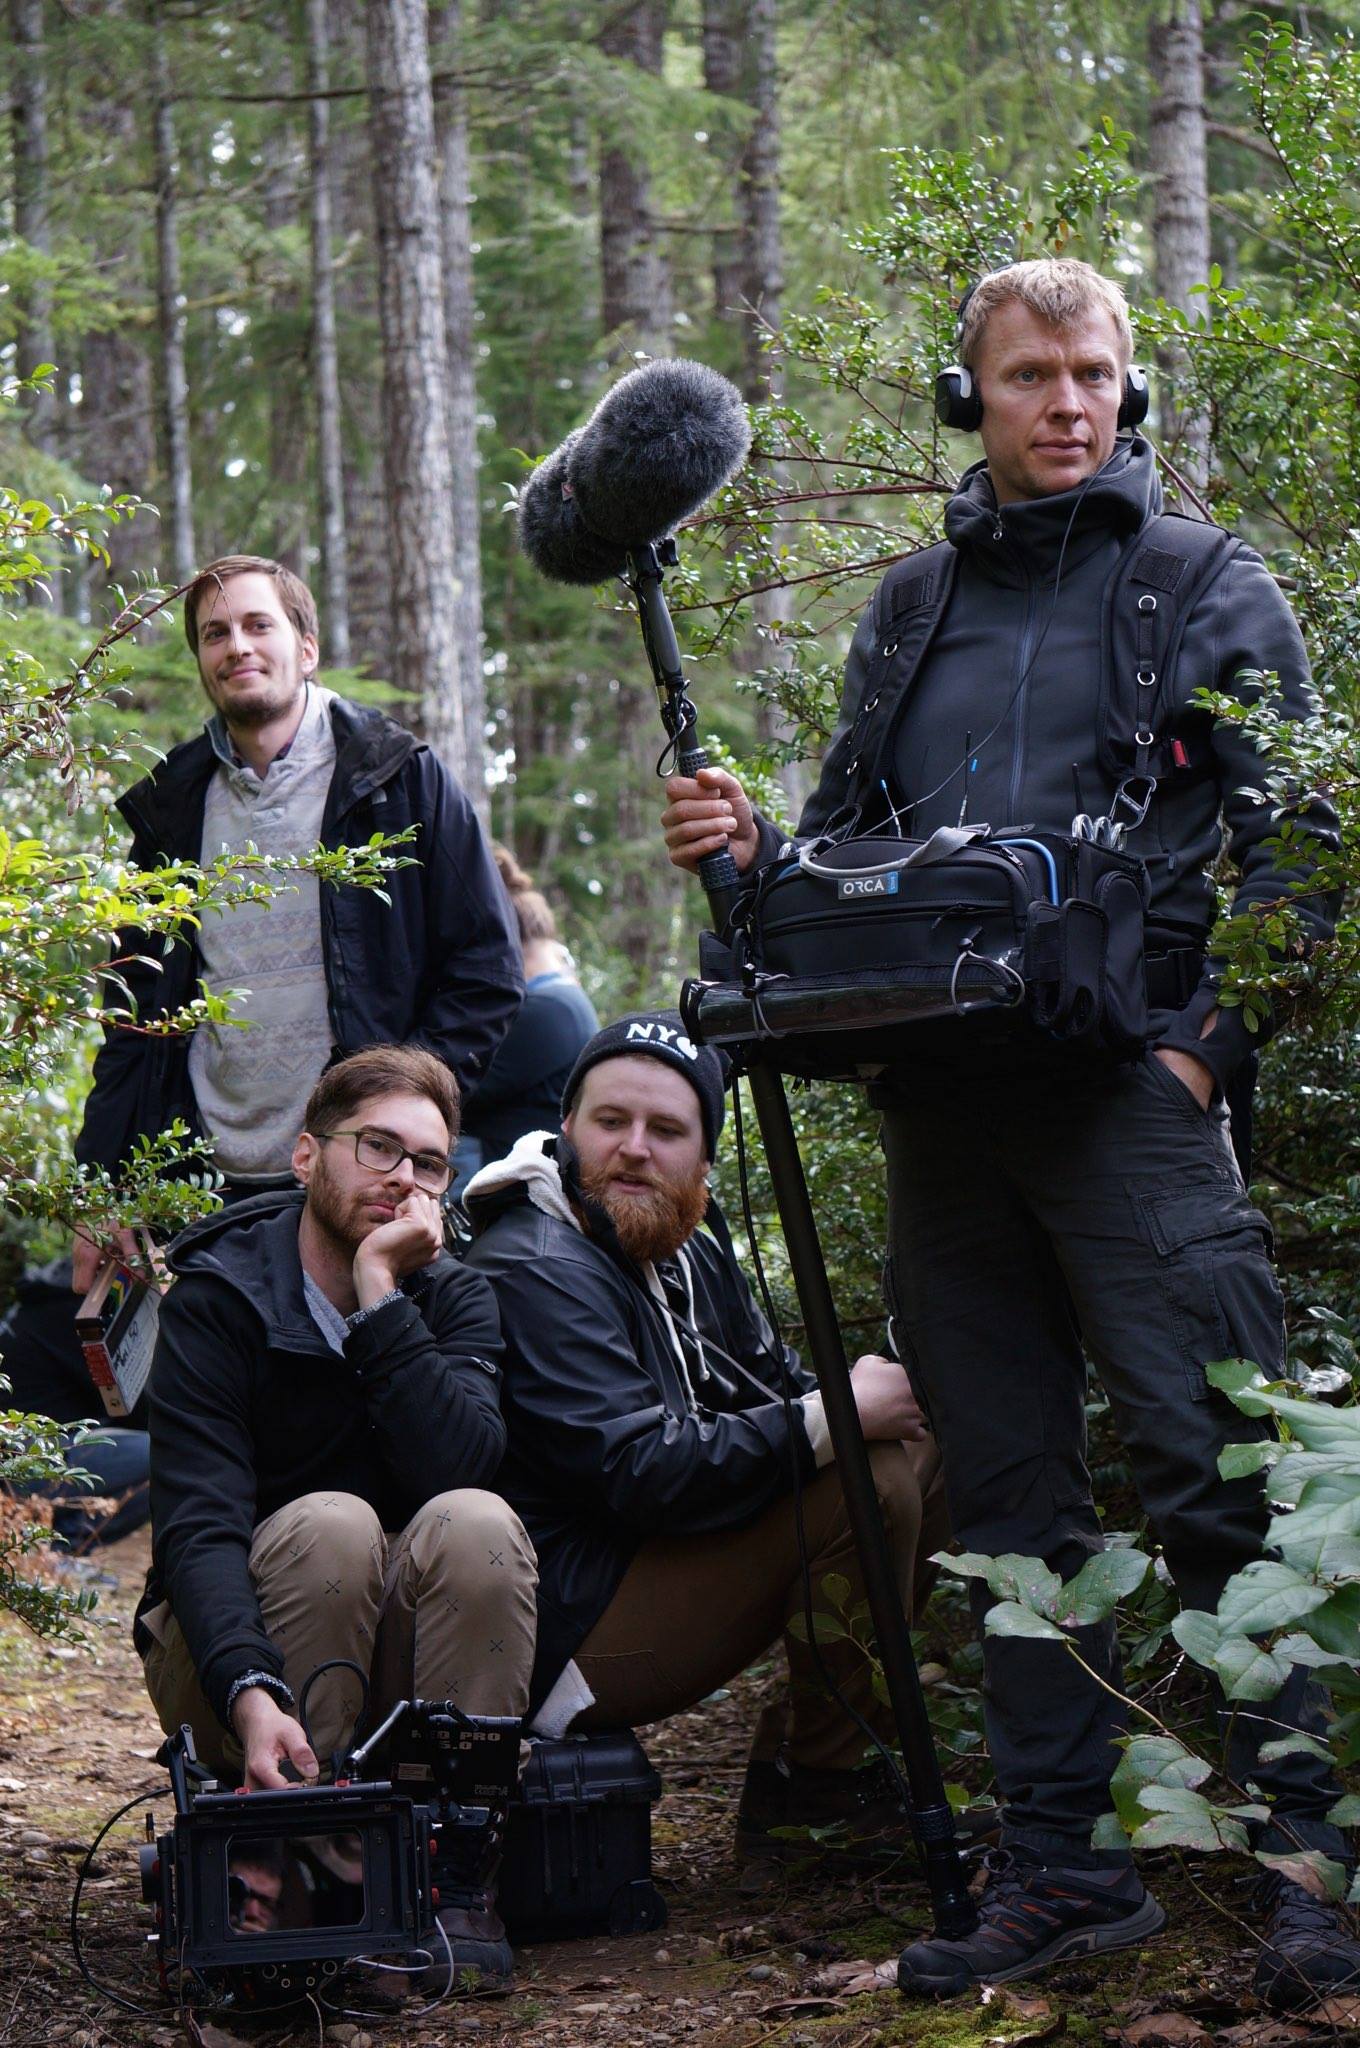
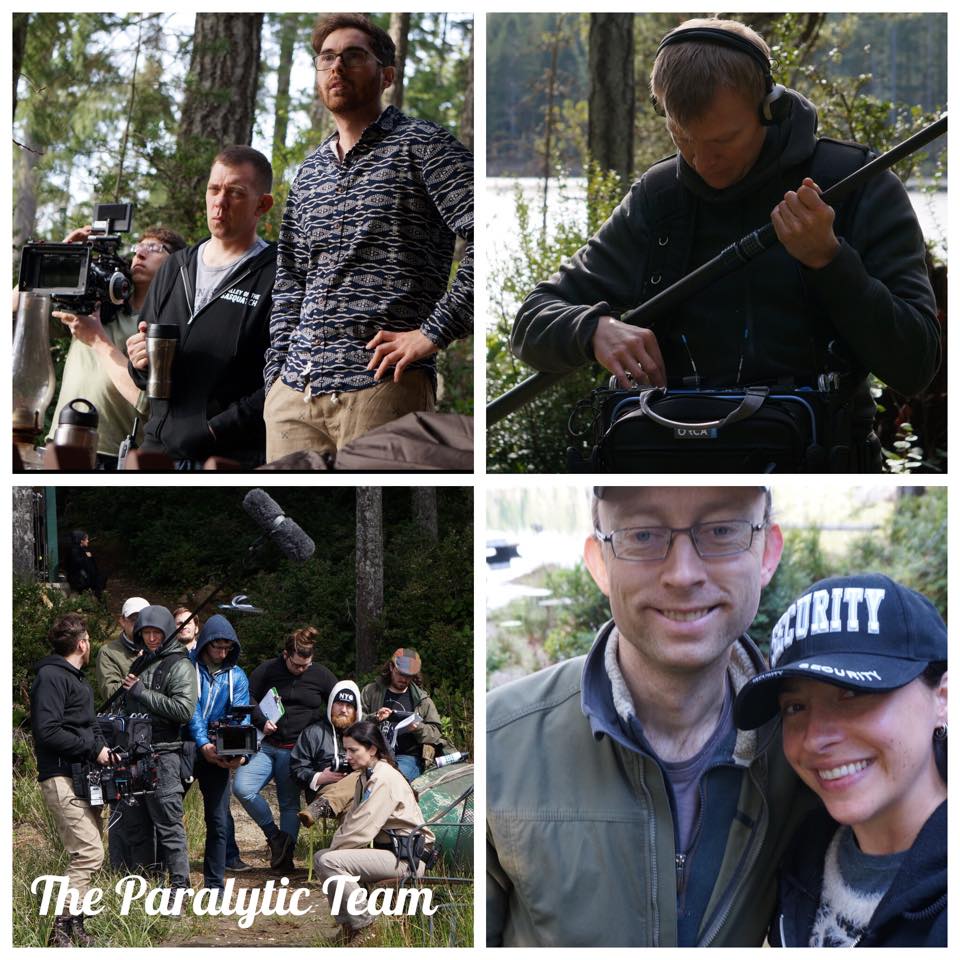
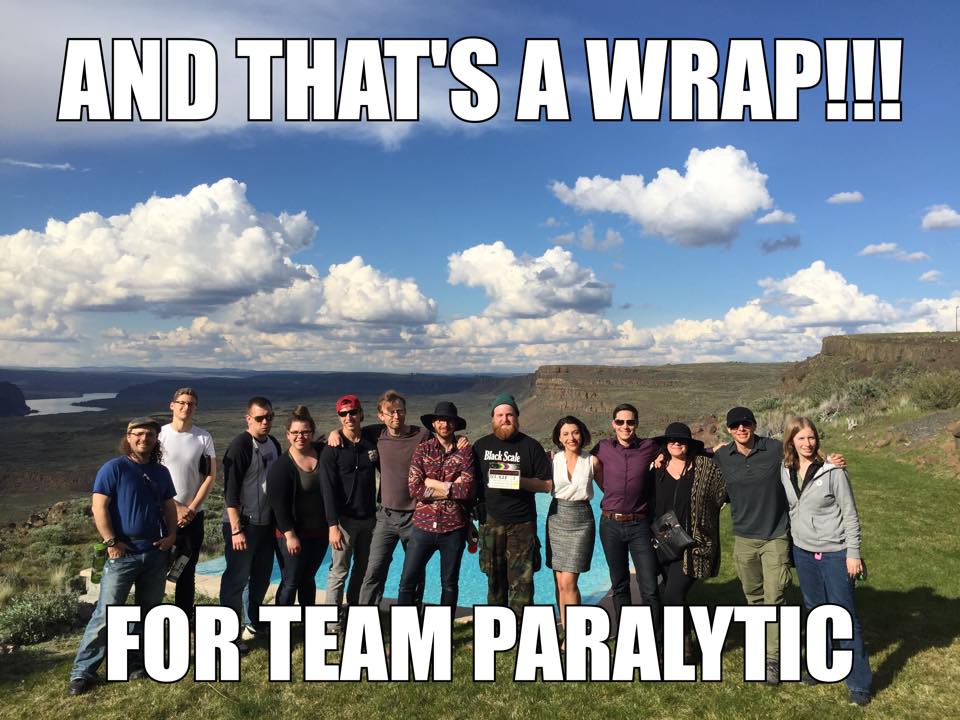
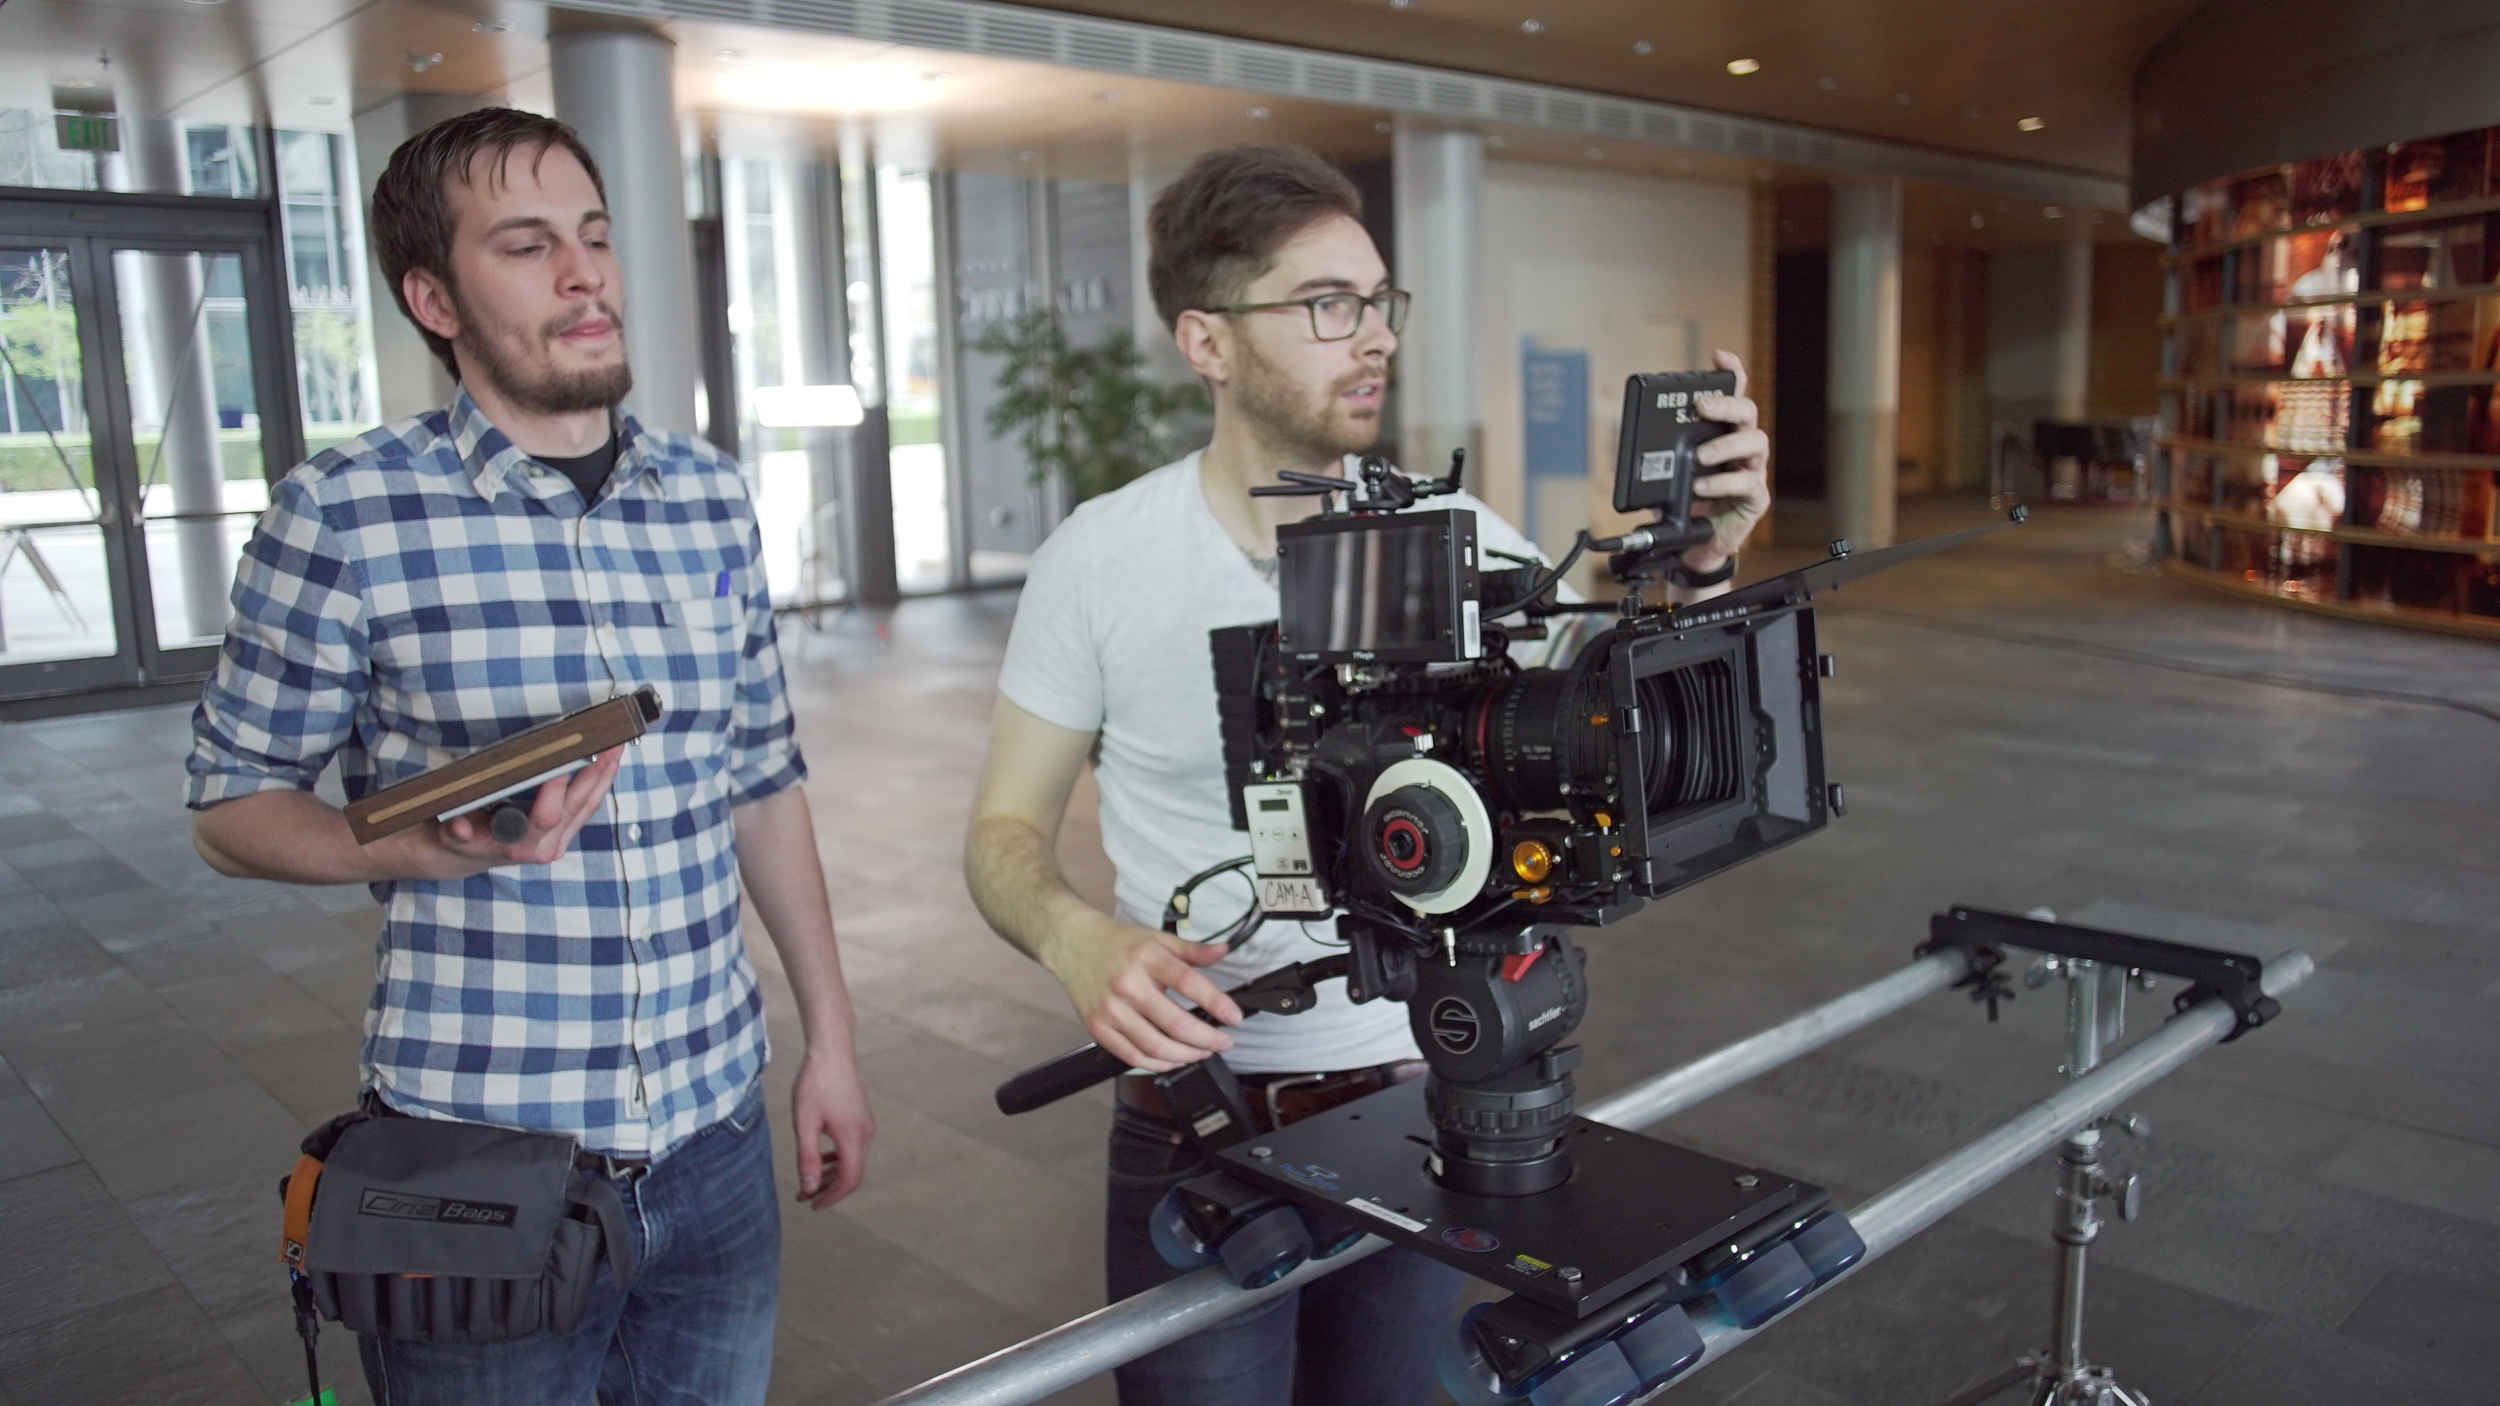
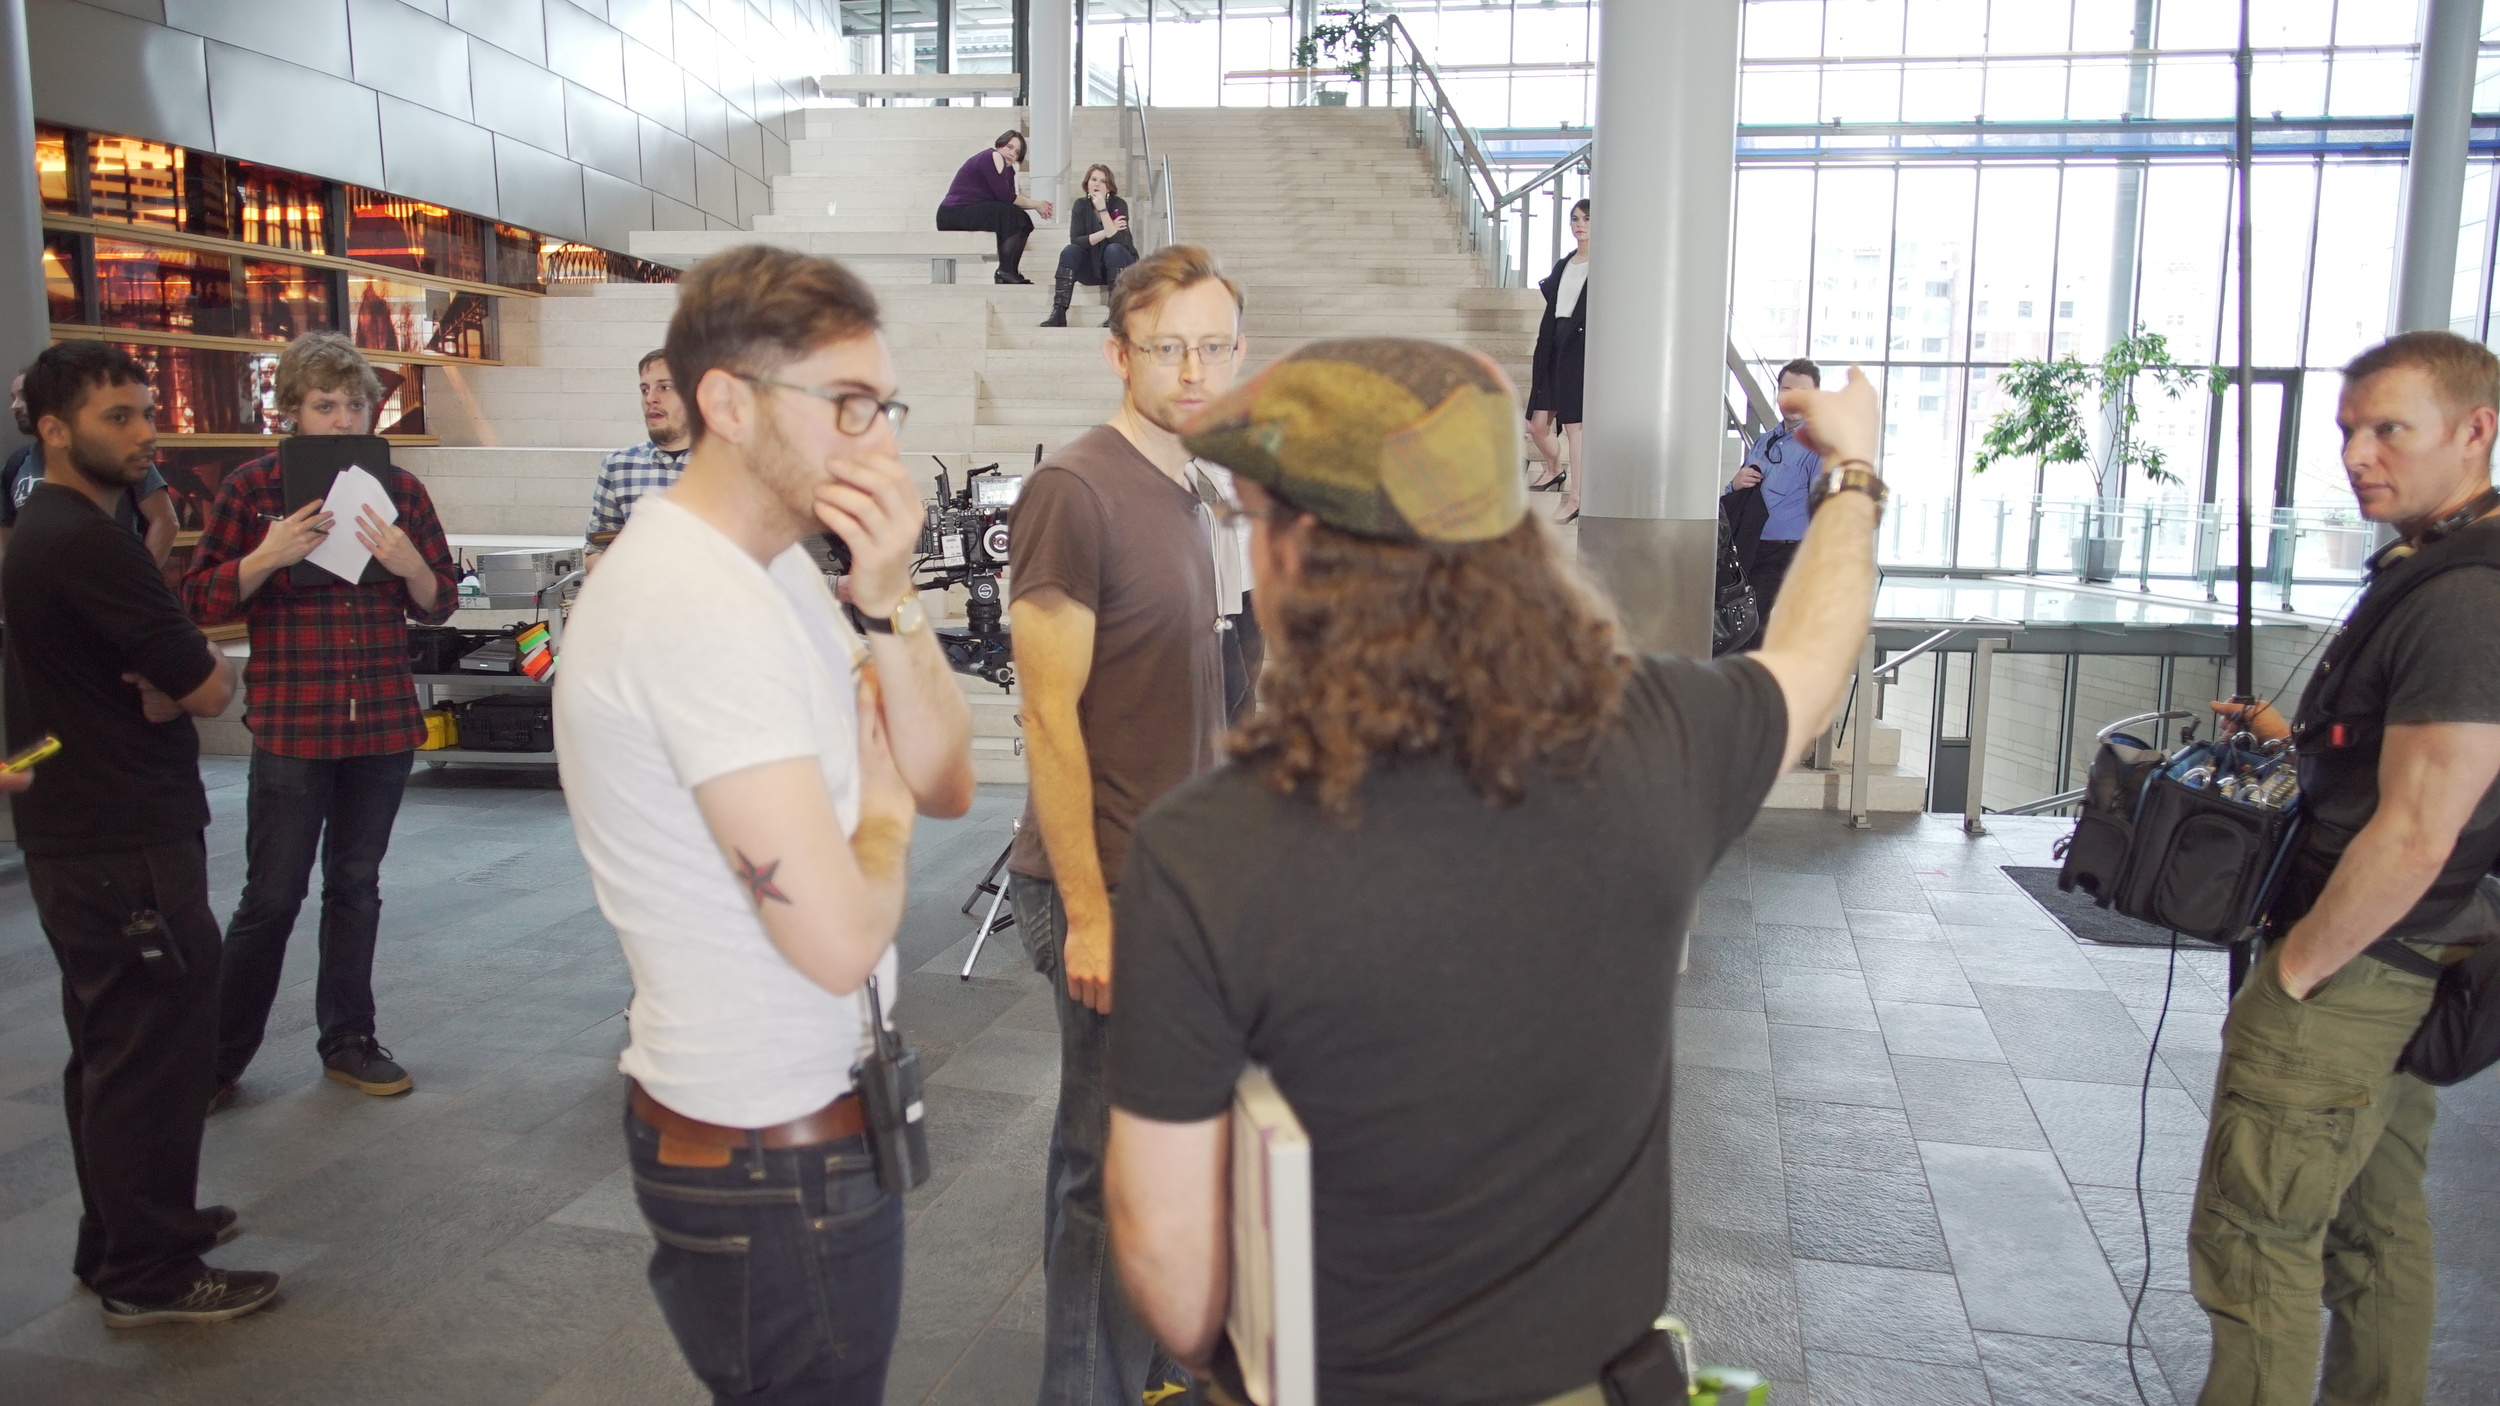
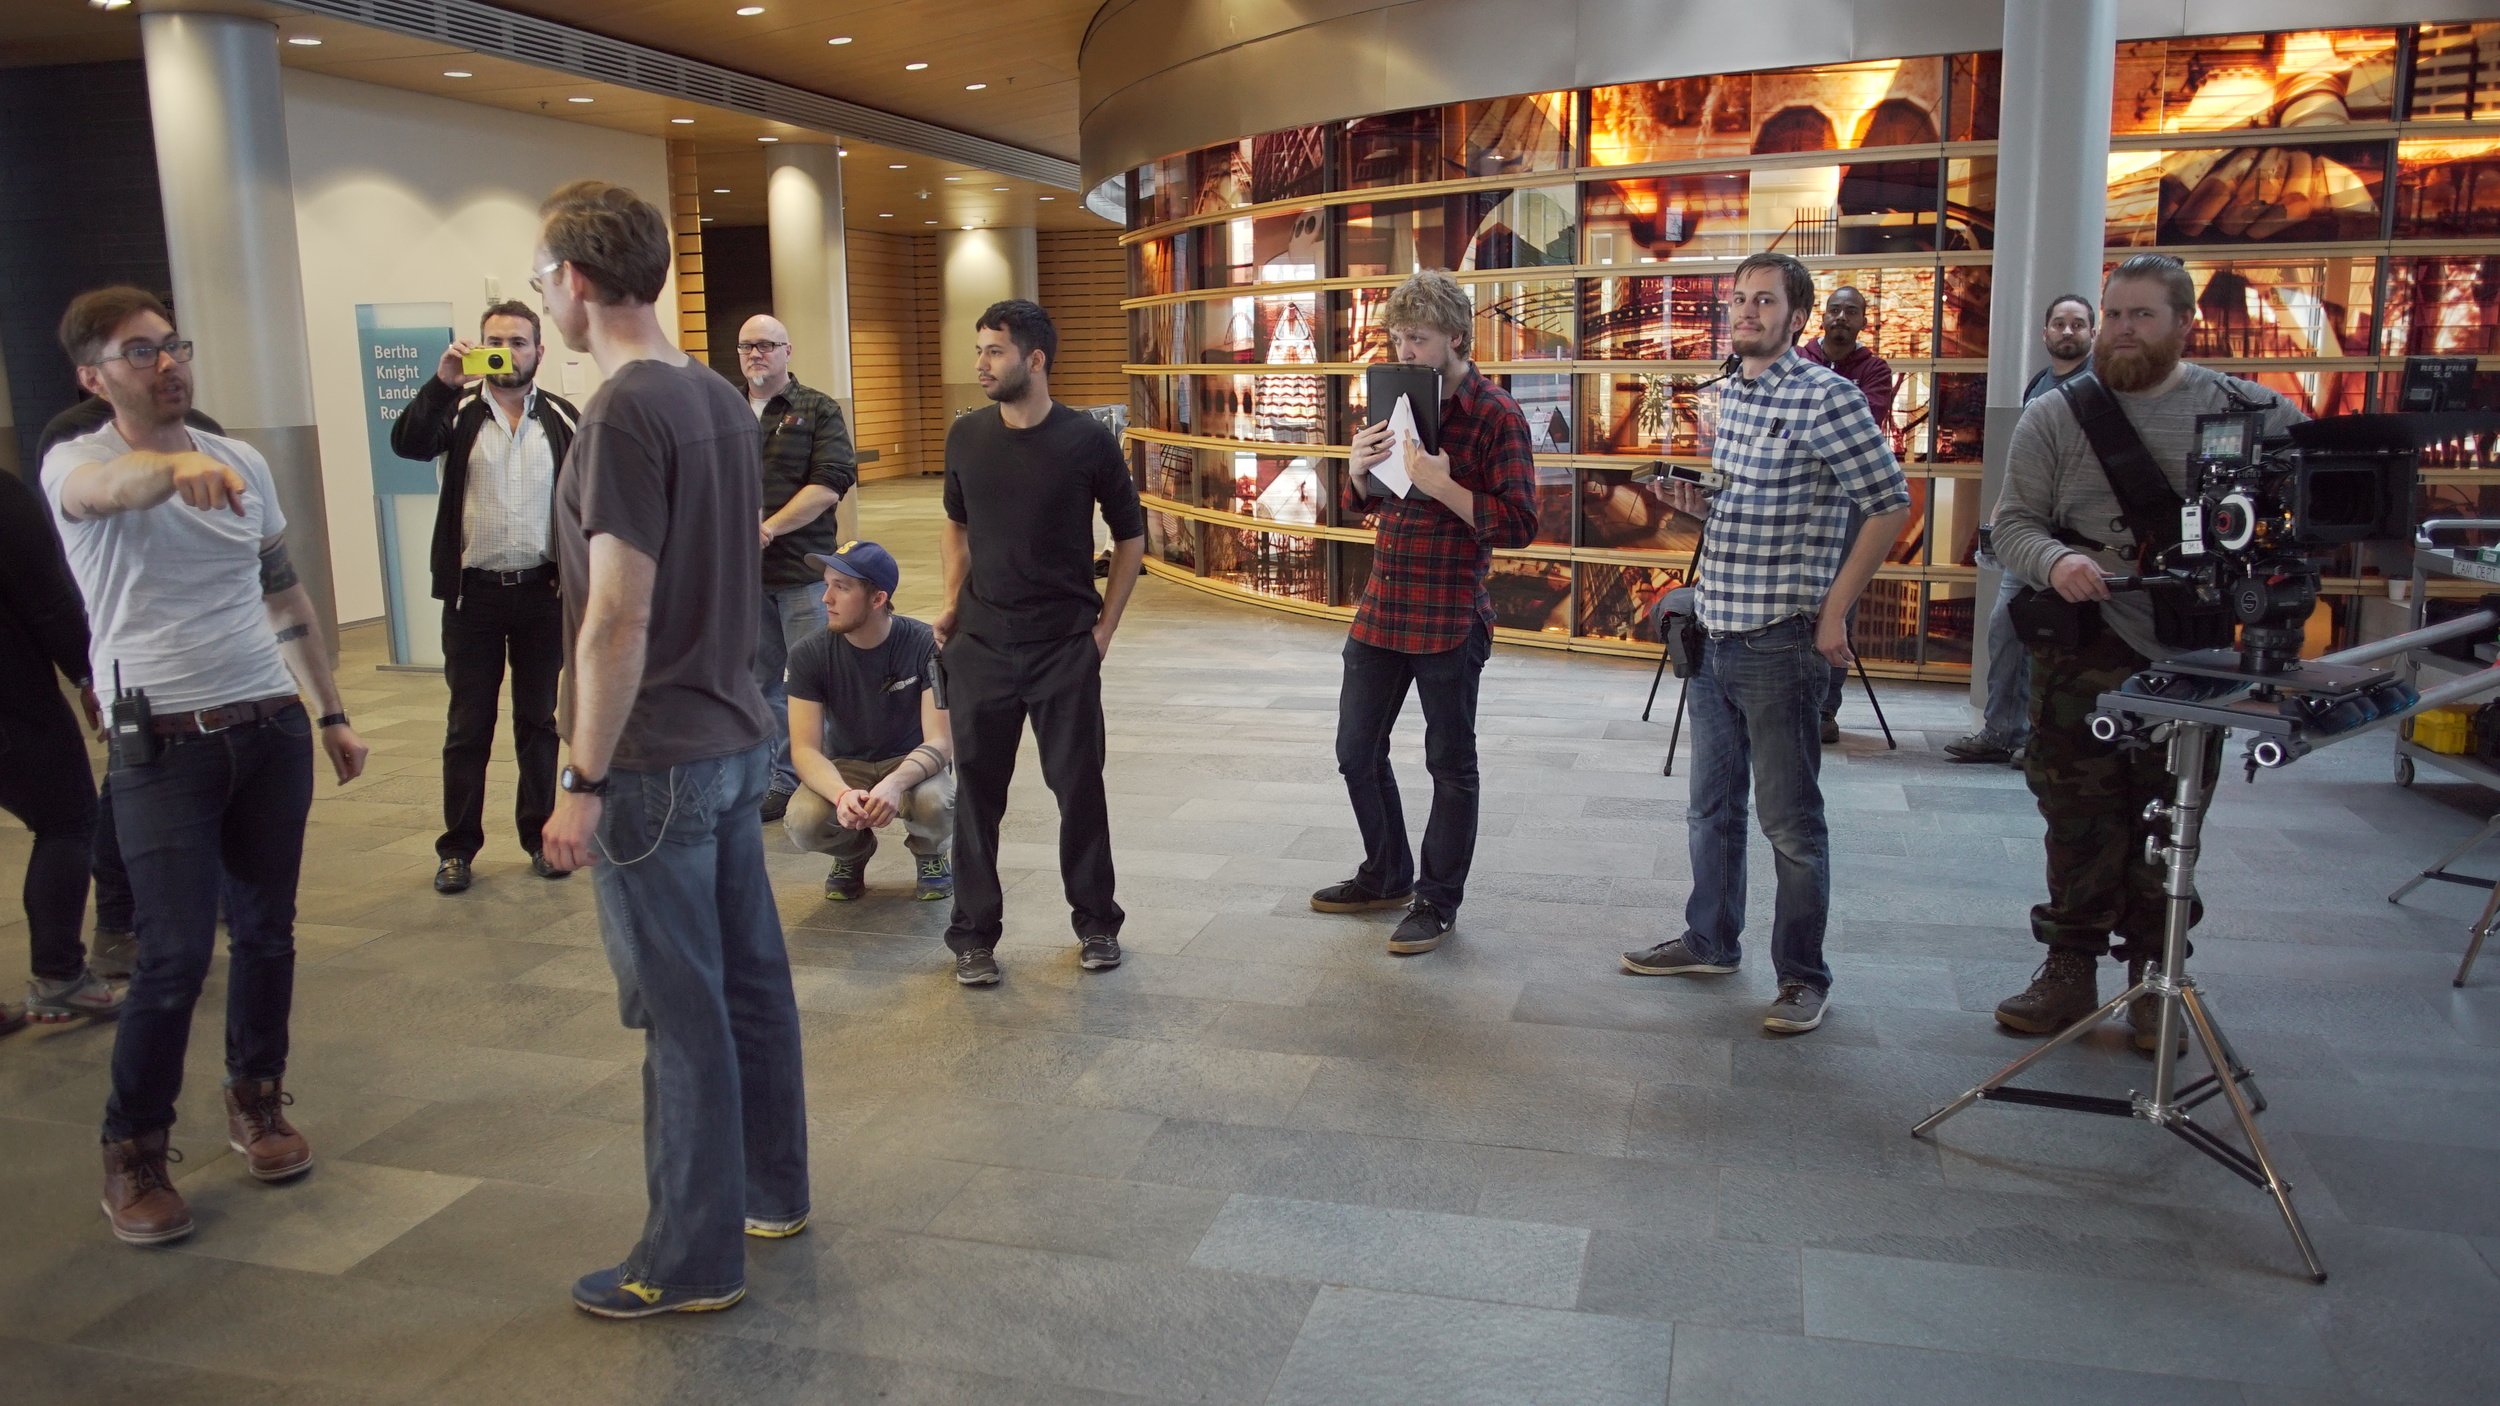
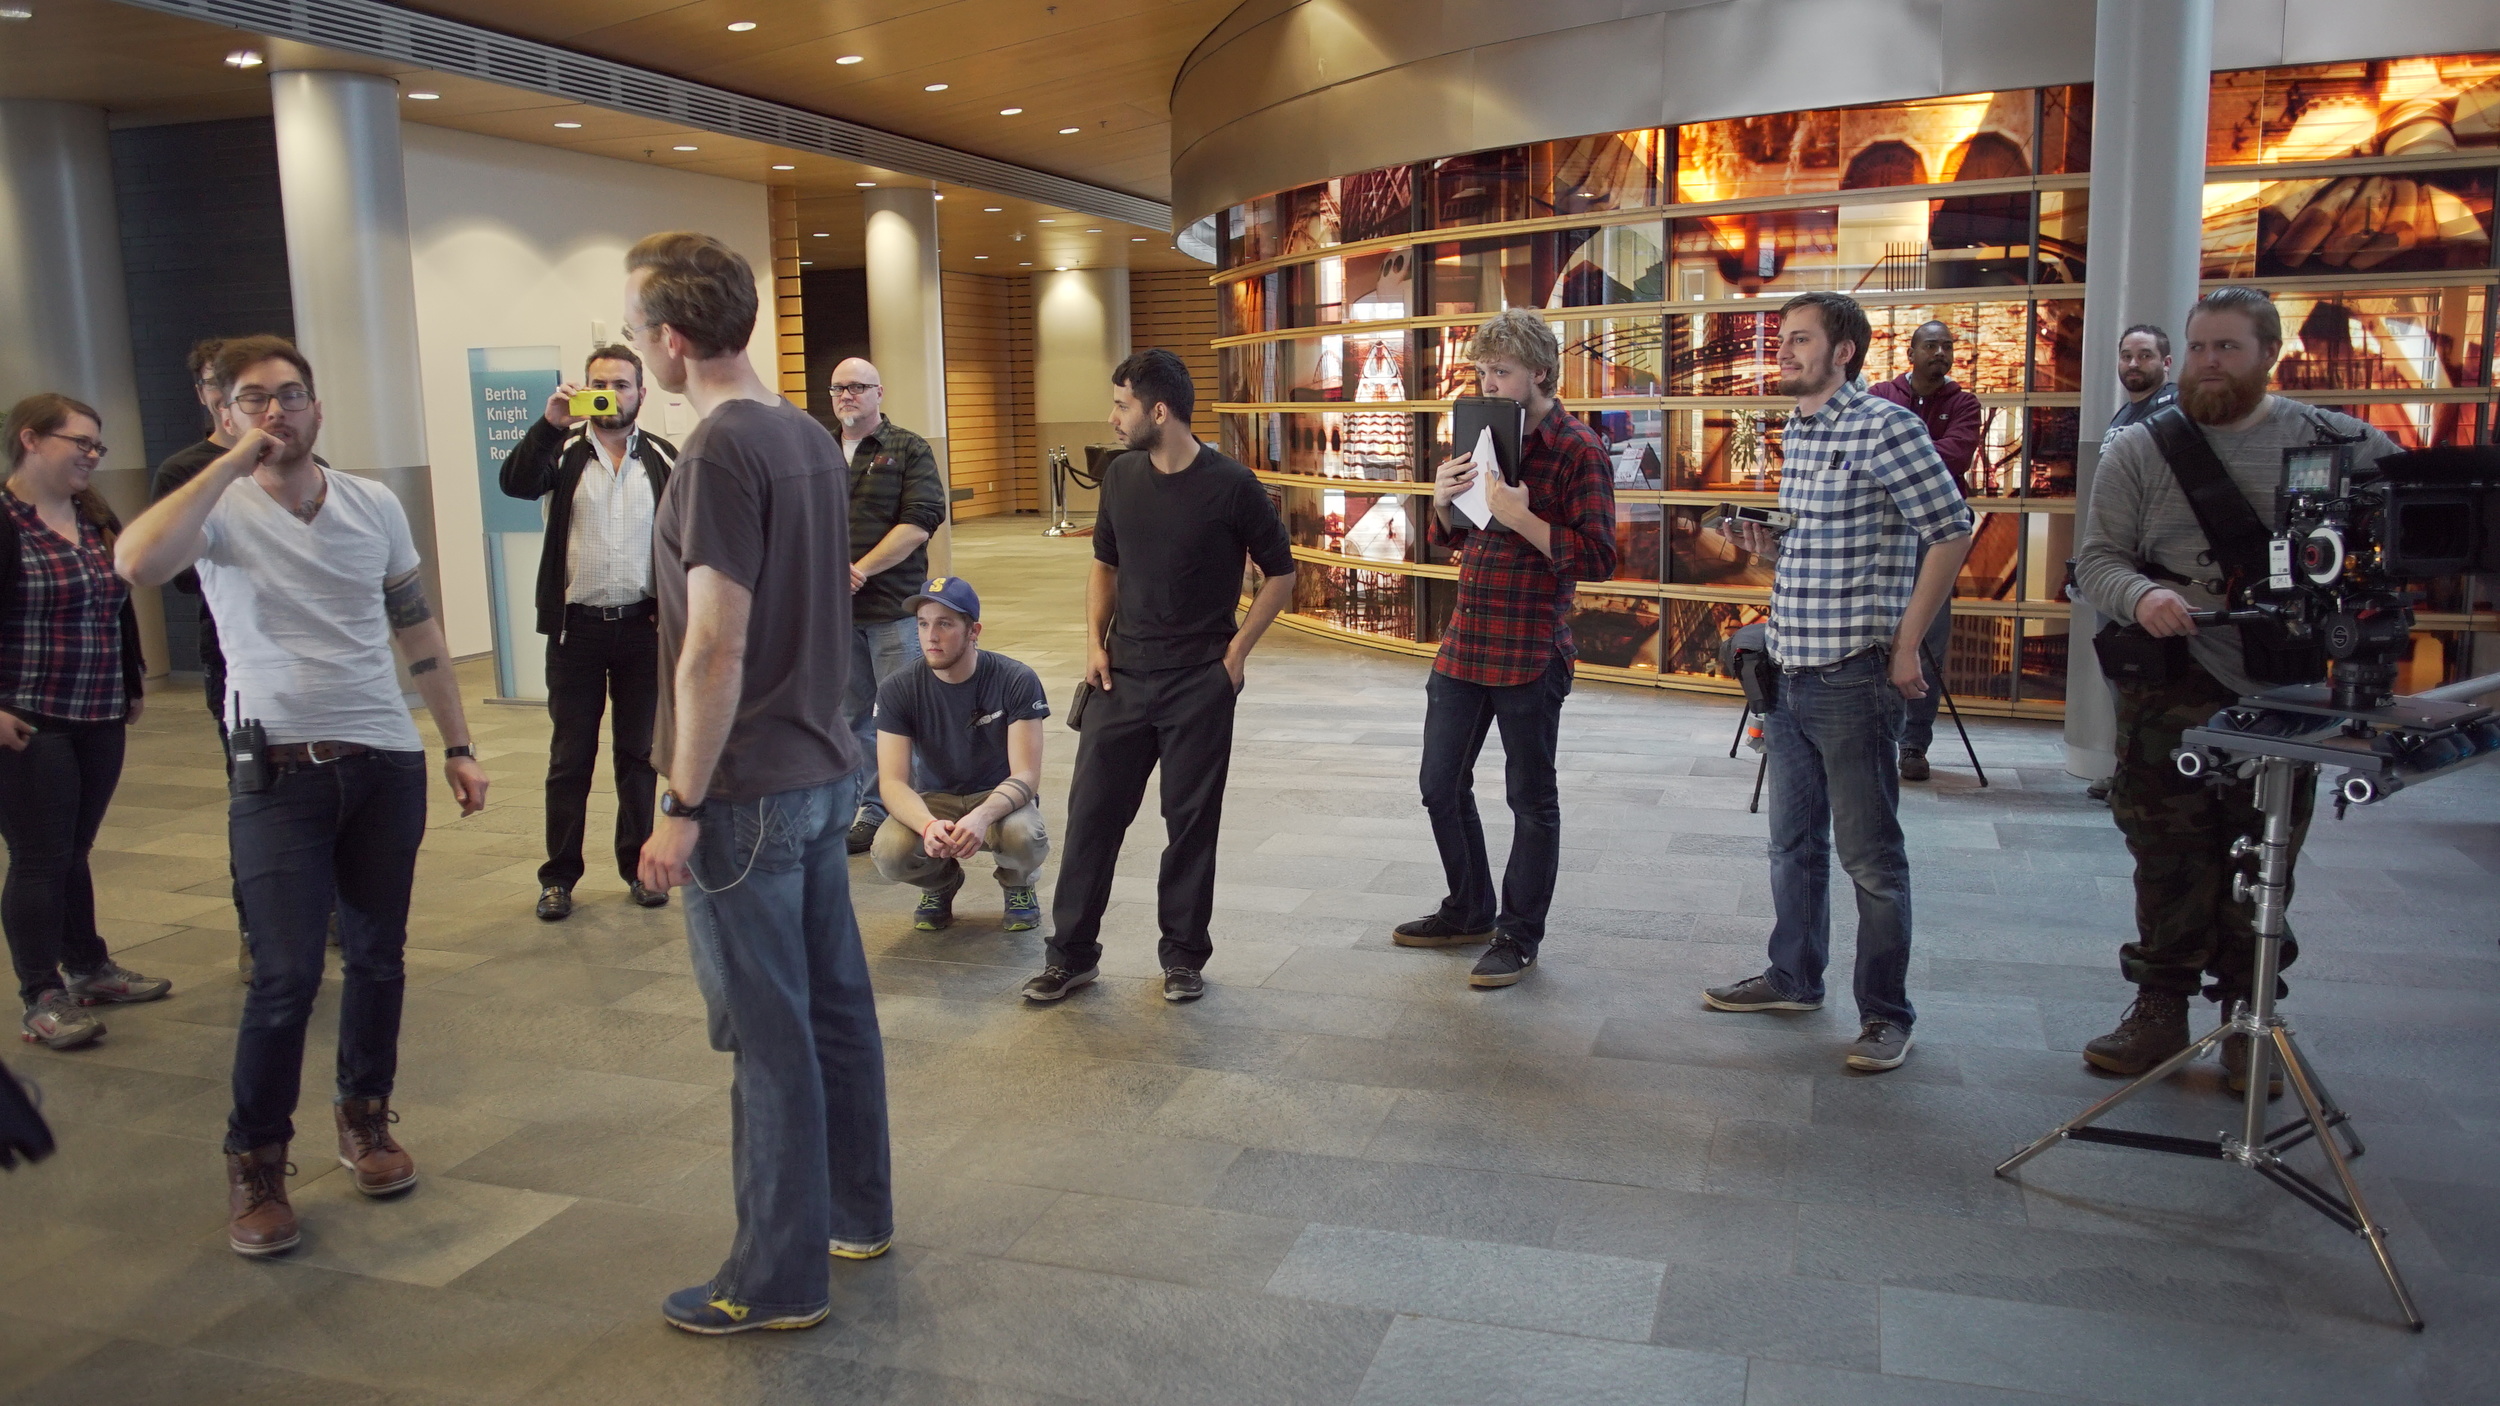
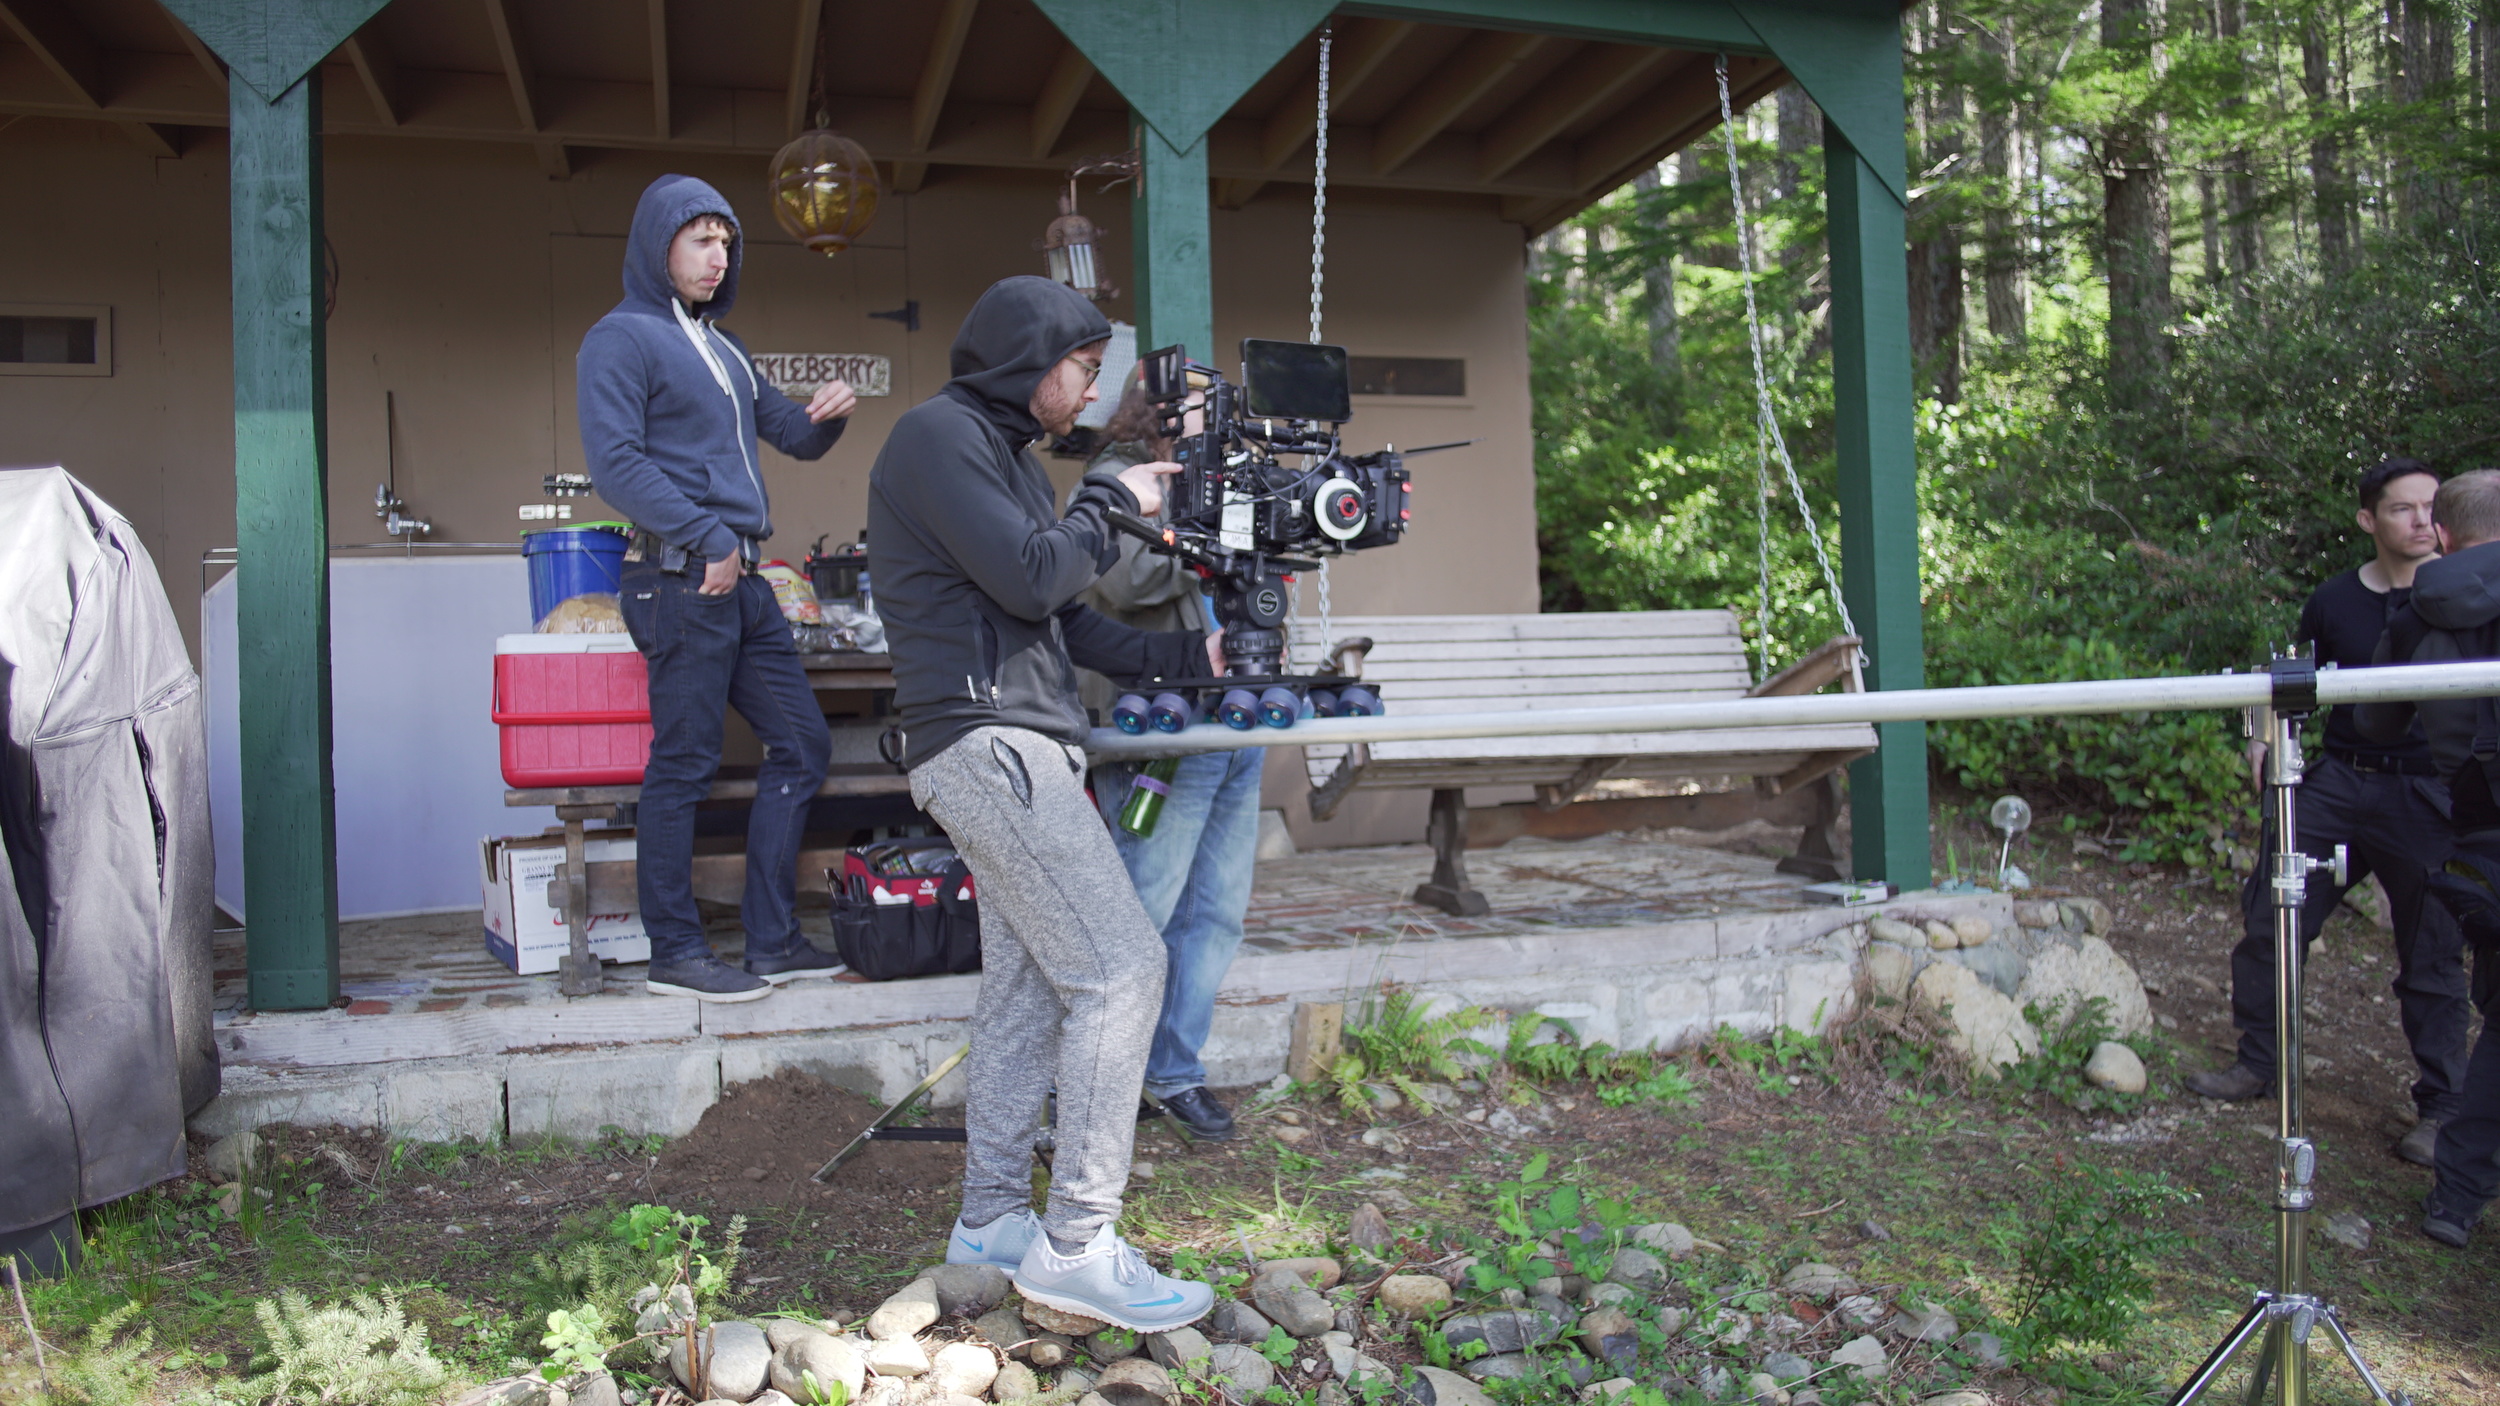
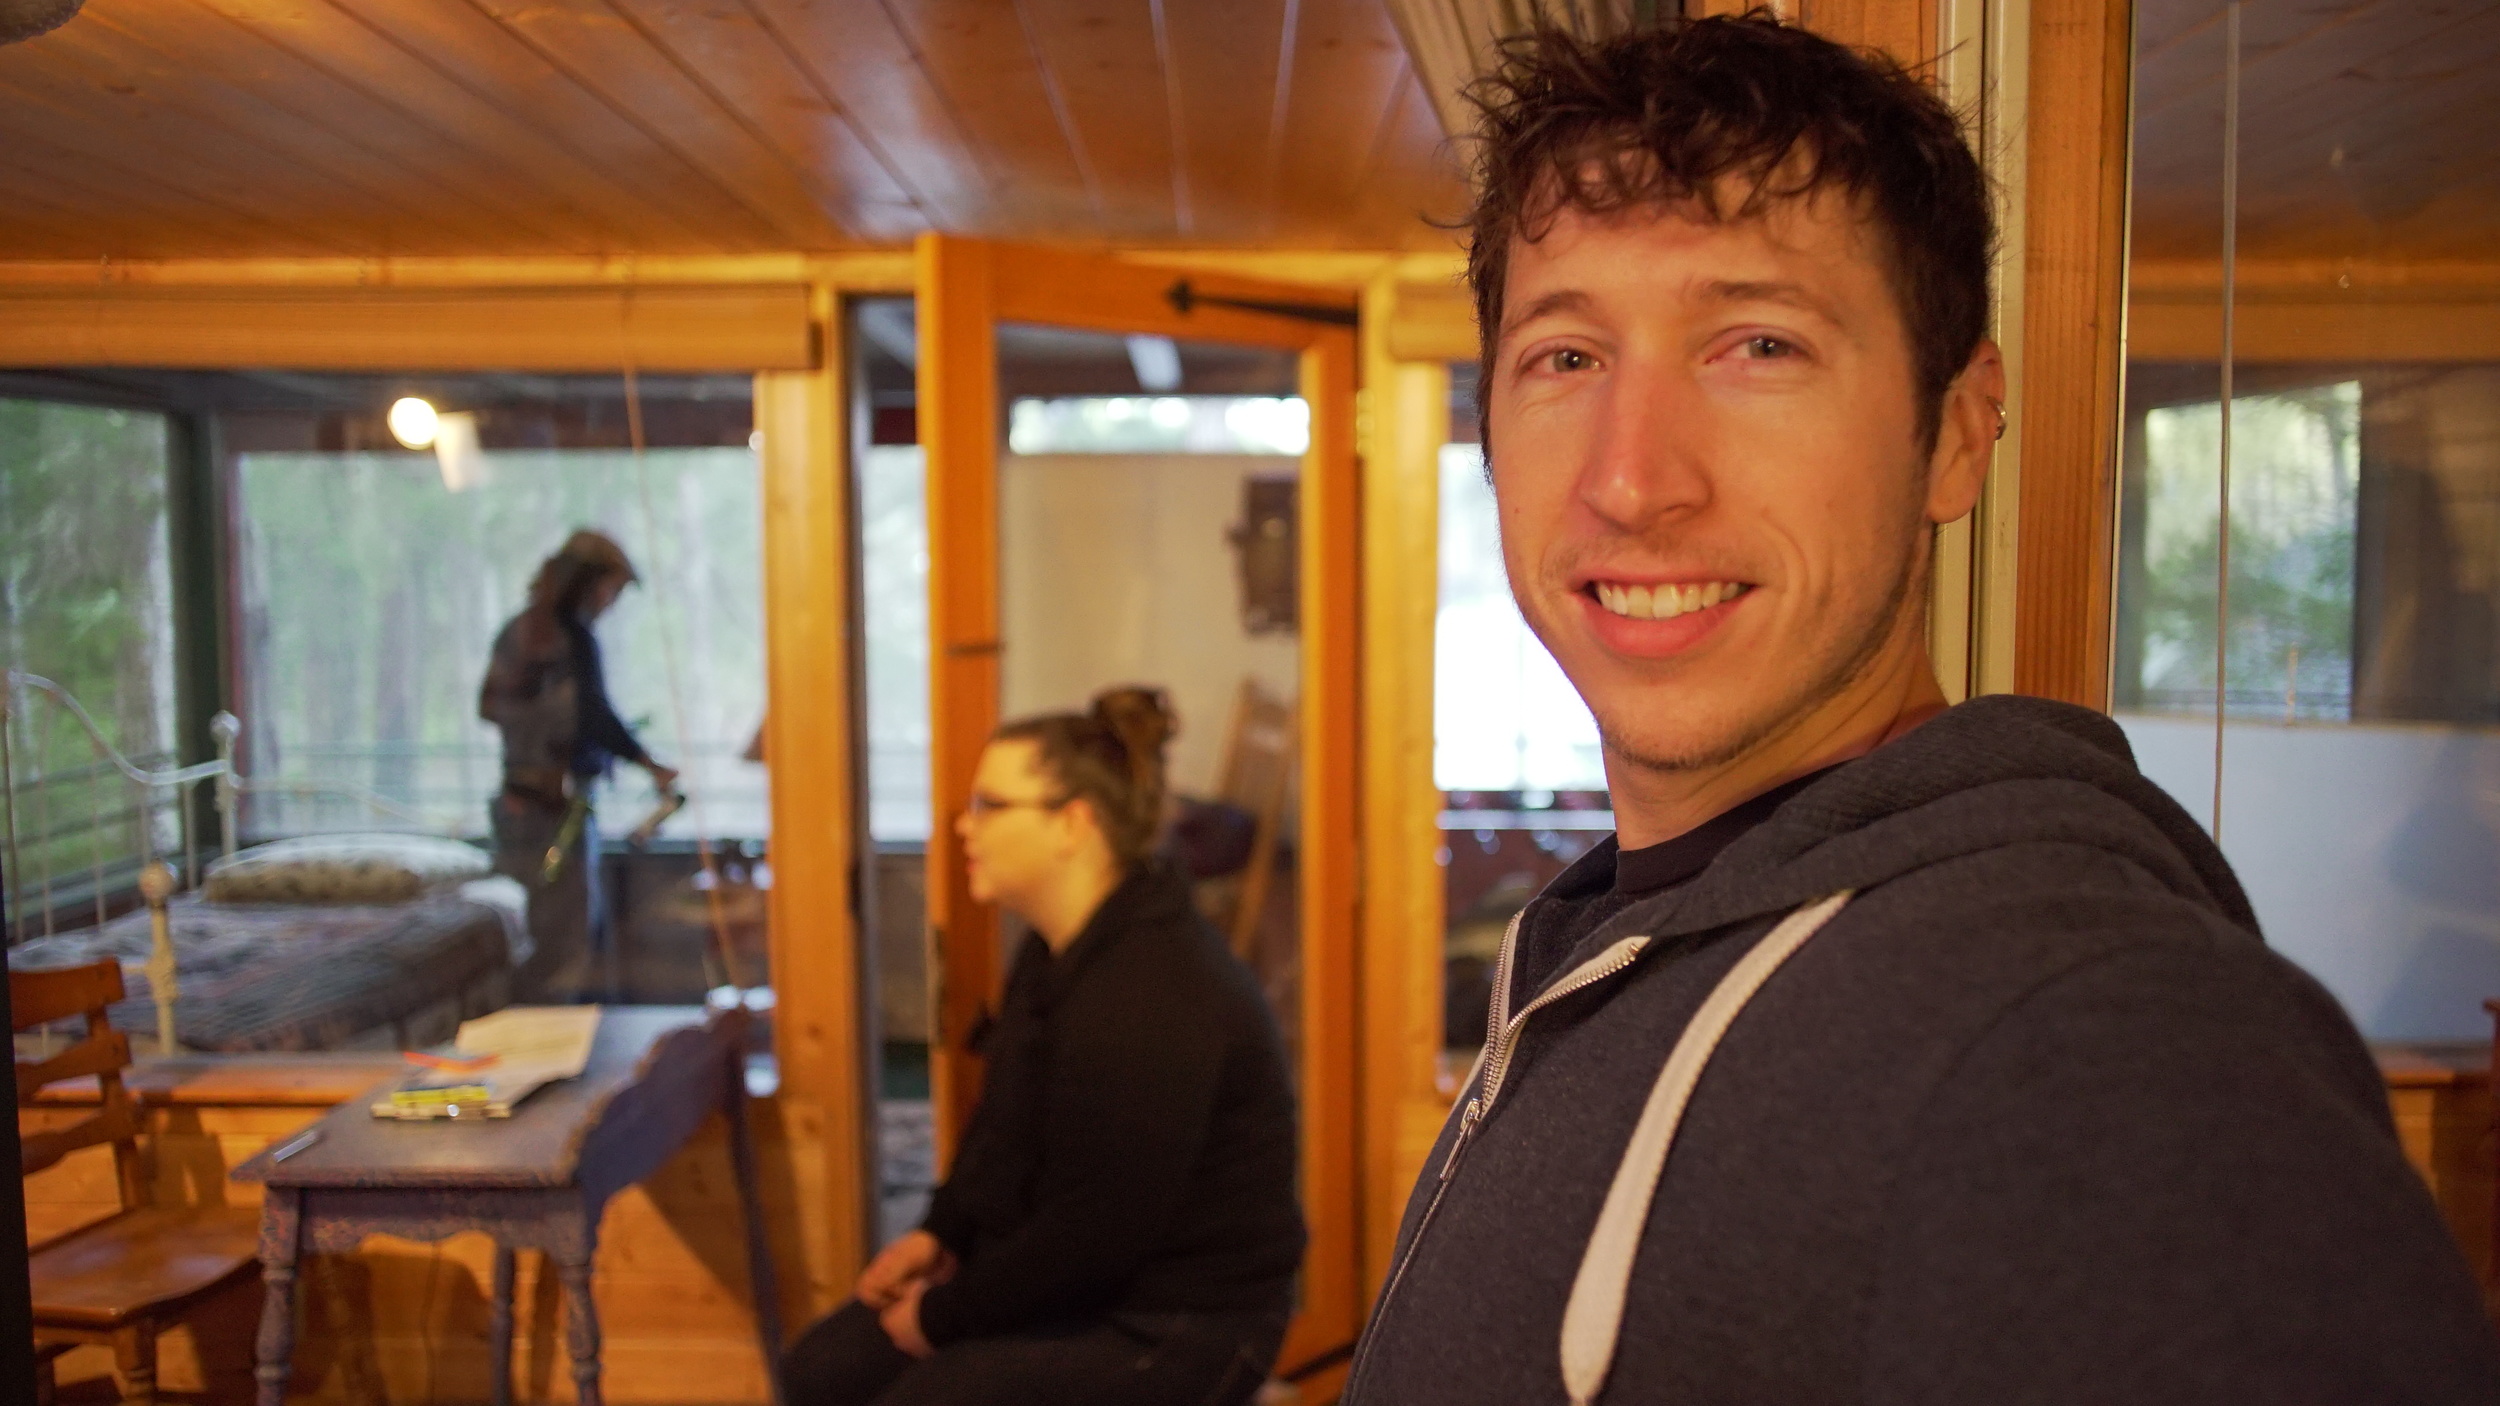
Preproduction: I was given some very exciting tidbits of knowledge about the production as we started to get more in depth. The shoot would be 12 days only, The budget was pretty small, like REALLY small (sub 100k probably), but nothing I wasn't used to, the crew would be minimal, and we would have to work fast. My crew would consist of Casey Schmidt as gaffer and b cam op, Riley keeton as 1st AC and B cam op, Robyn Scaringi as media manager, and myself as DP/ A cam op. We had a couple PA's on set to help us out in camera dept and g/e. Kat Goddard, Micah Knapp, and Rob Lawrence all were a huge help on set. Also we had a very seasoned first AD, Landon Salyer, who was a life saver at keeping us on track.


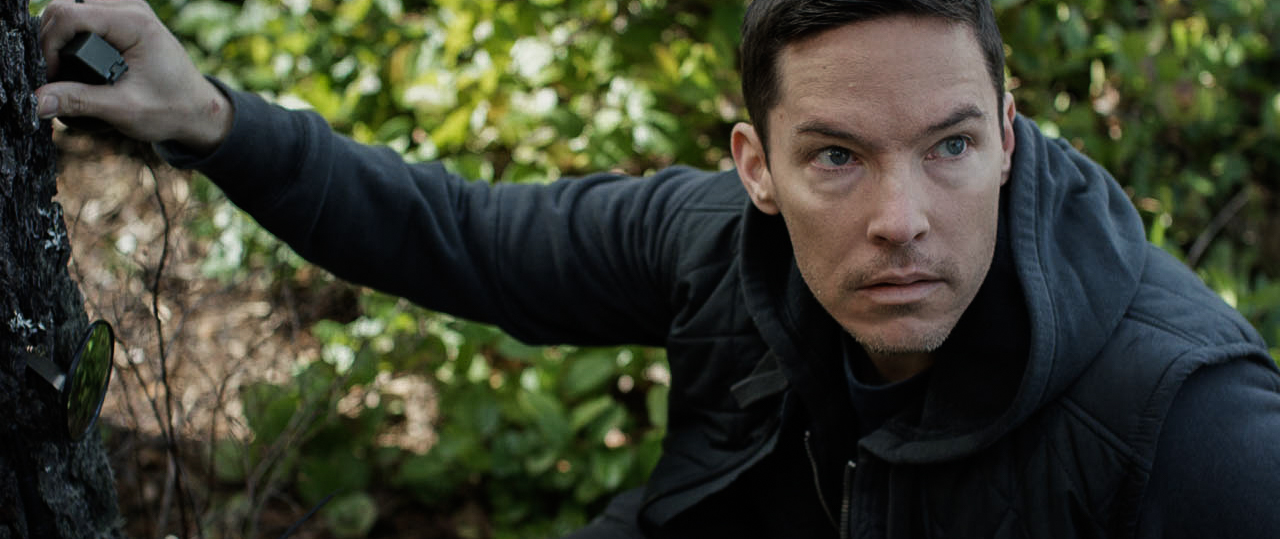
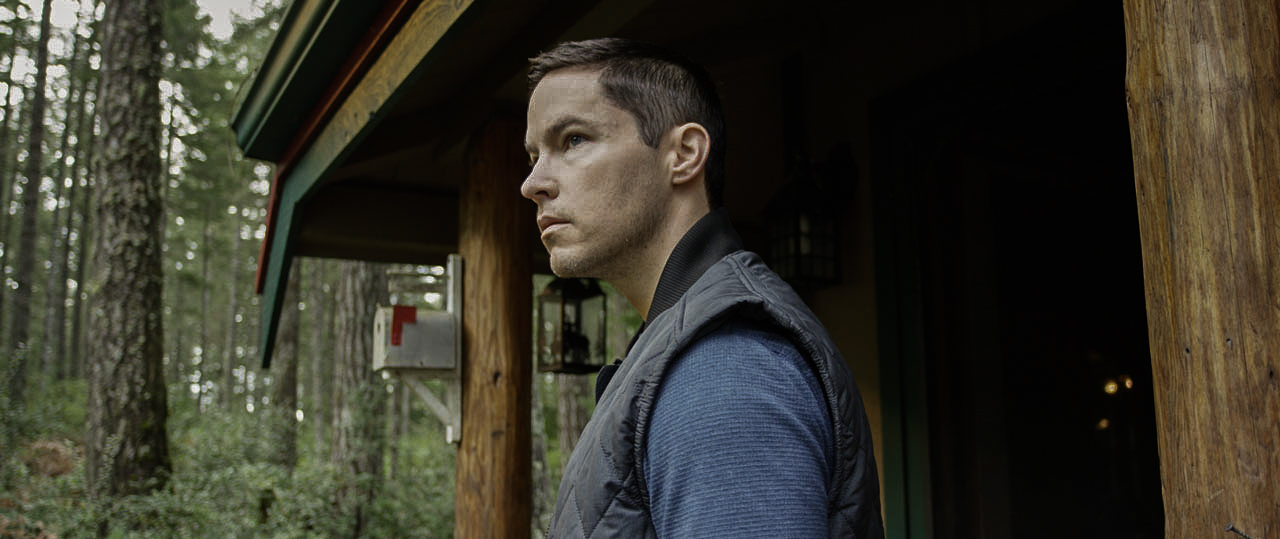
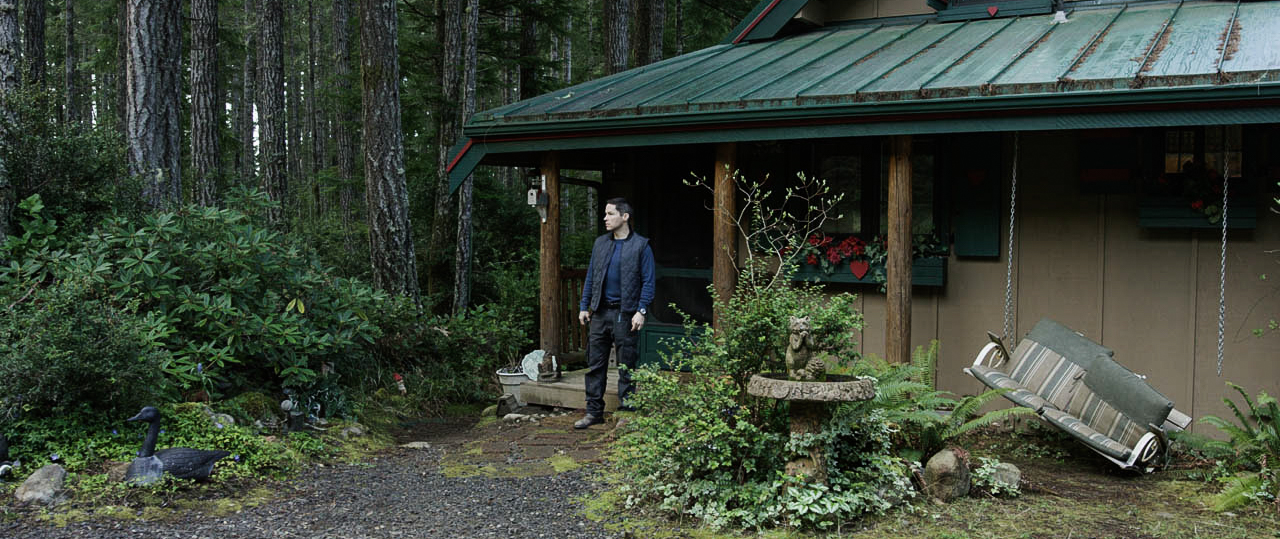
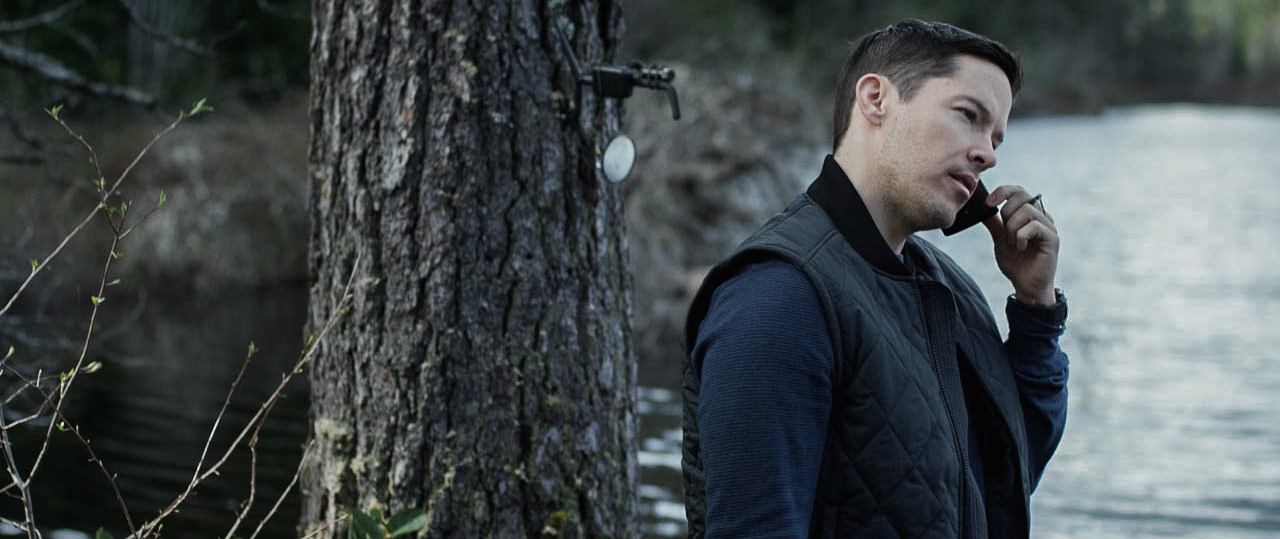
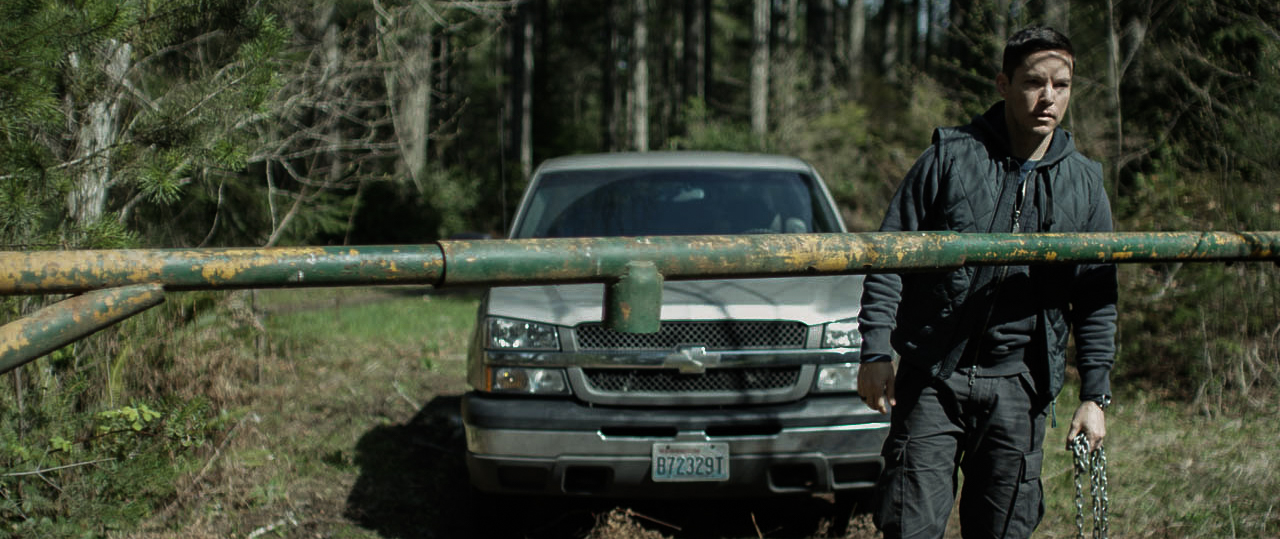
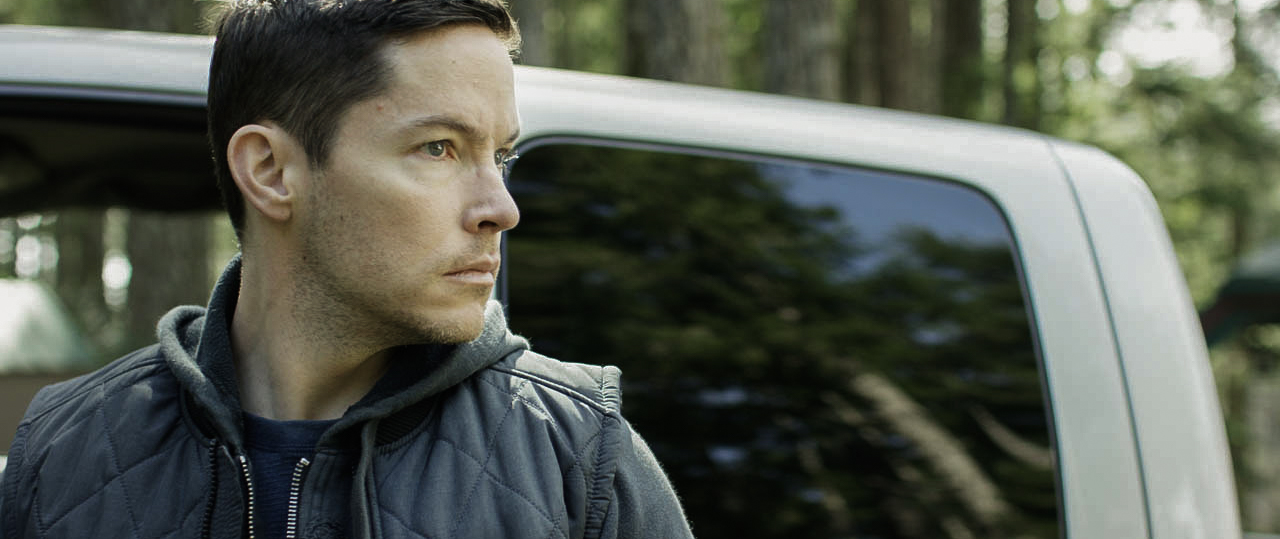
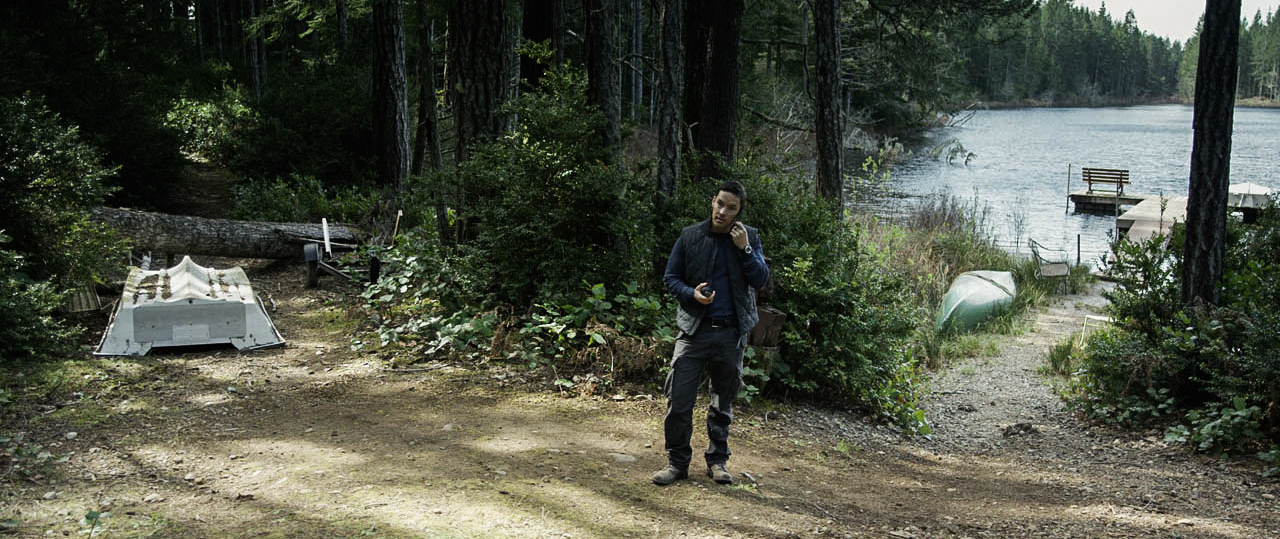
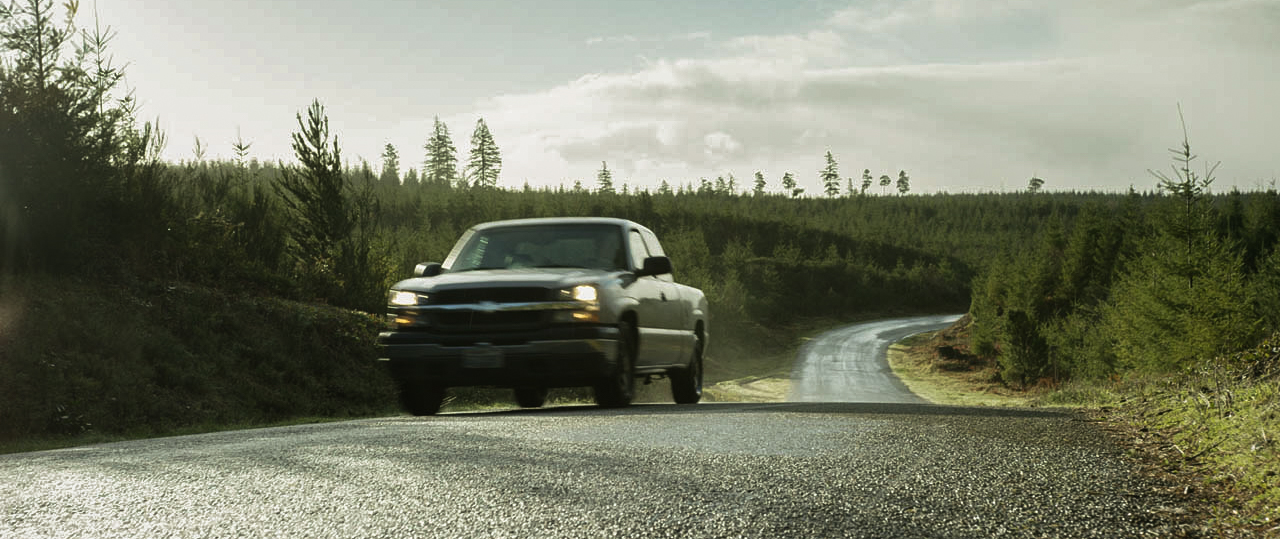
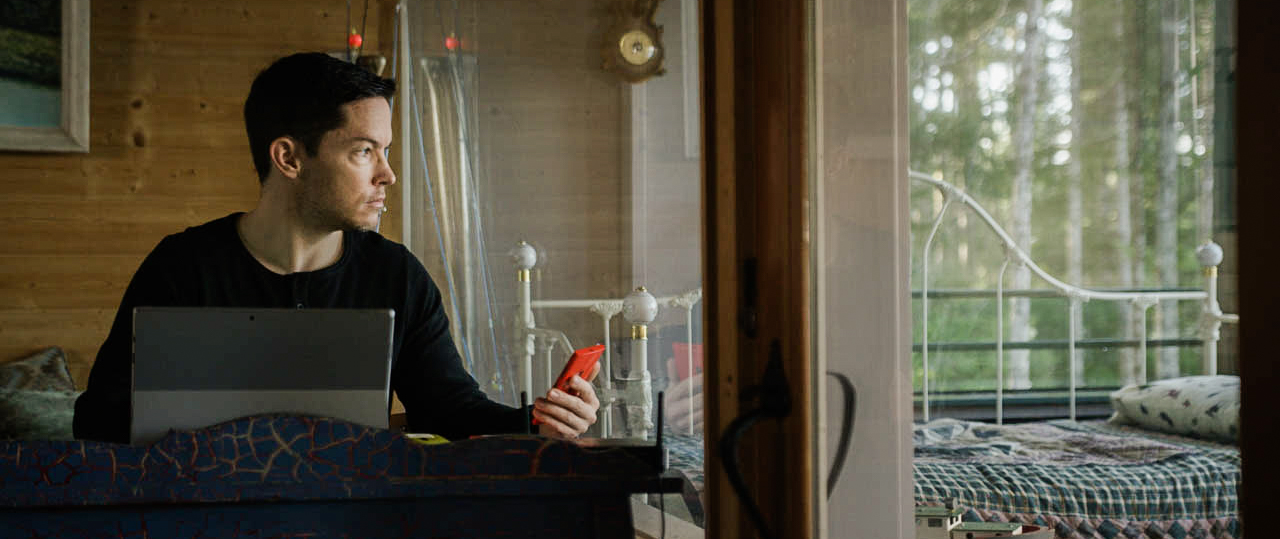
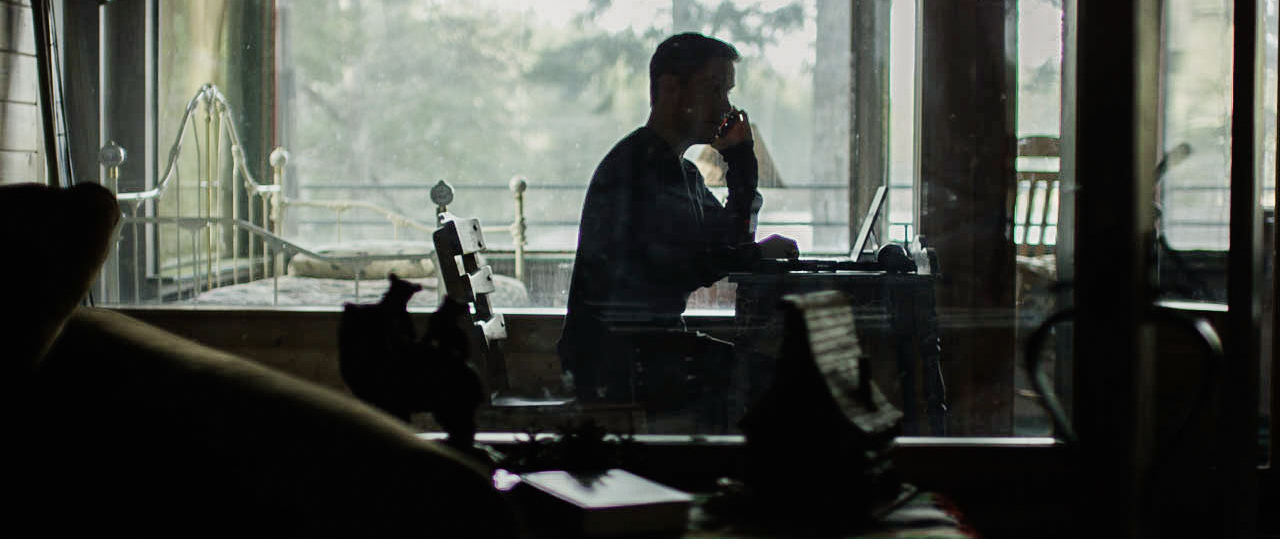
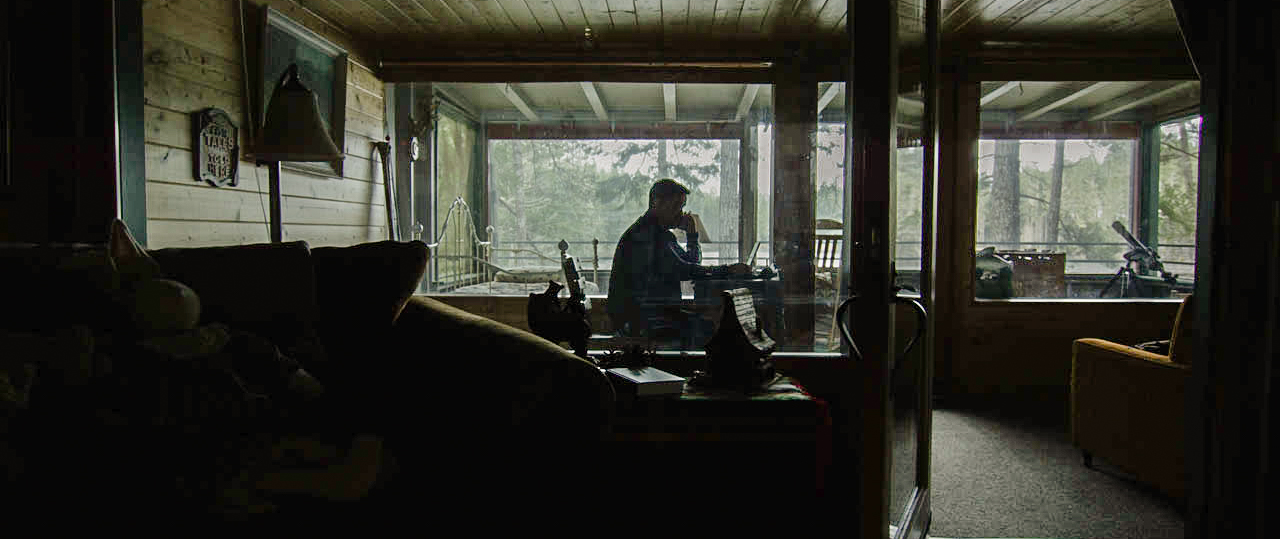
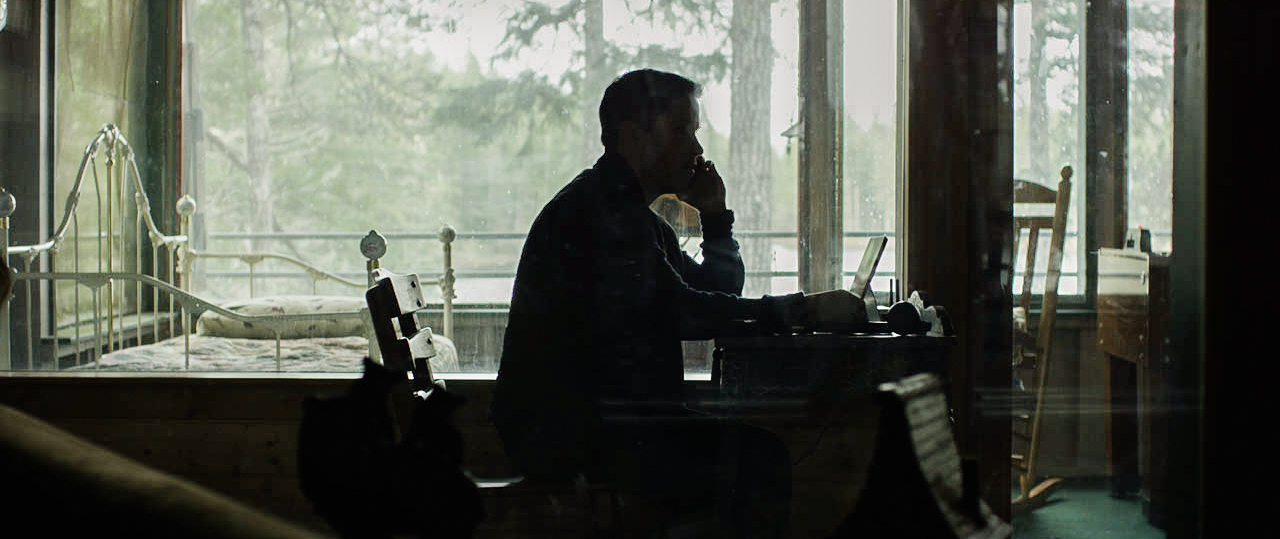
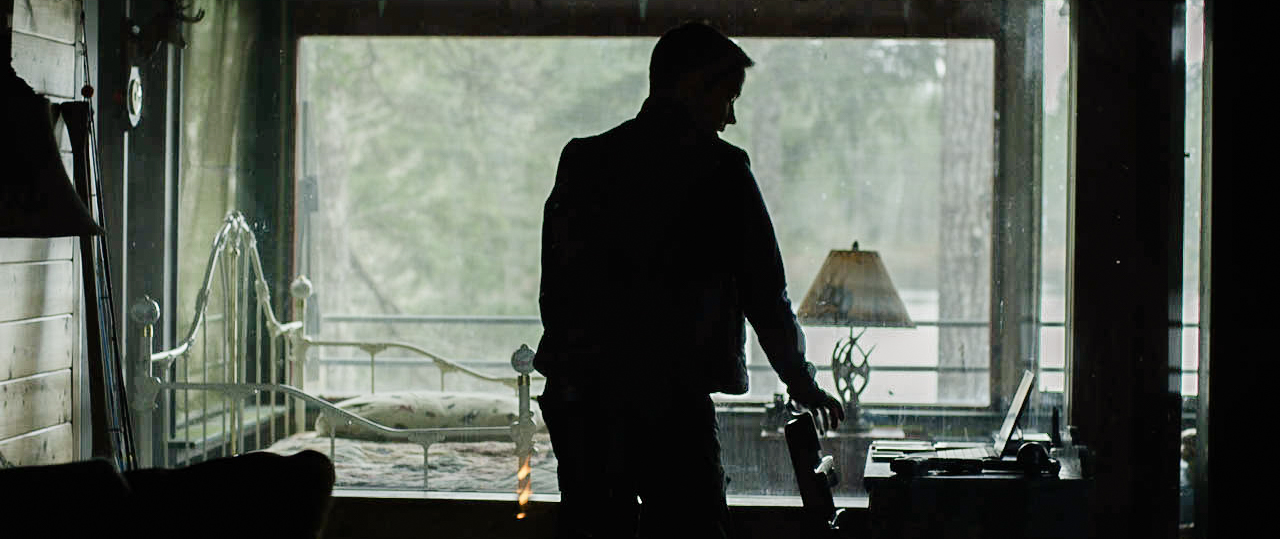
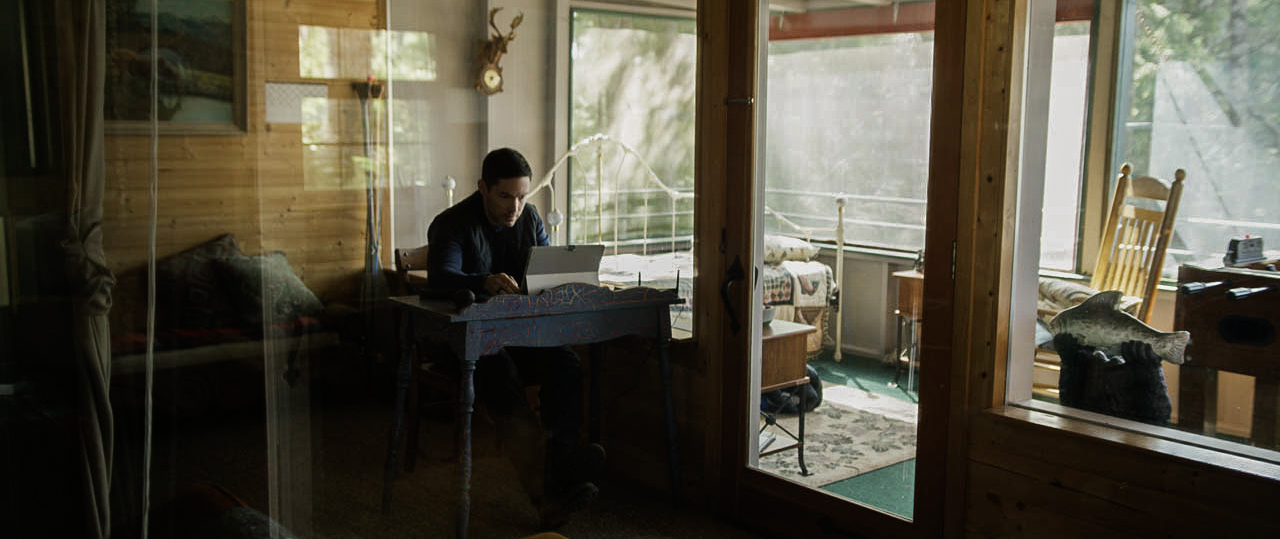
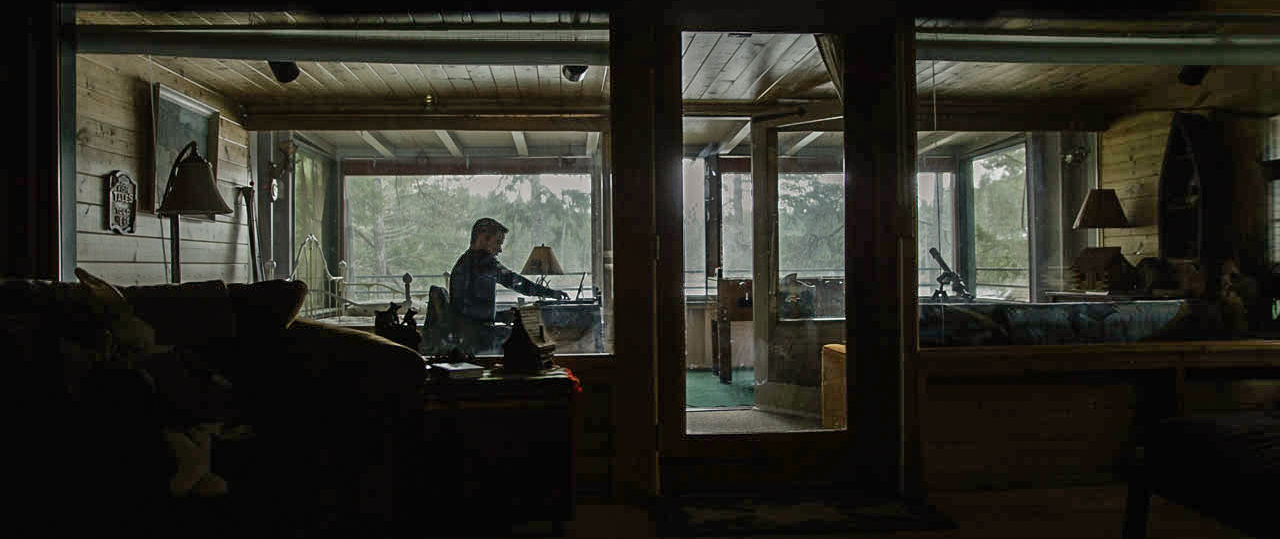
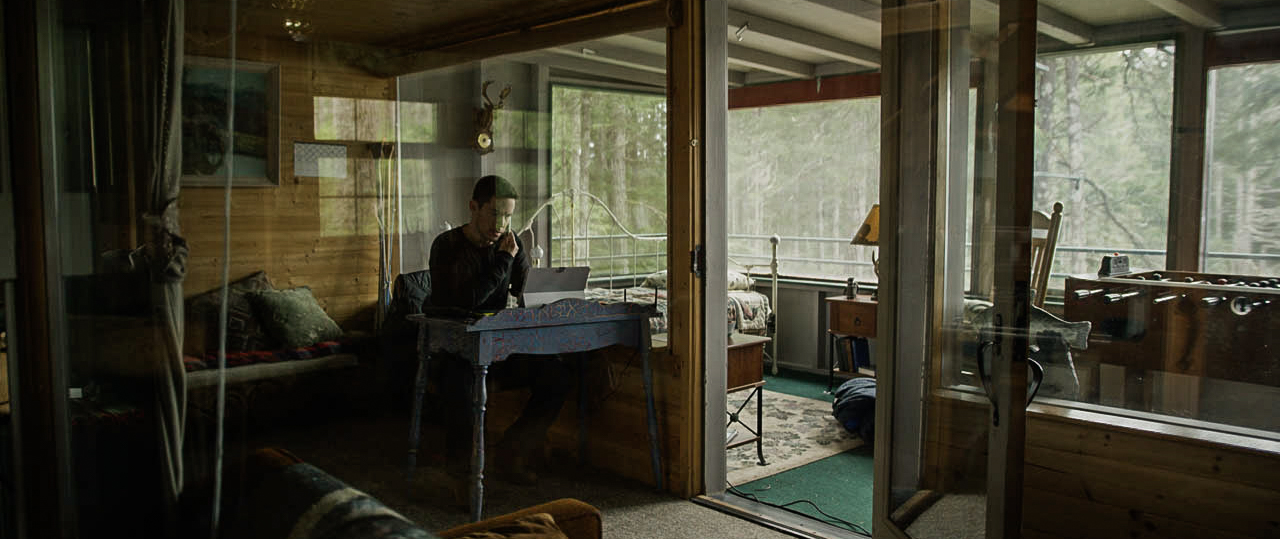
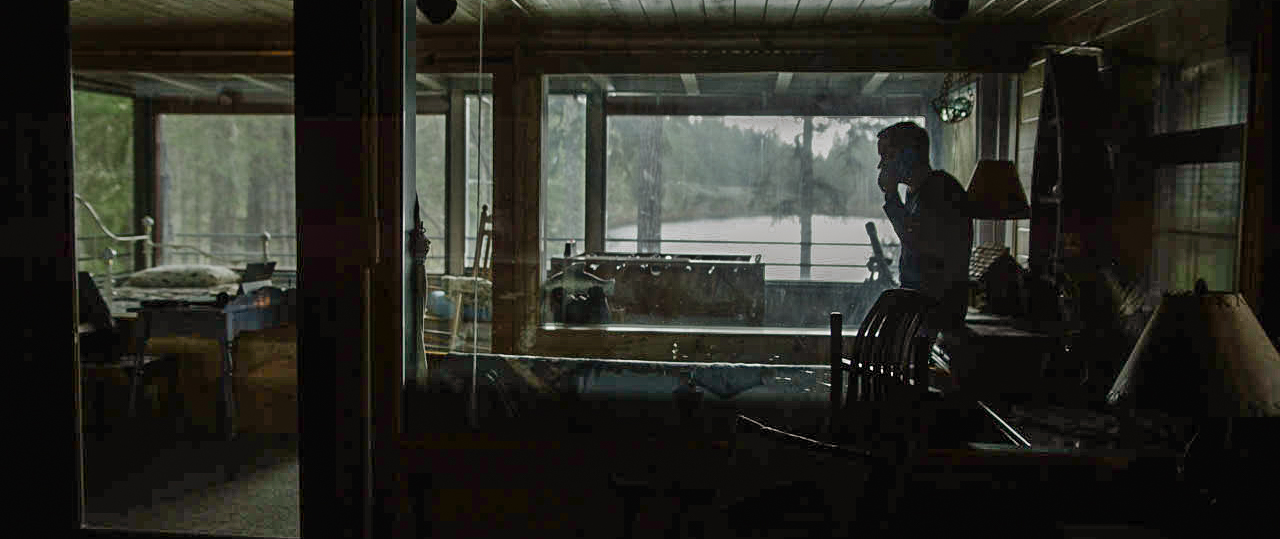
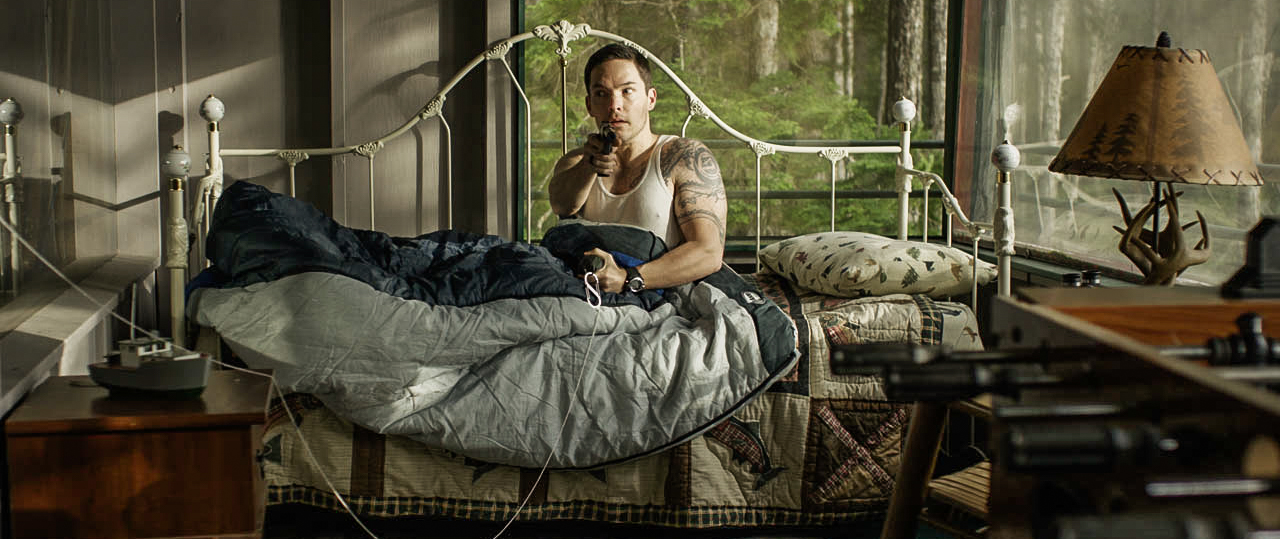
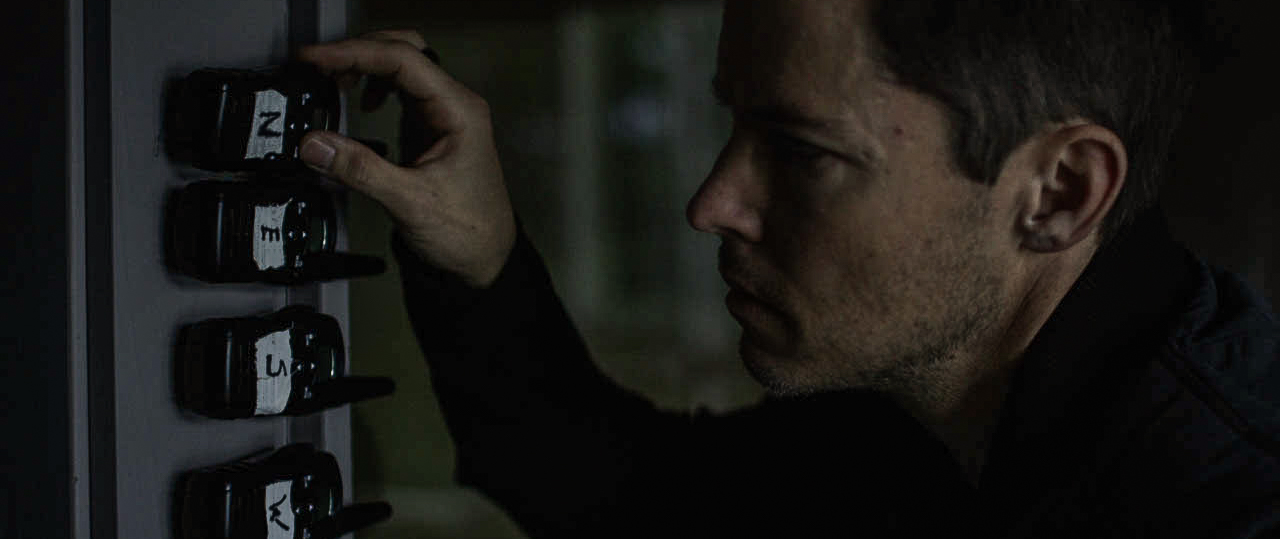
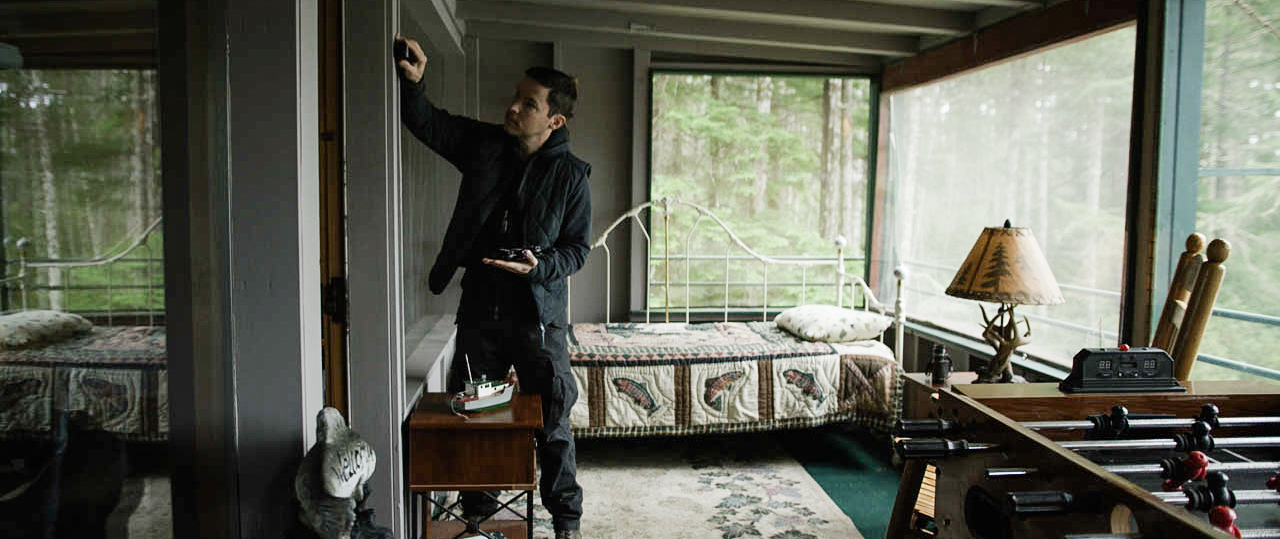
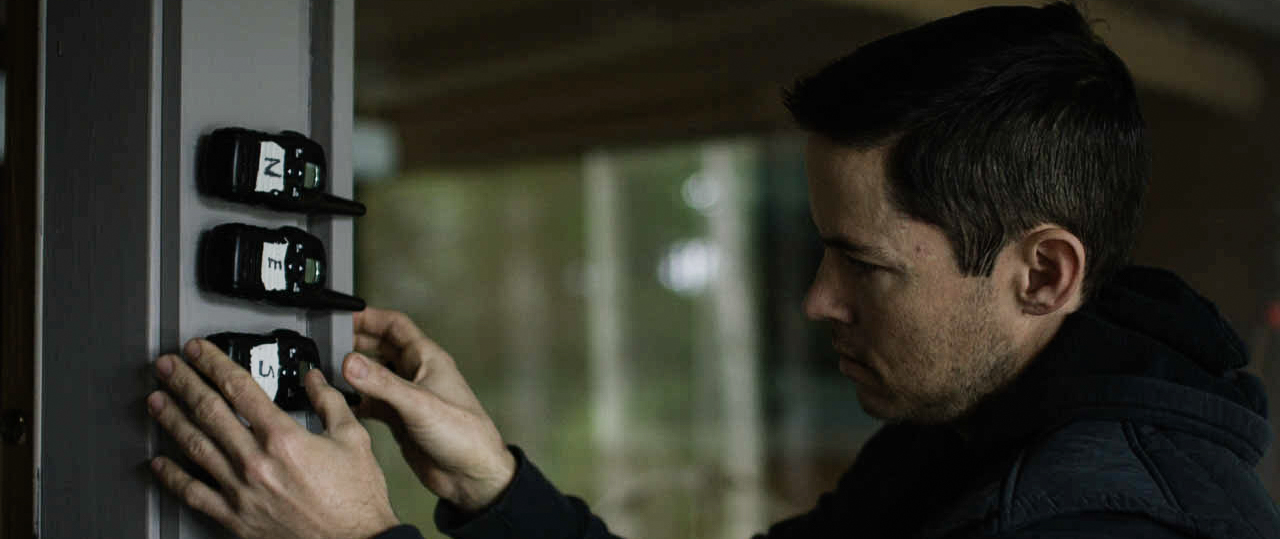
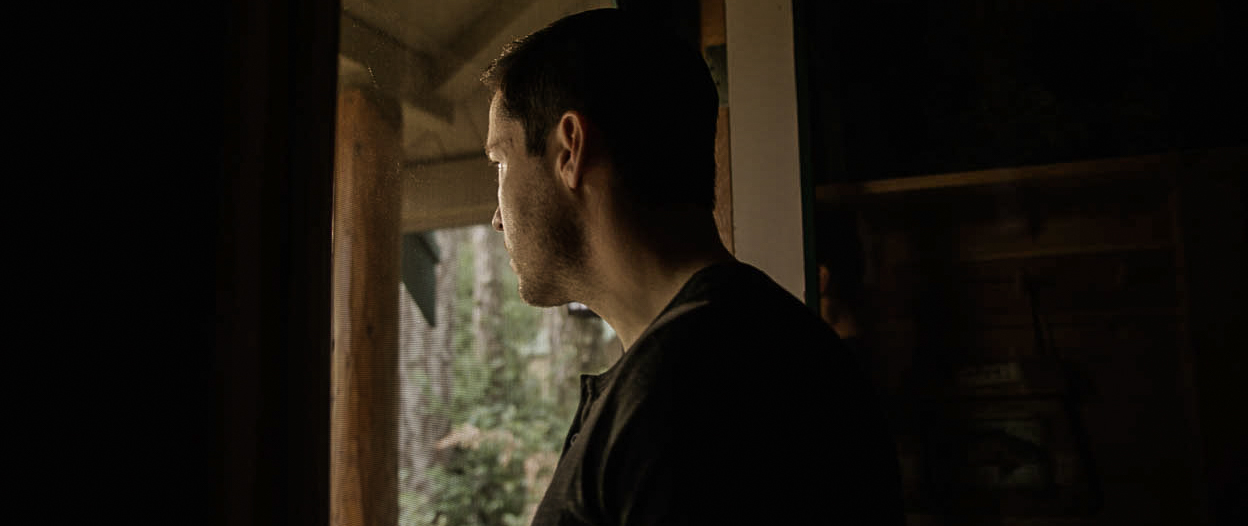
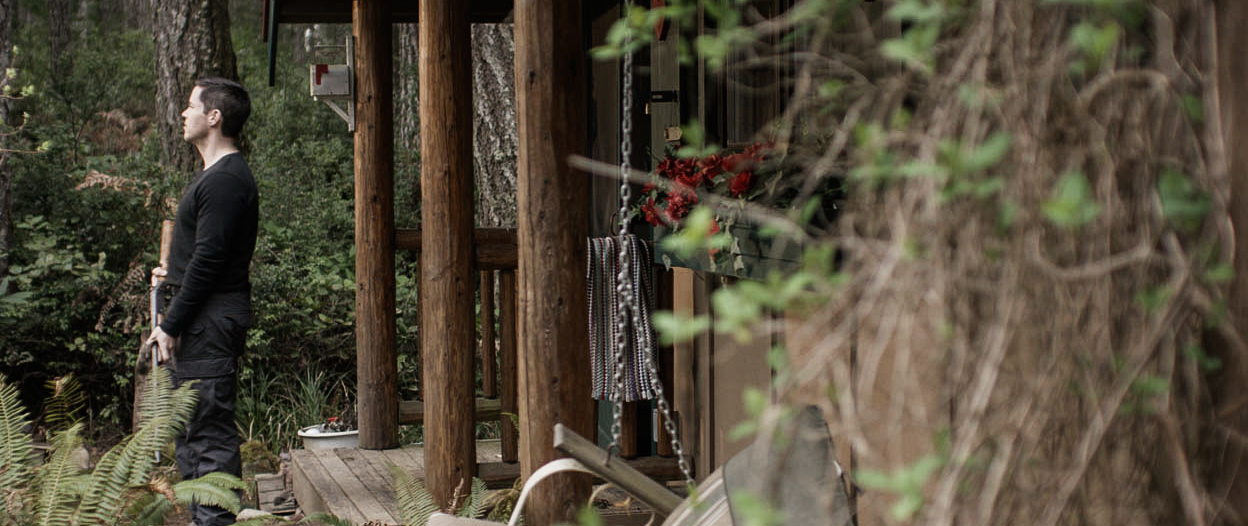
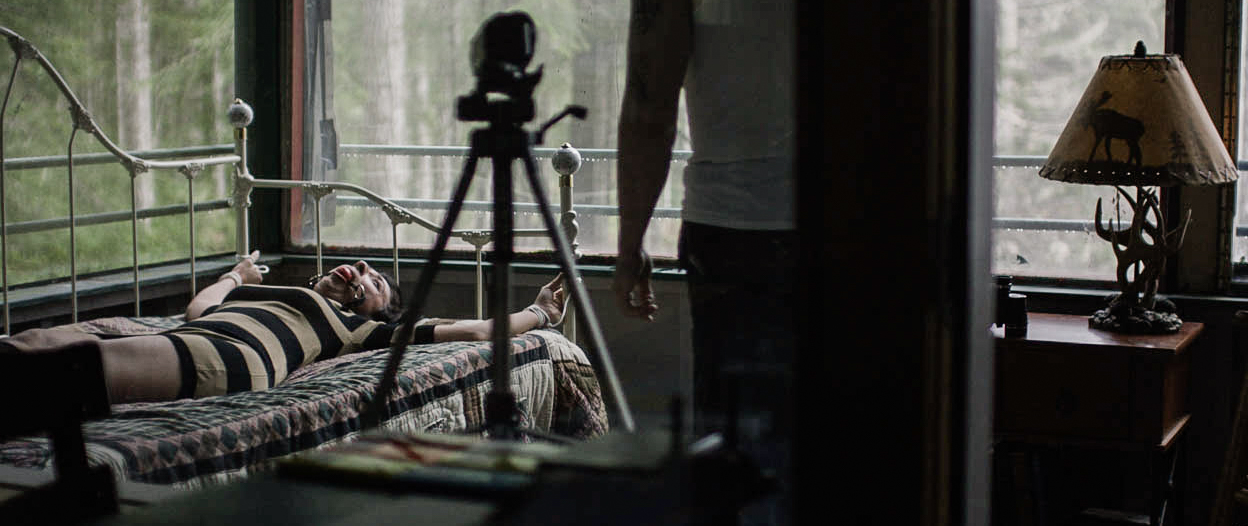
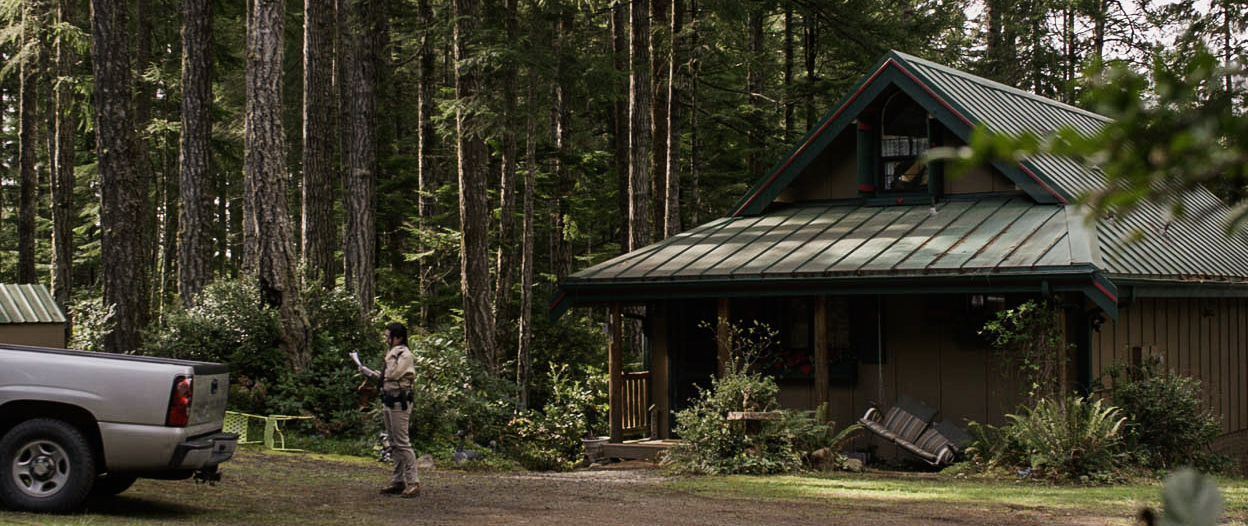
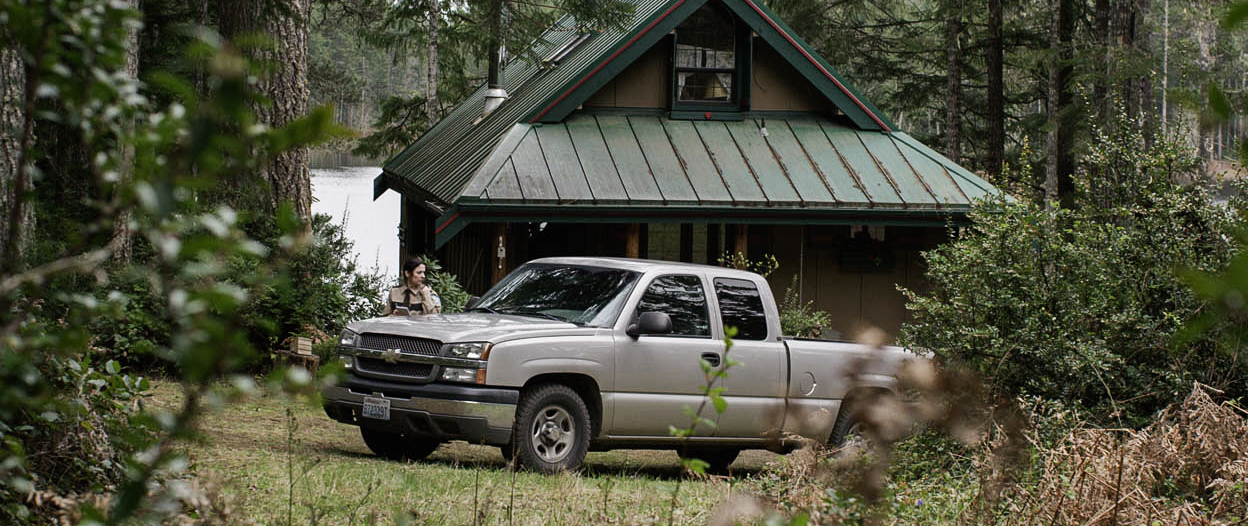
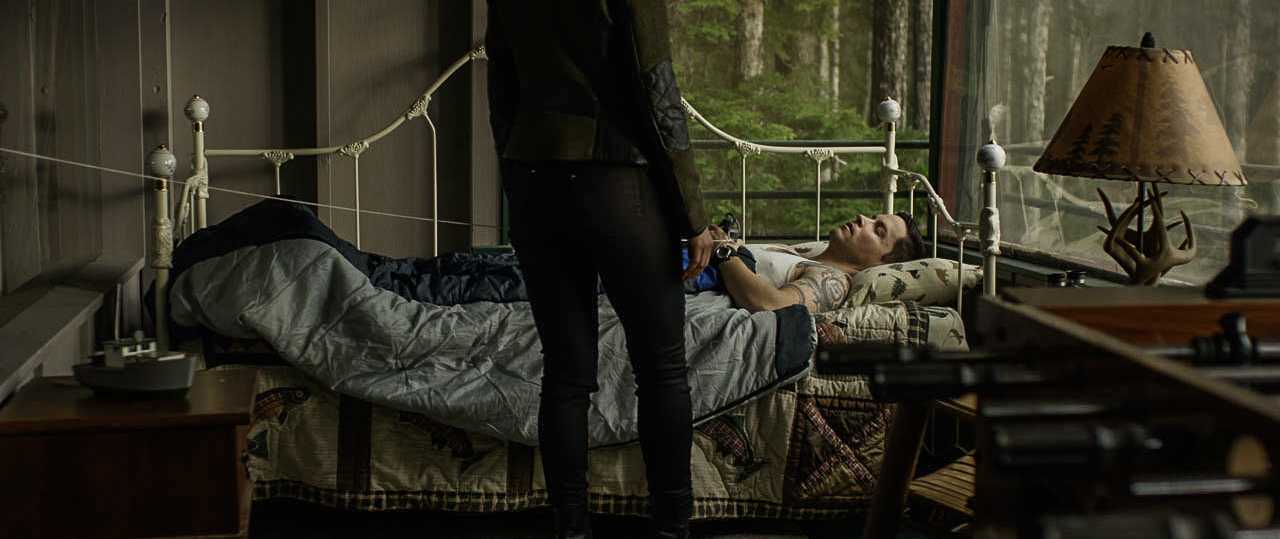
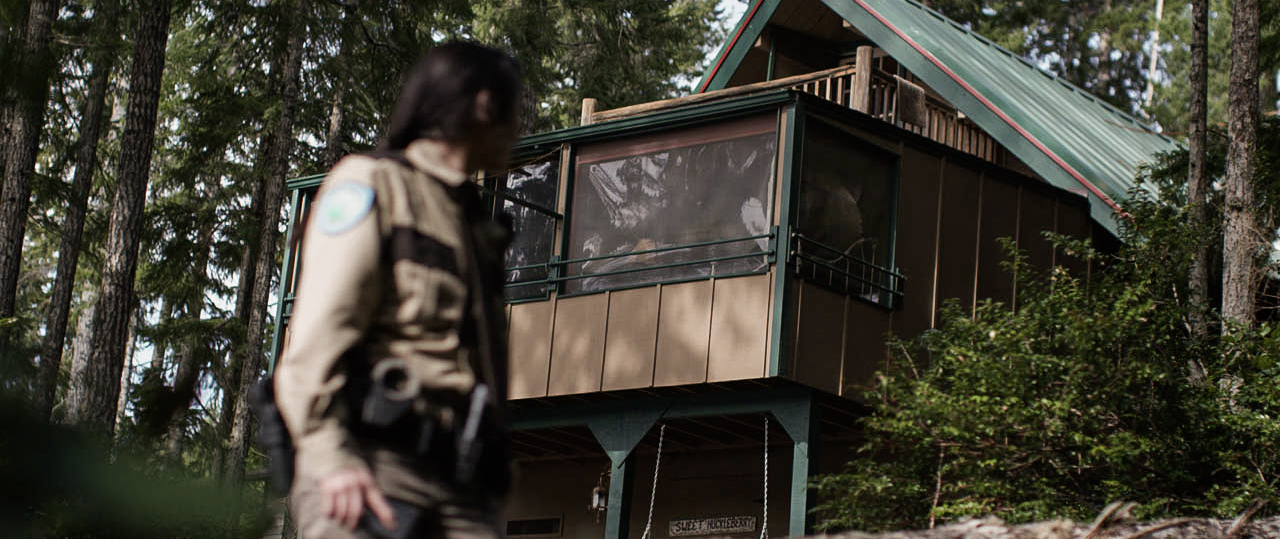
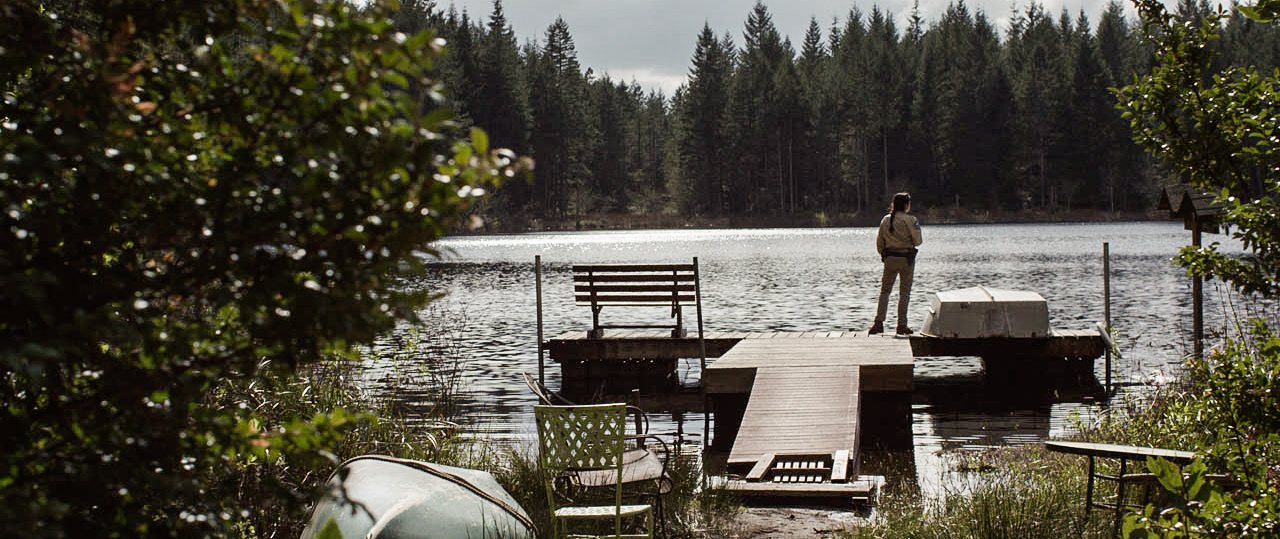
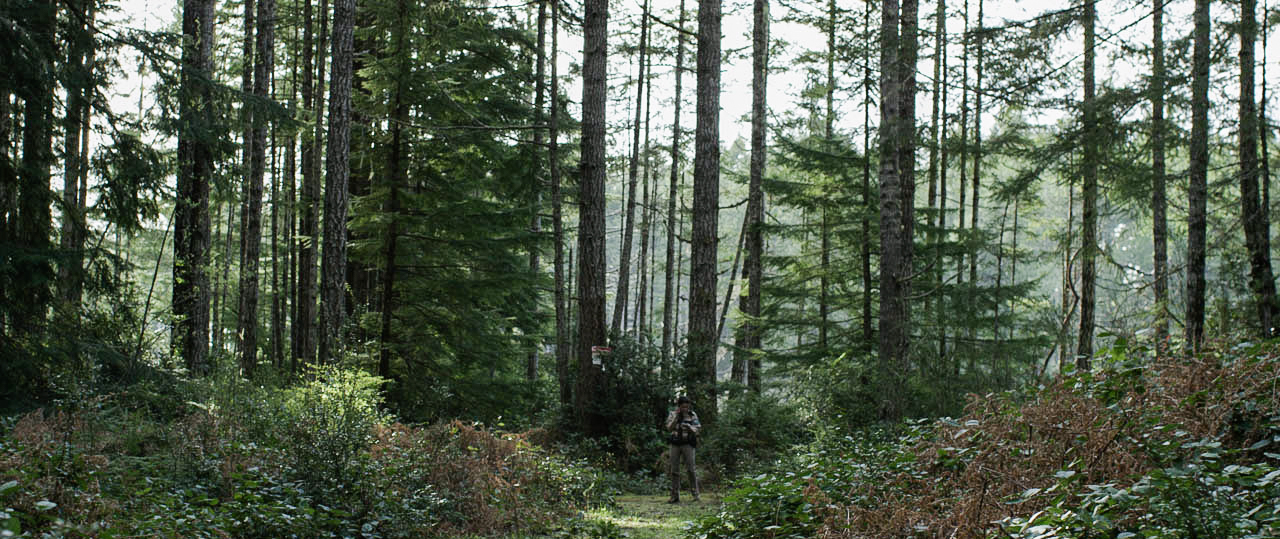
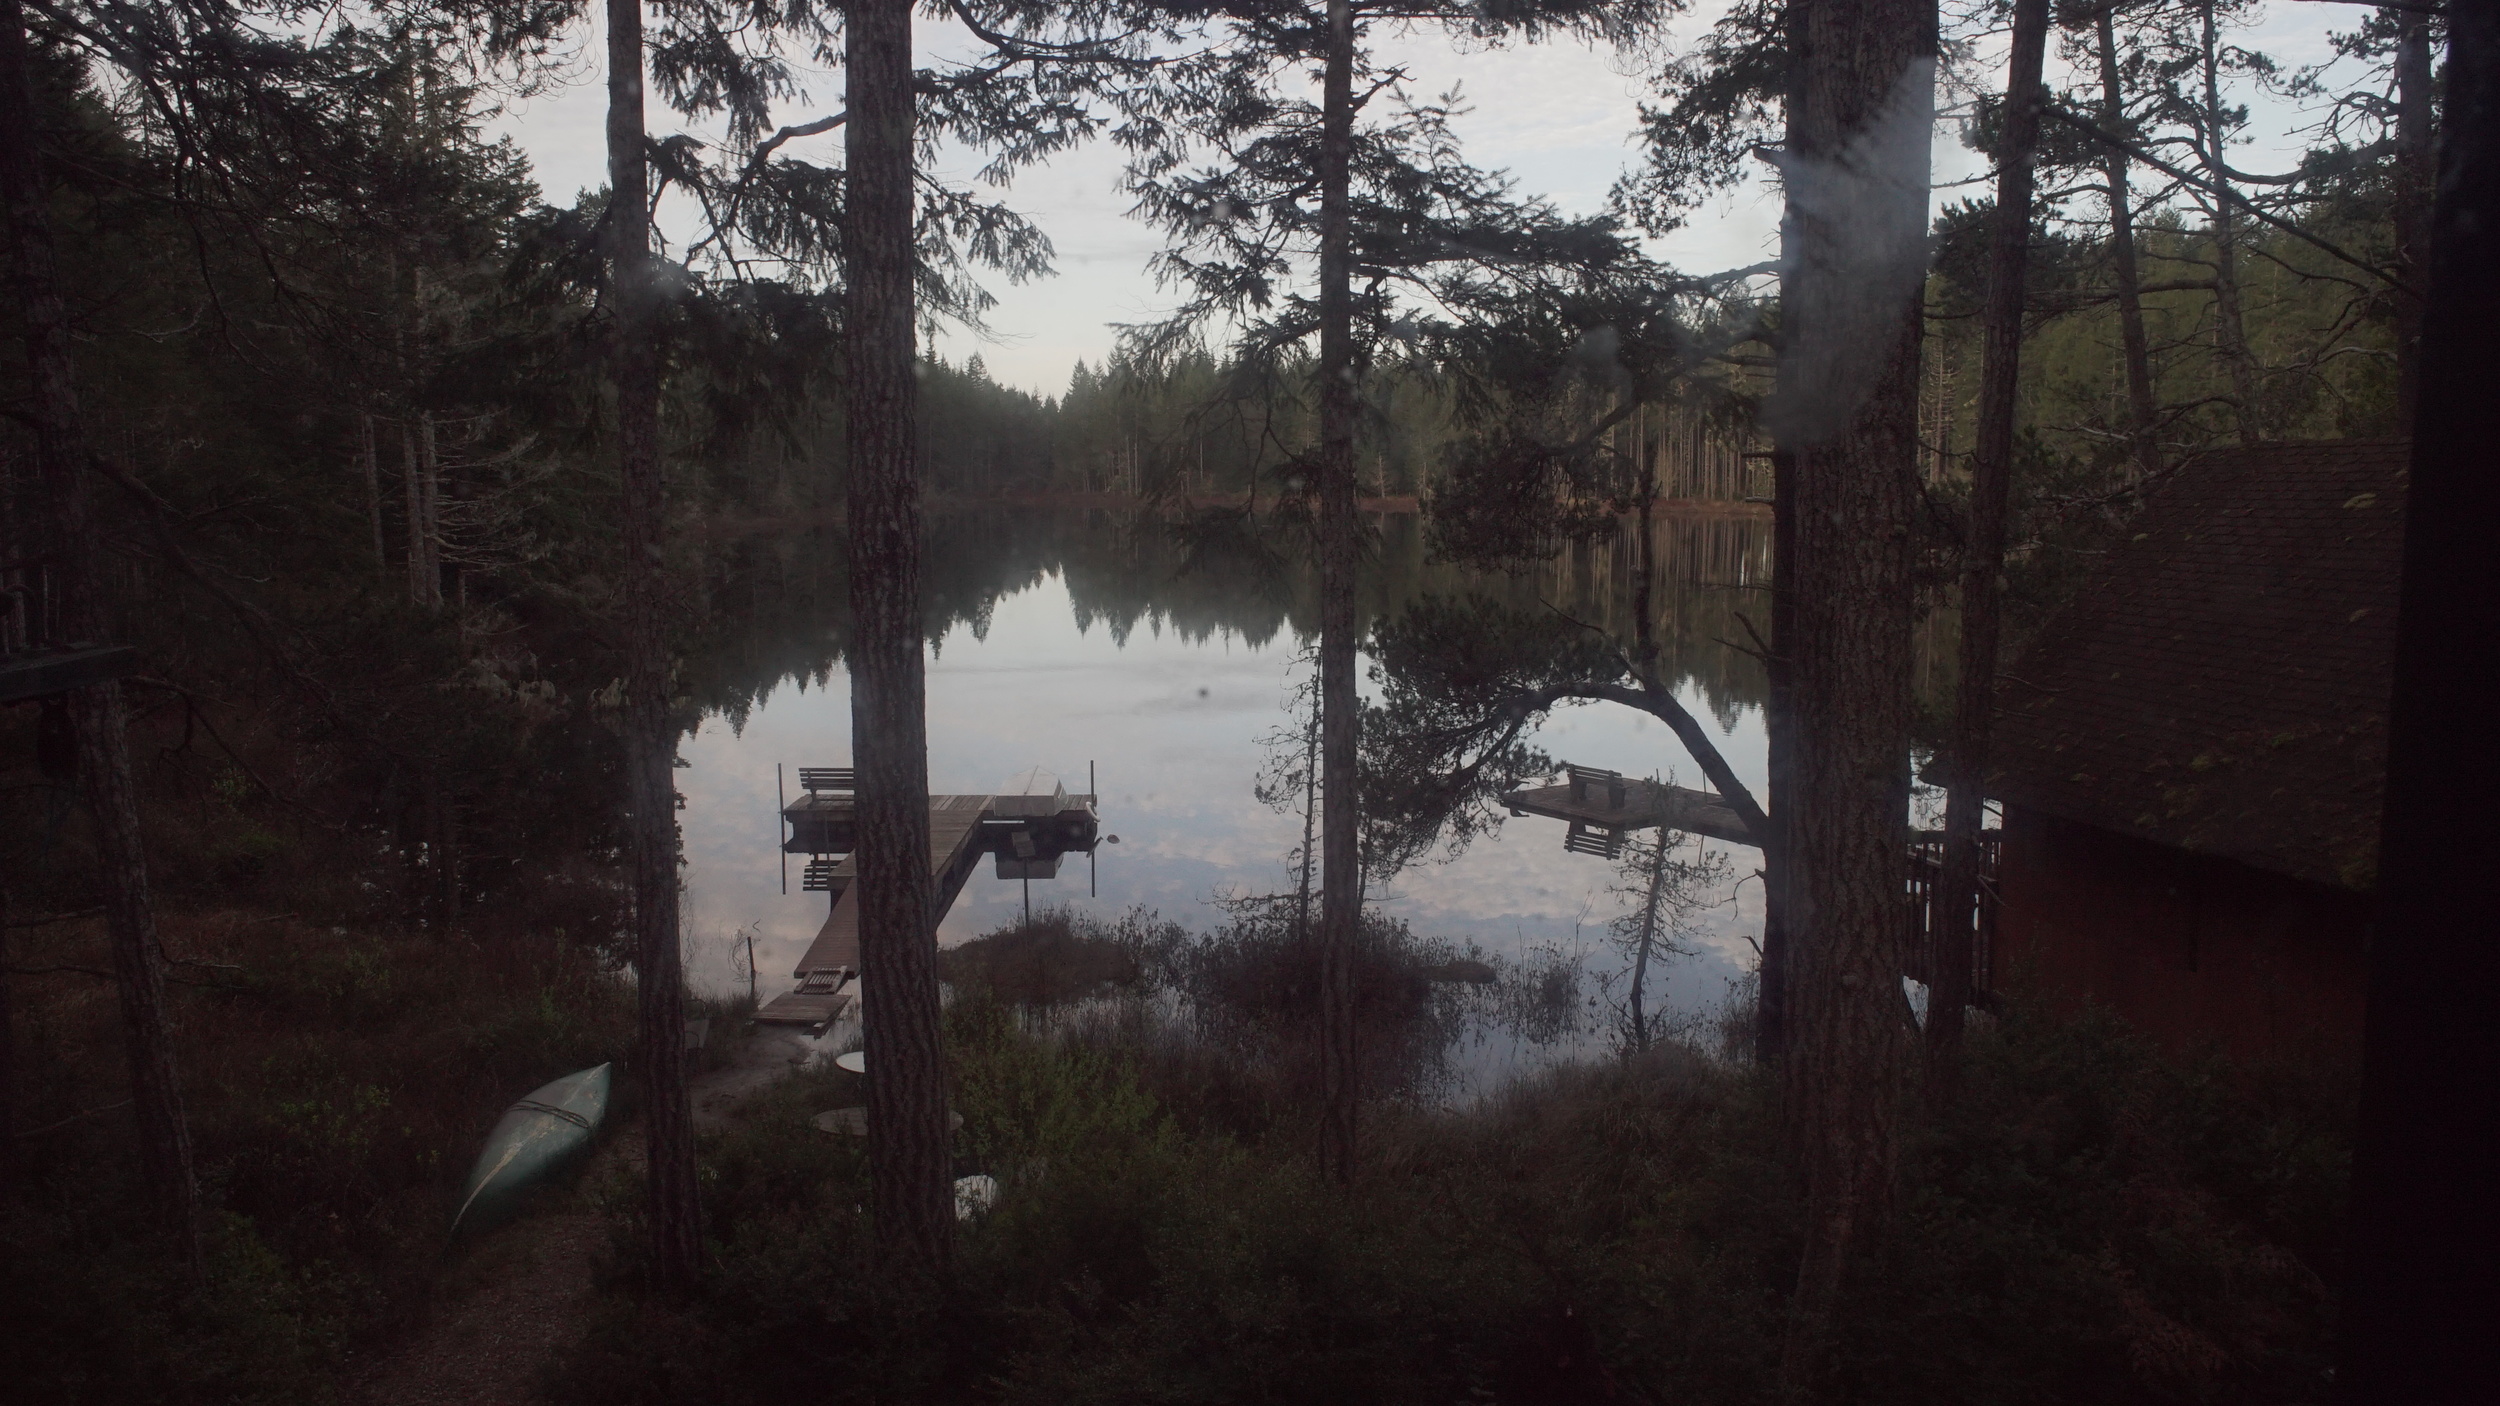
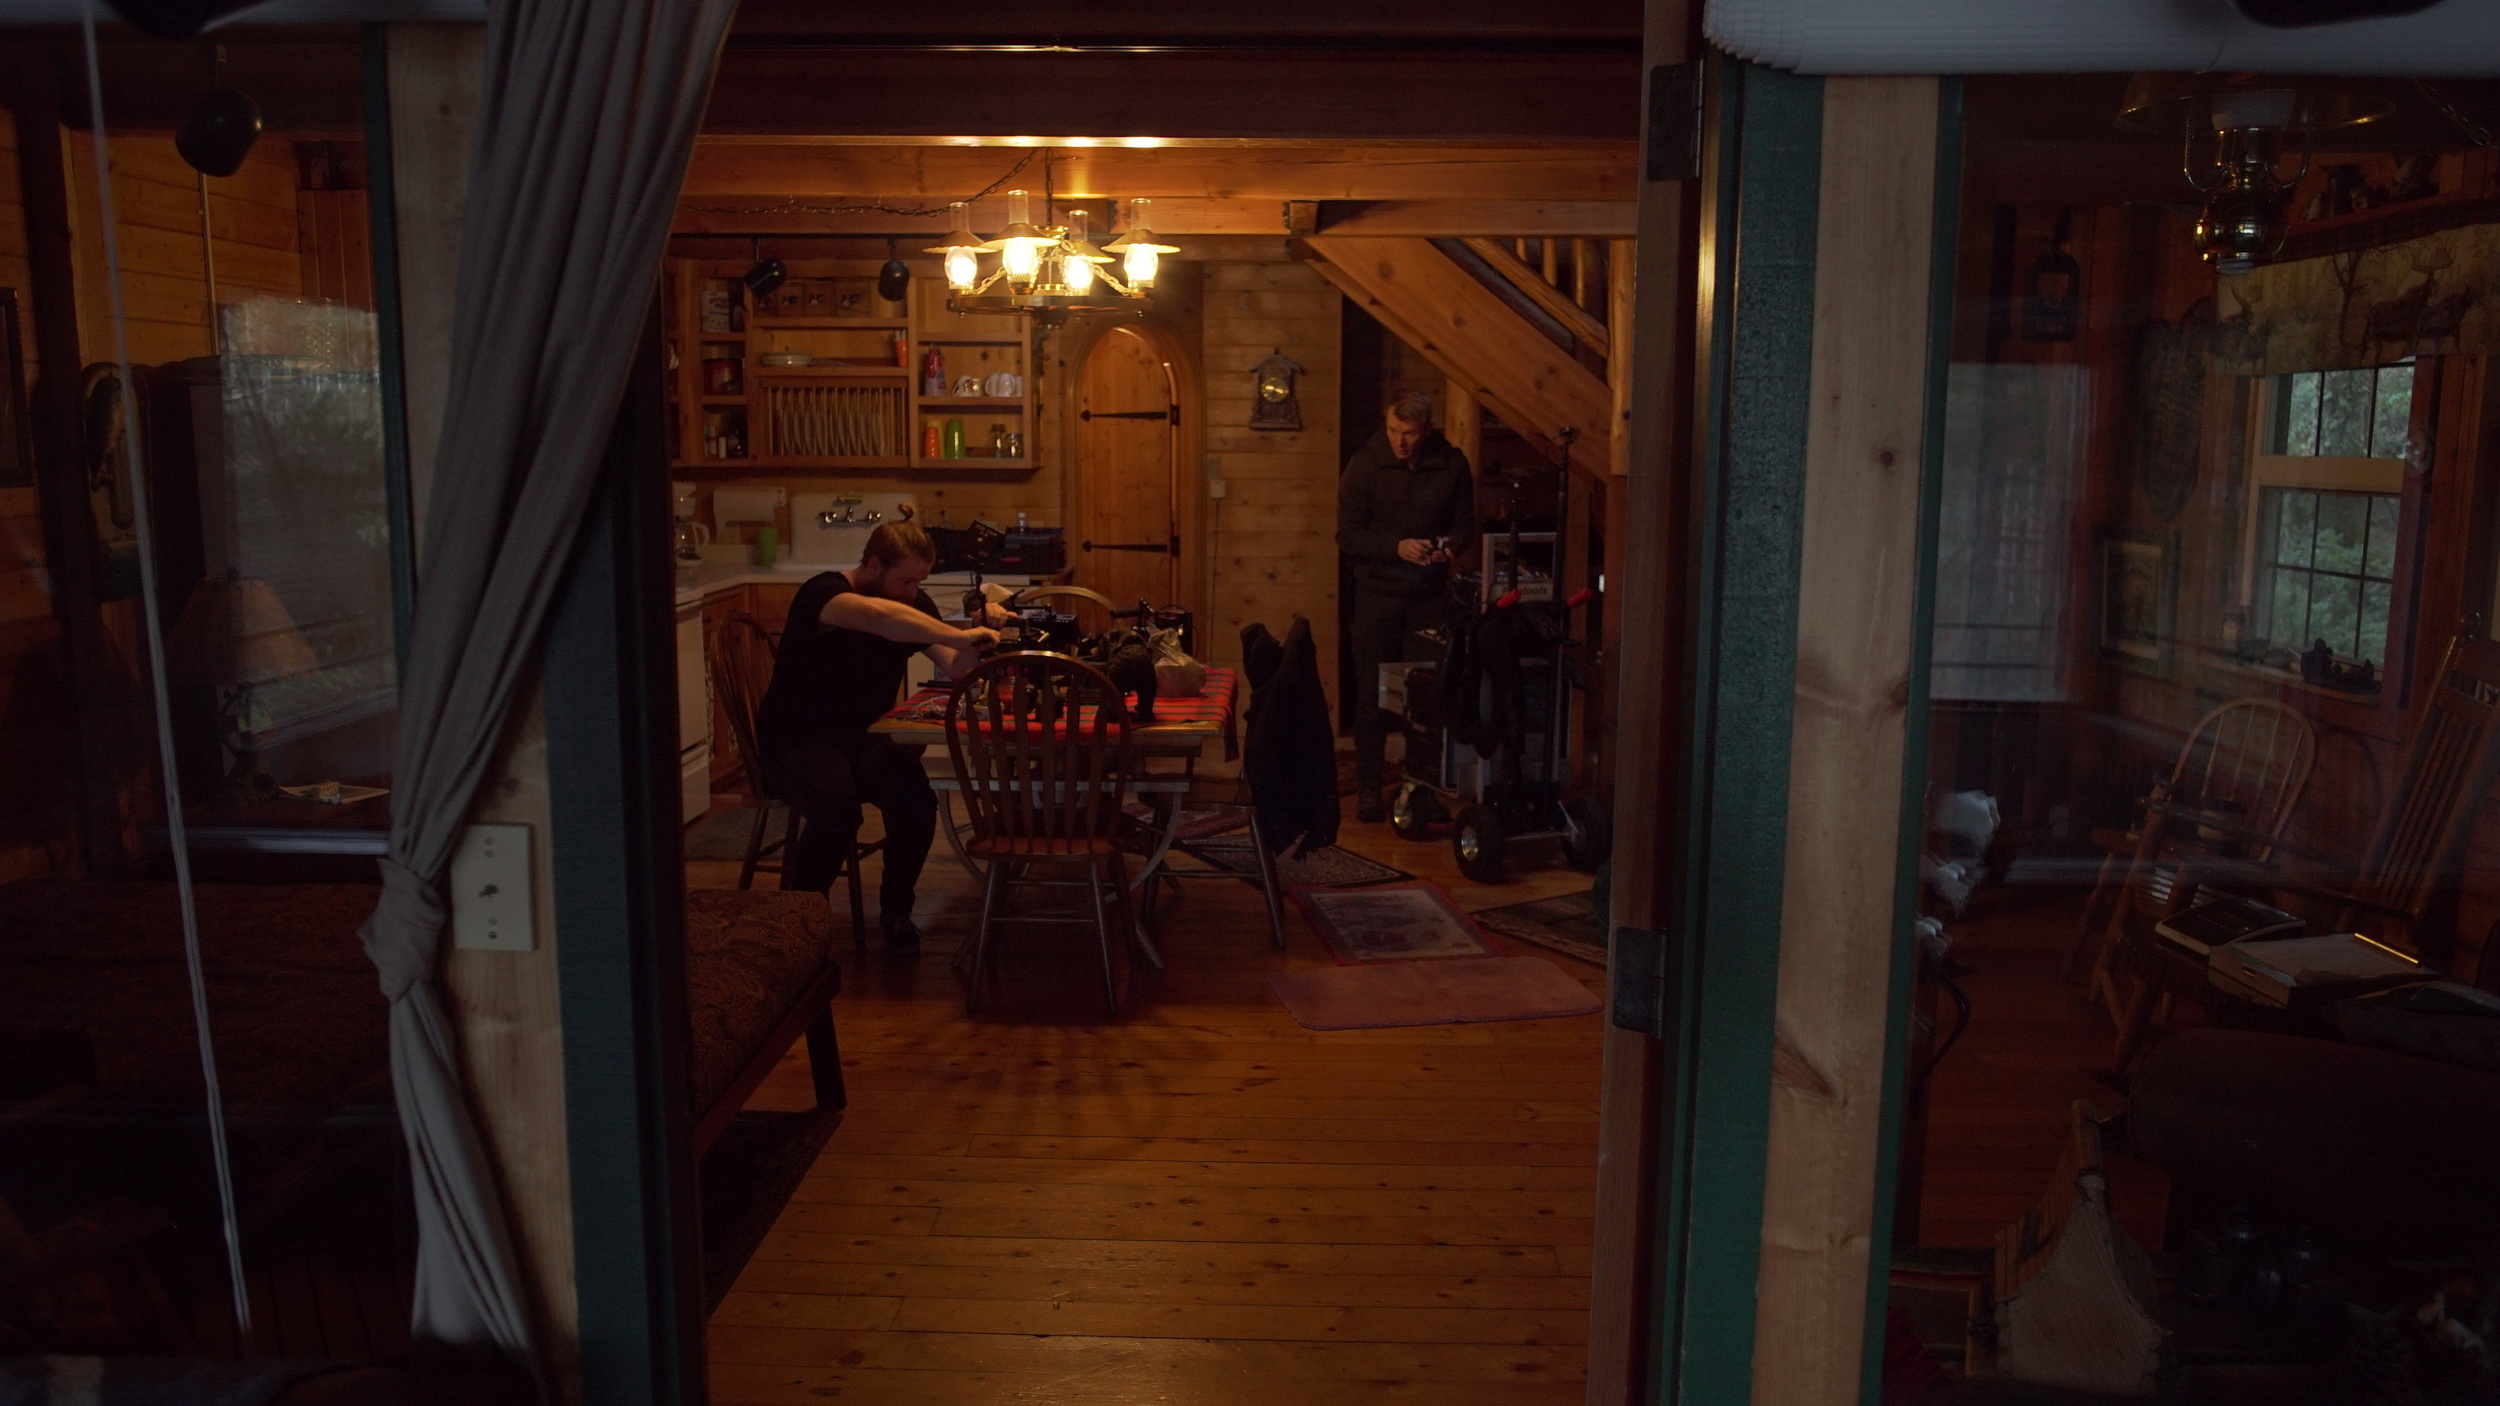
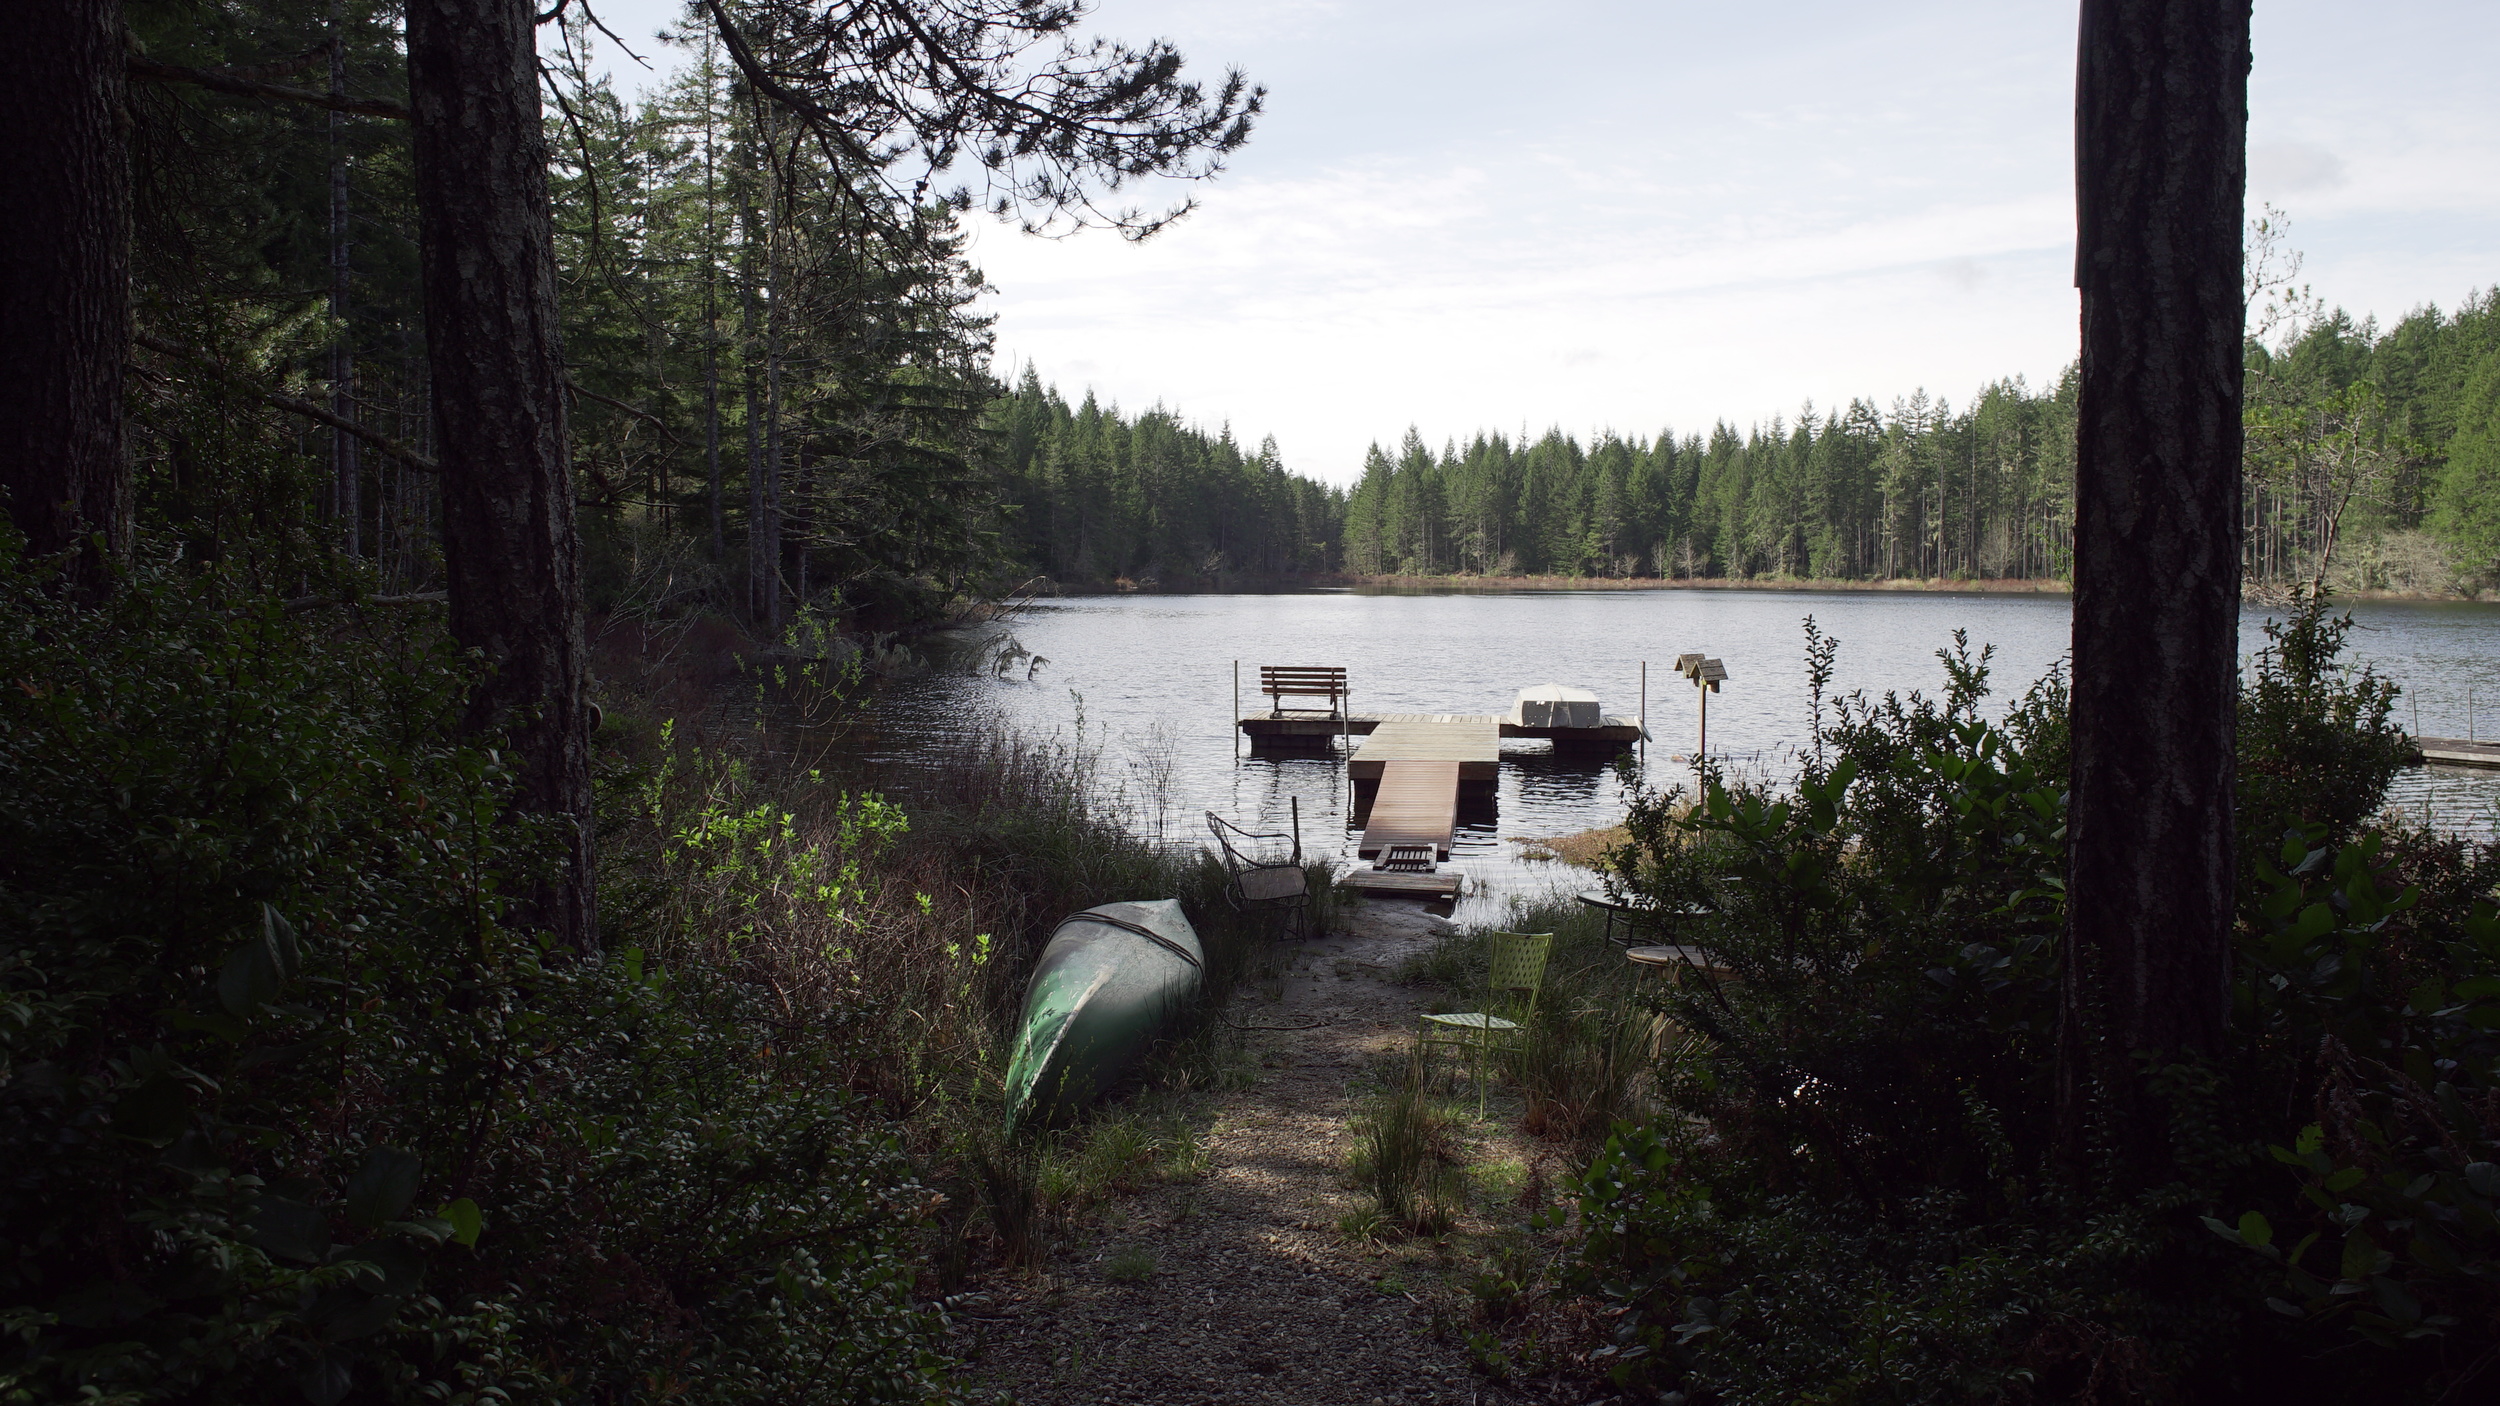
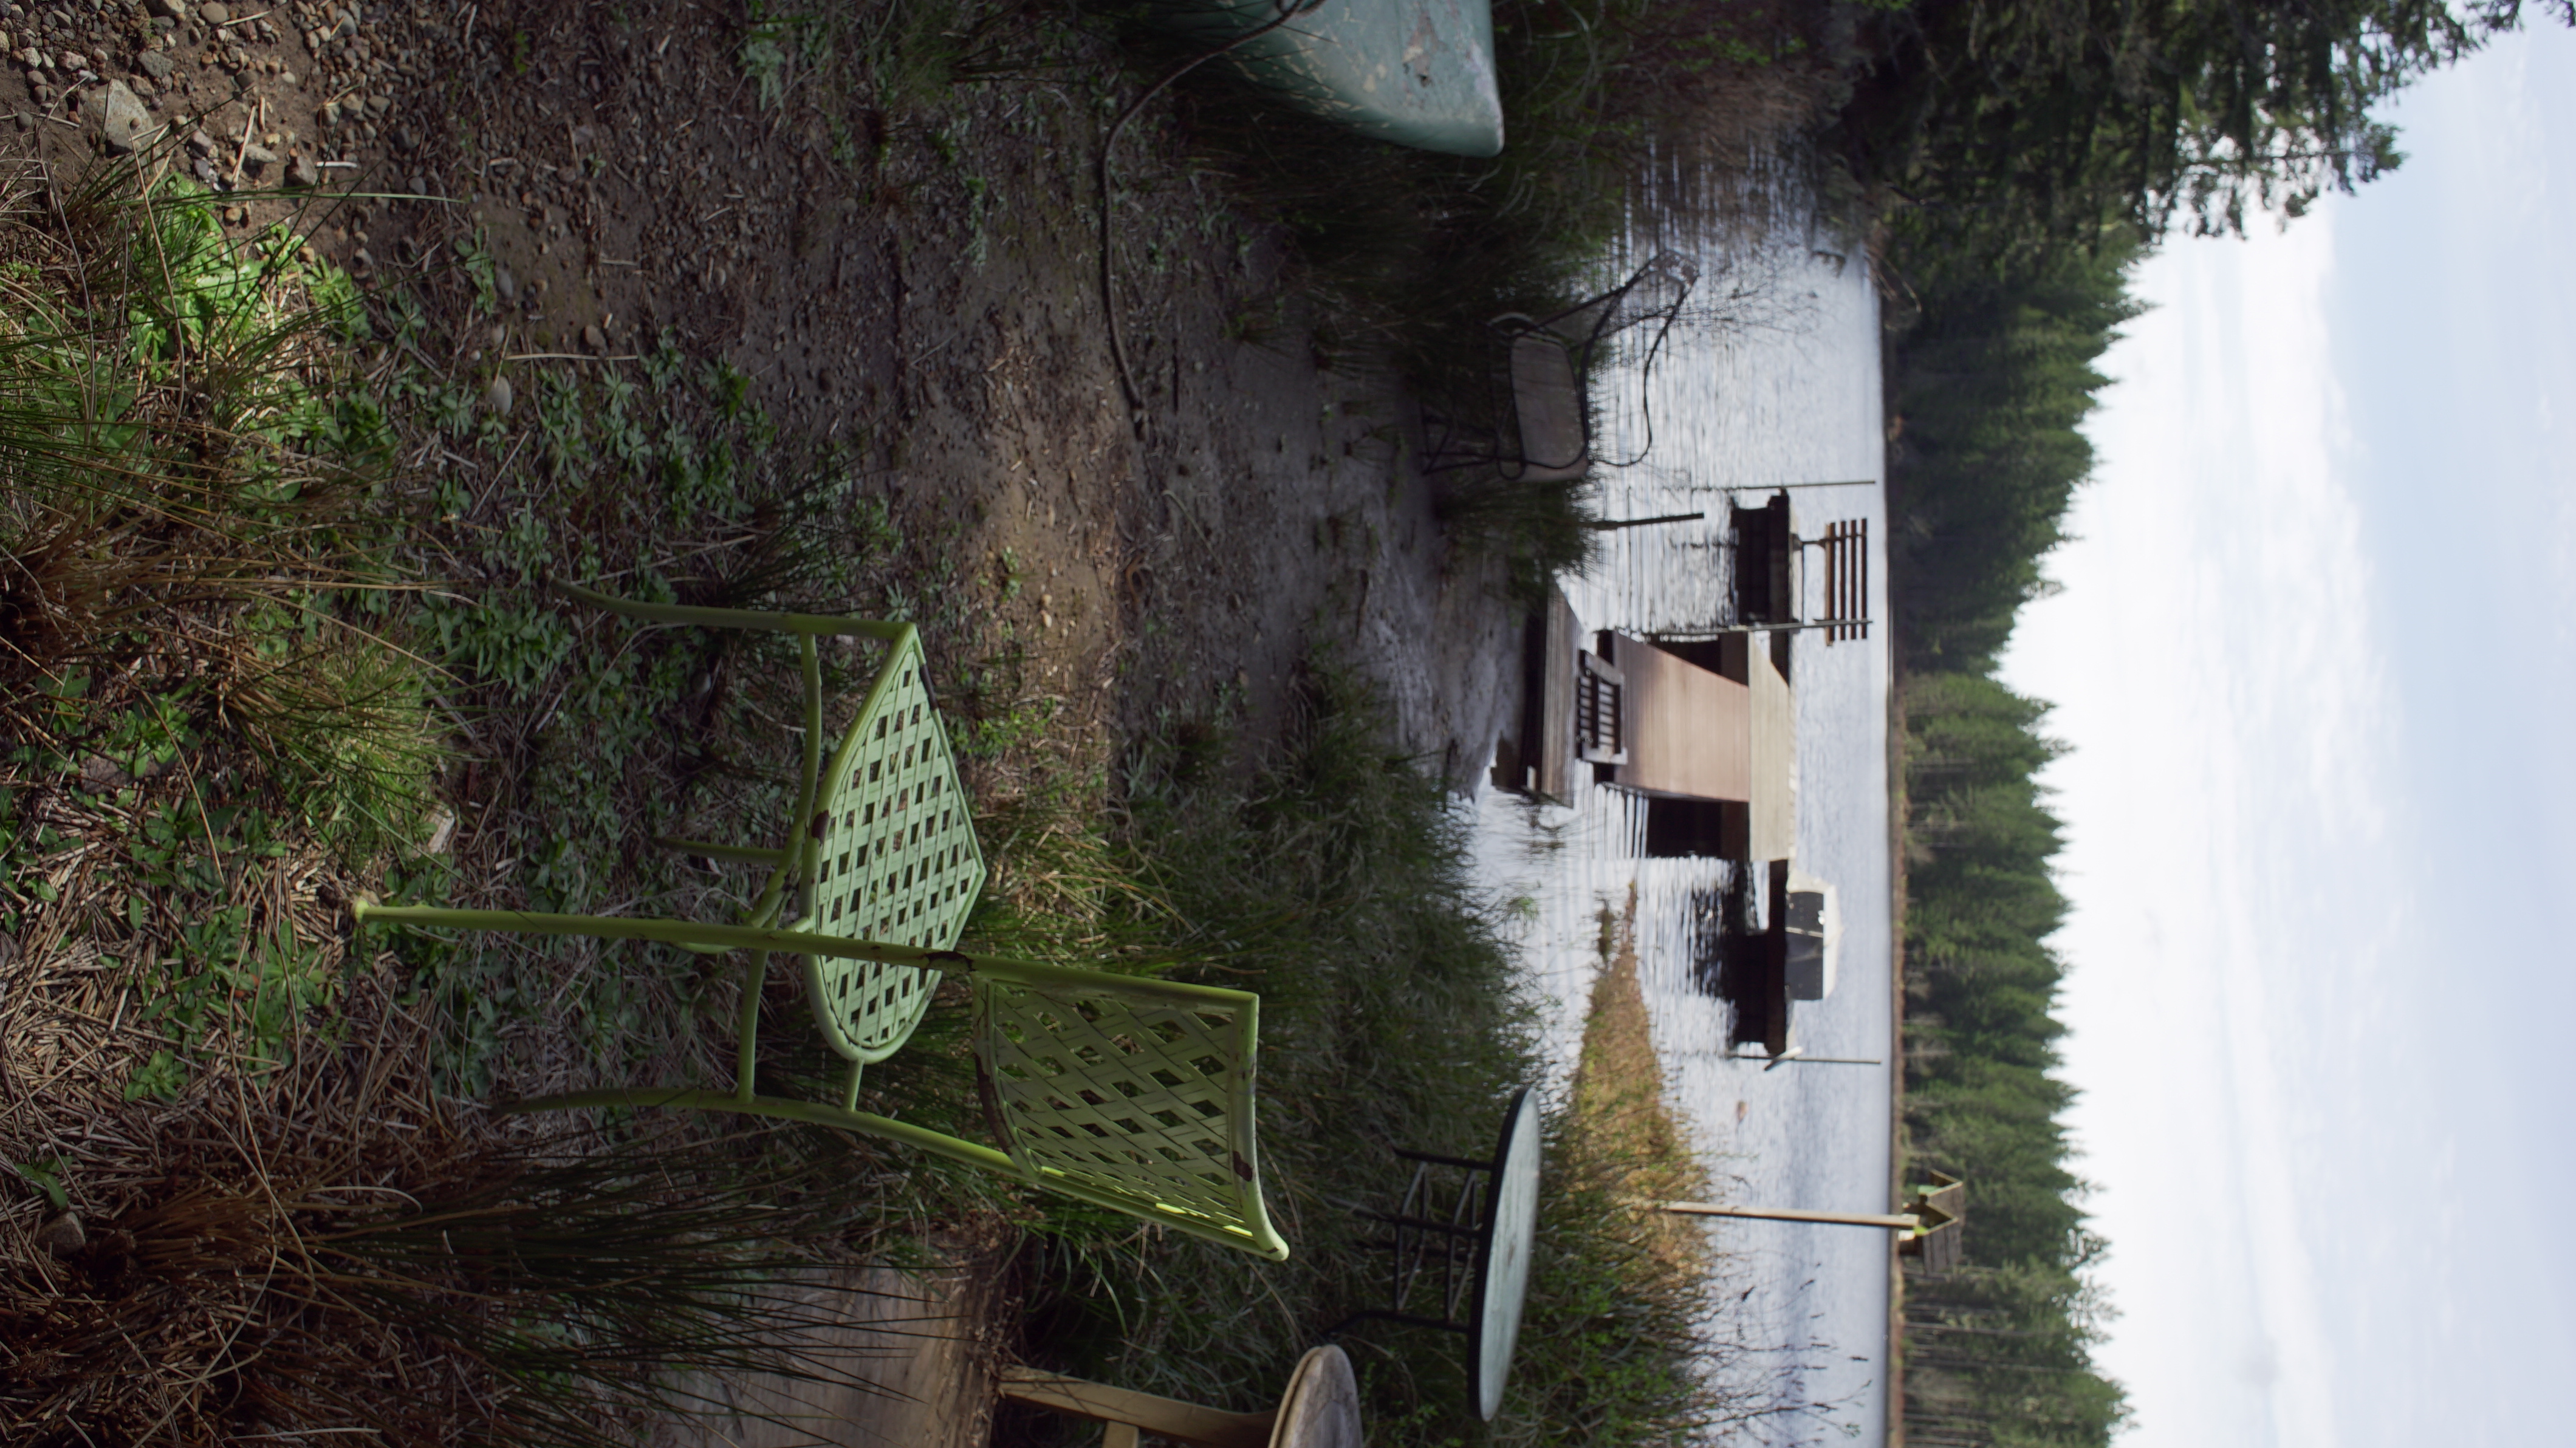
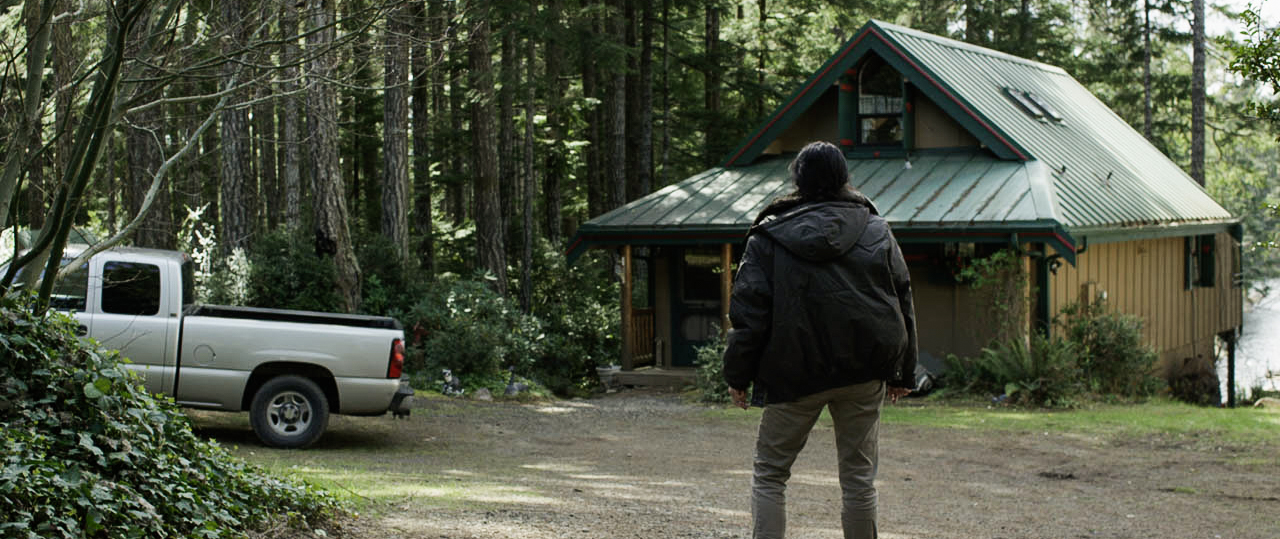
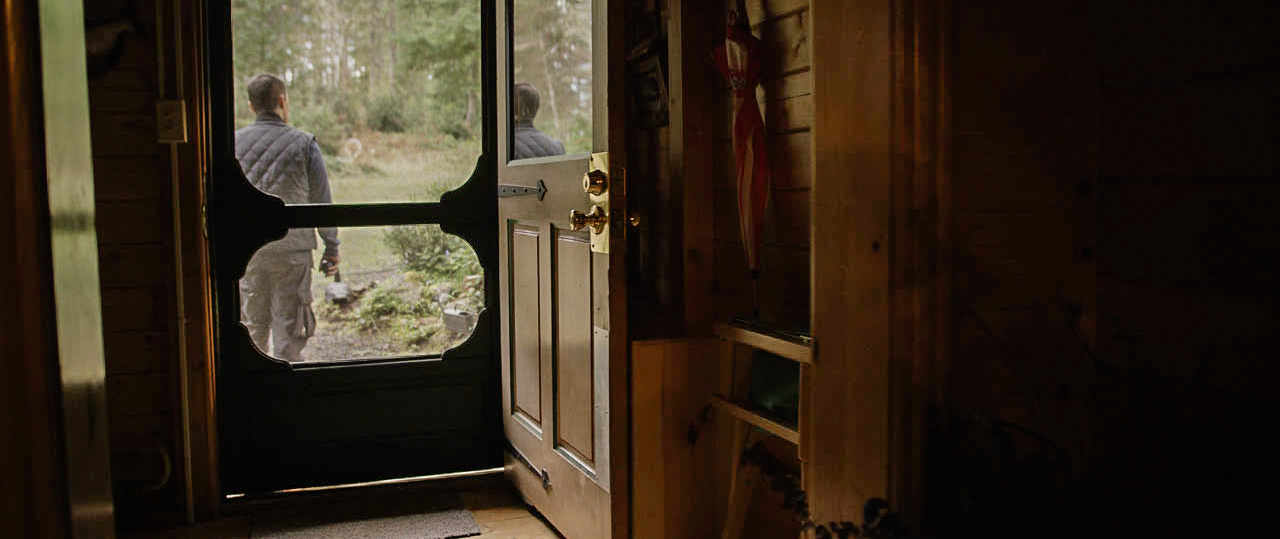
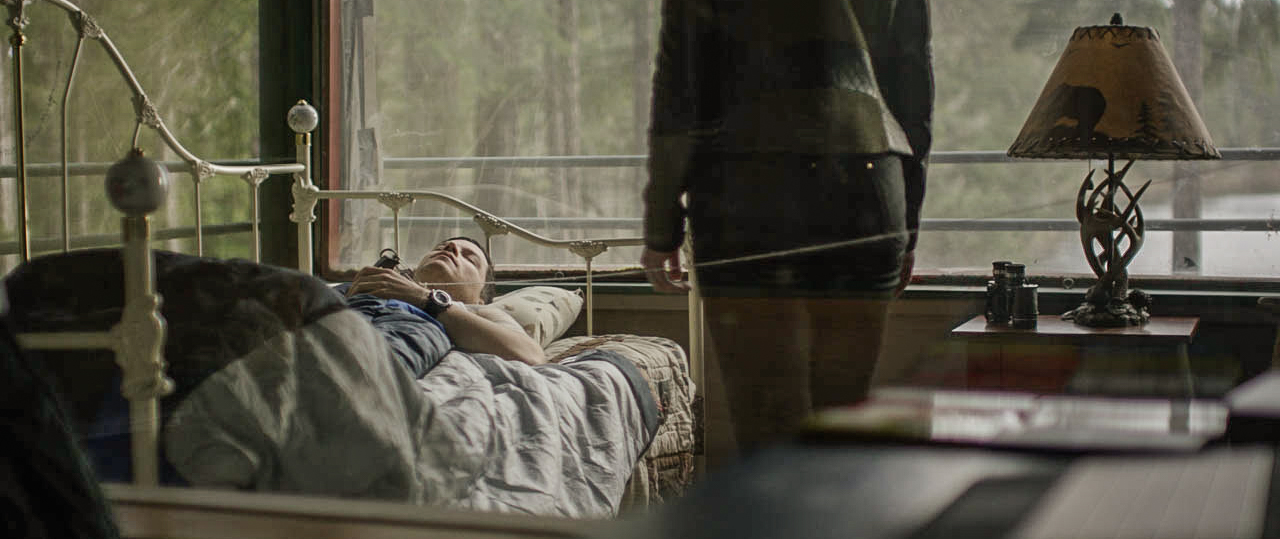
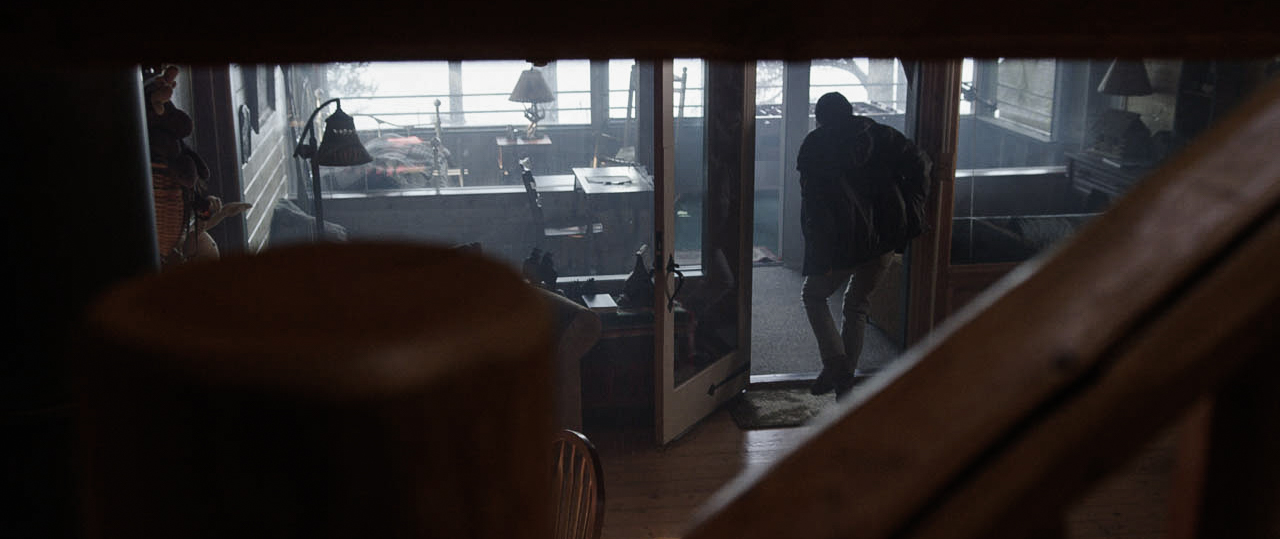
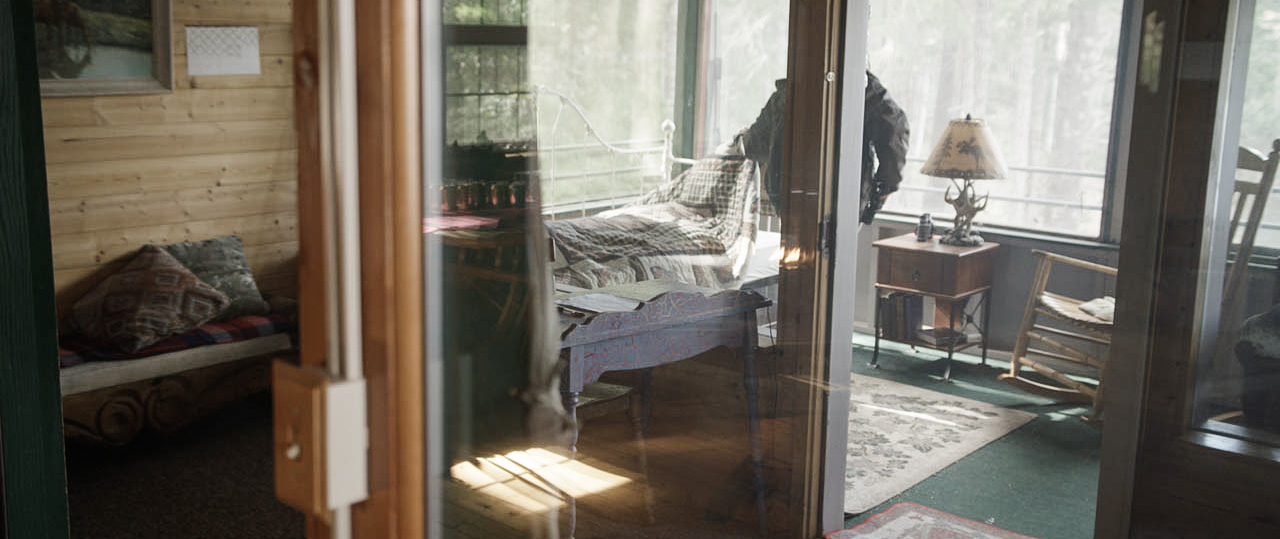
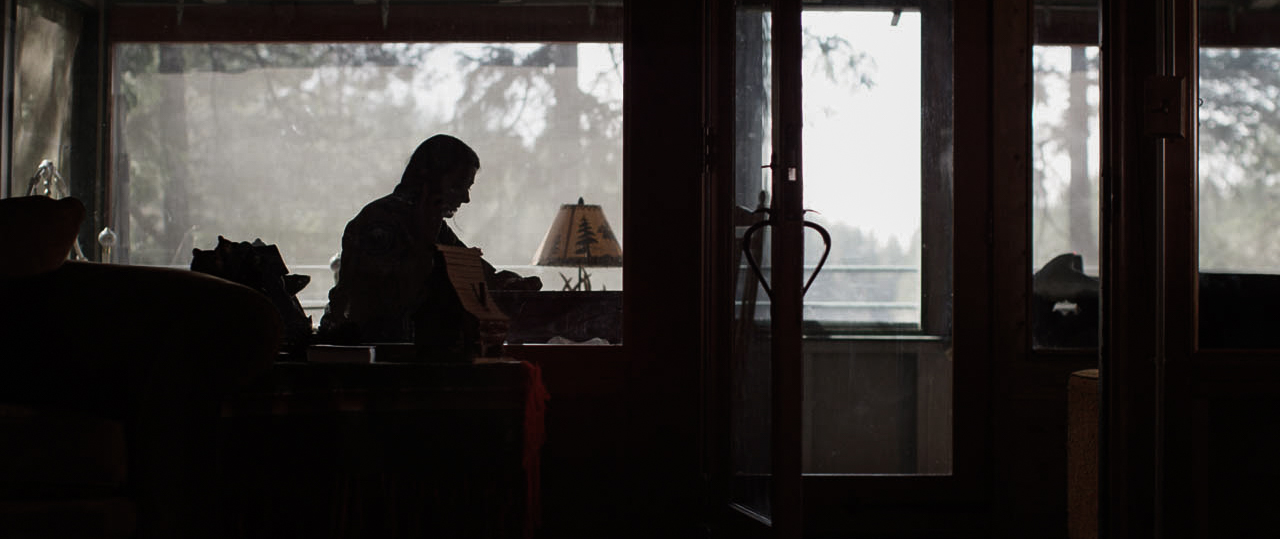
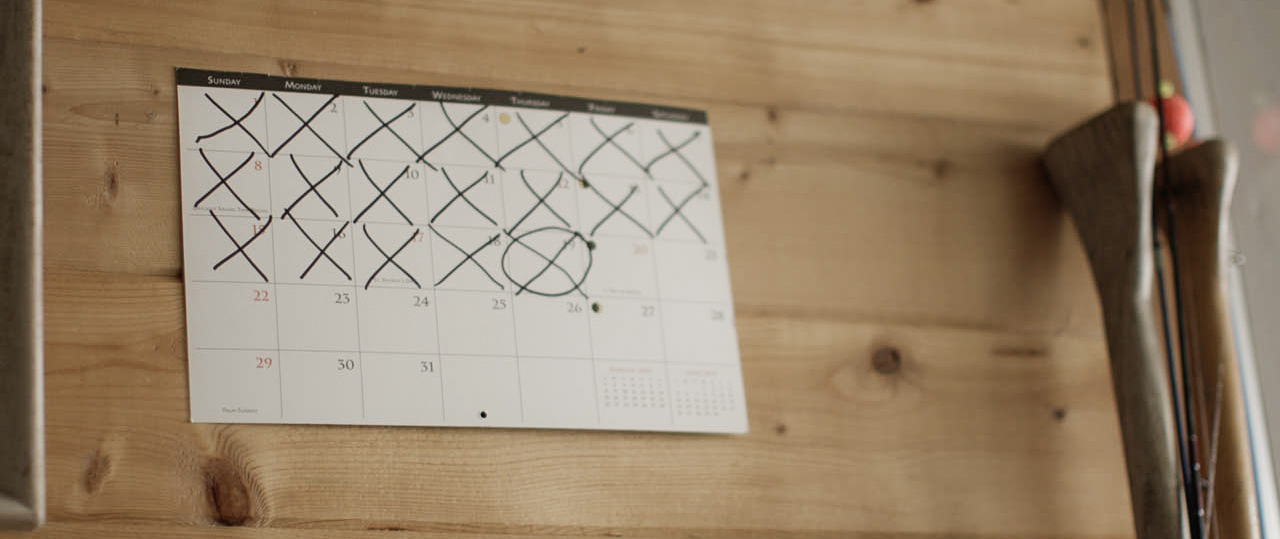
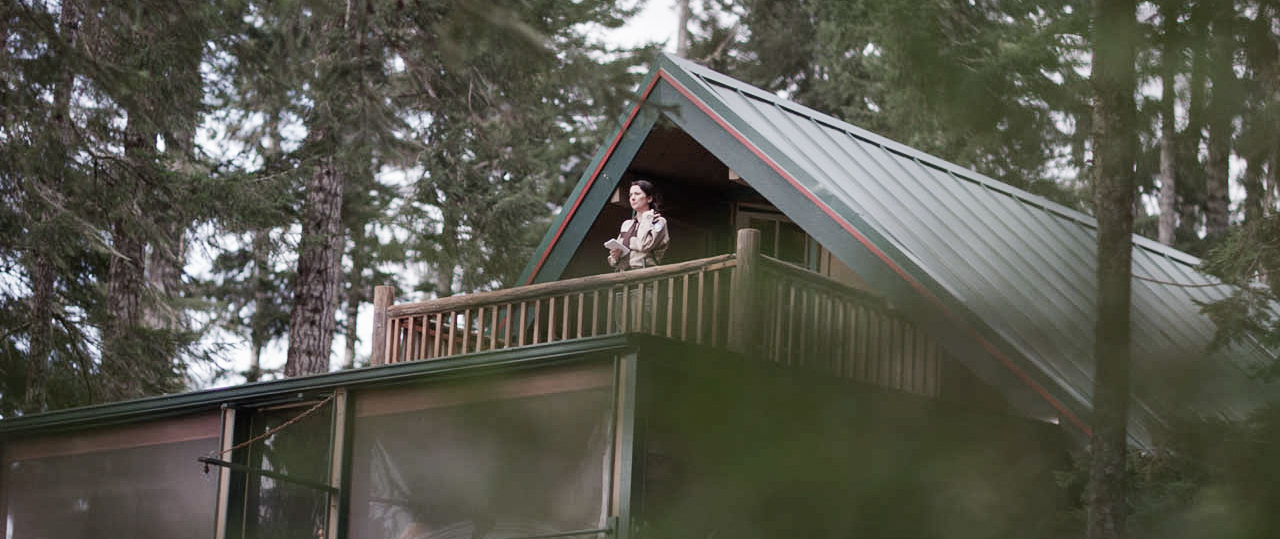
Now the production had three main legs. 1 part local to Seattle, 1 part taking place at a cabin about 100 miles from Seattle, and 1 part taking place near the Columbia river at a winery. Now about the logistics. Joey had mentioned that there are almost no scenes at night and that we had almost 100 percent daylight scenes. Now controlling daylight is a lot harder in my opinion than starting from dark and lighting things up, so I knew my Gaffer Casey Schmidt and I would be in for a real challenge given our crew size and how fast we needed to go. So we decided to approach this a bit like "Dallas Buyers Club" and try a very naturally lit approach for most of the movie. Now another real big curveball was that Joey had mentioned that for the cabin interiors, Carson, our main character would not really be using any lights or power while he was inhabiting the cabin. That really made us have to think our approach to all the scenes shot there since soooo much of the script was in that location. So what to do?
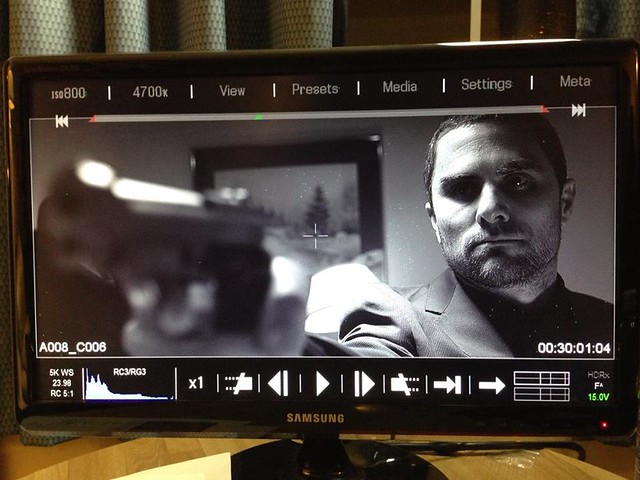
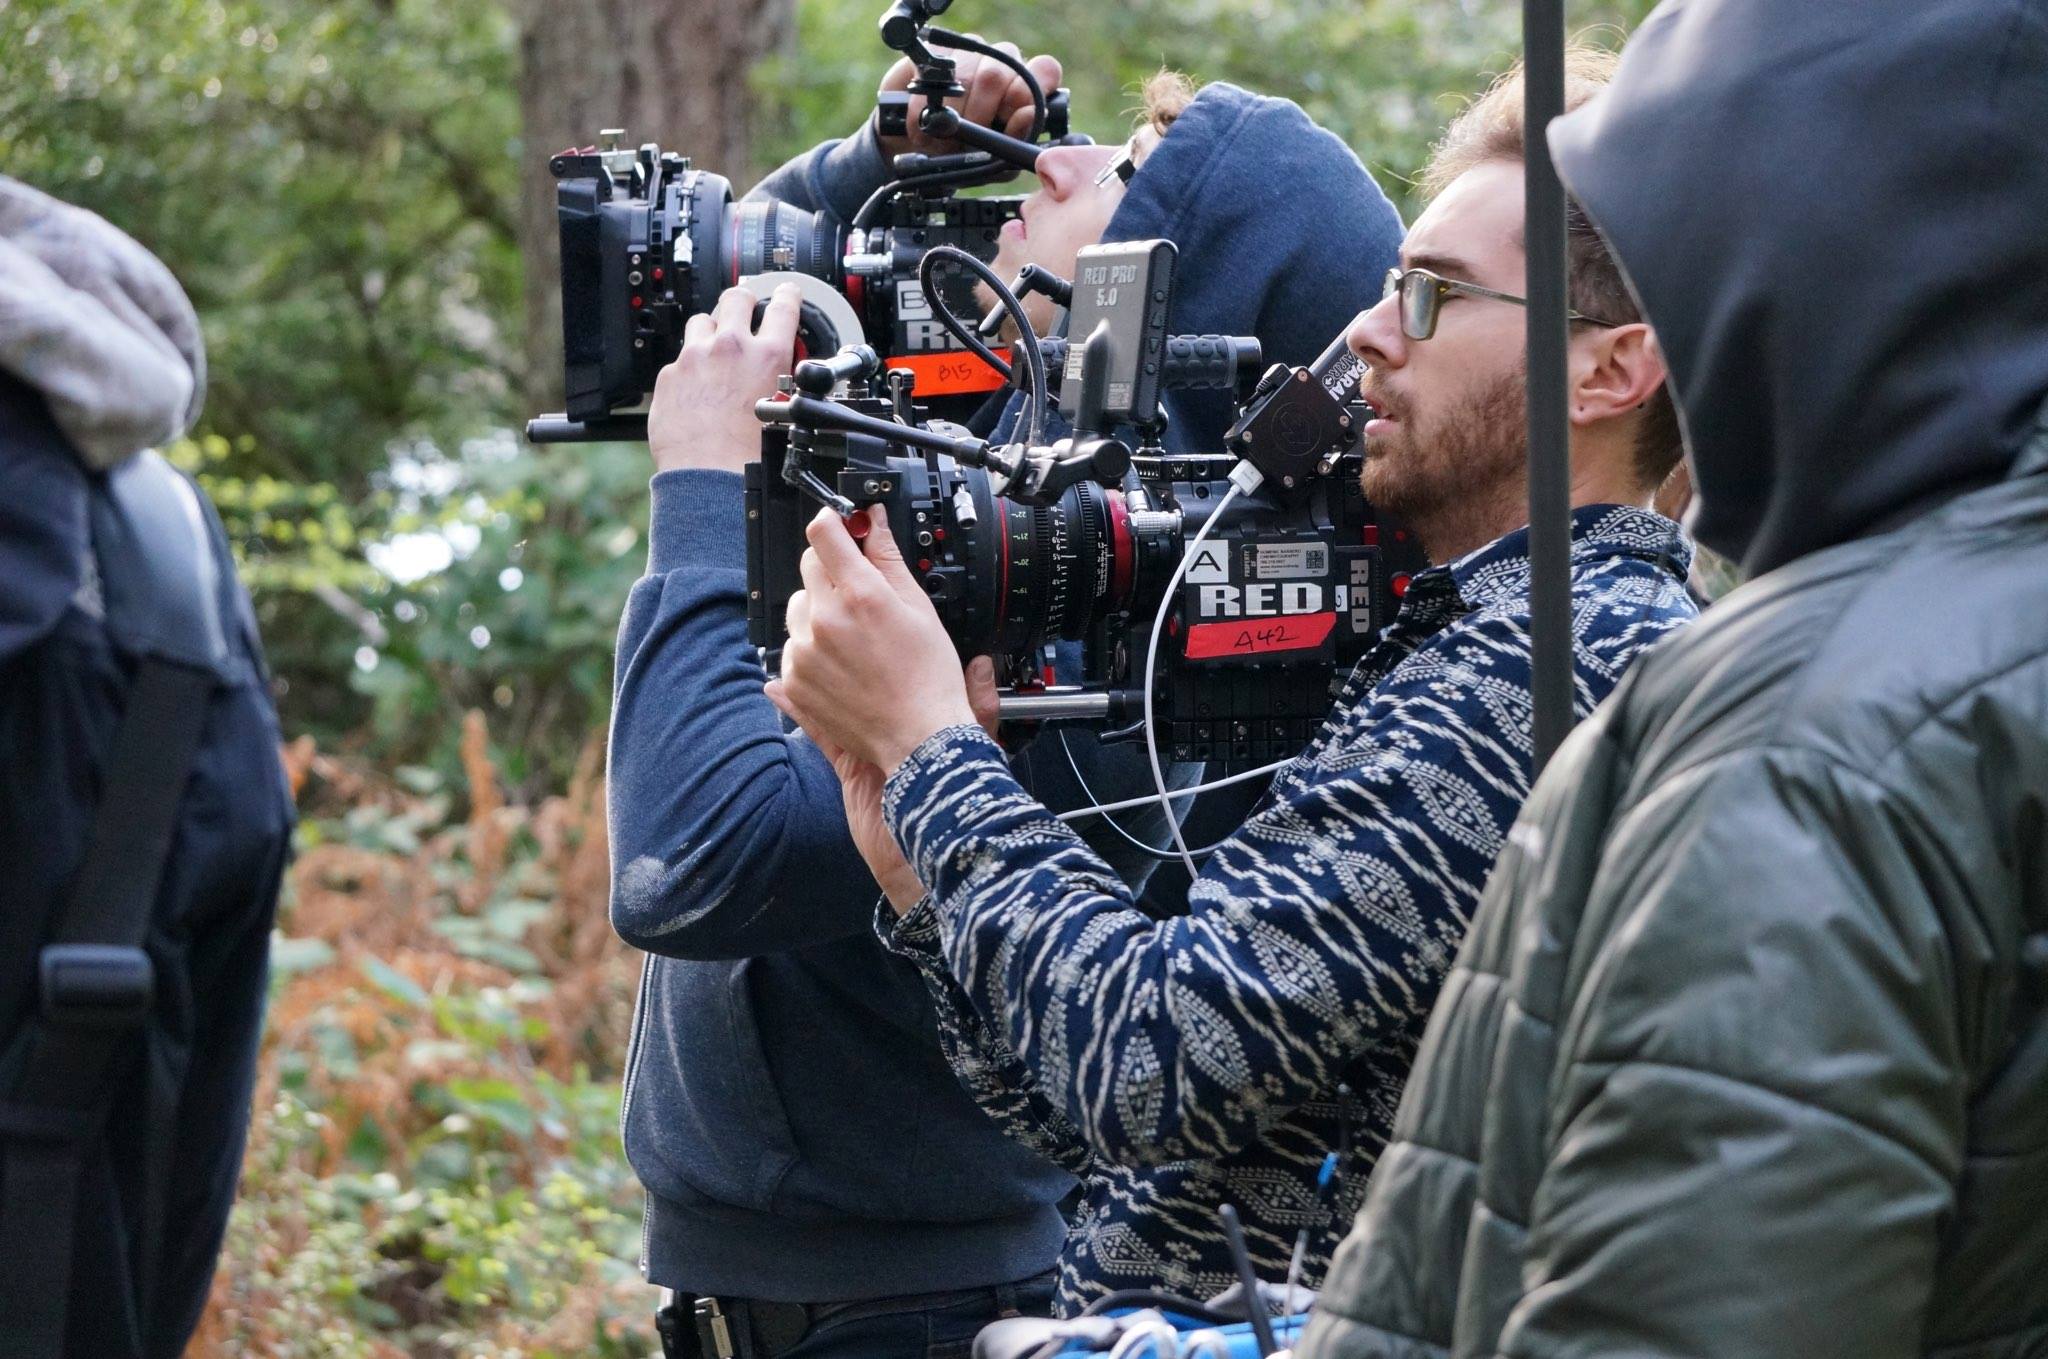
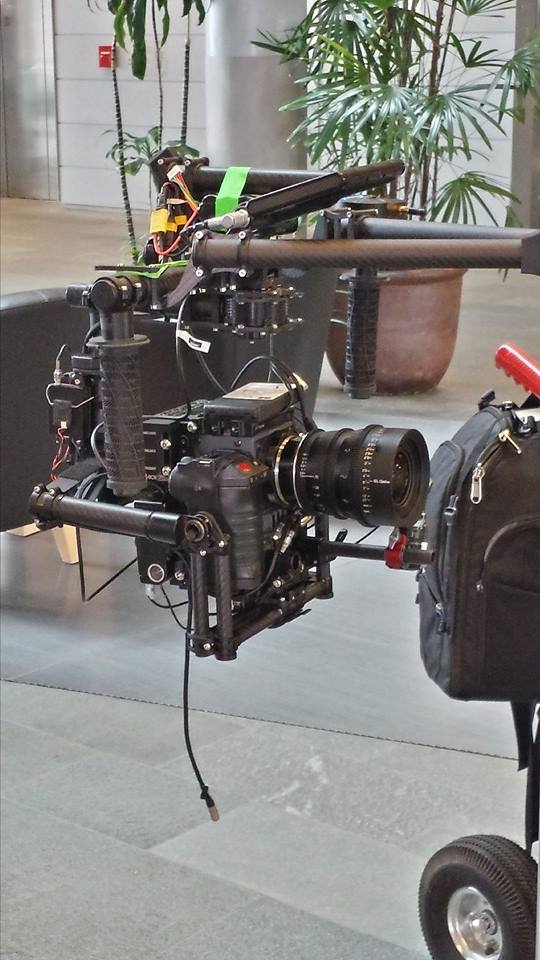
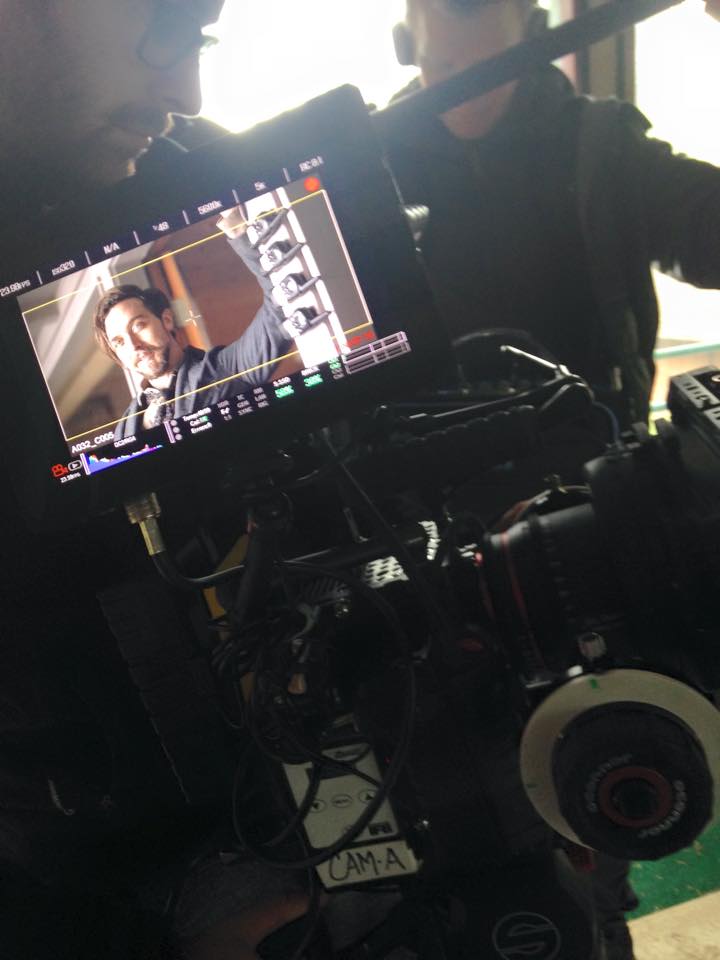
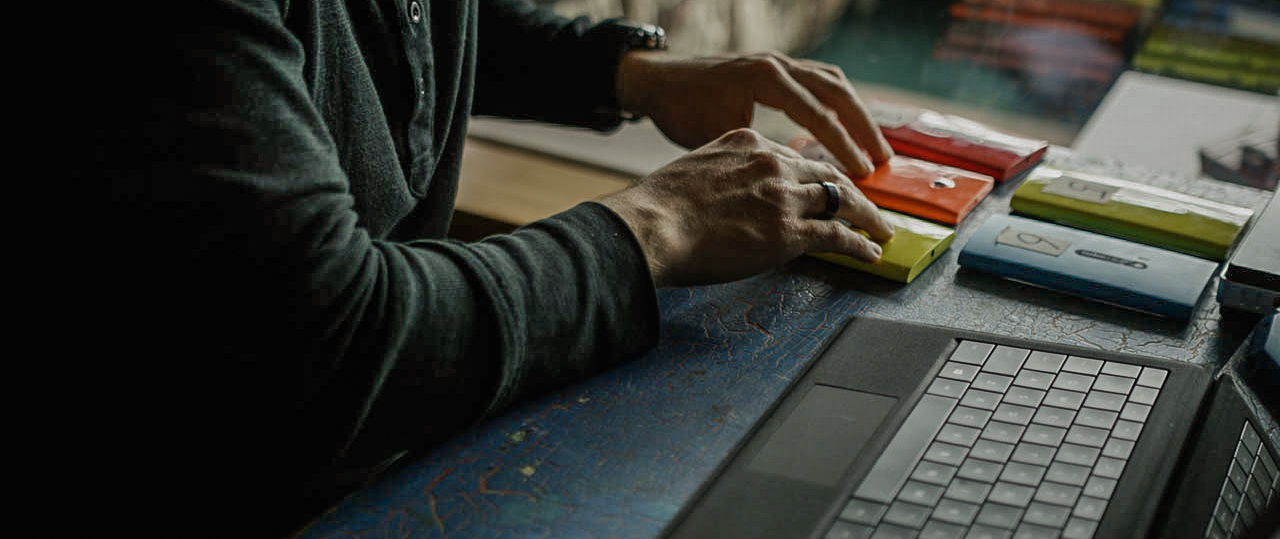
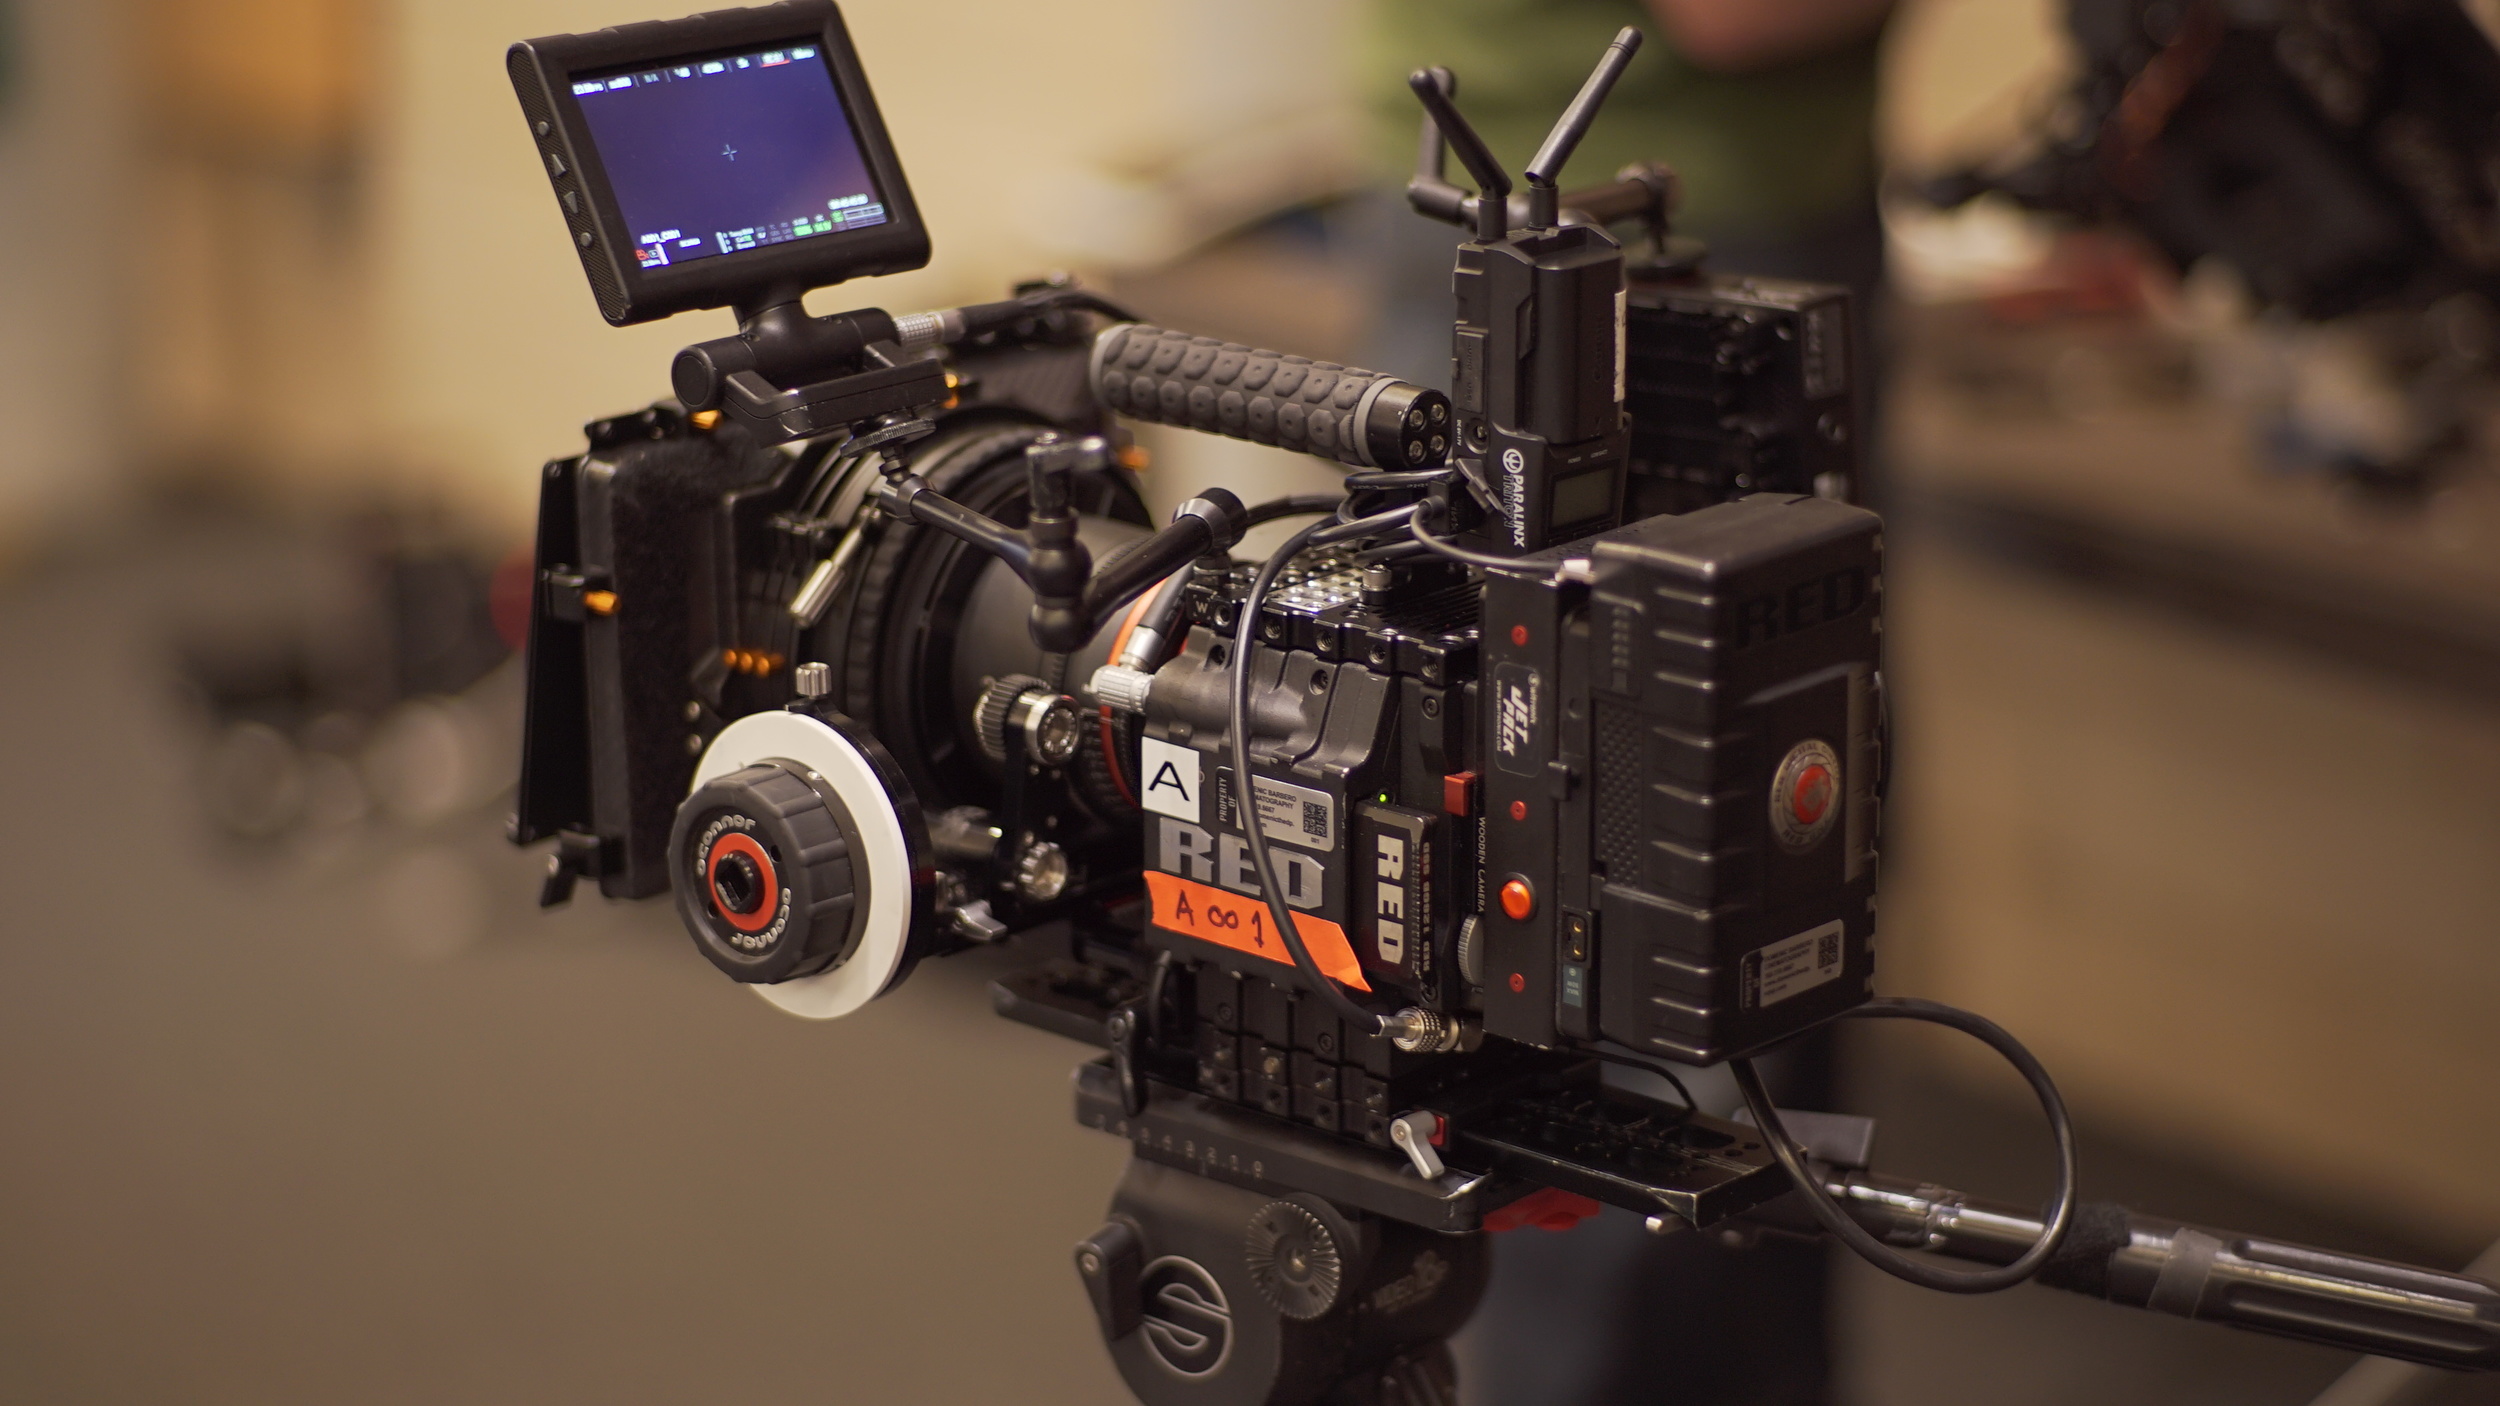
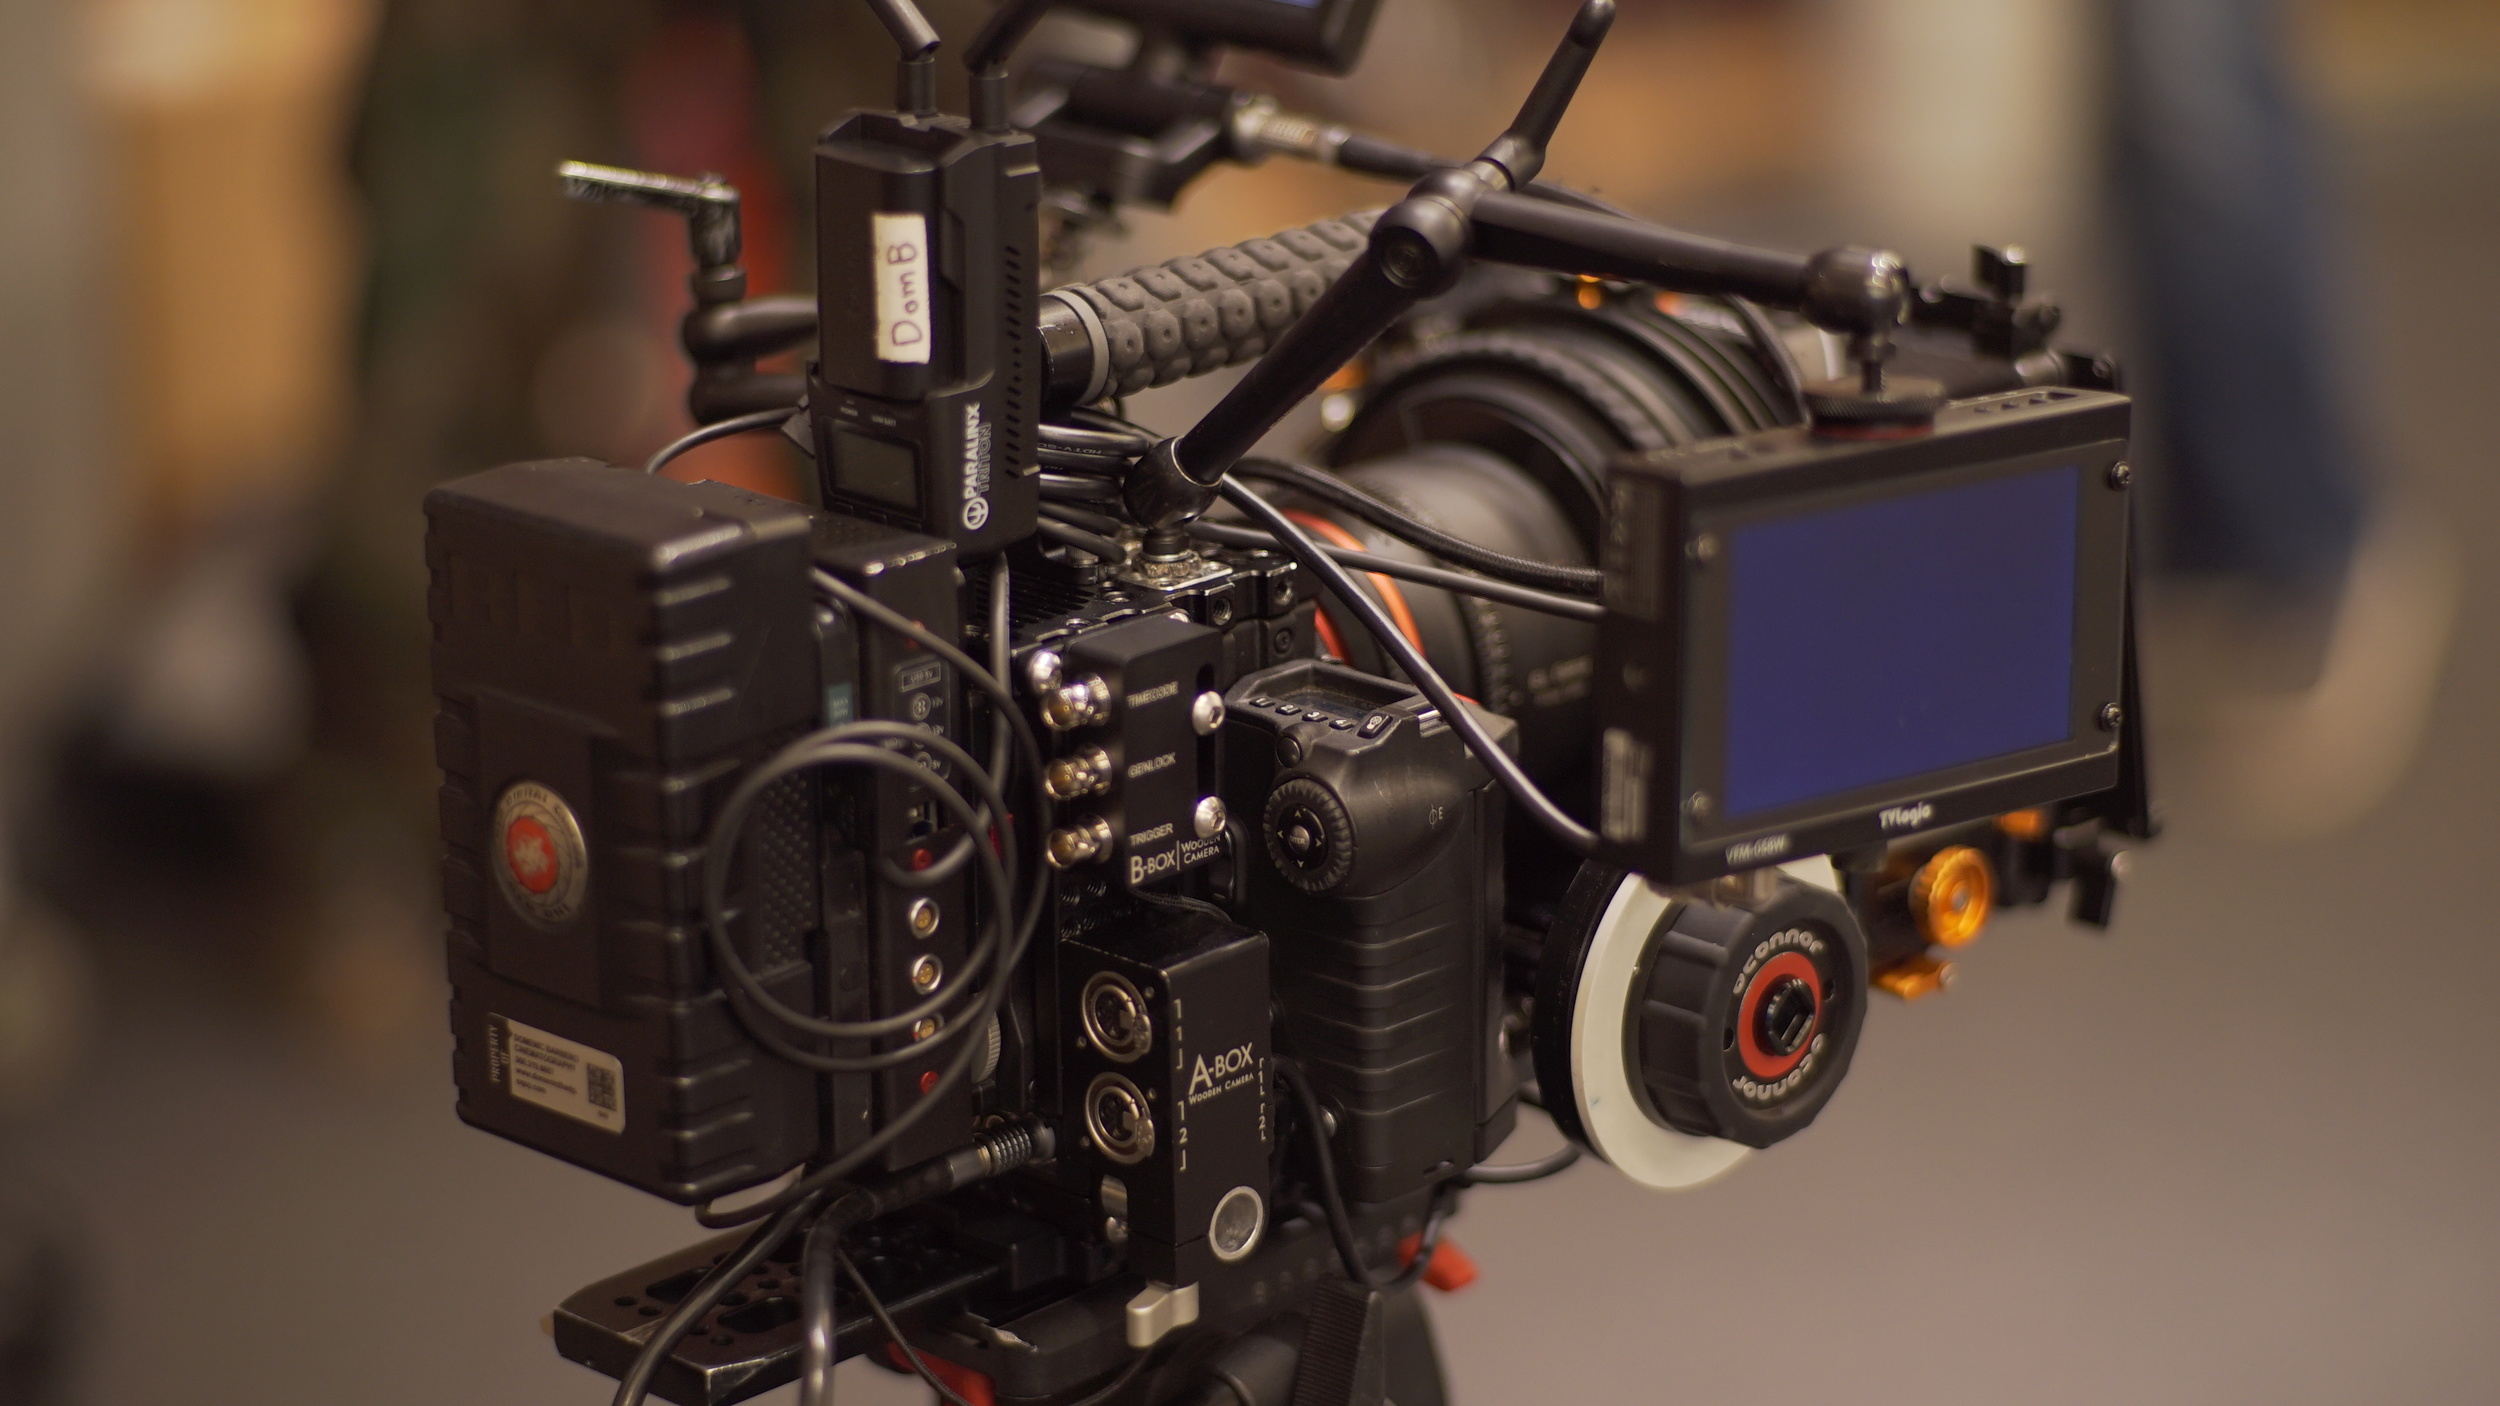
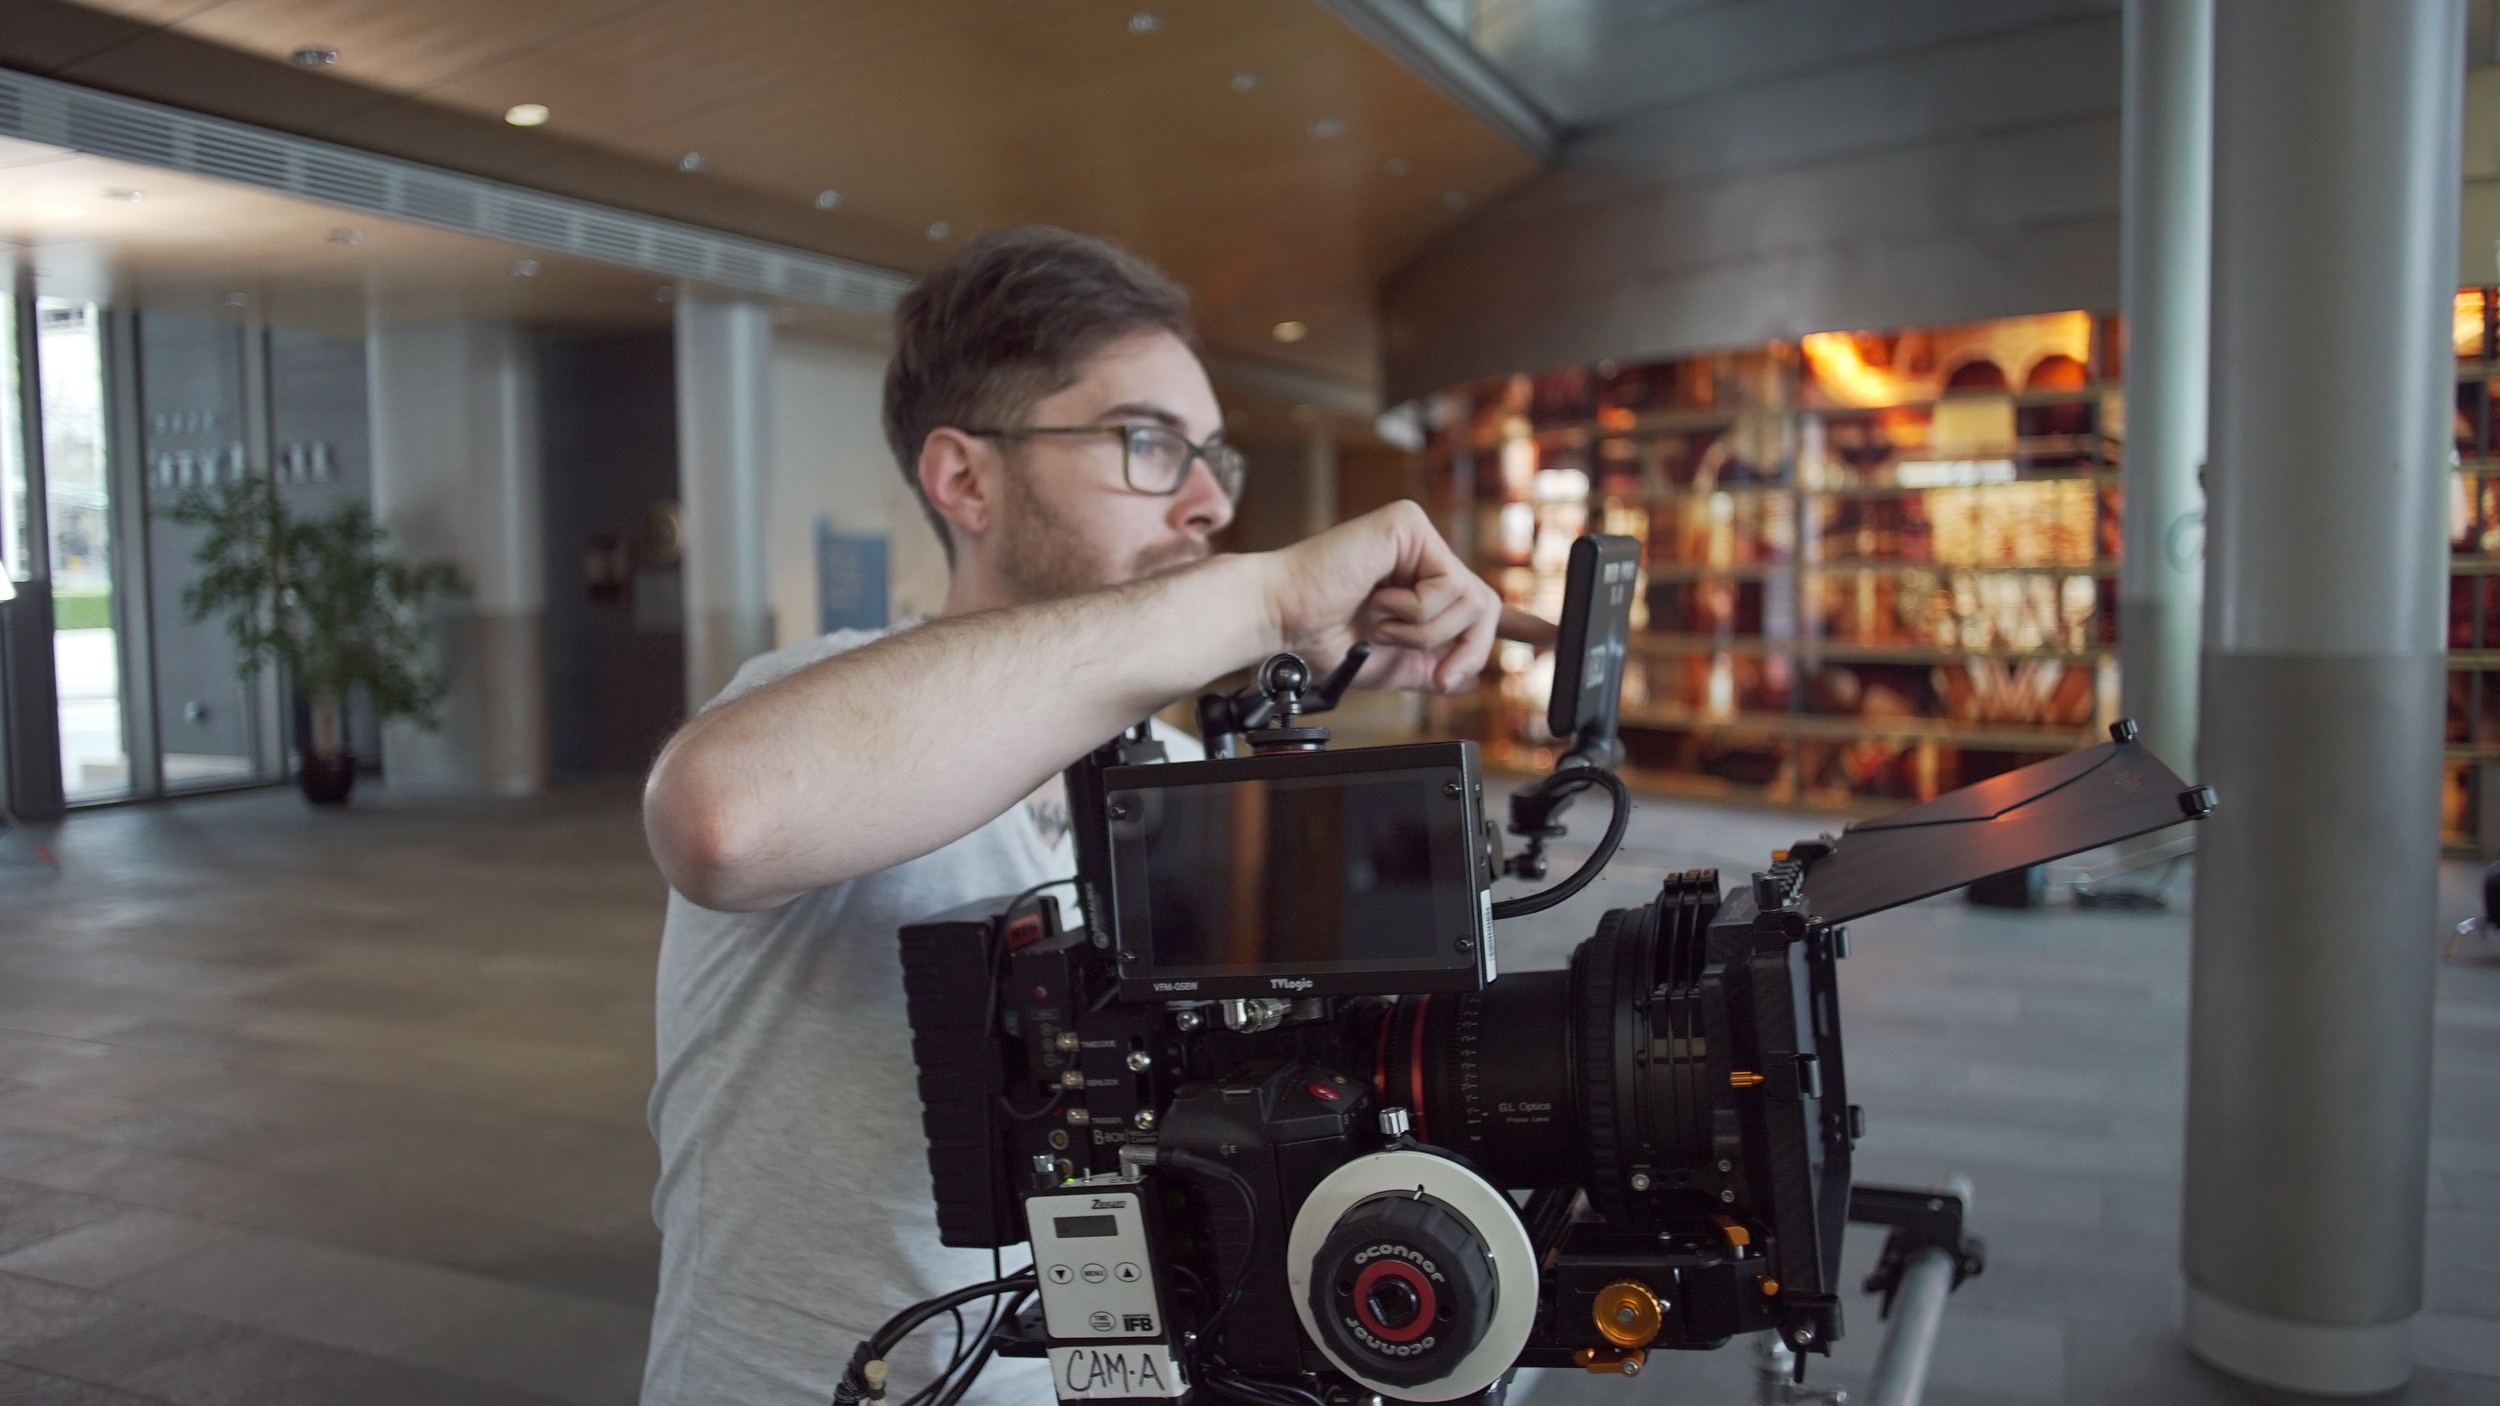
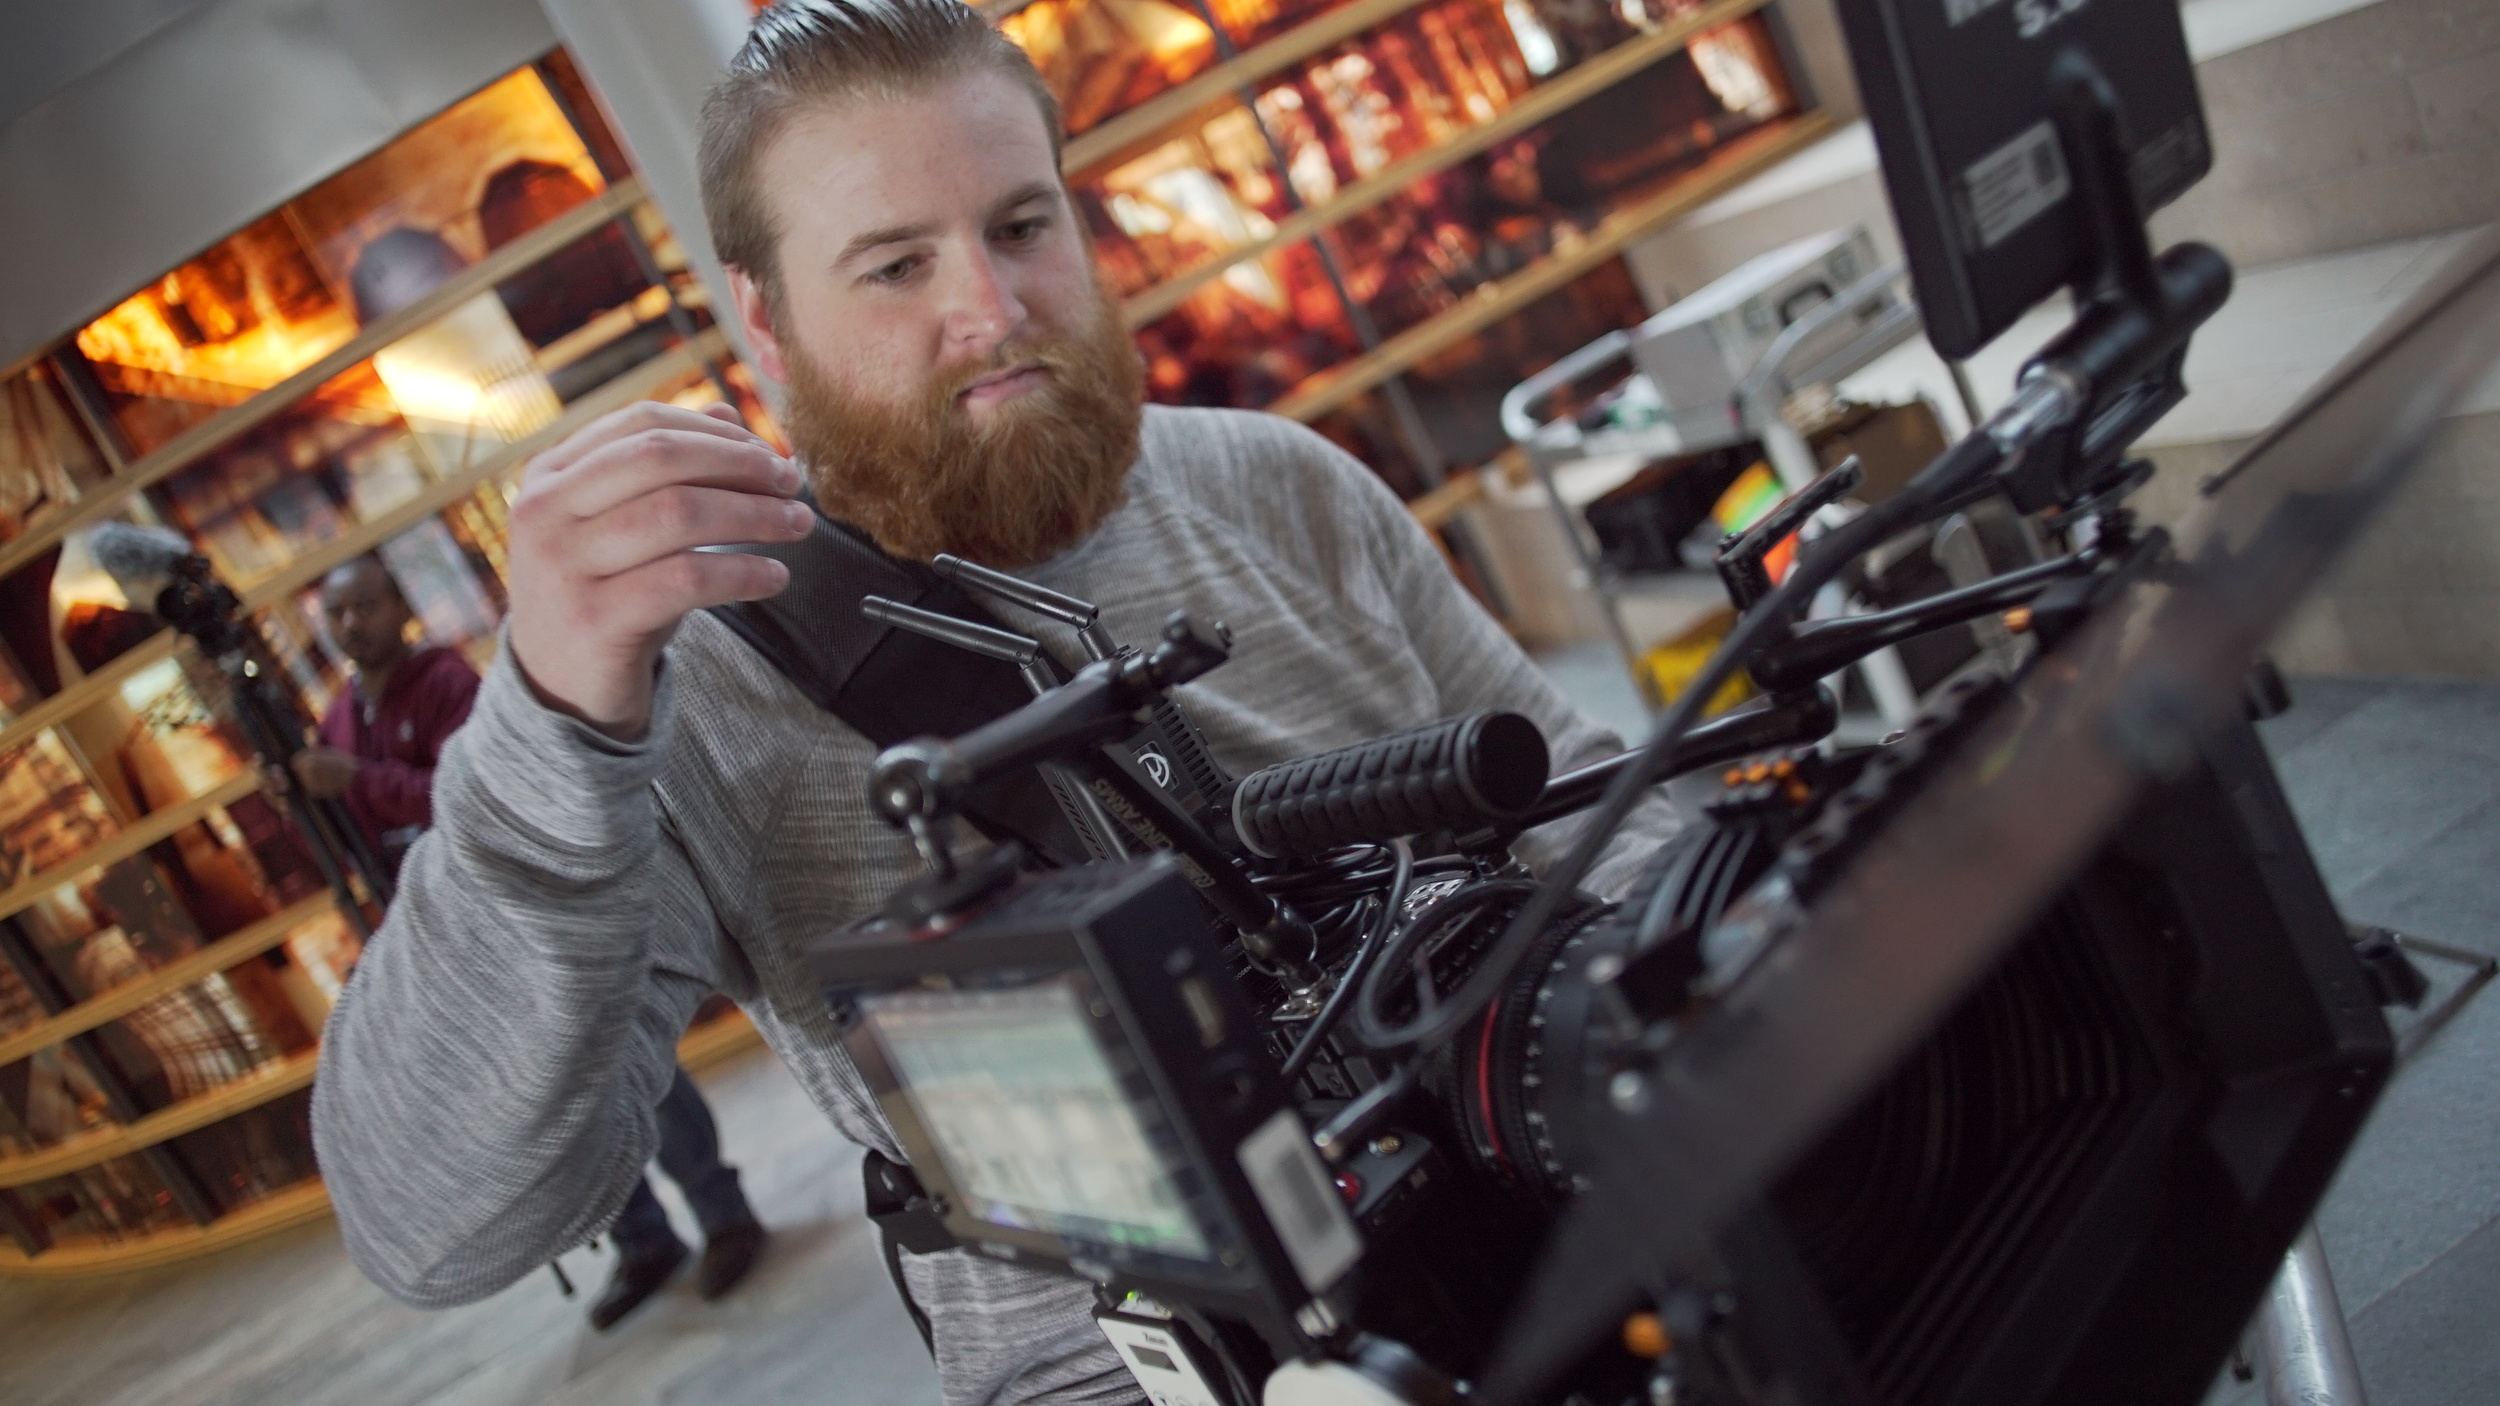
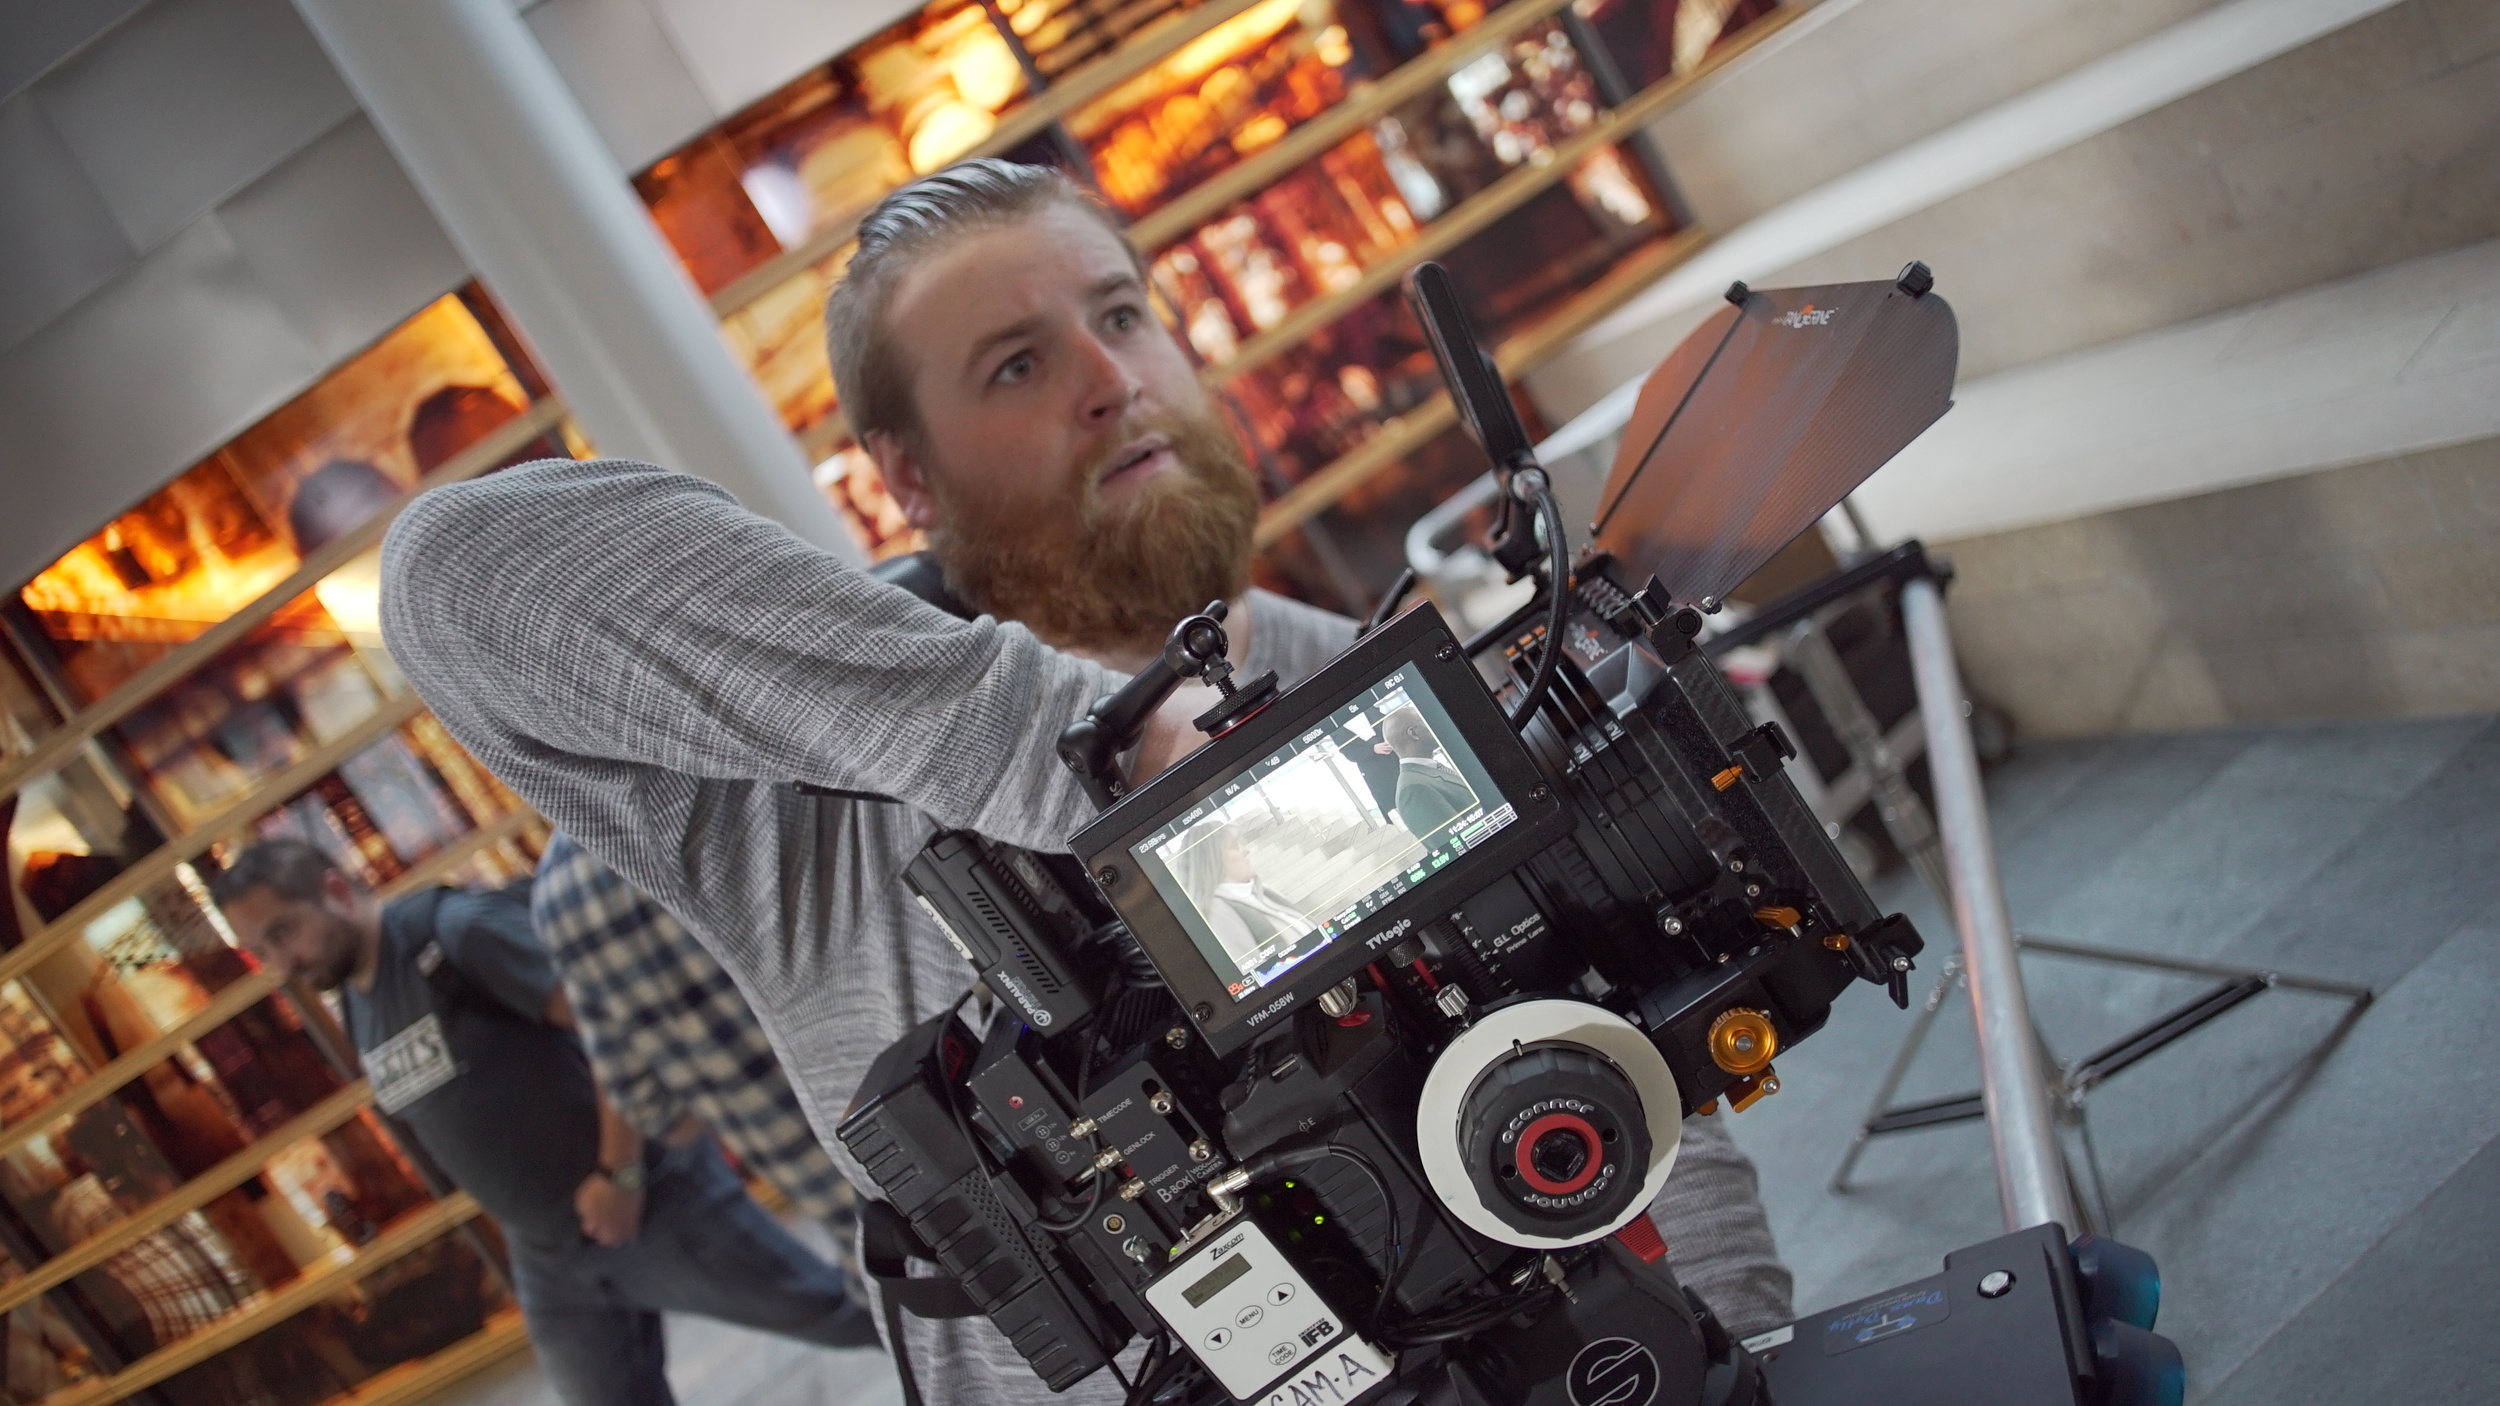
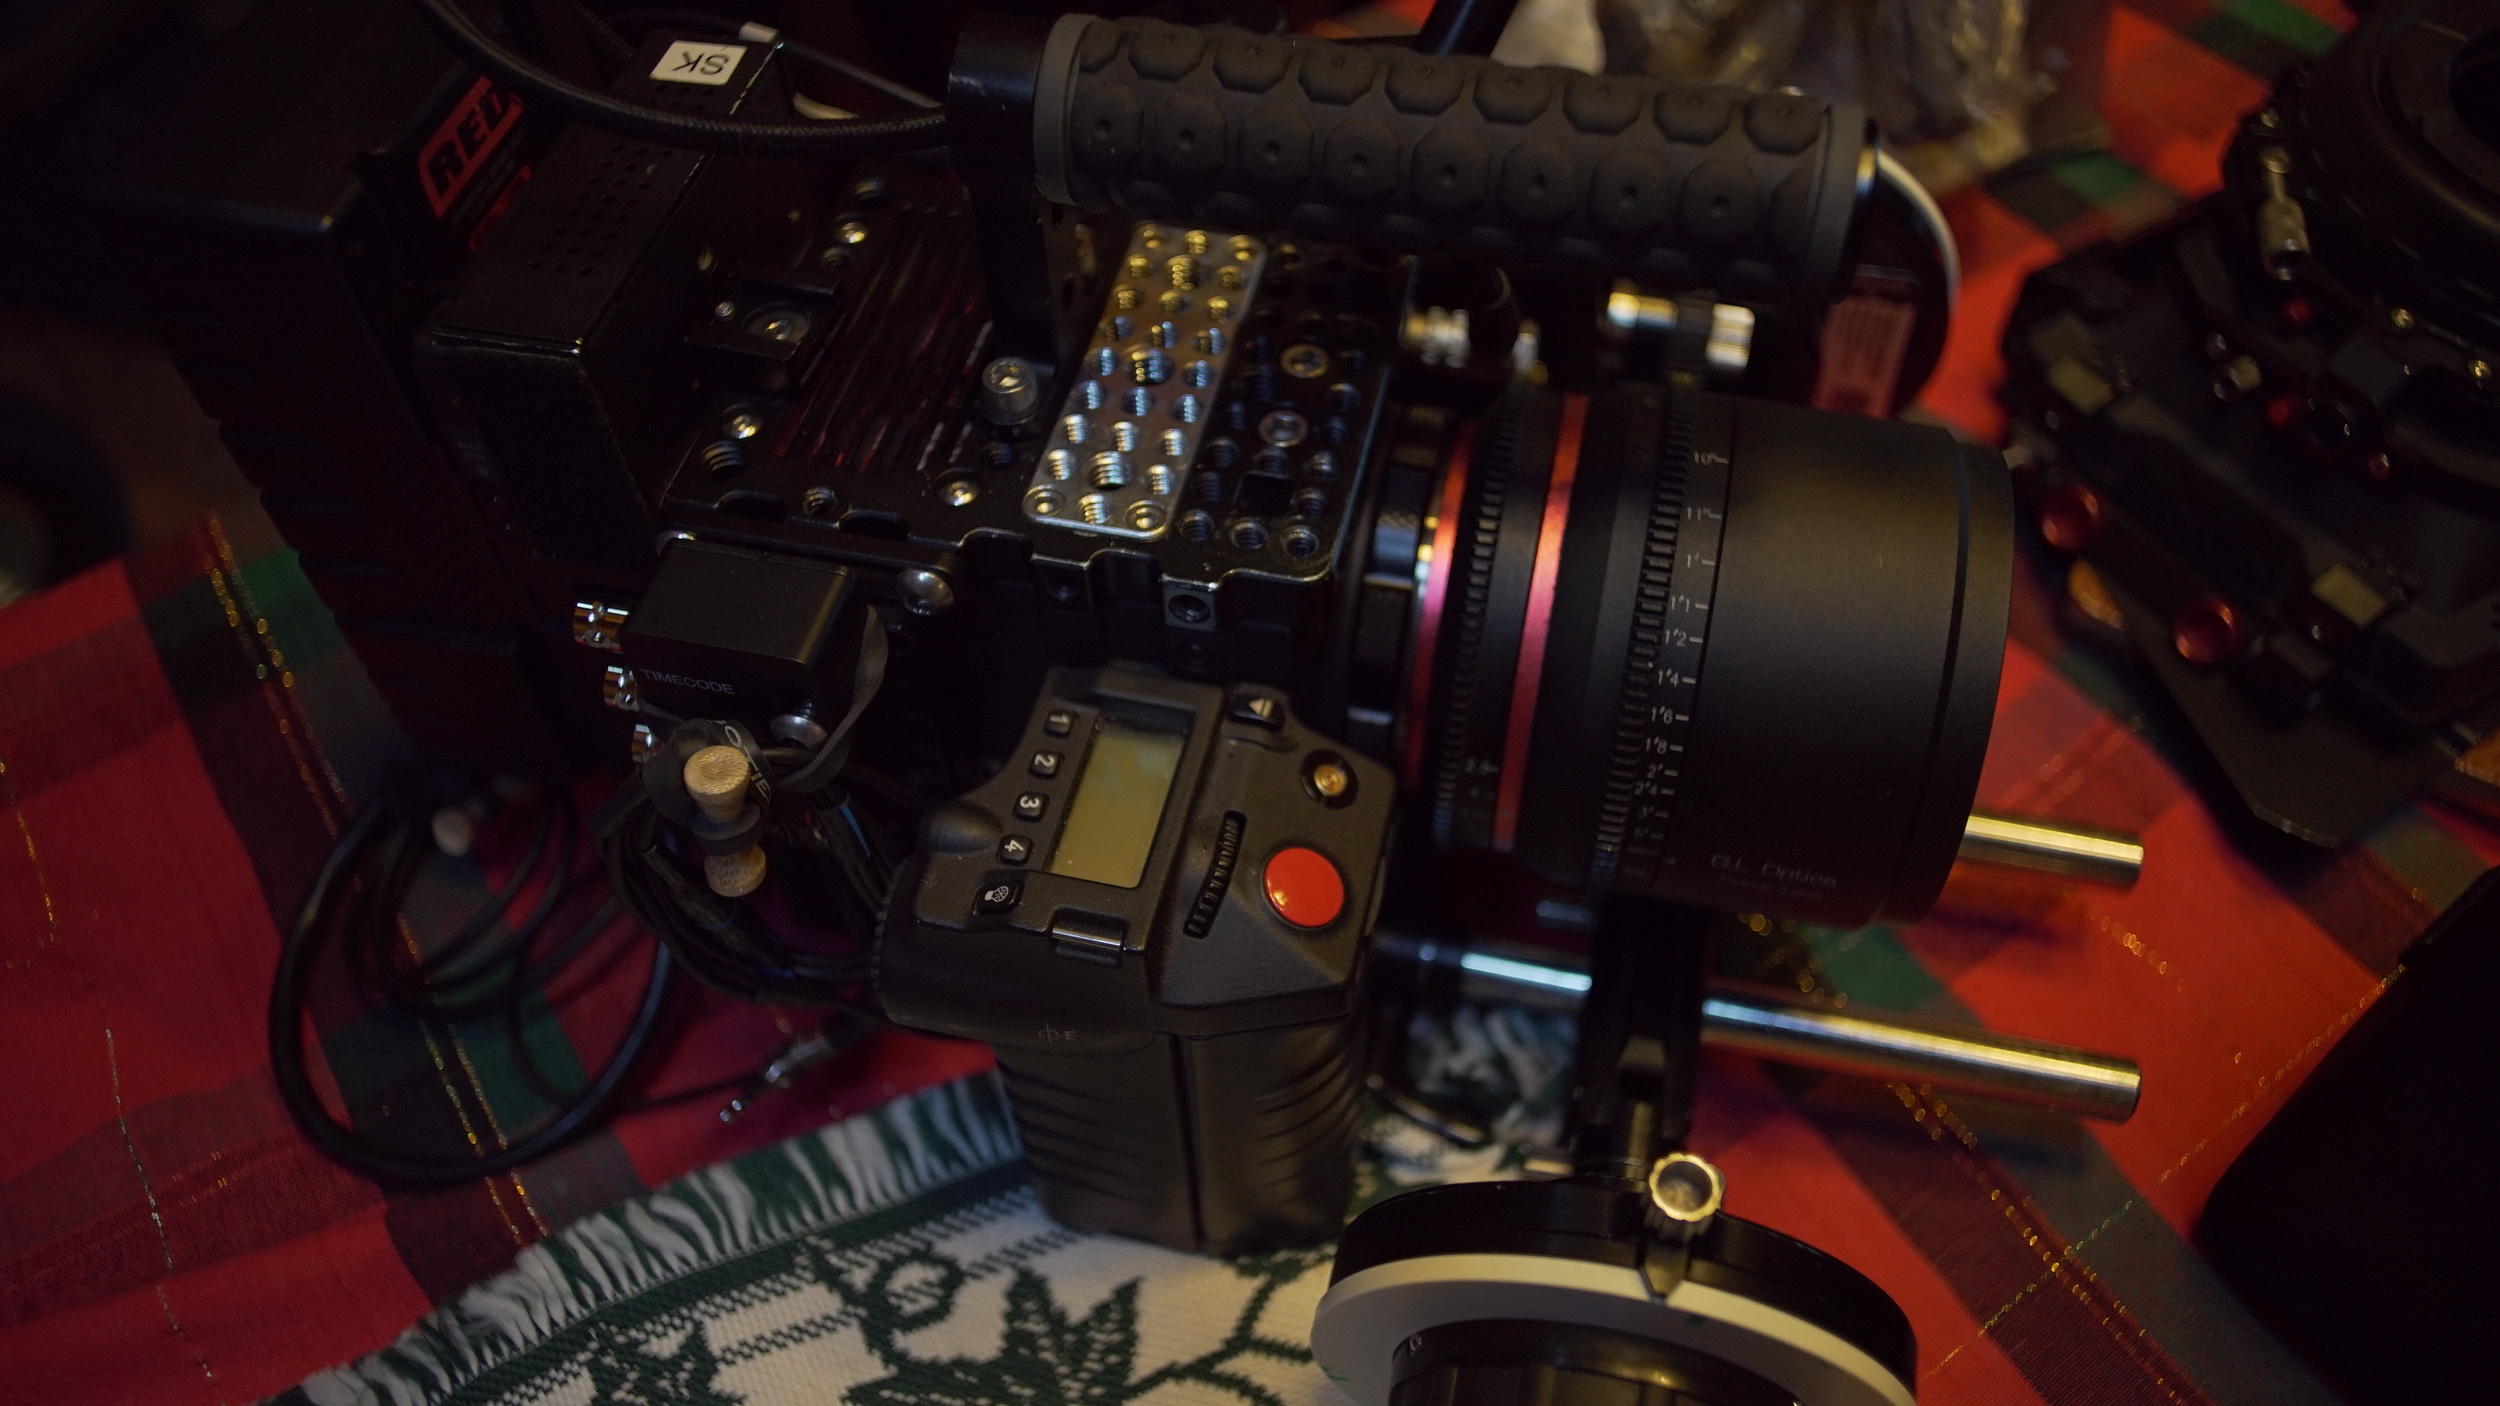
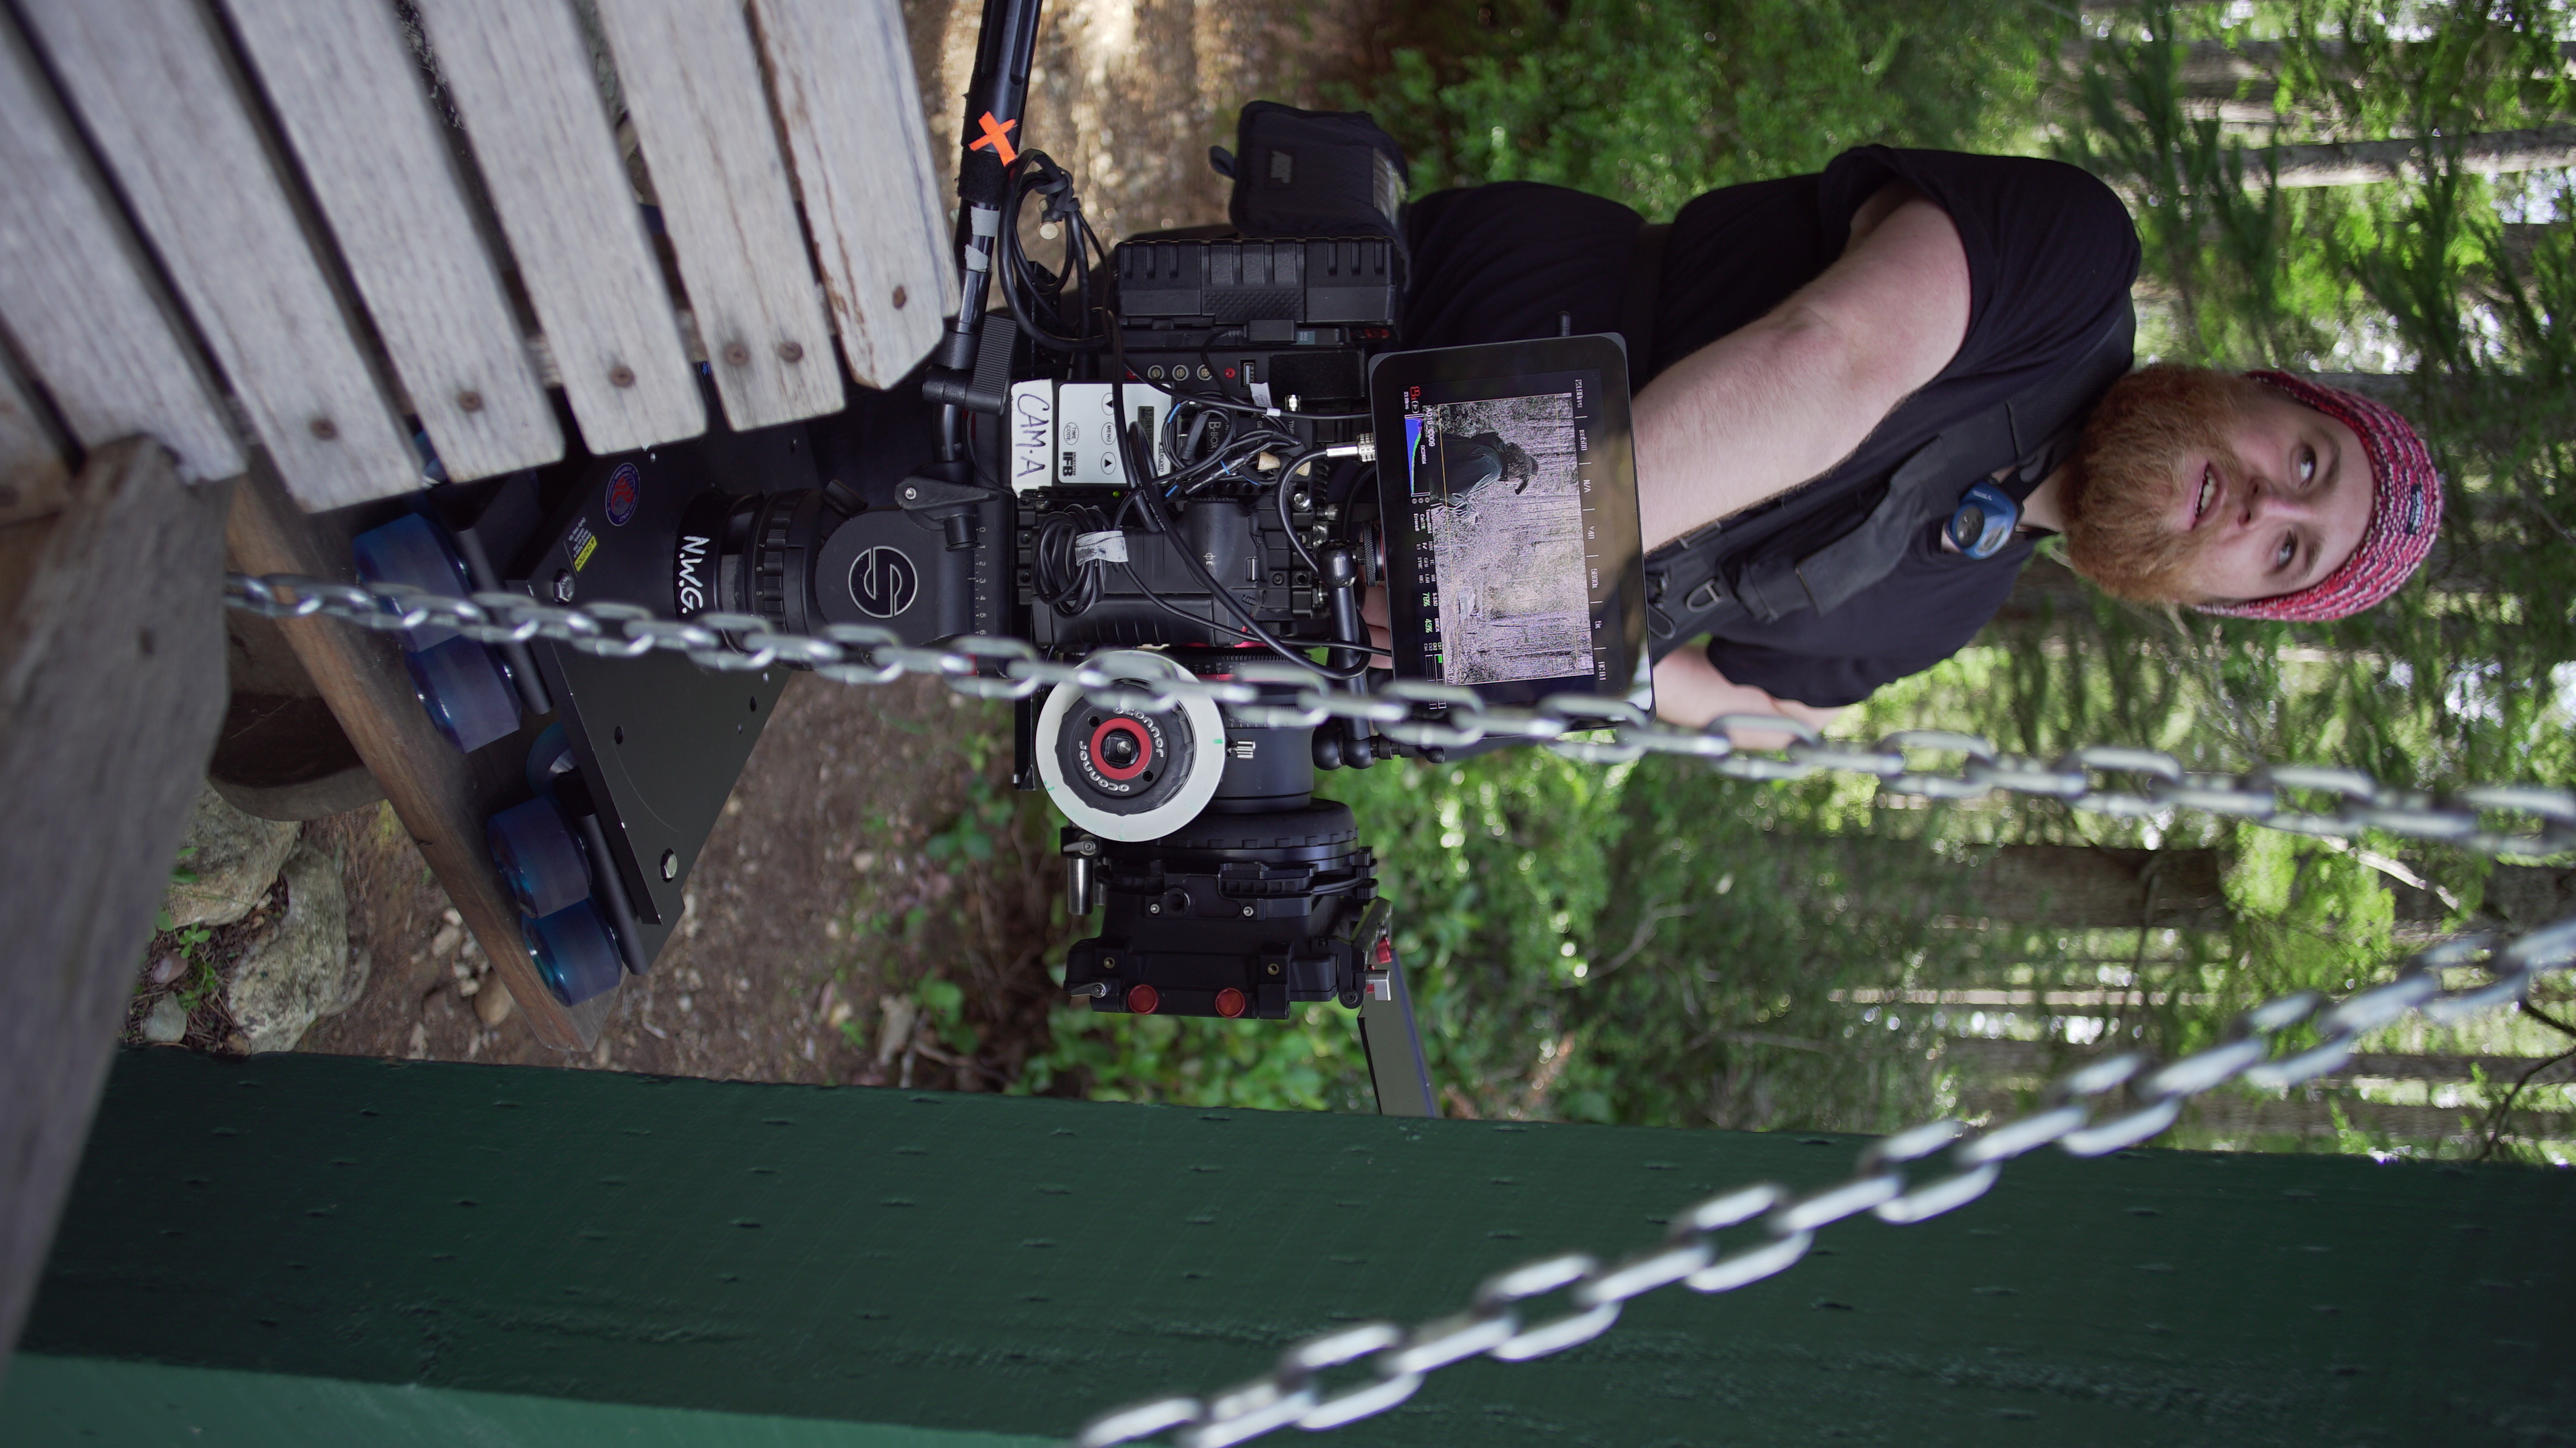
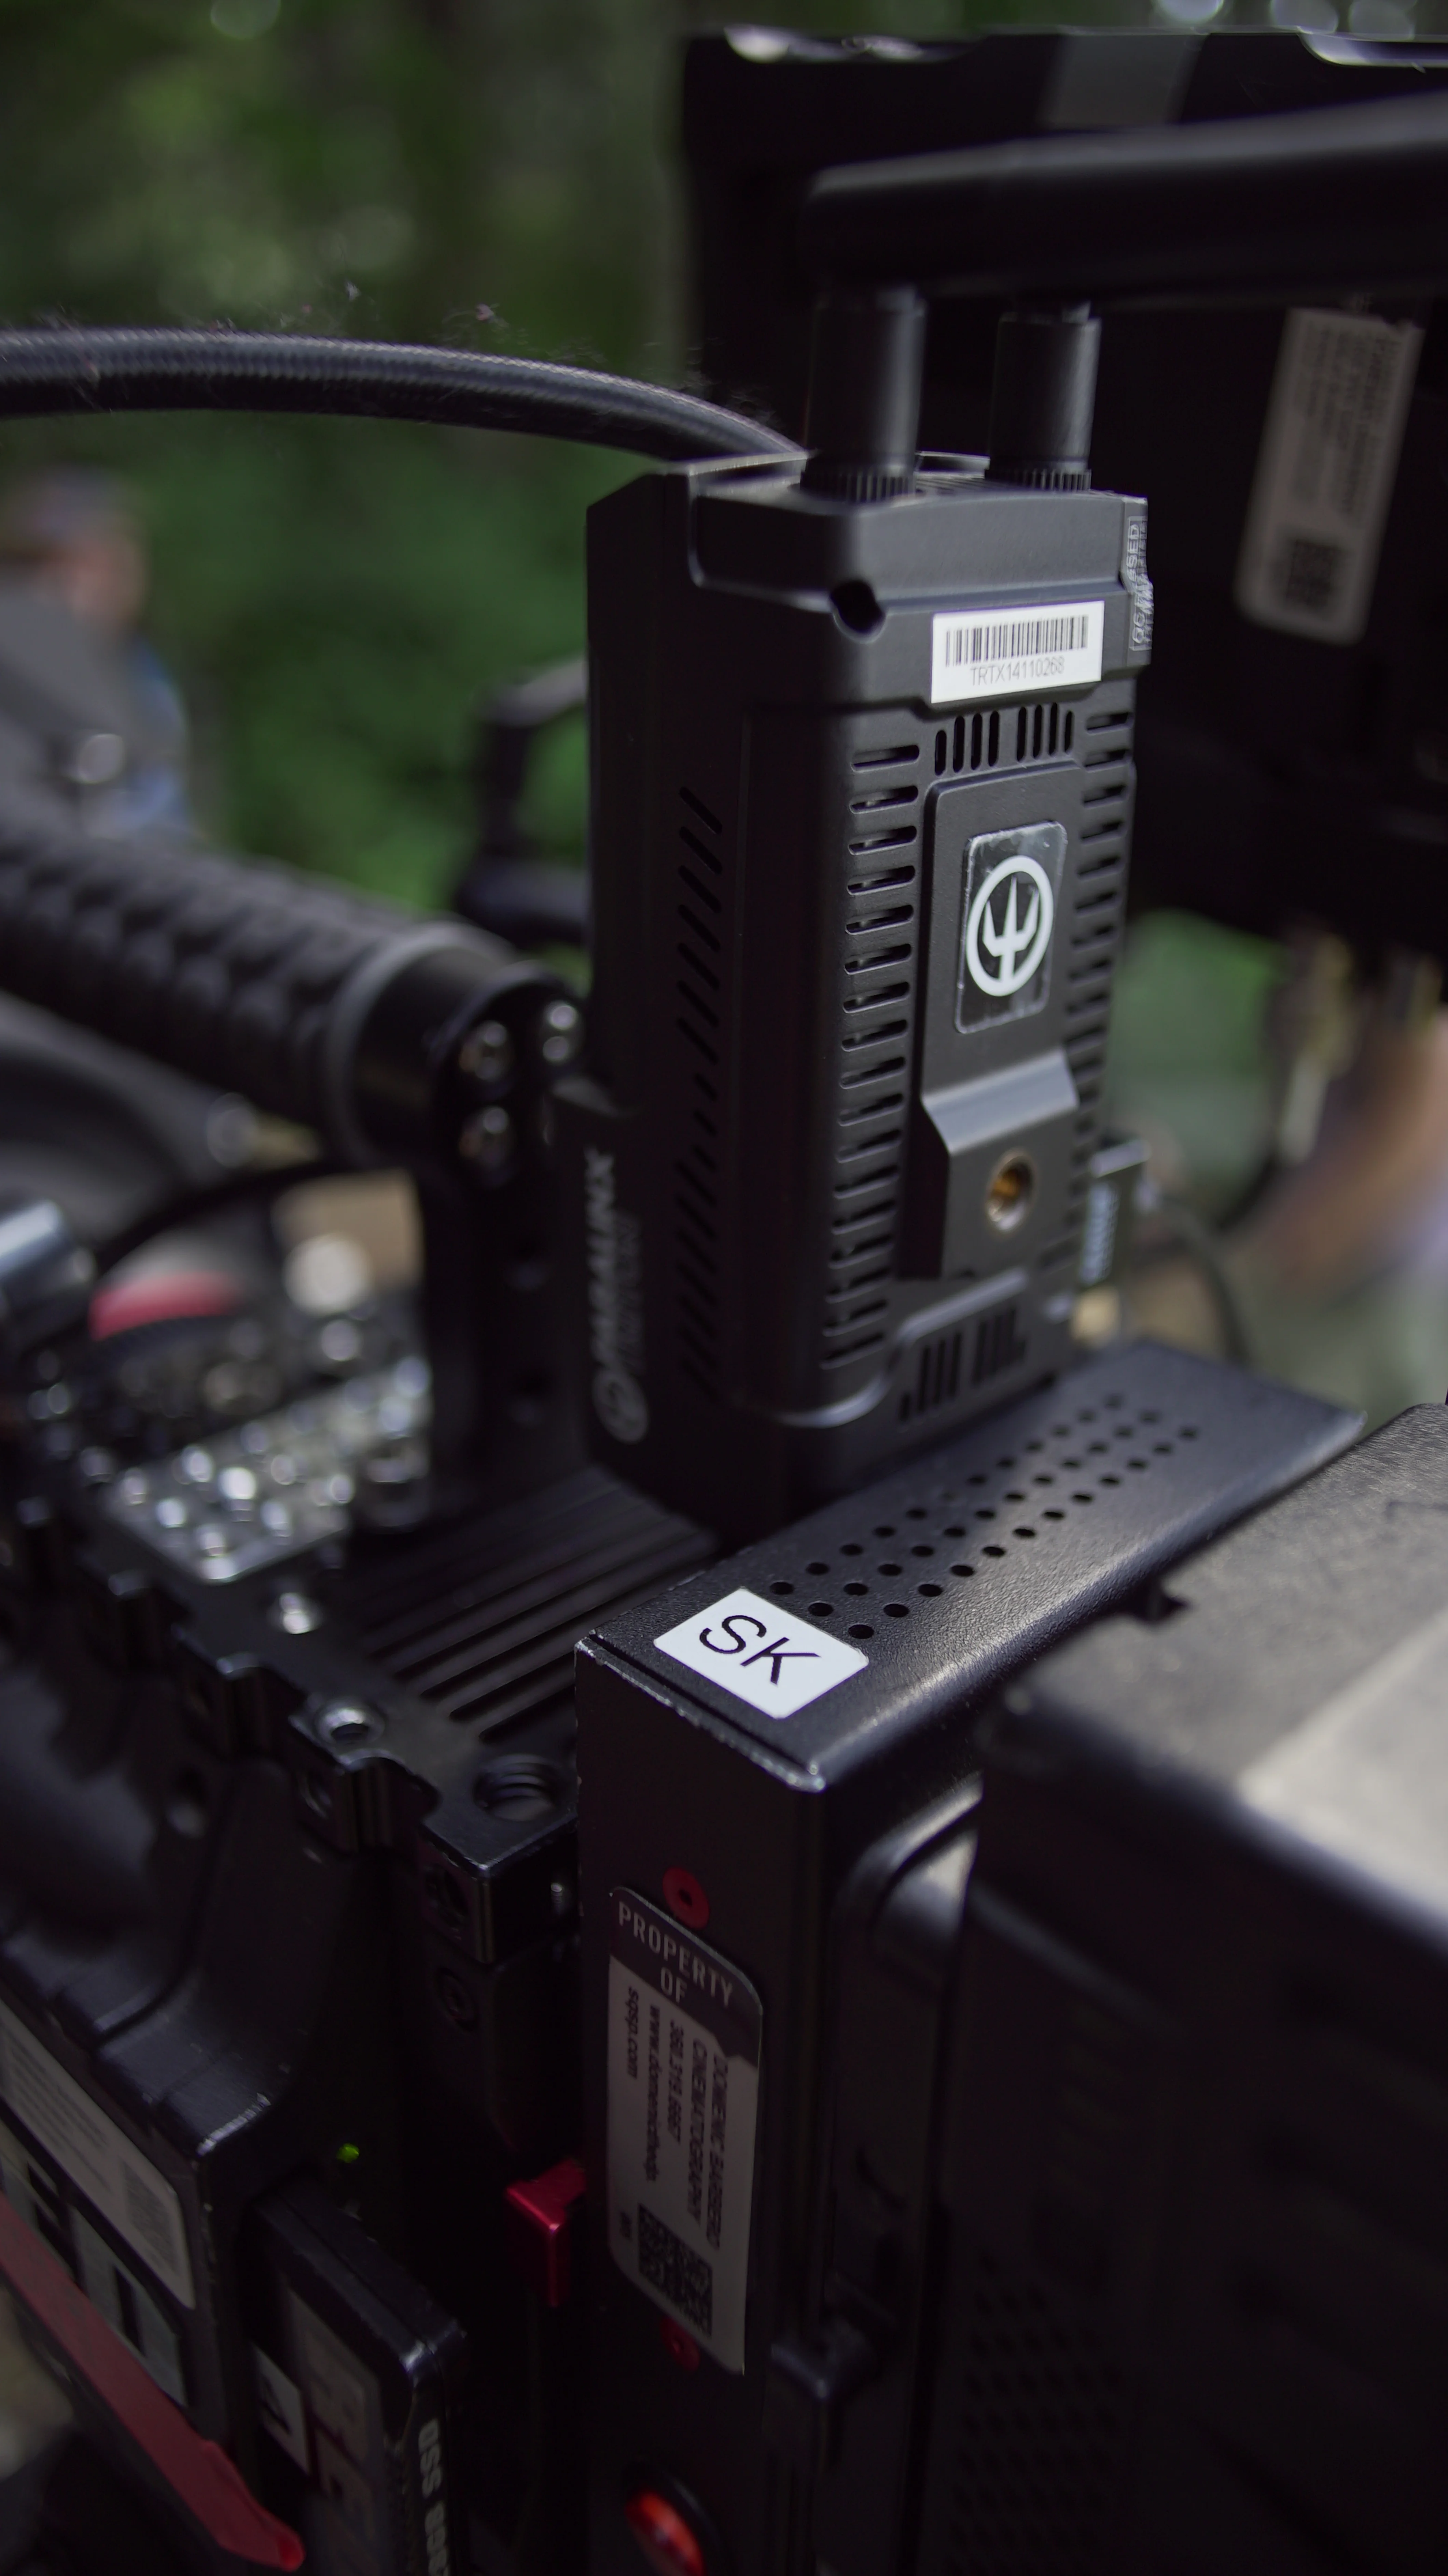
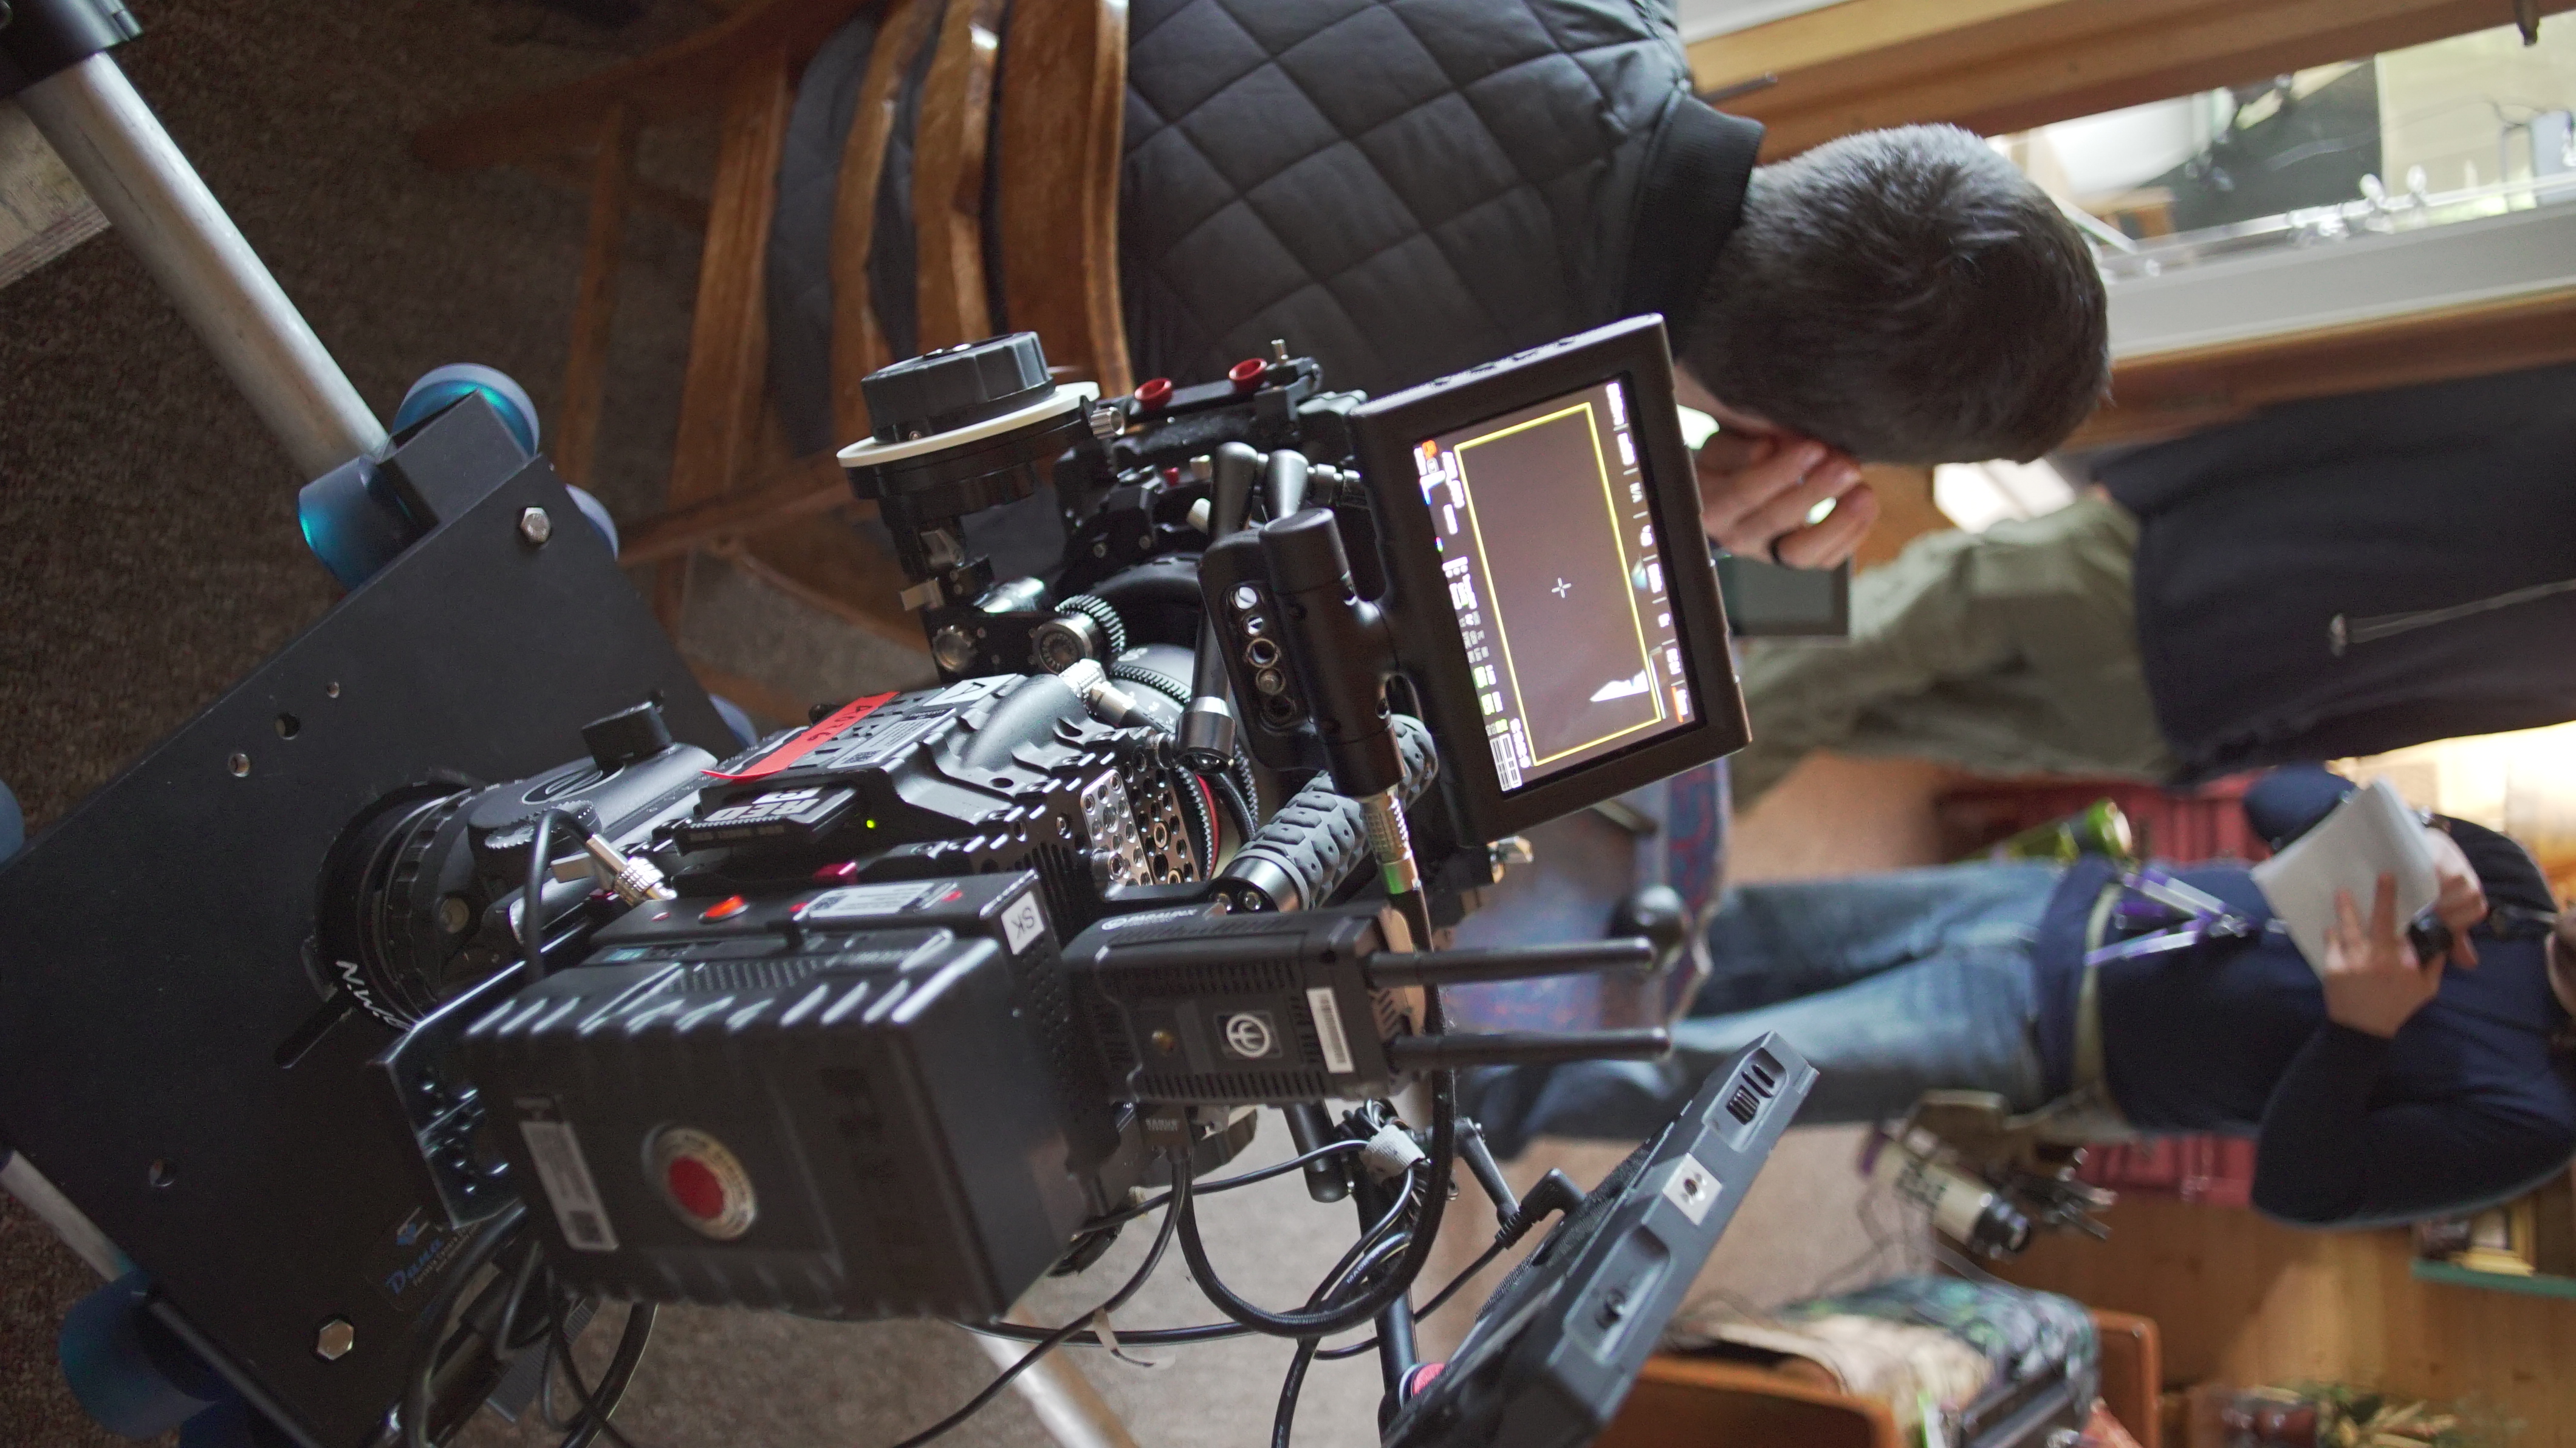
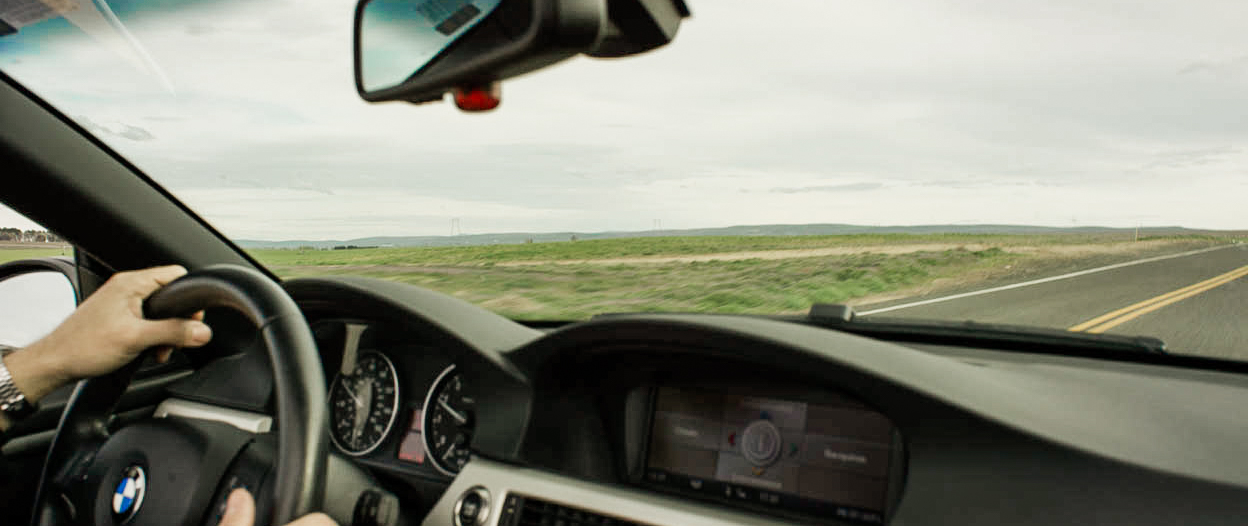
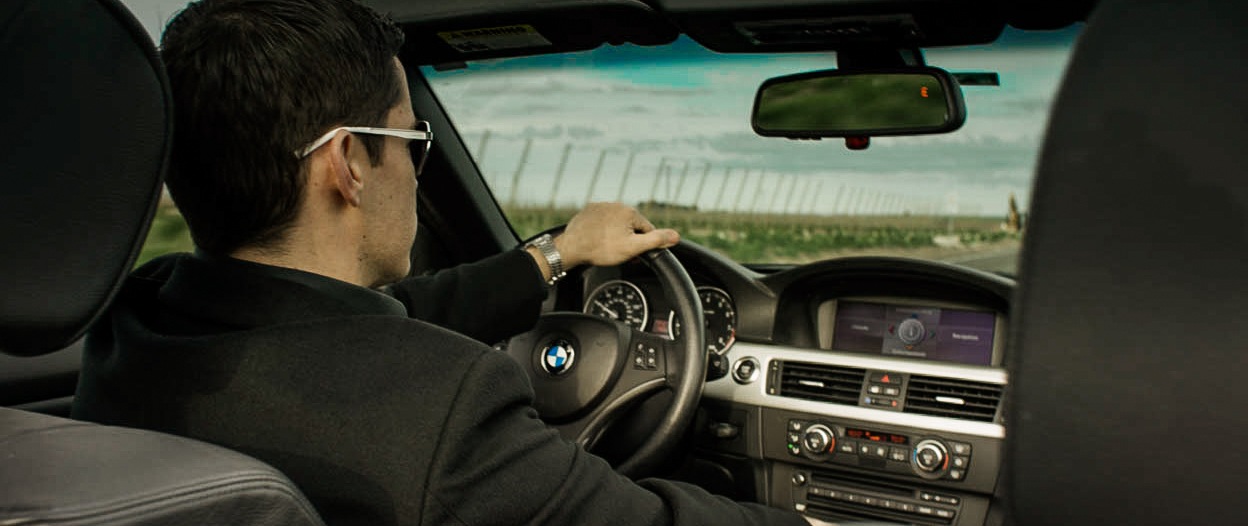
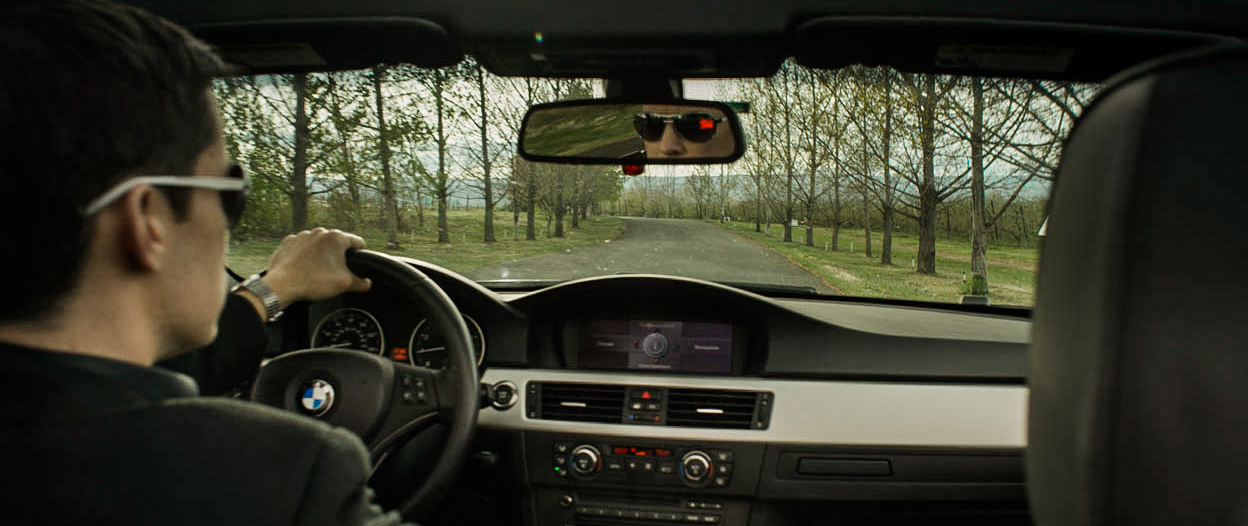
STYLE: I researched several techniques for shooting with natural light and felt like this was something we could do, but our locations were absolutely KEY to being able to pull this off. We searched far and wide to get the perfect locations to fit the needs of our blocking and script. We were constantly having to rewrite the action in the scenes around our blocking to make sure we always had some large window key source hard on the side of someones face or that the sun would never be directly behind someone or action. In general we would try to block our scenes to that the sun would be a hard key to one side or the other of an actor and use a 6x6 frame with diffusion to soften it up. Then using an ultrabounce or solid floppies to shape from there. Another consideration was what camera to choose. I looked at a couple options but to me, the RED Dragon sensor, having the most latitude available, would give us the best option of capturing the natural light without sacrificing too much. What I love about RED DSMC system is how modular it is. It can be large or small depending how you want it and you can strip it down or build it up very quickly. This was essential for our shooting methods we chose as well as being such a small crew we would need as many options as possible. I'm the type of DP that loves interesting angles and with the RED I don't need as much Grip to support the camera, so I can get my interesting angles without sacrificing too much time rigging. We shot with a RED Epic Dragon as our A cam and a RED Scarlet Dragon as our B cam. We ended up shooting with the skin tone/highlight OLPF for 95% of the movie and rated it between 250 ASA and 500 ASA. For the lowlight olpf we shot two scenes and rated it at 2000 and 3200 ISO. We shot at 5k at 8:1 with frame guides for a 2.4:1 final aspect ratio.
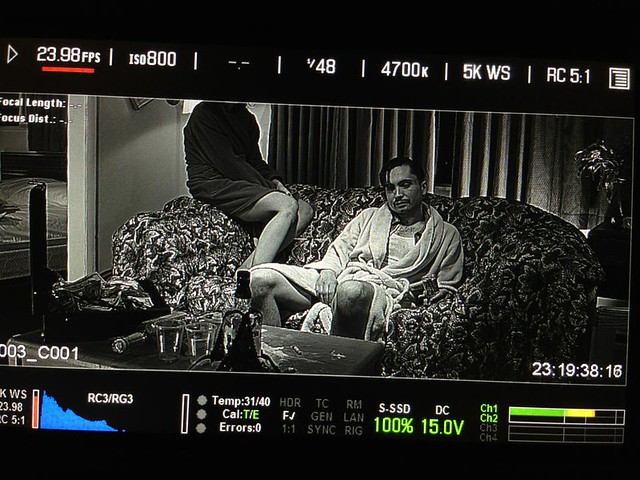
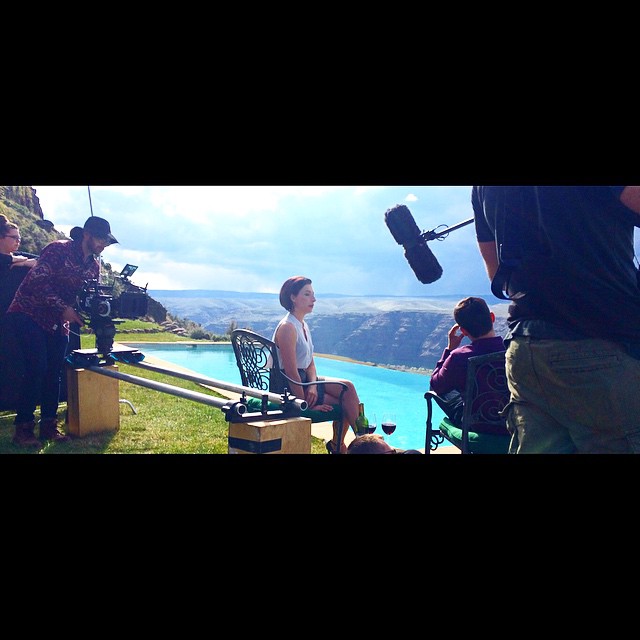
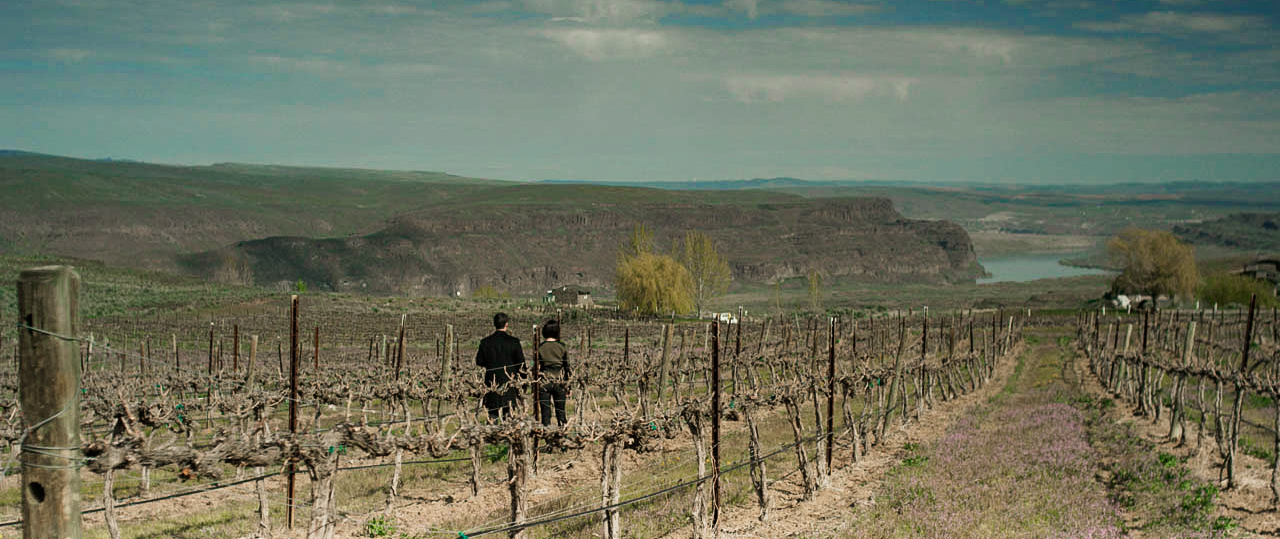
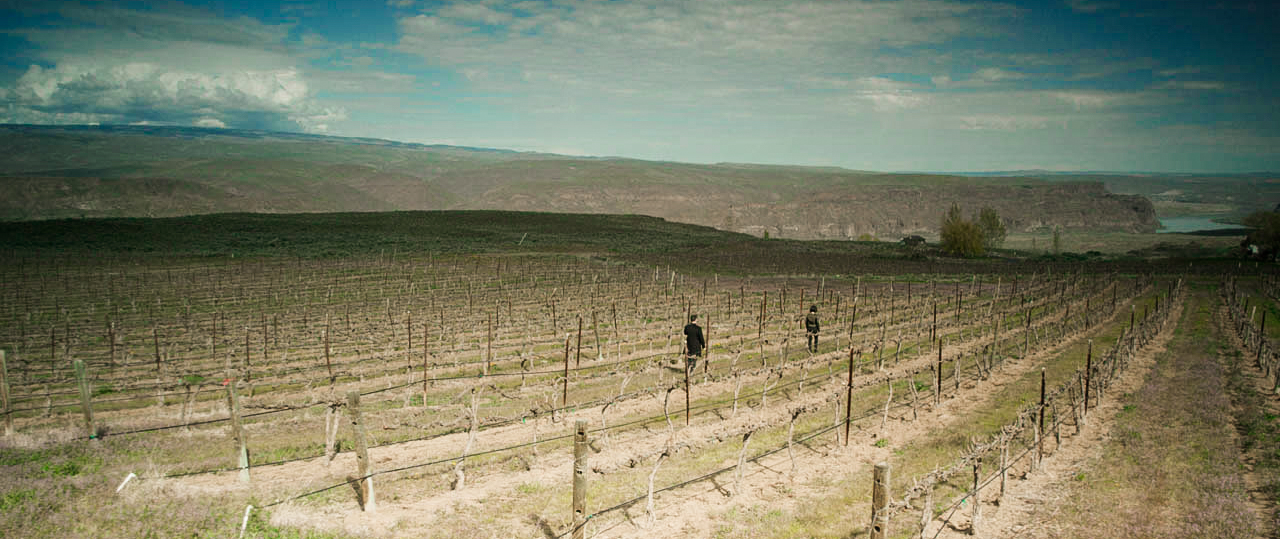
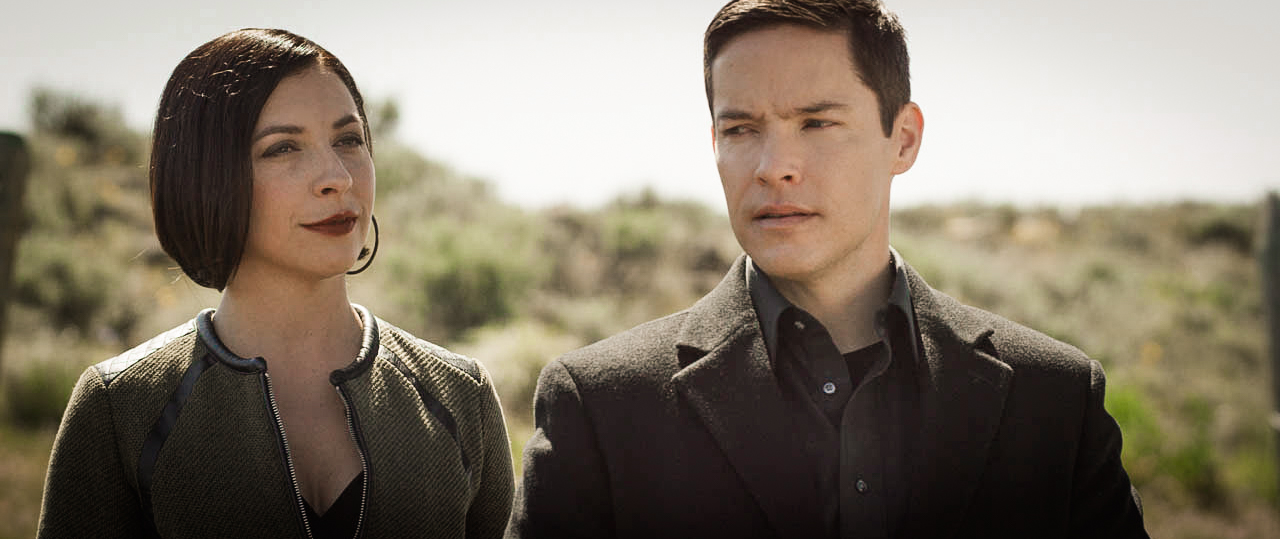
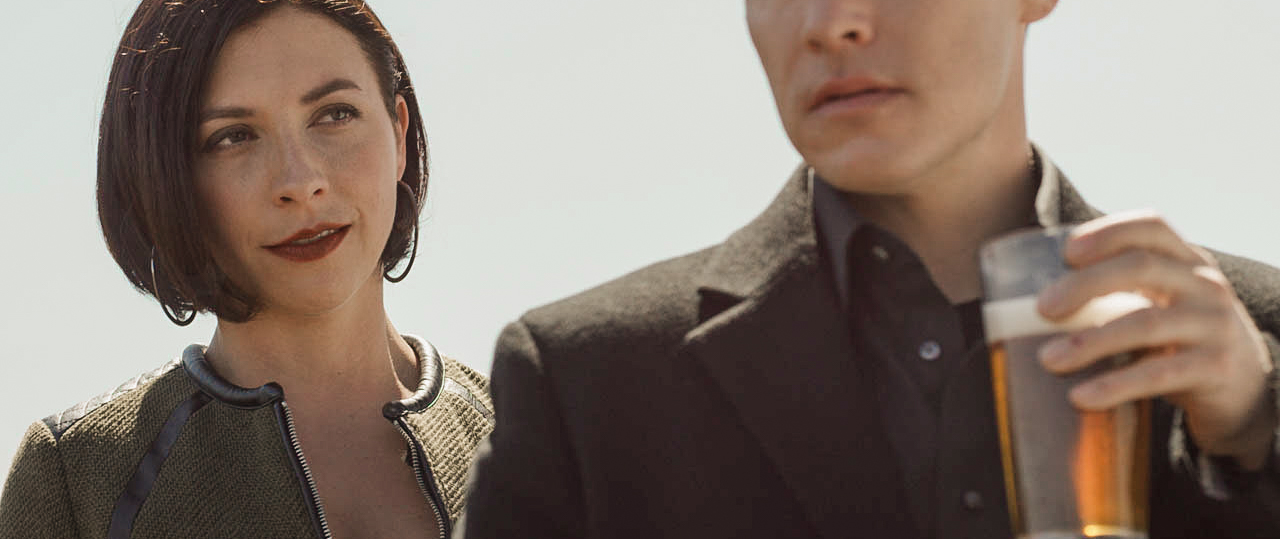
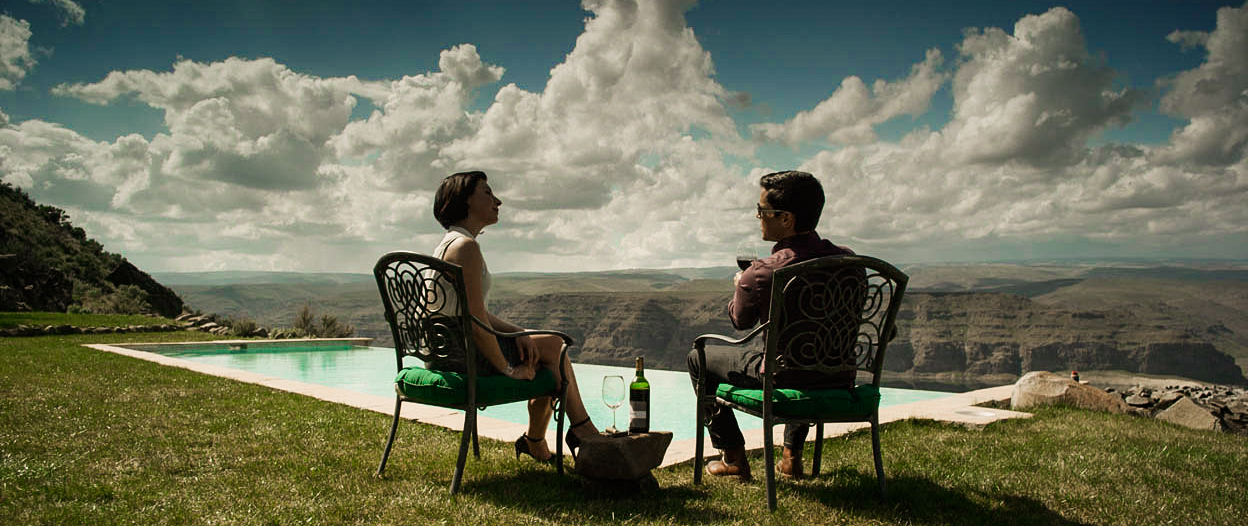
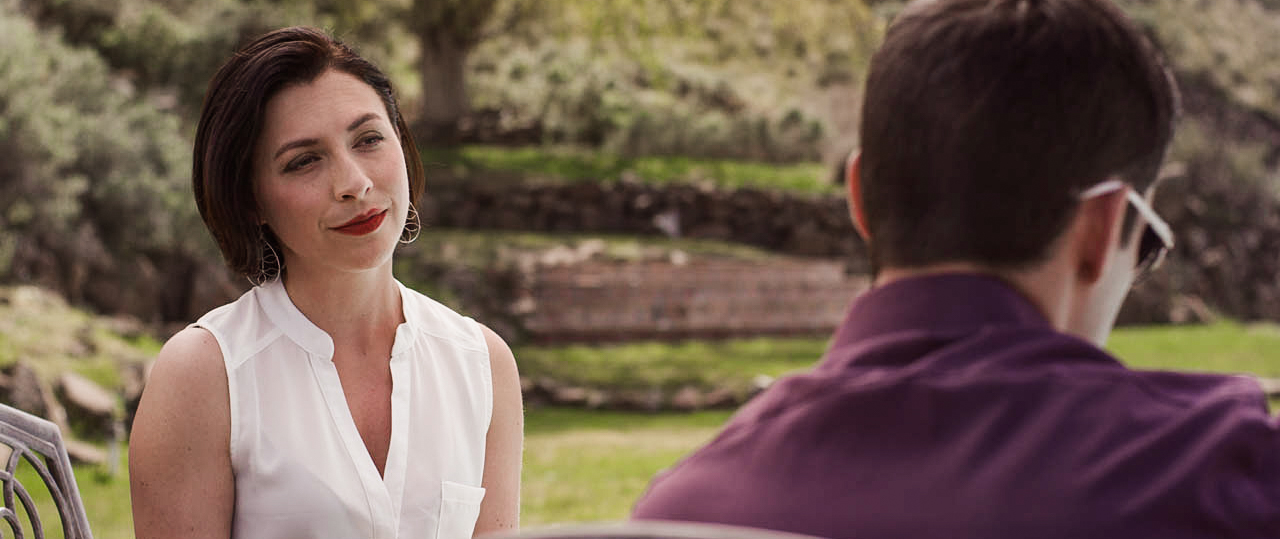
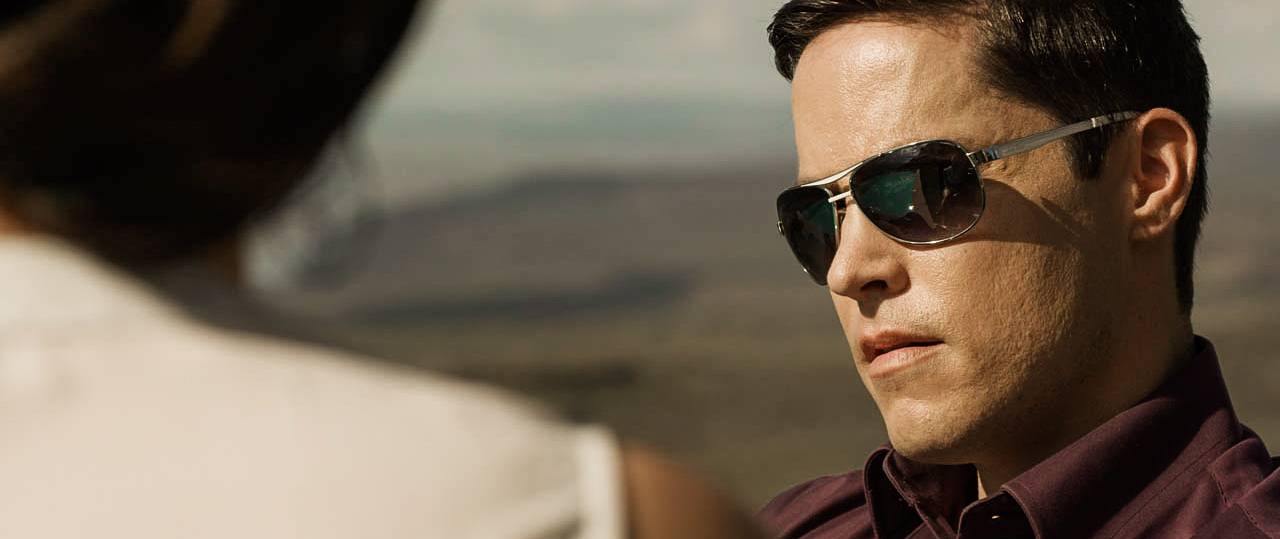
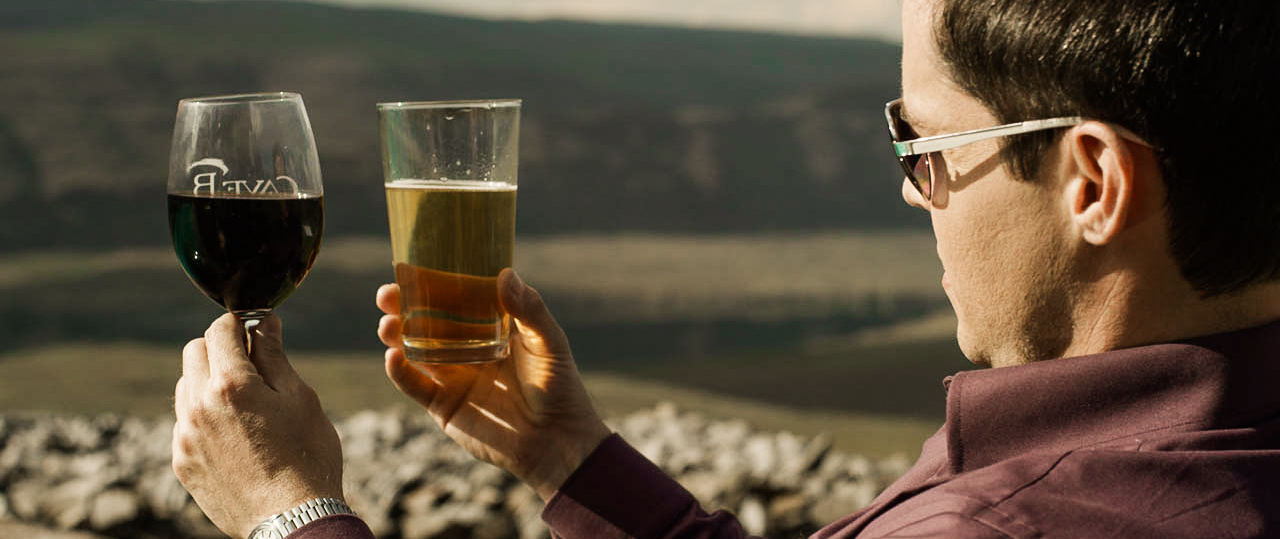
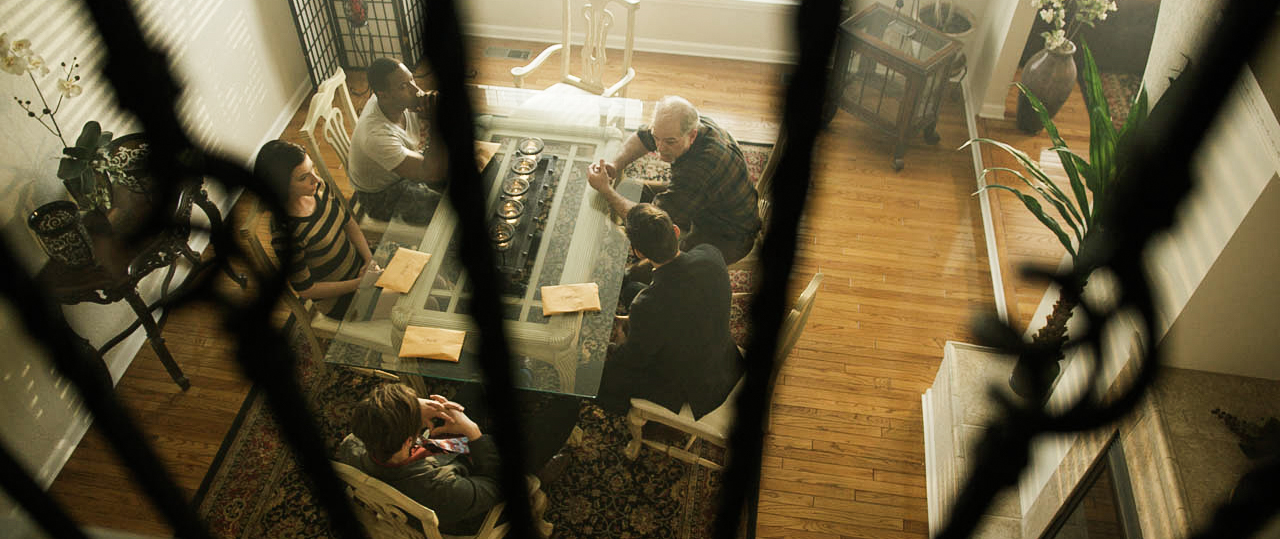
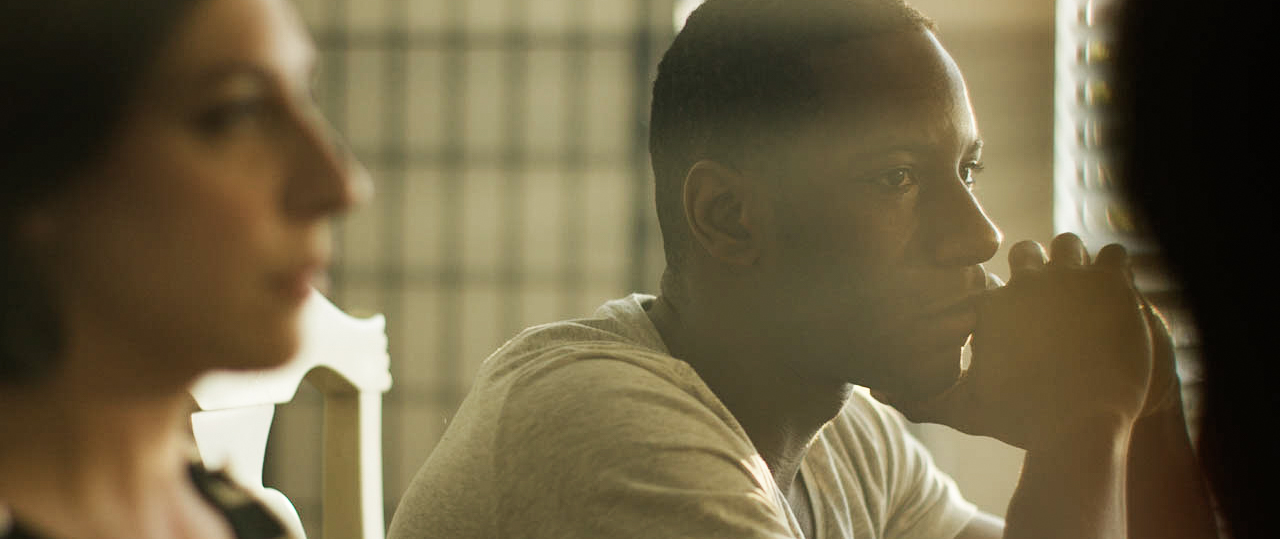
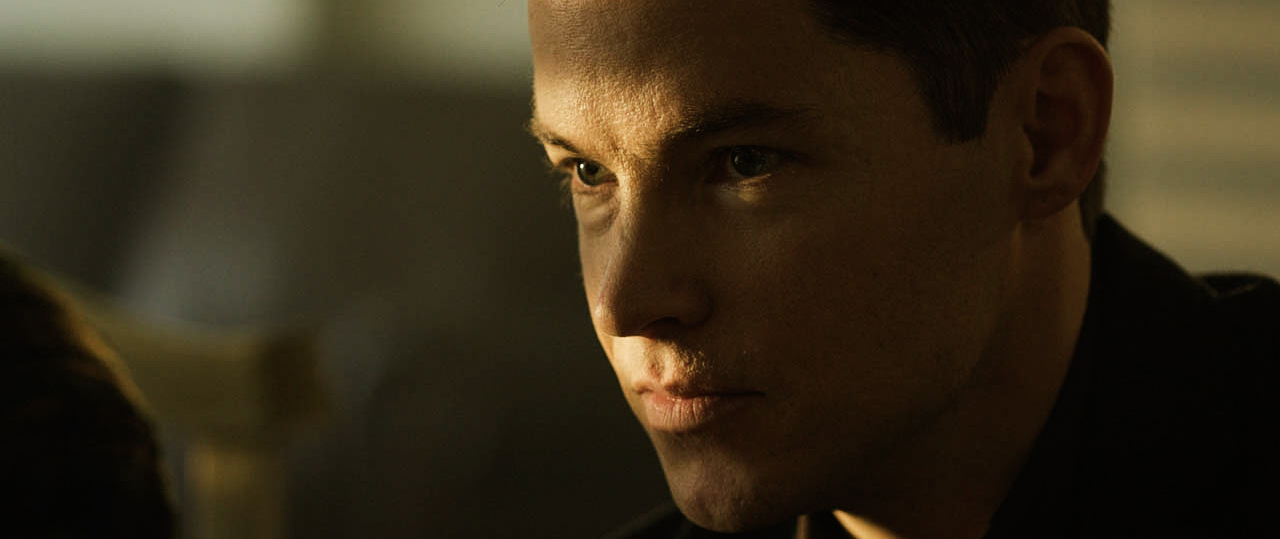
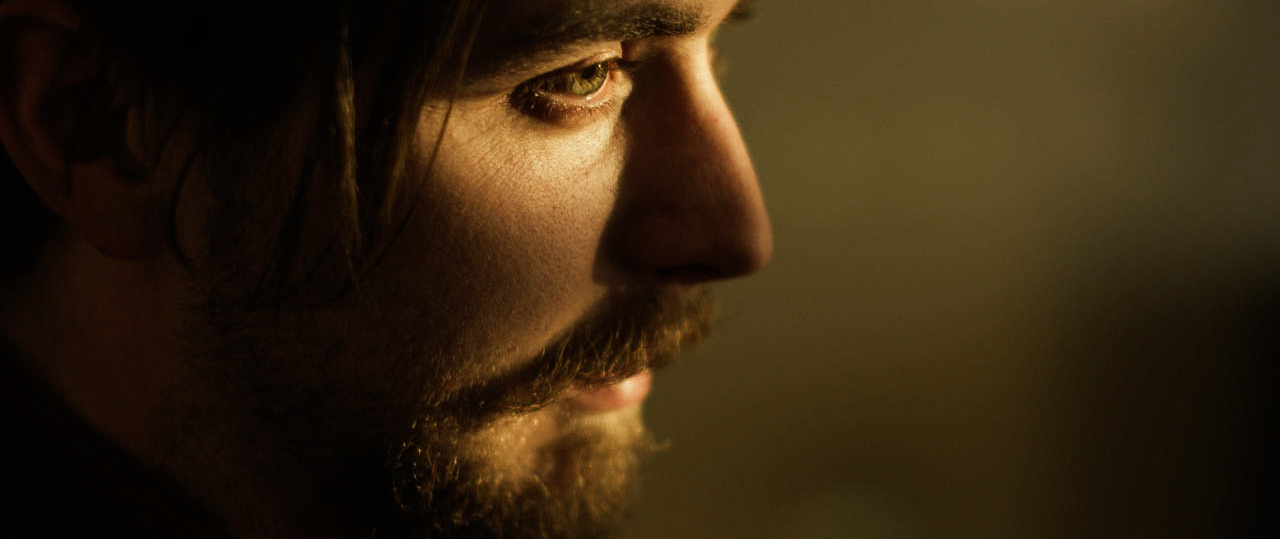
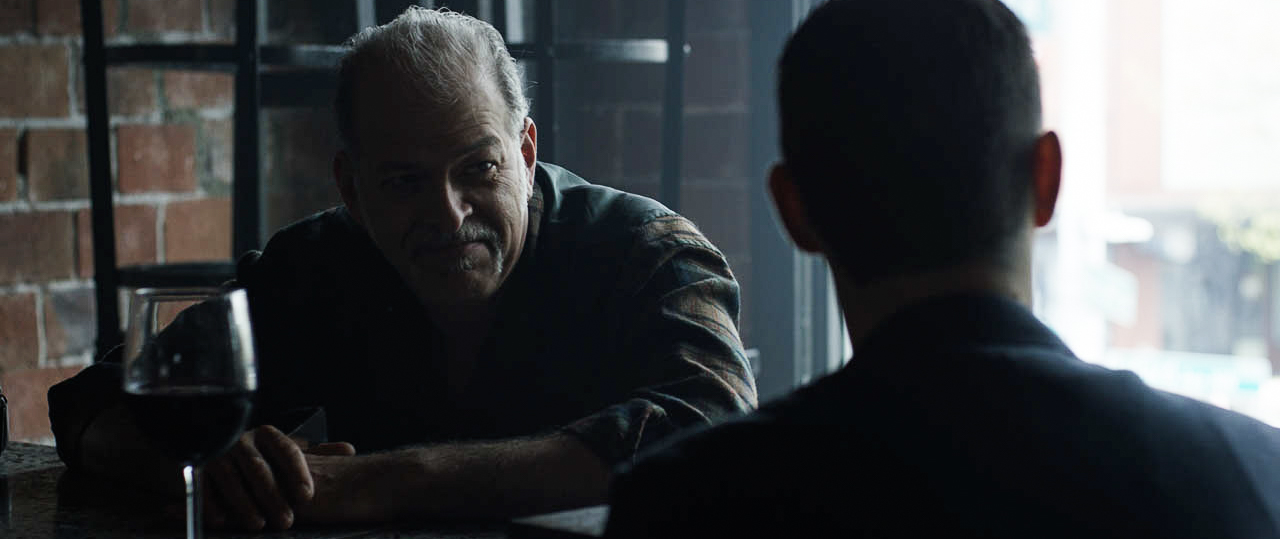
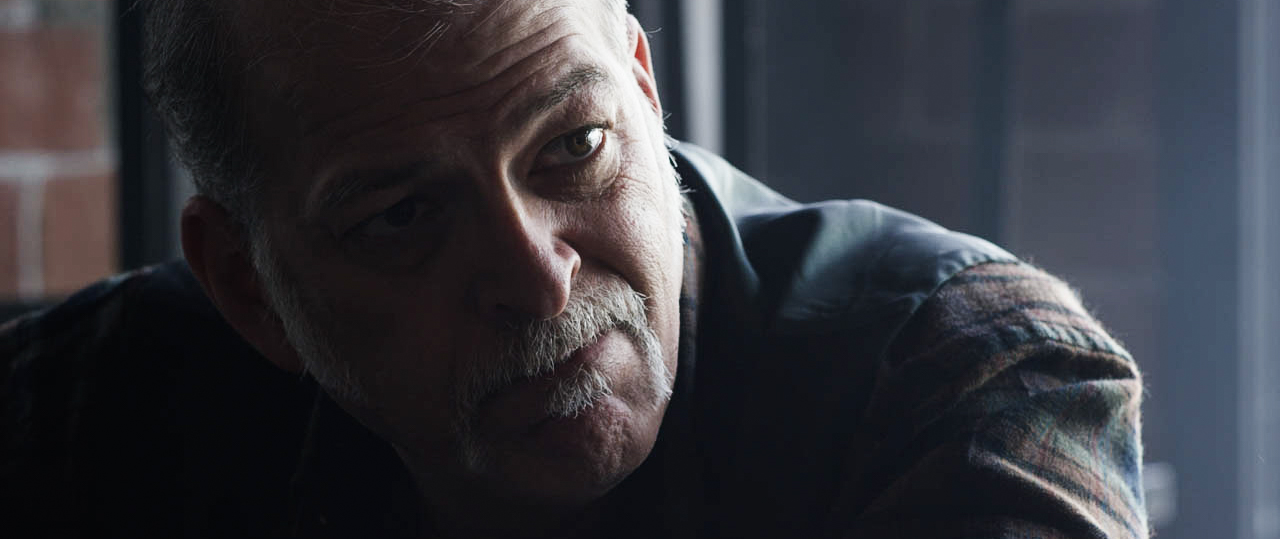
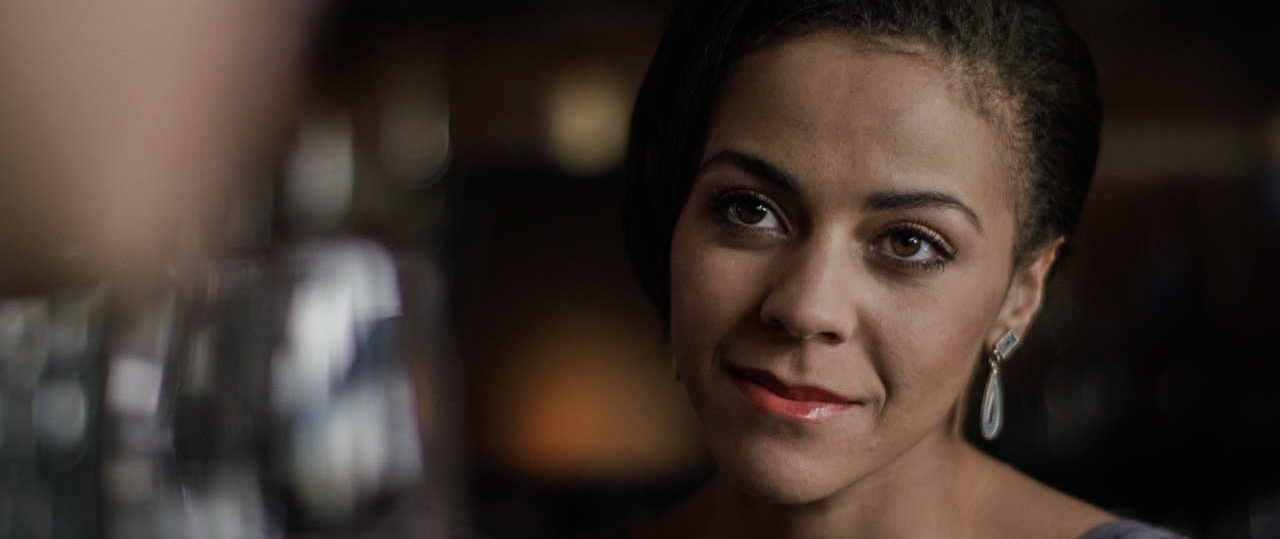
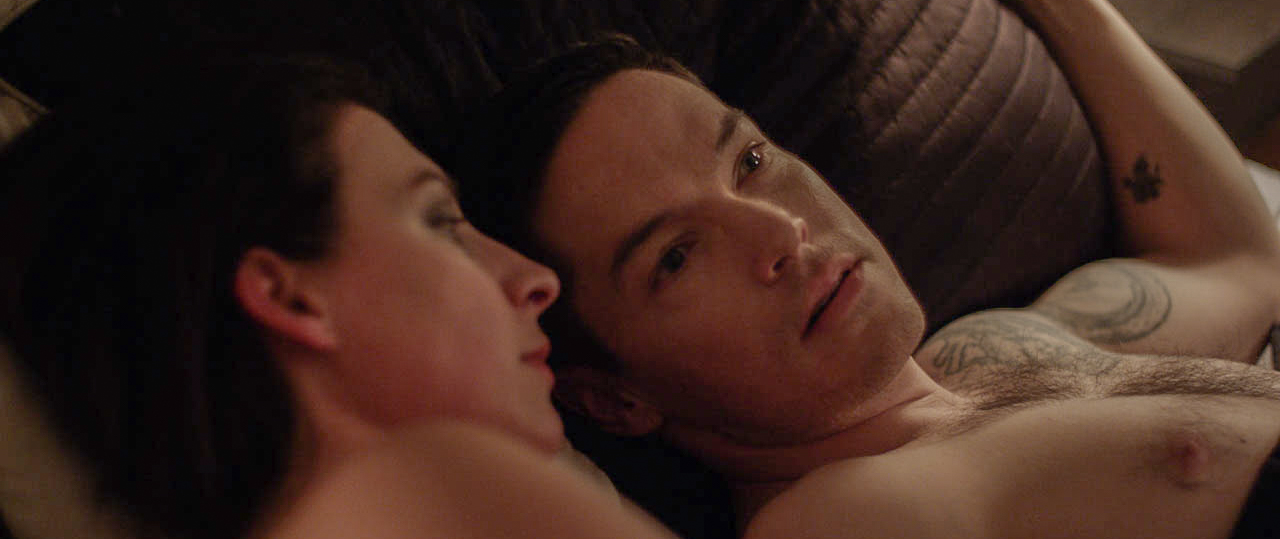
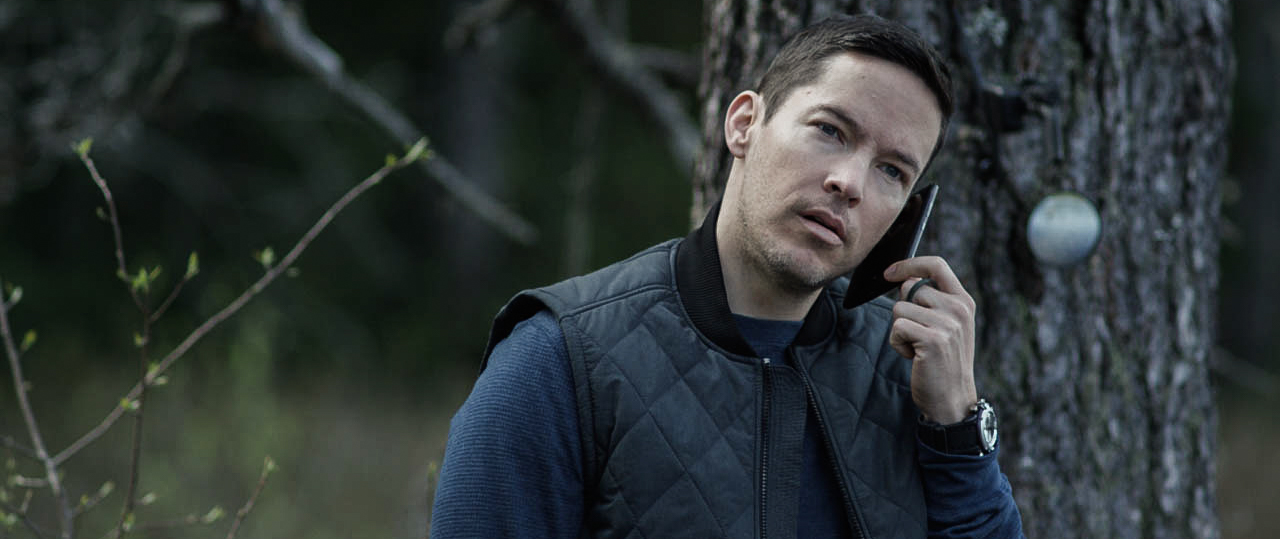
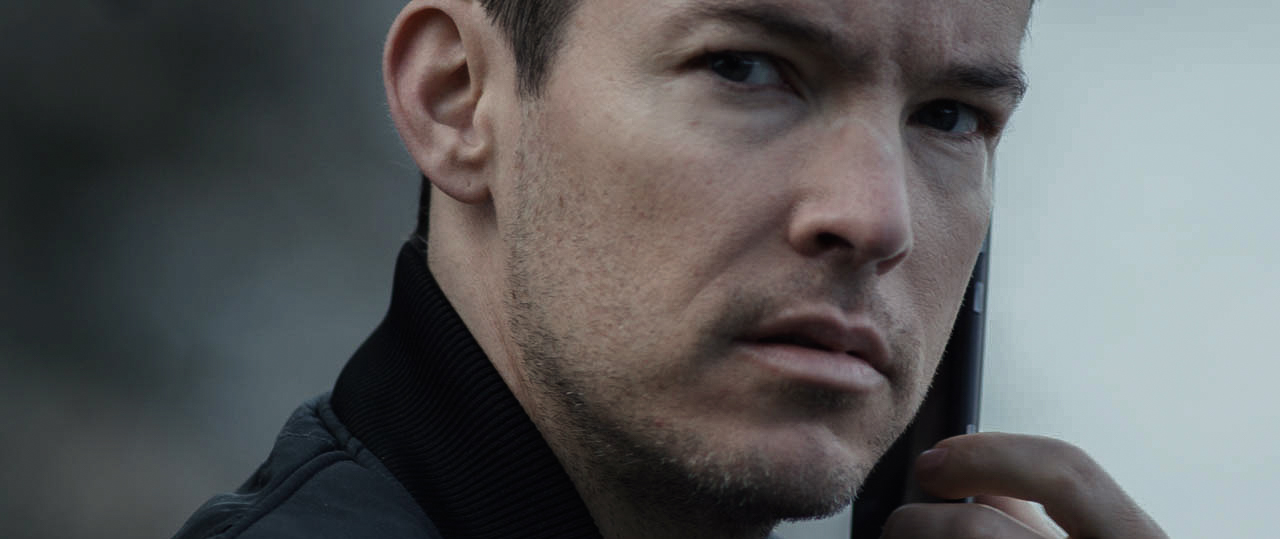
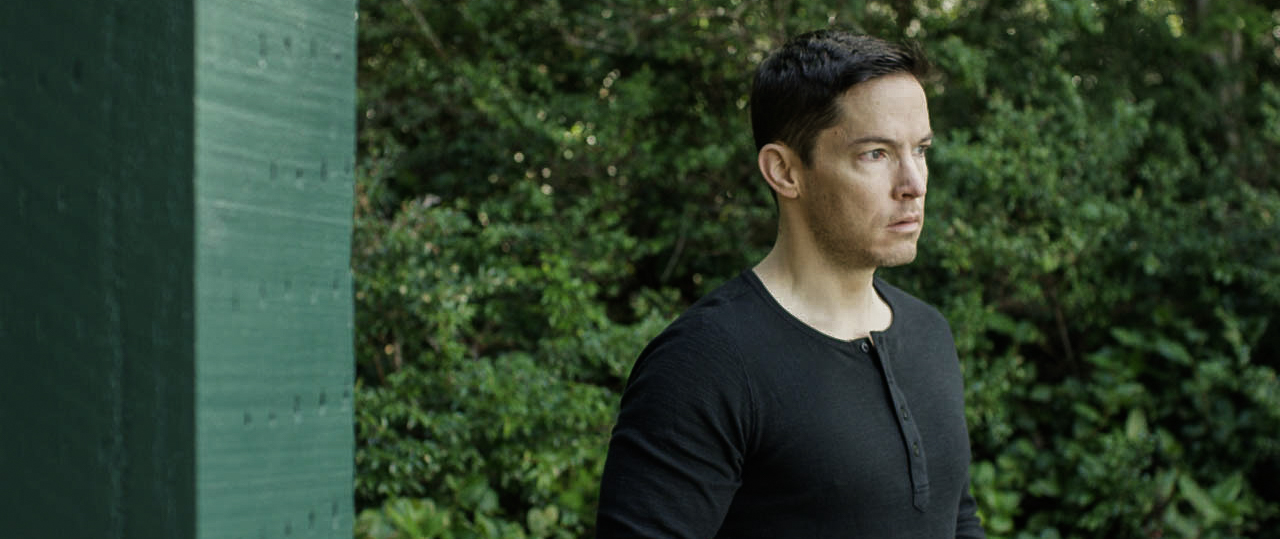
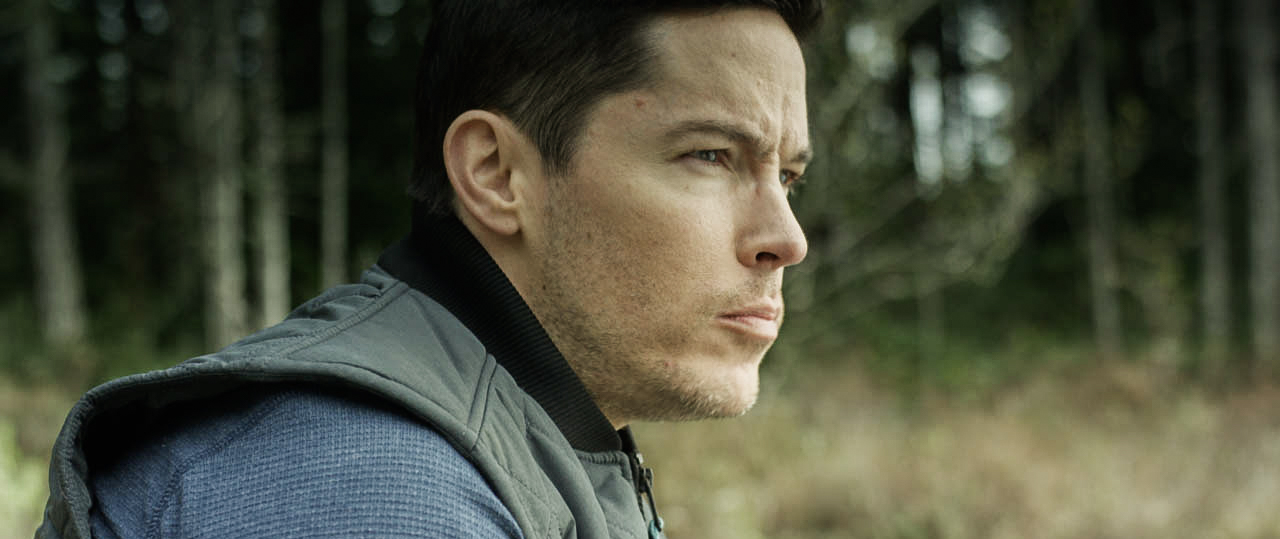
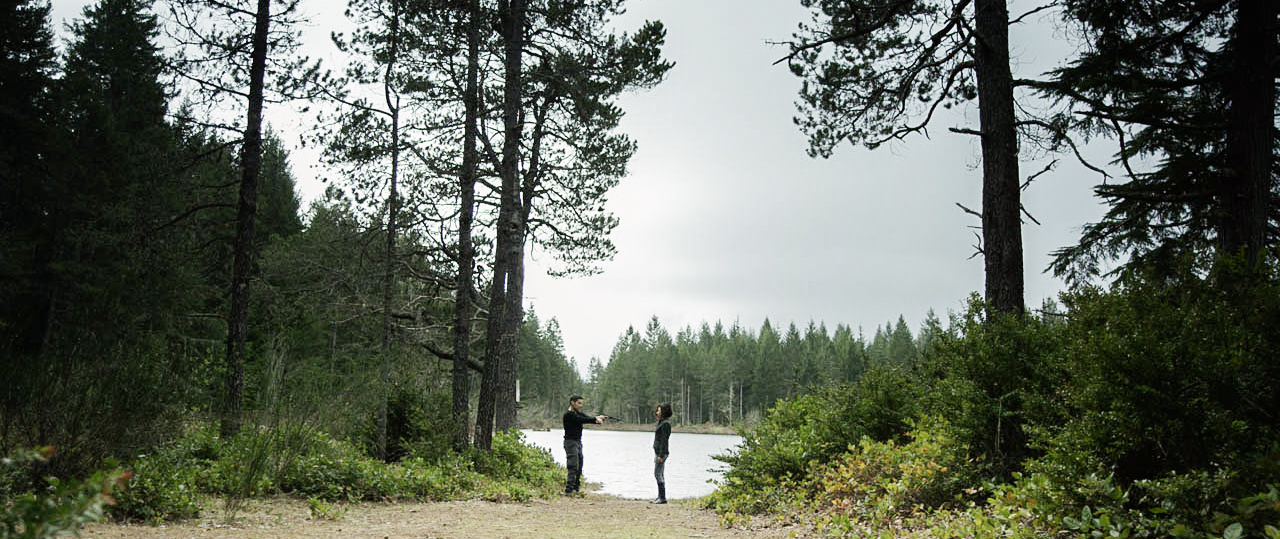
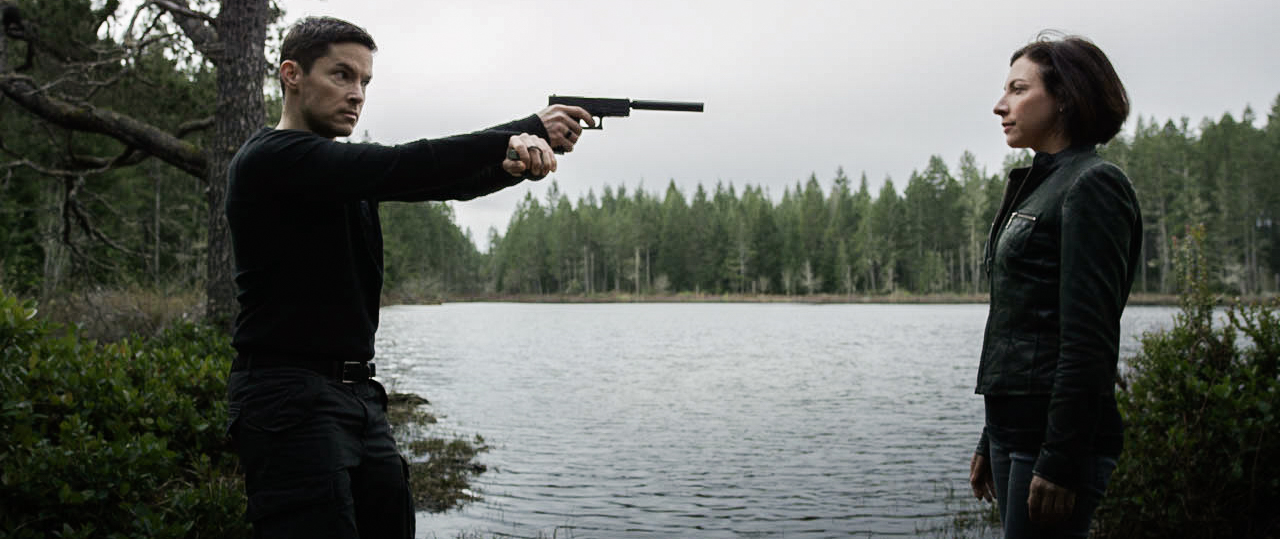
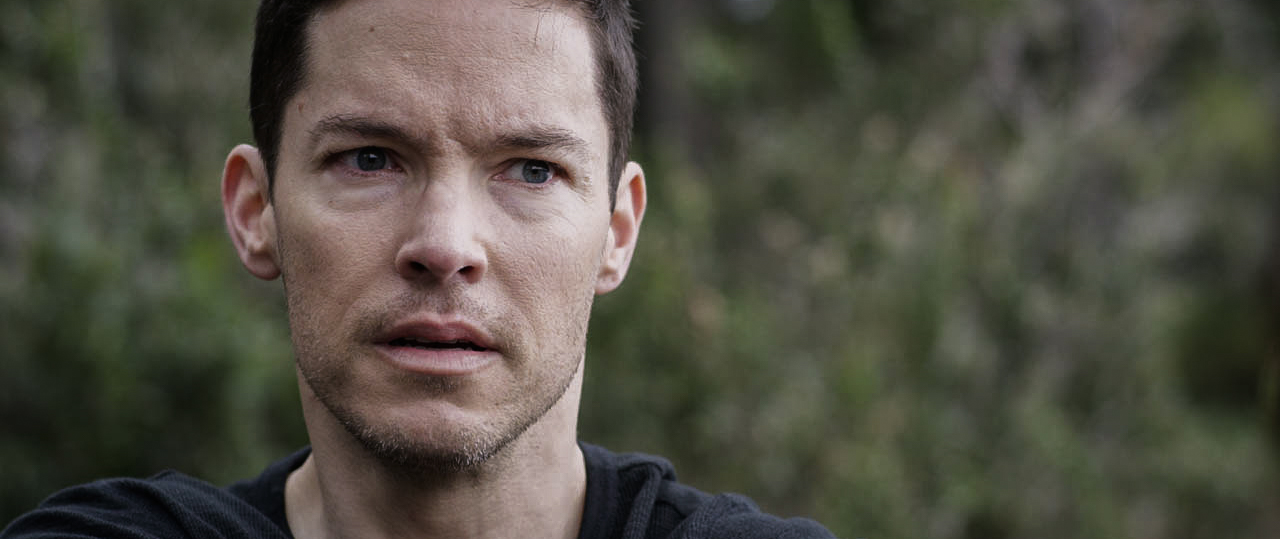
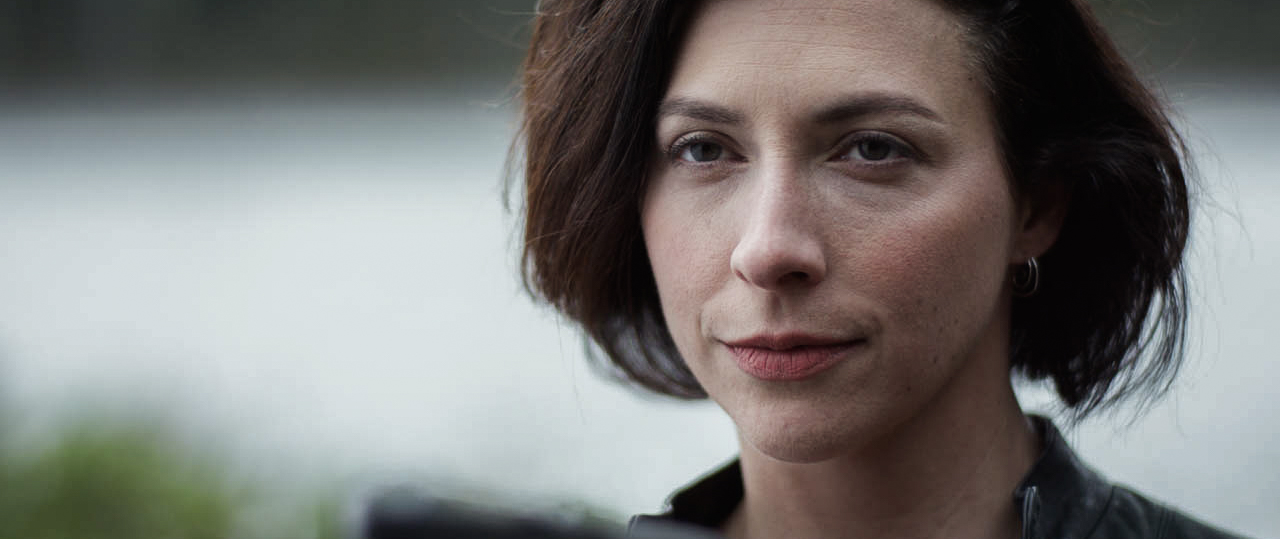
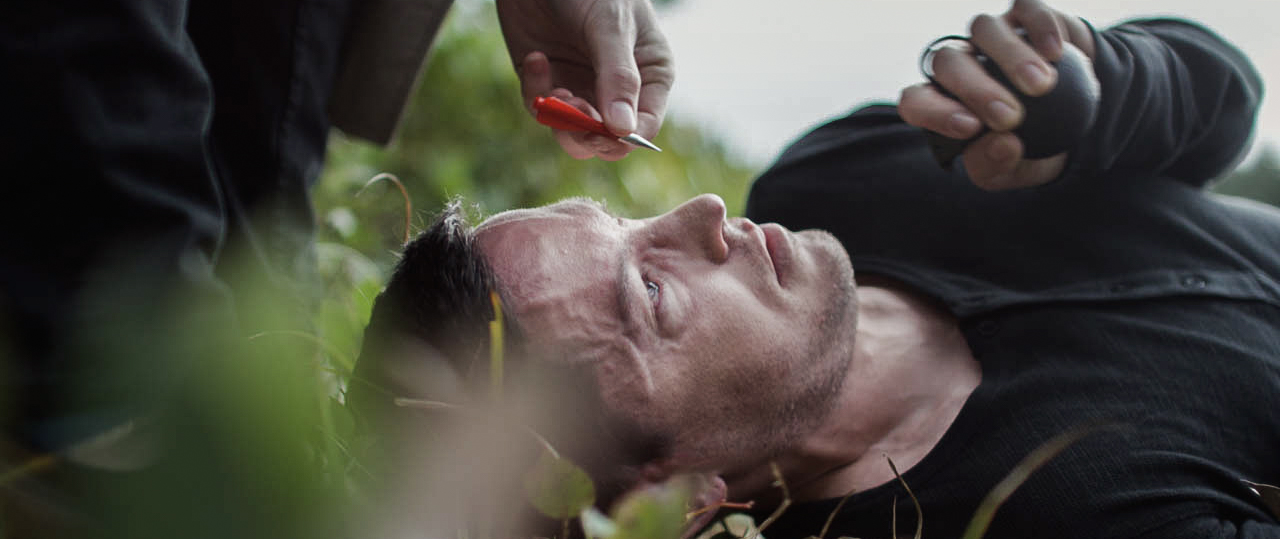
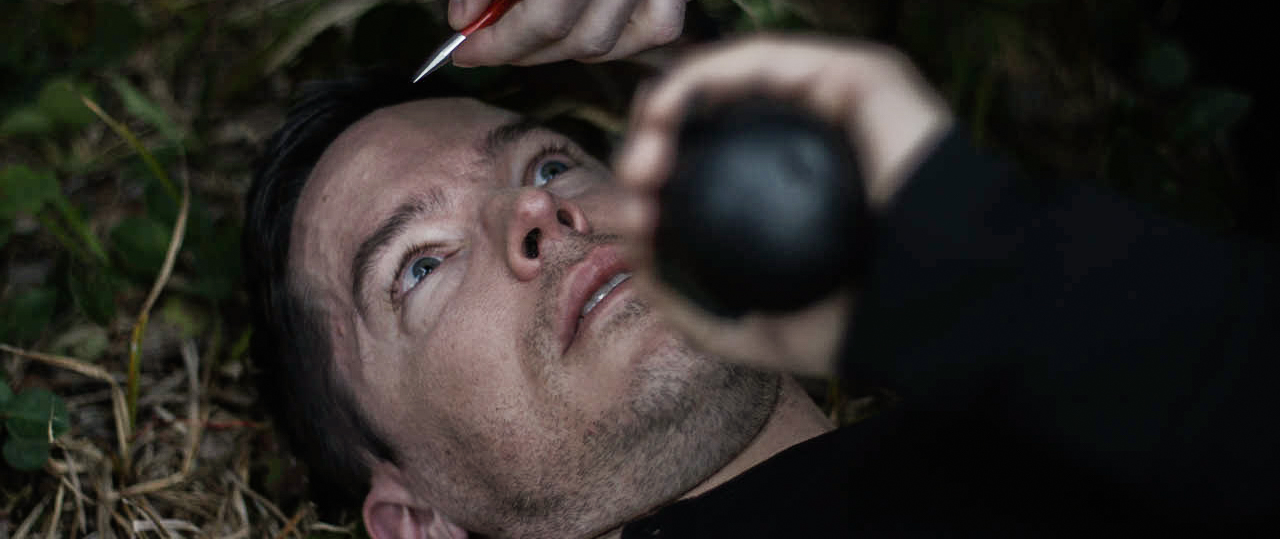
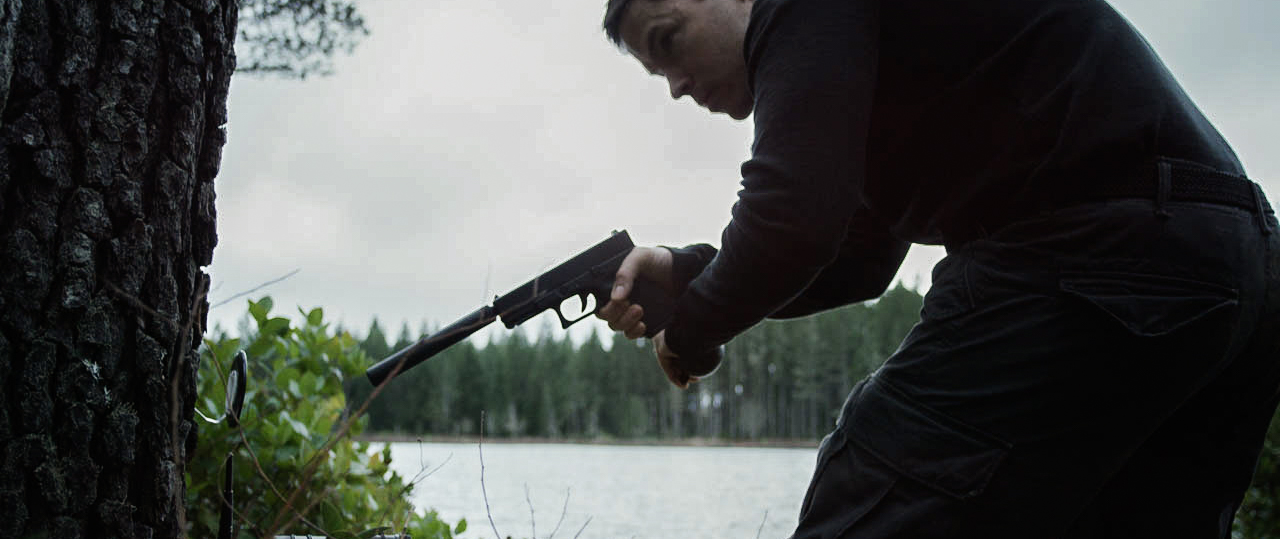
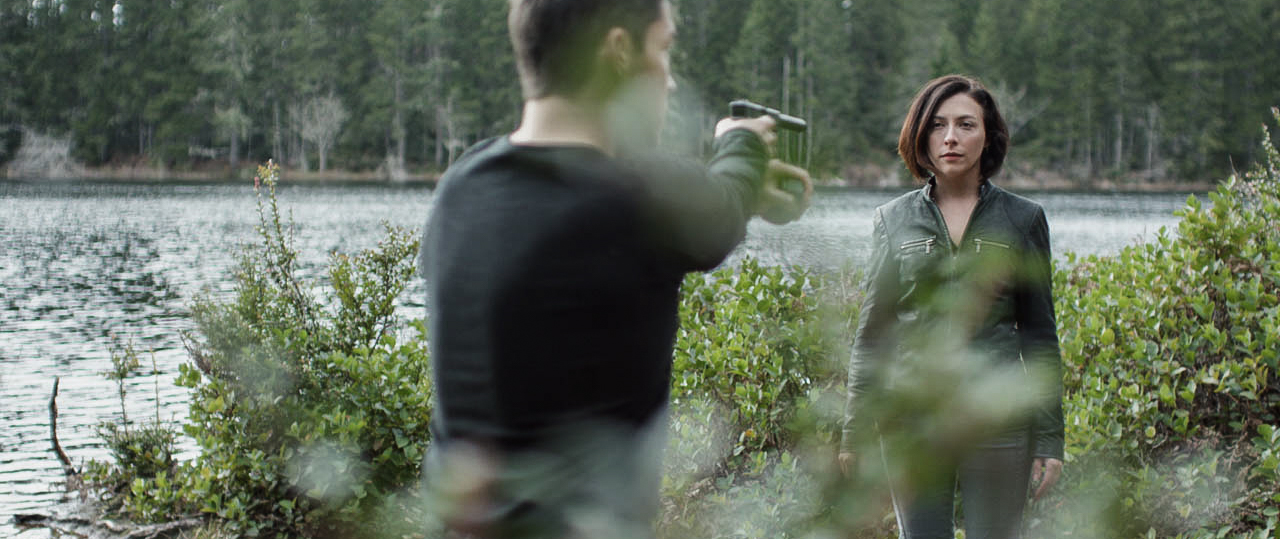
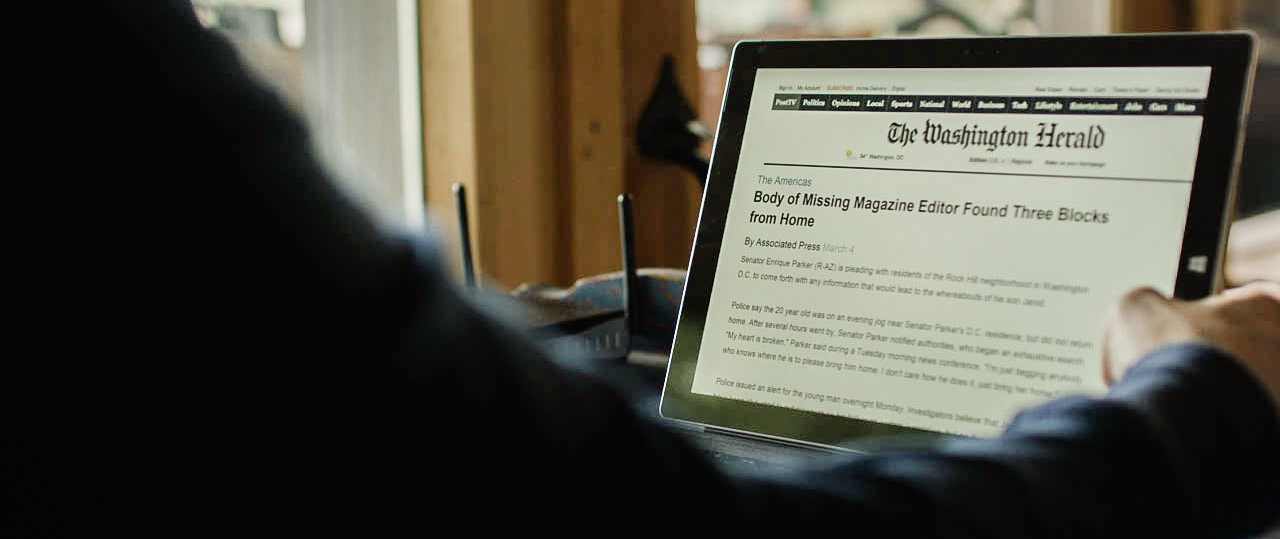
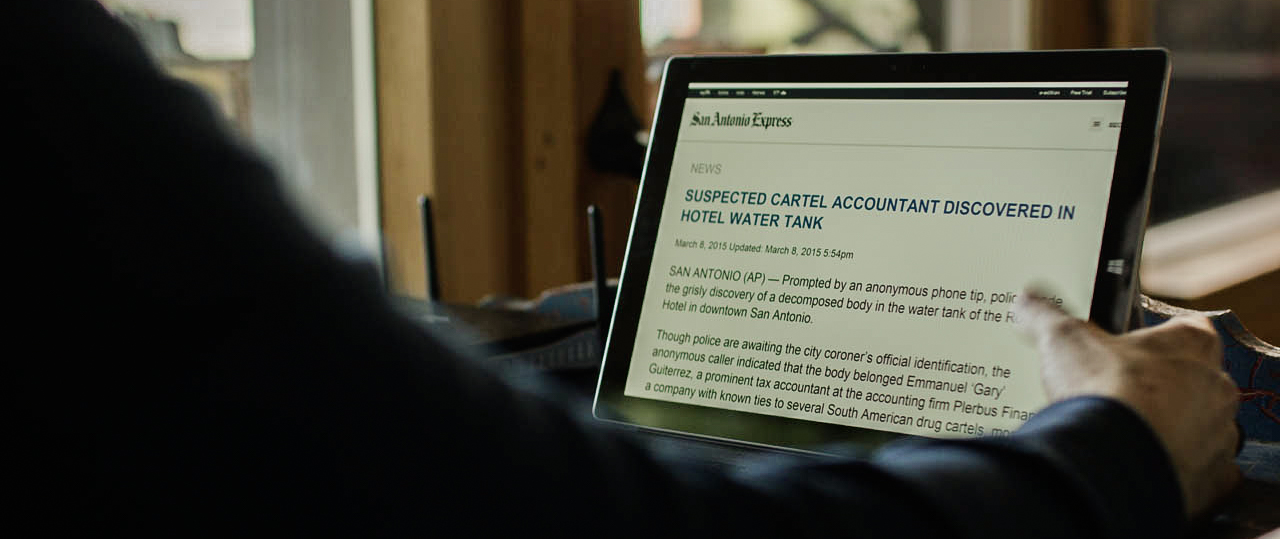
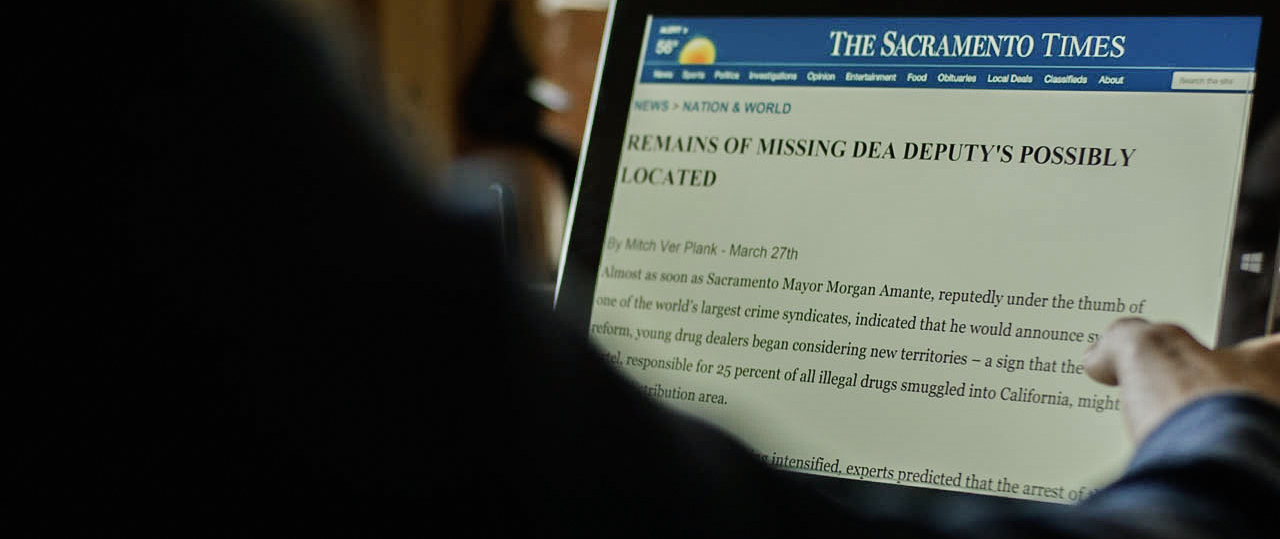
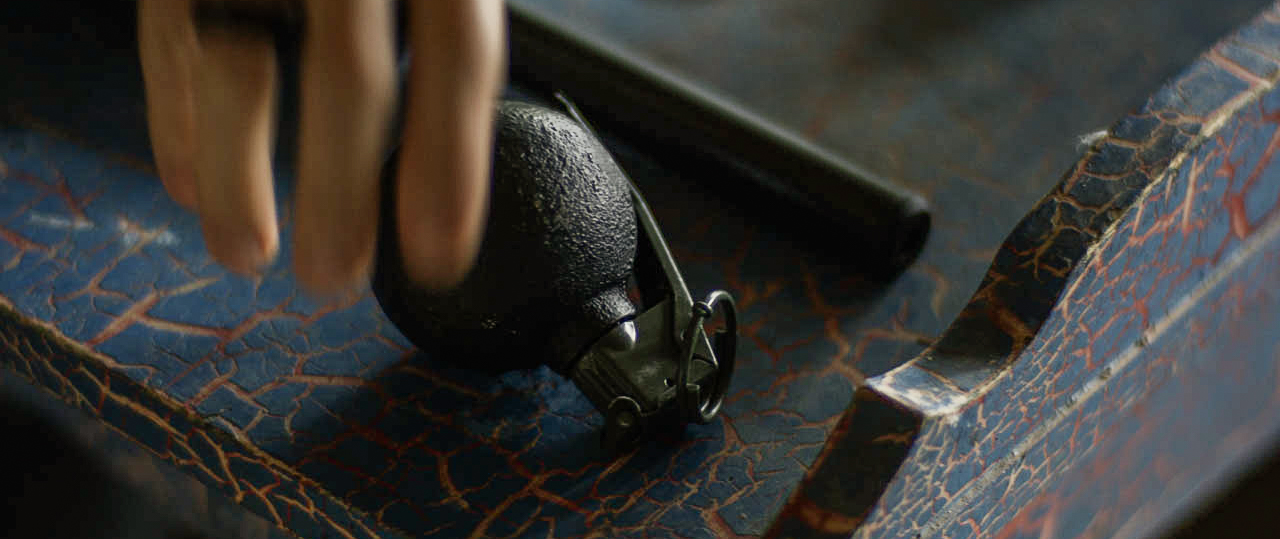
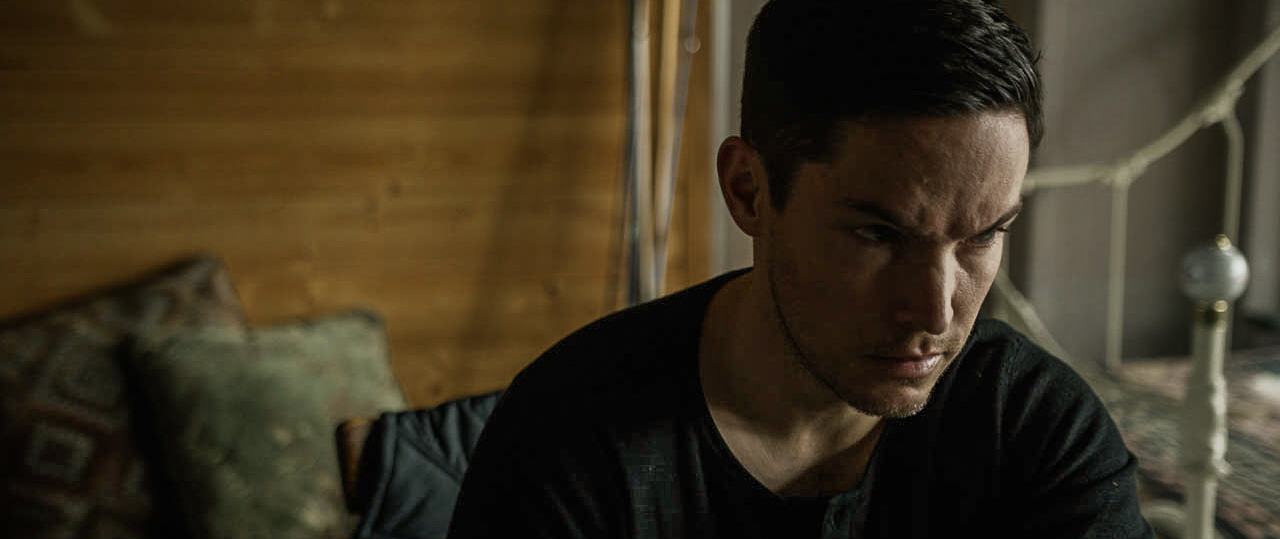
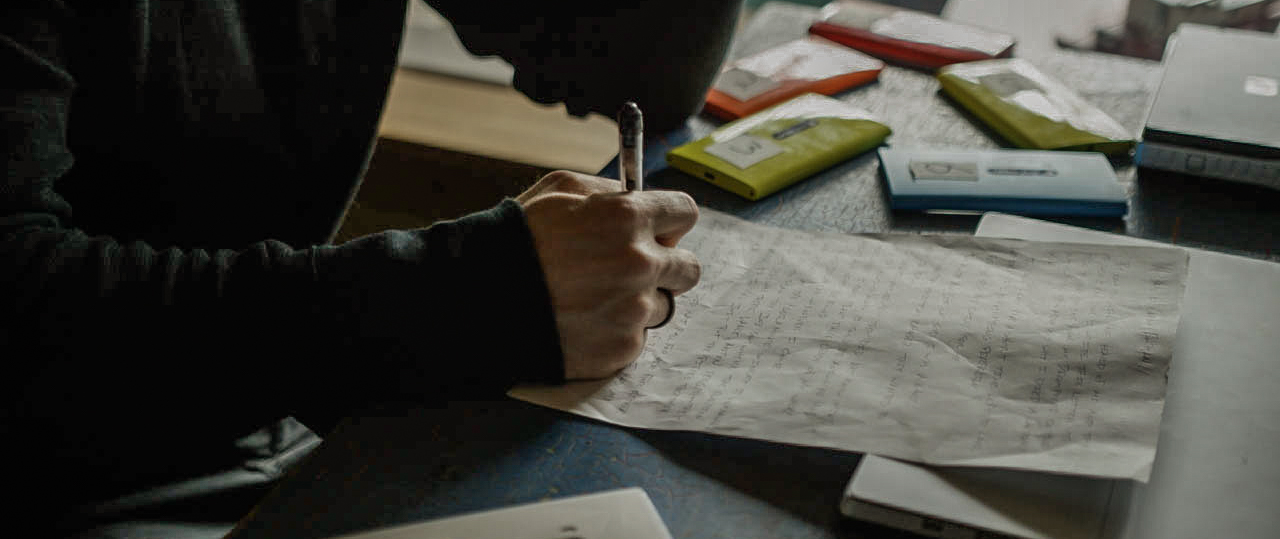
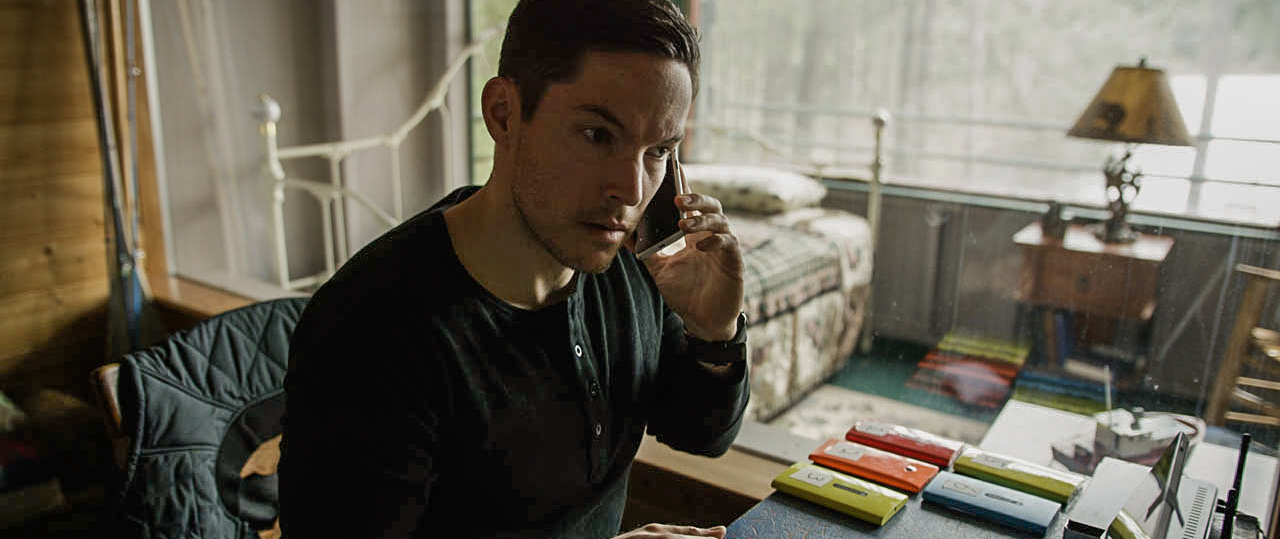
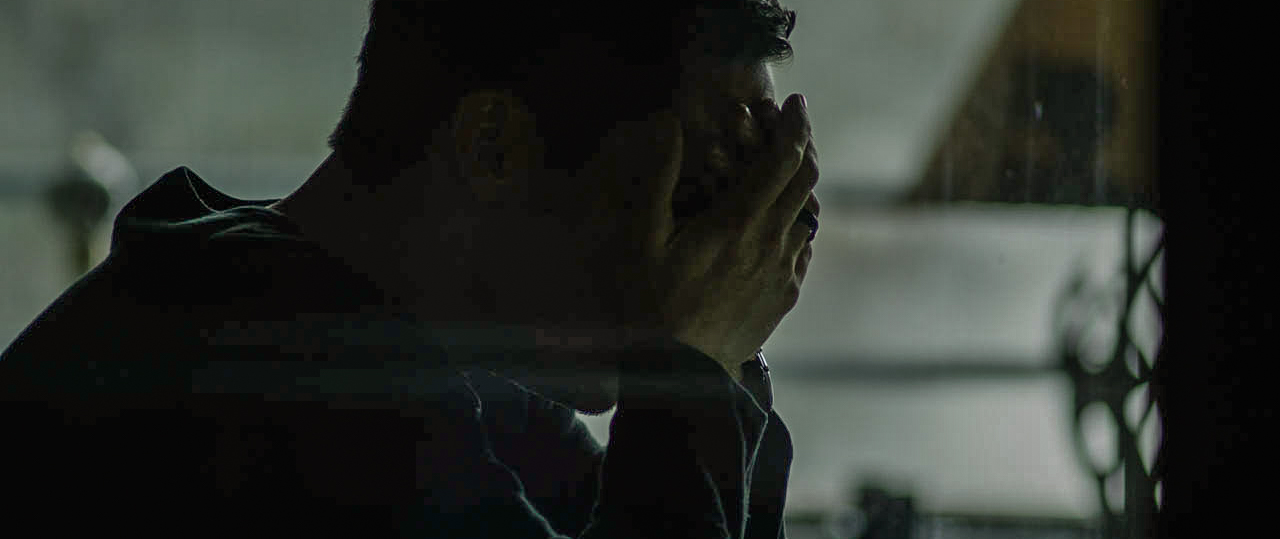
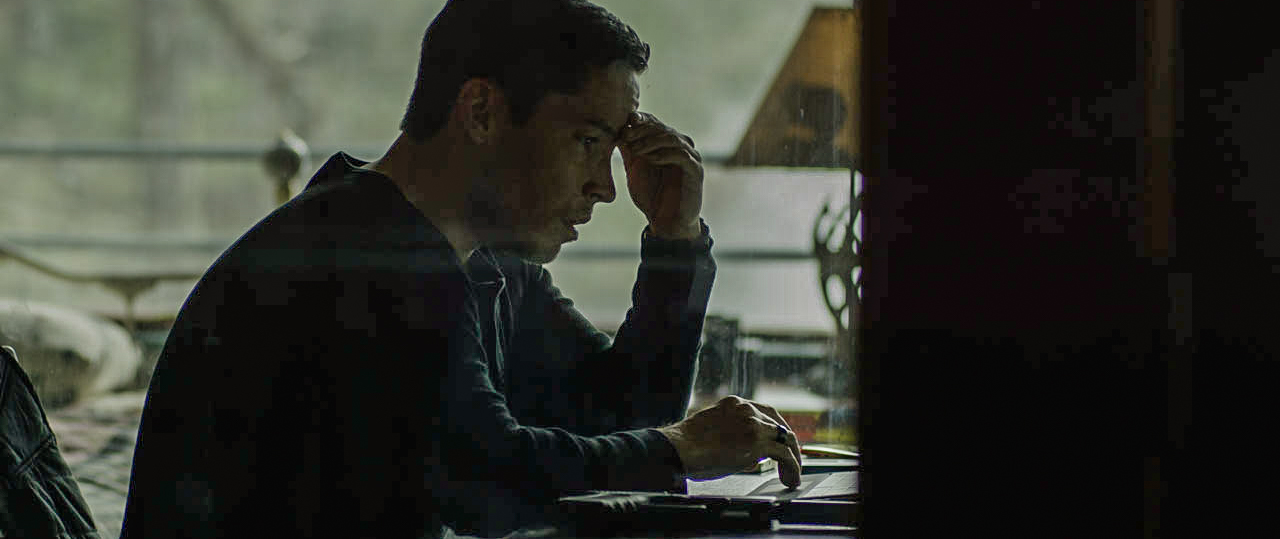
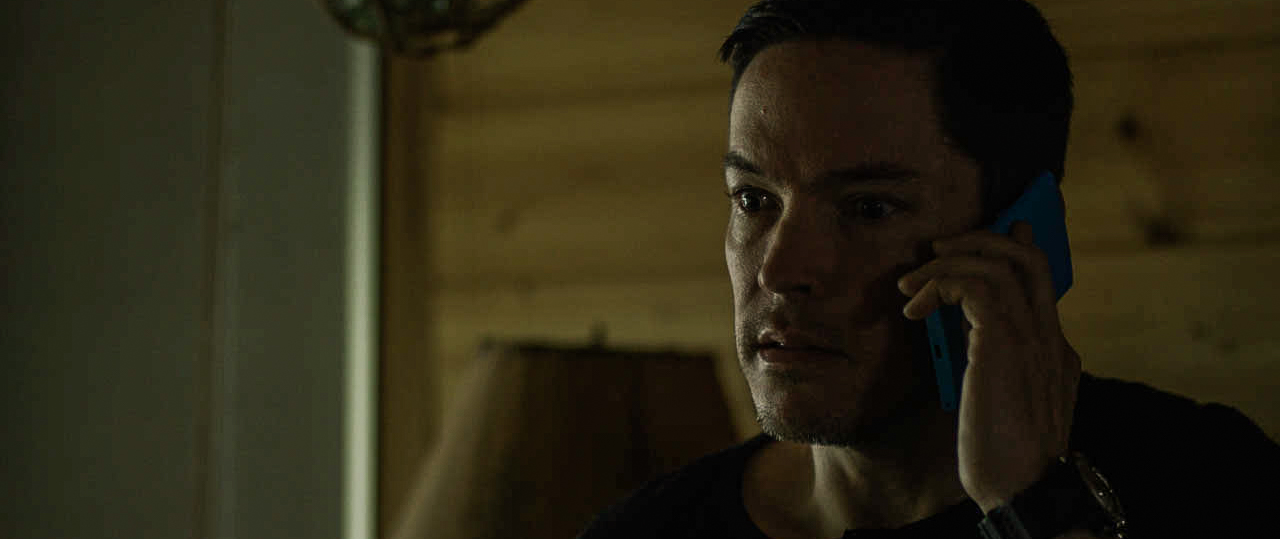
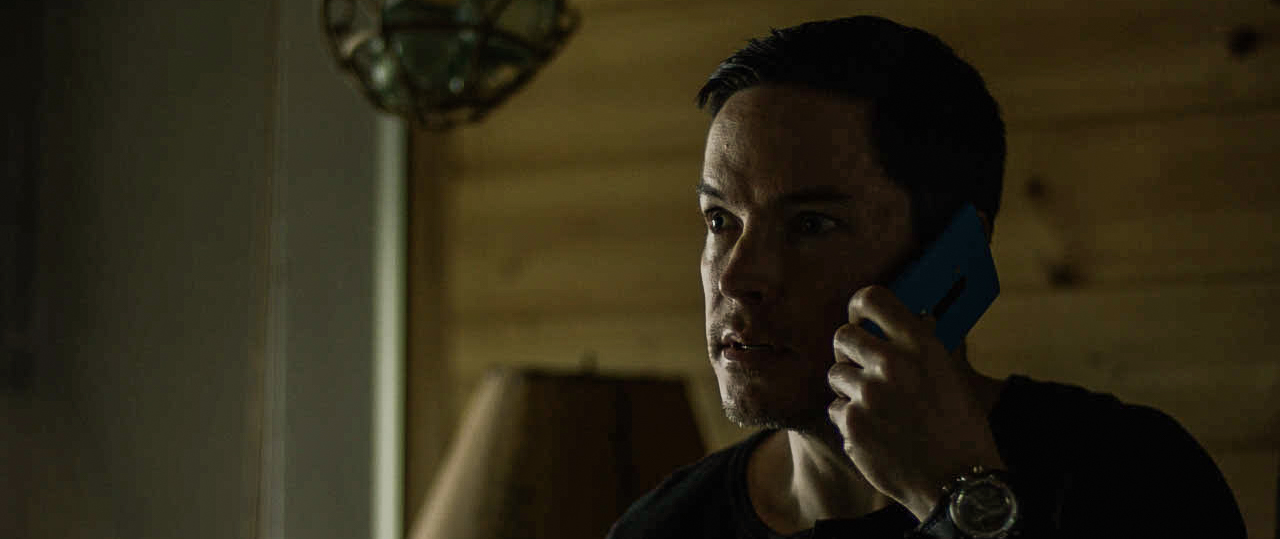
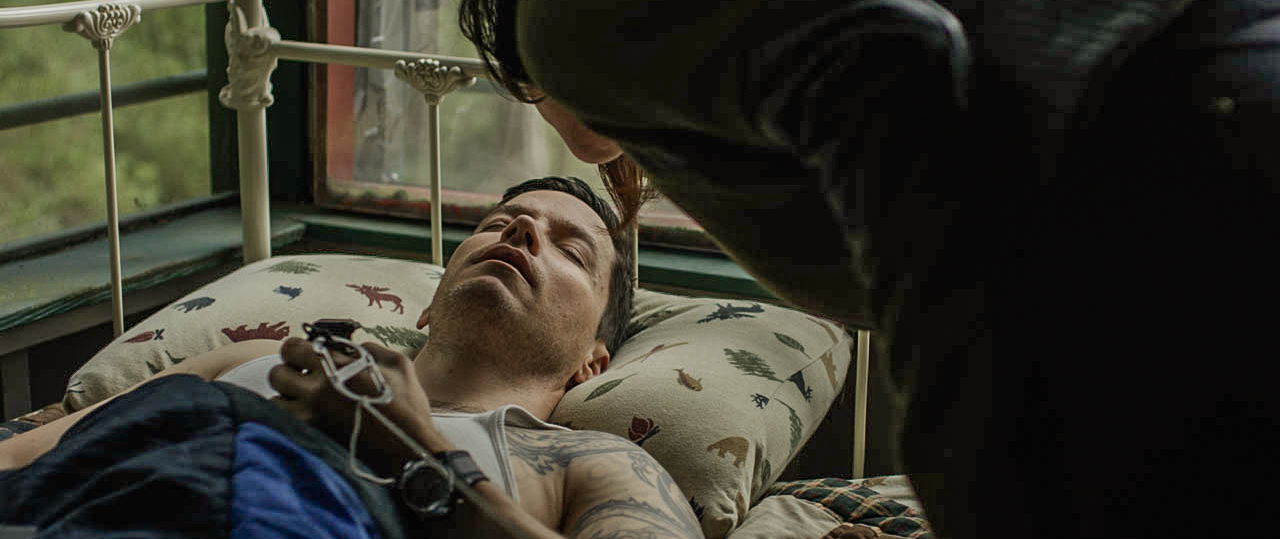
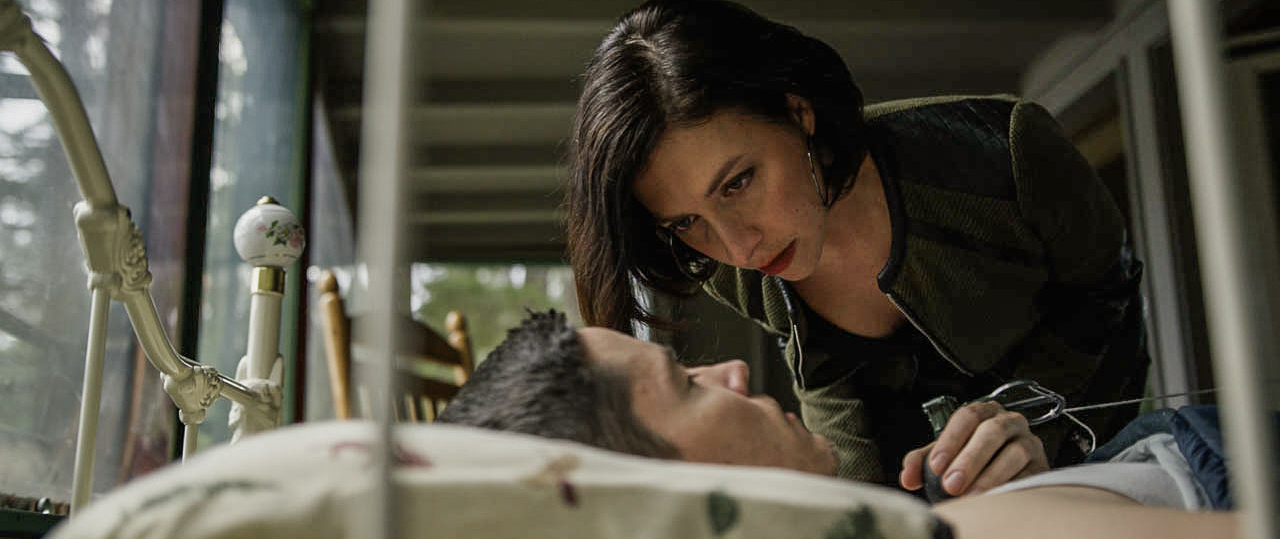
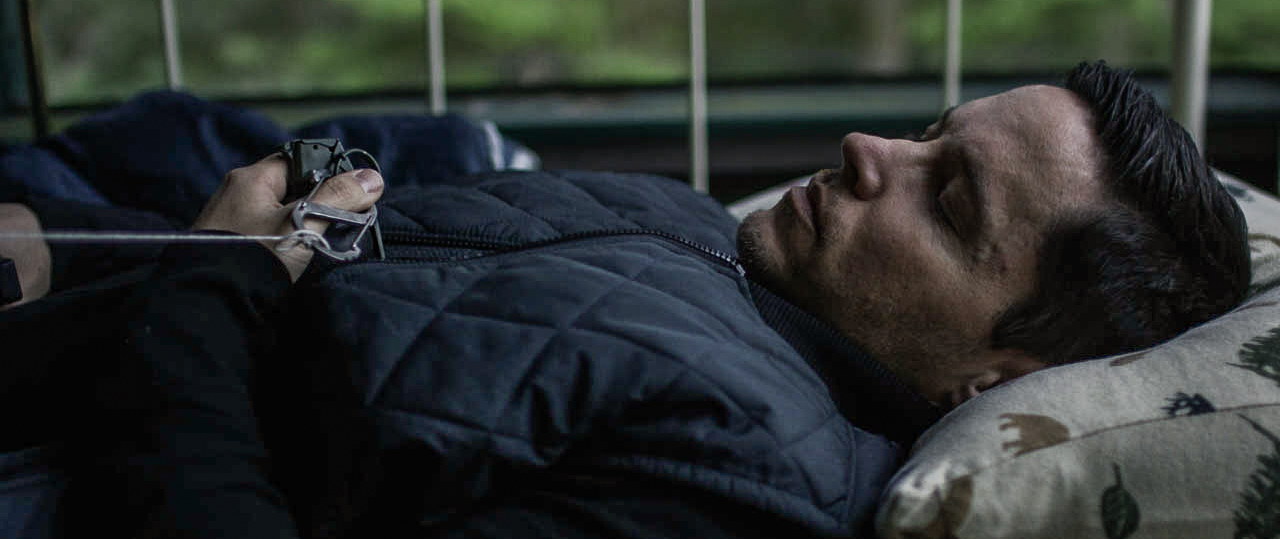
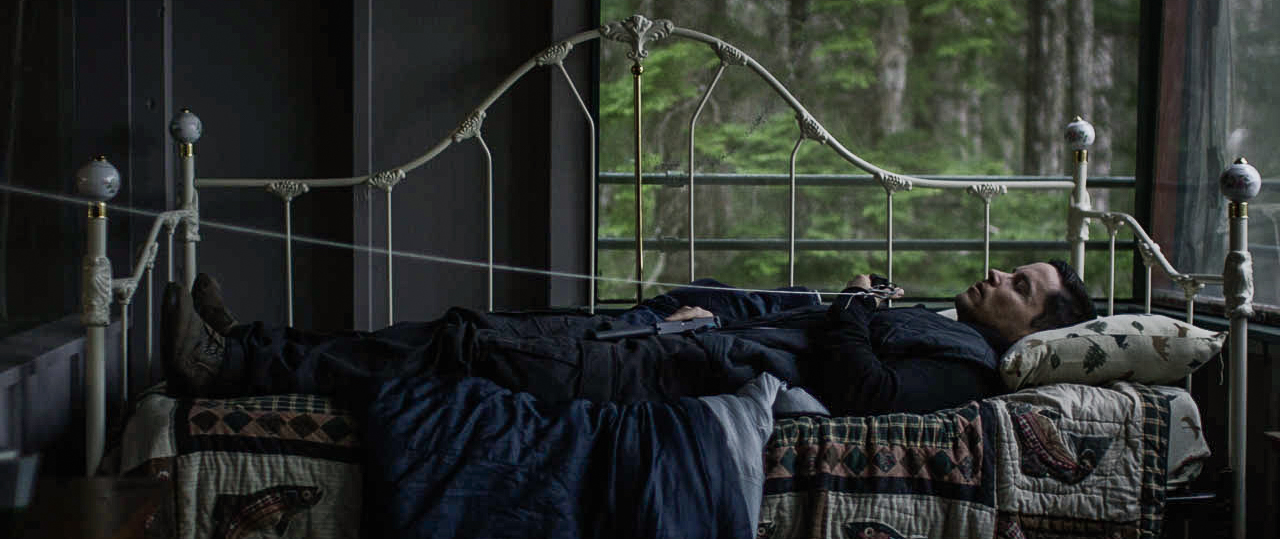
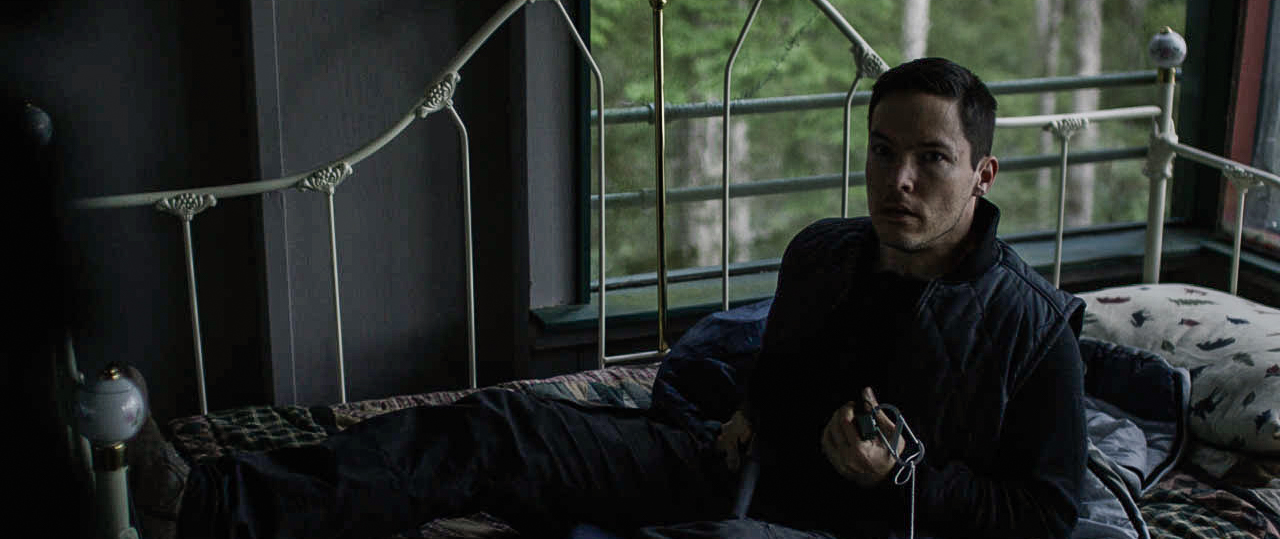
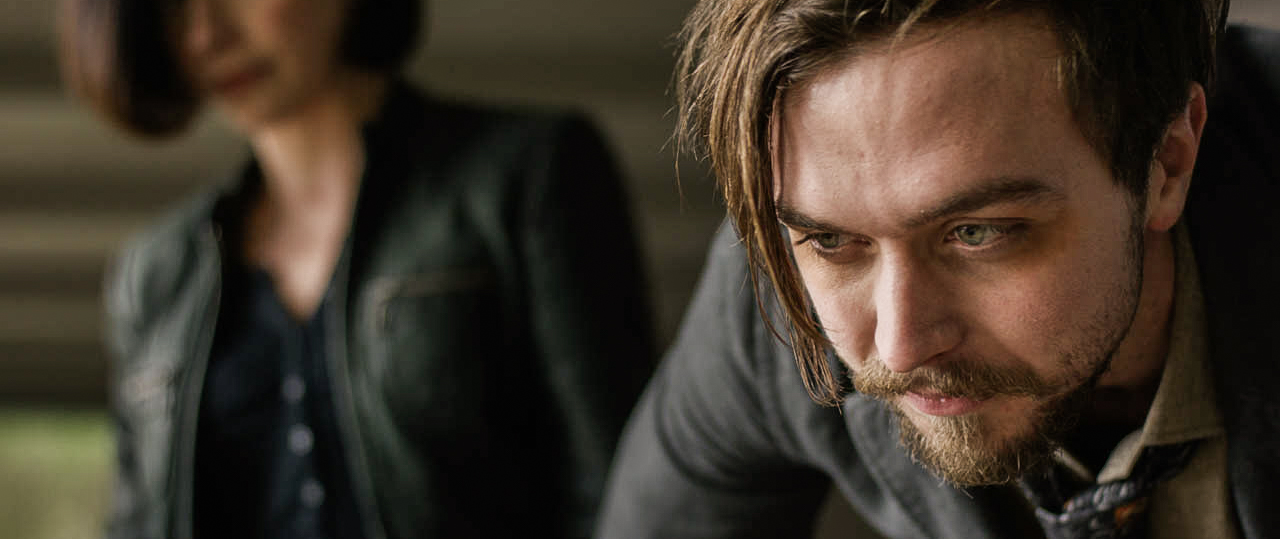
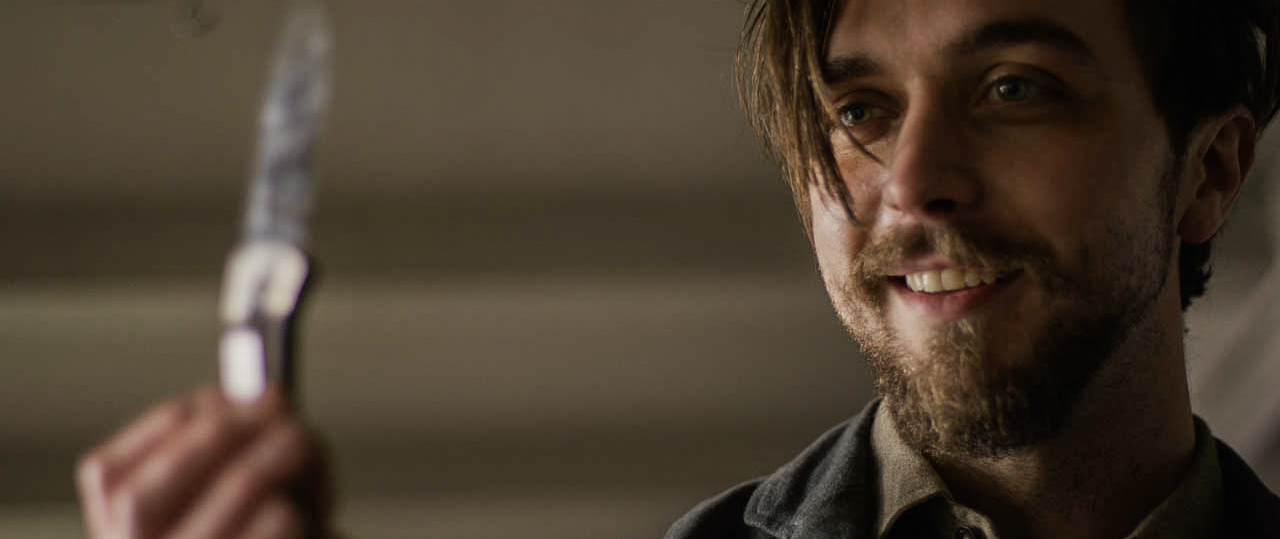
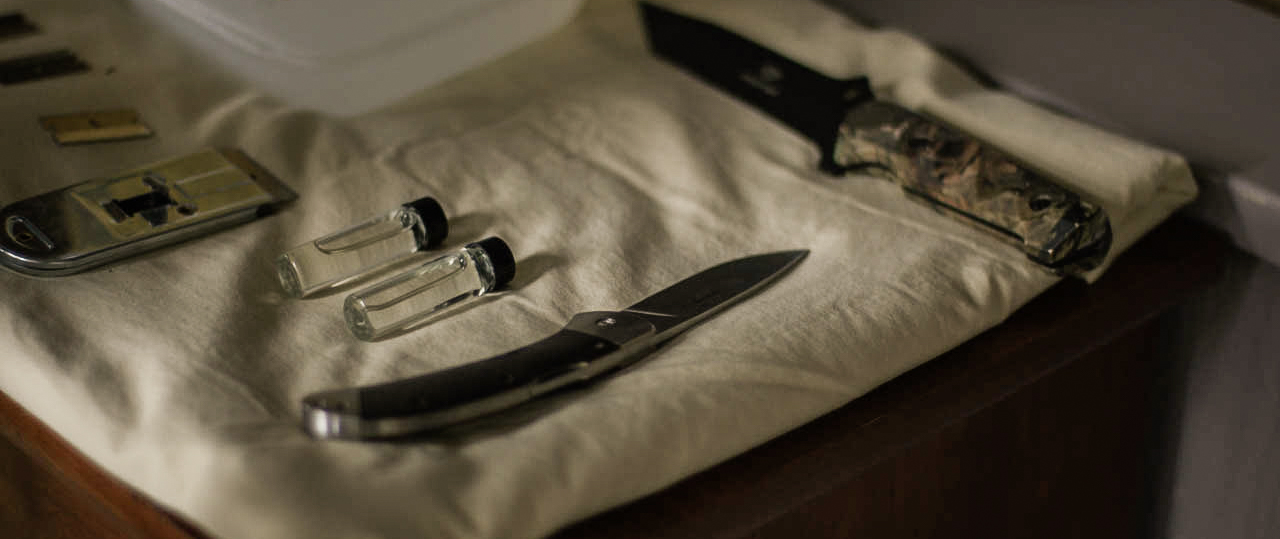
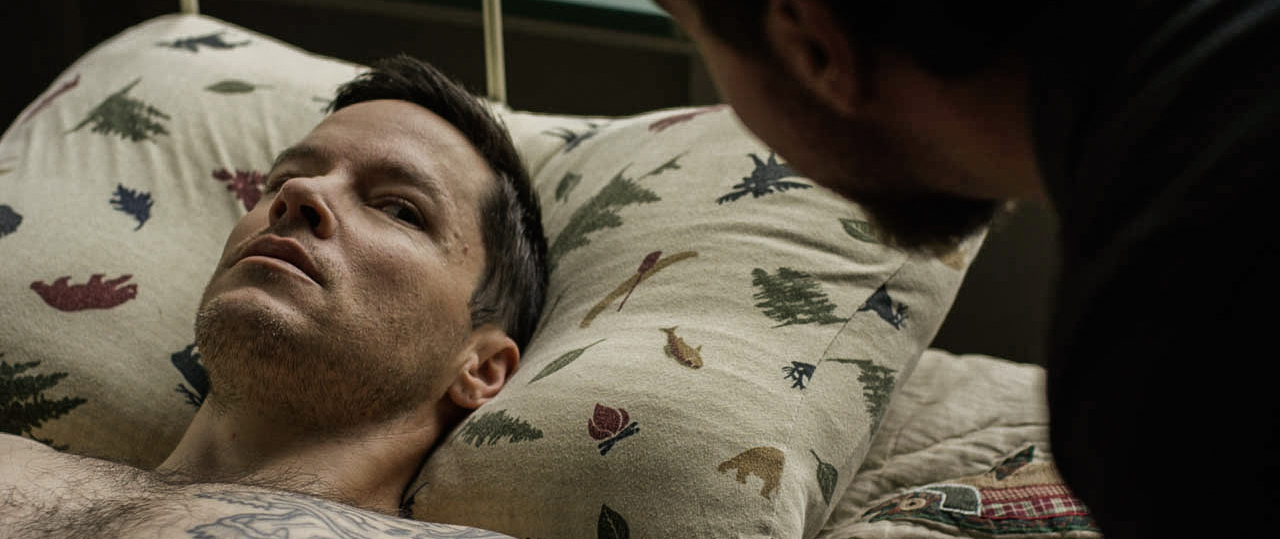
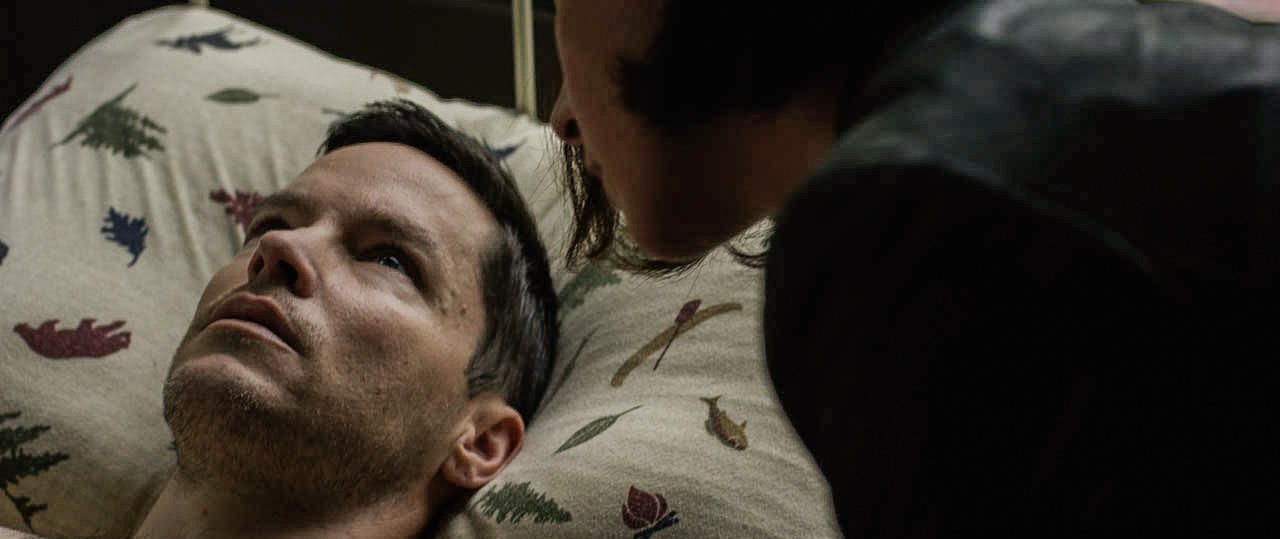
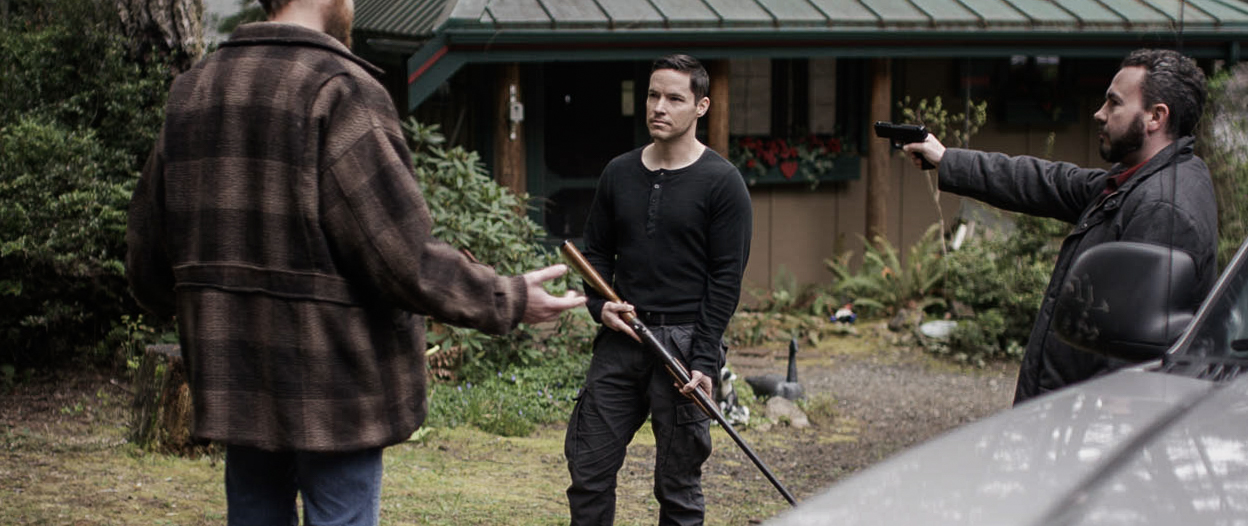
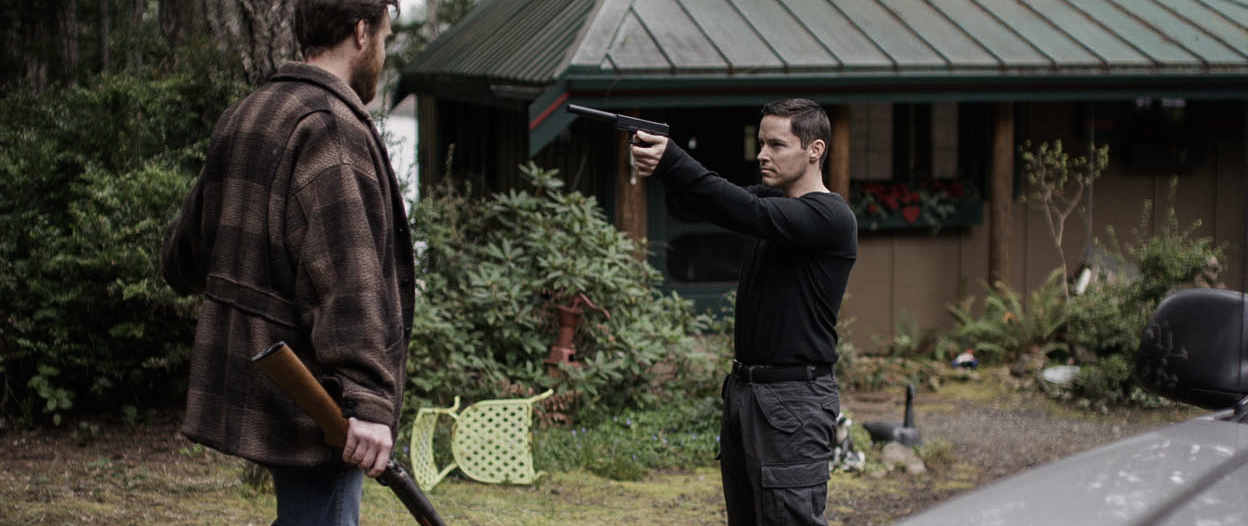
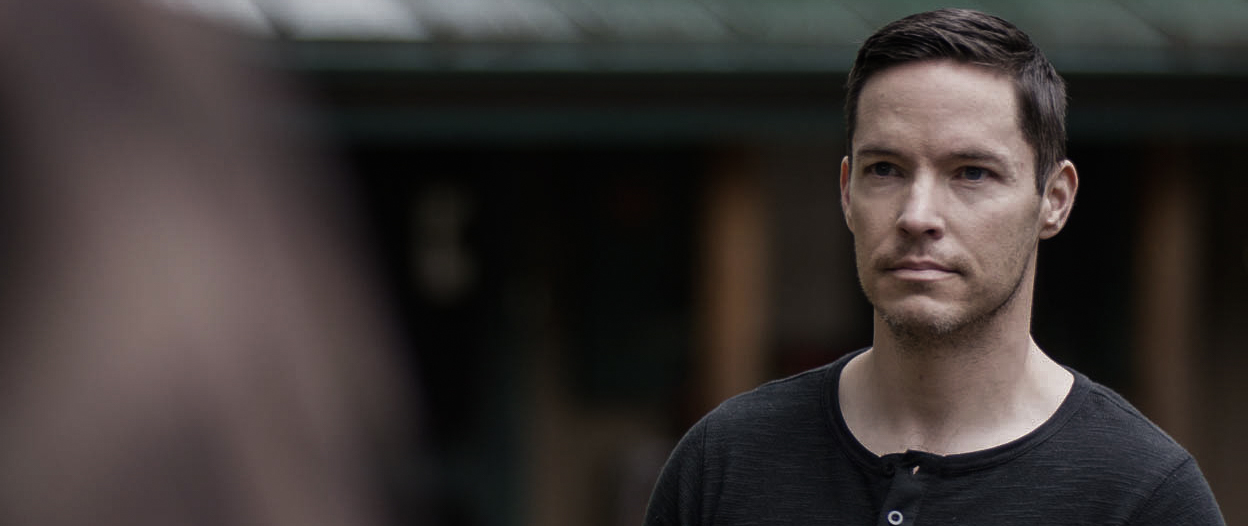
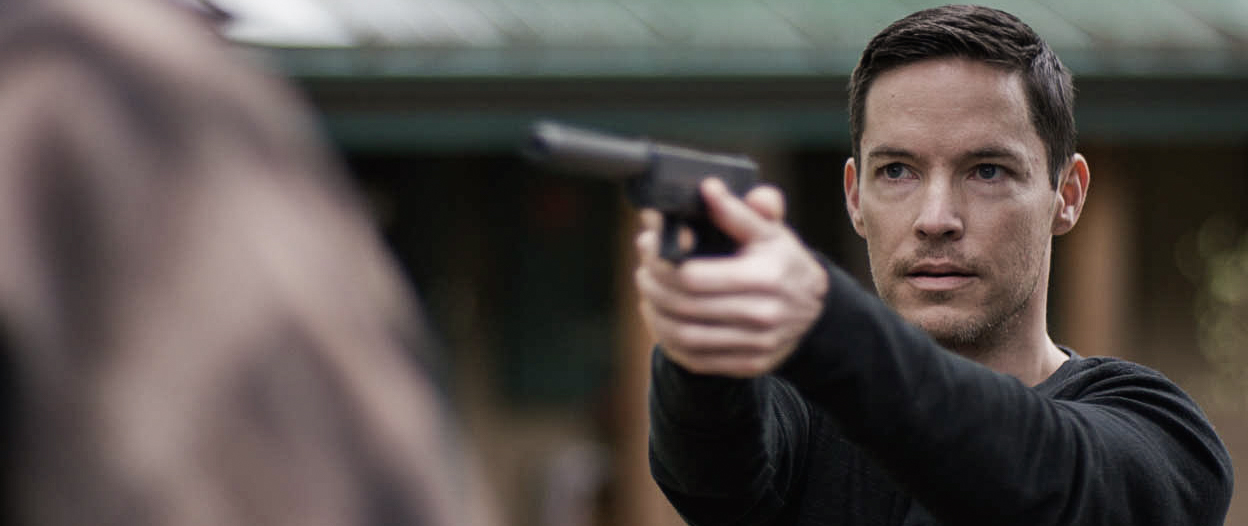
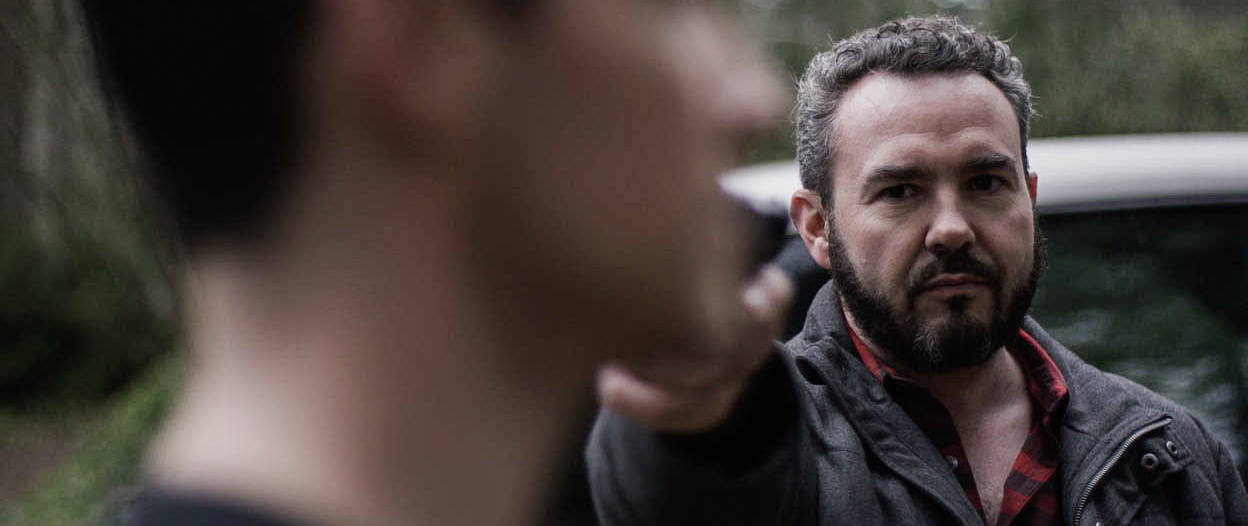
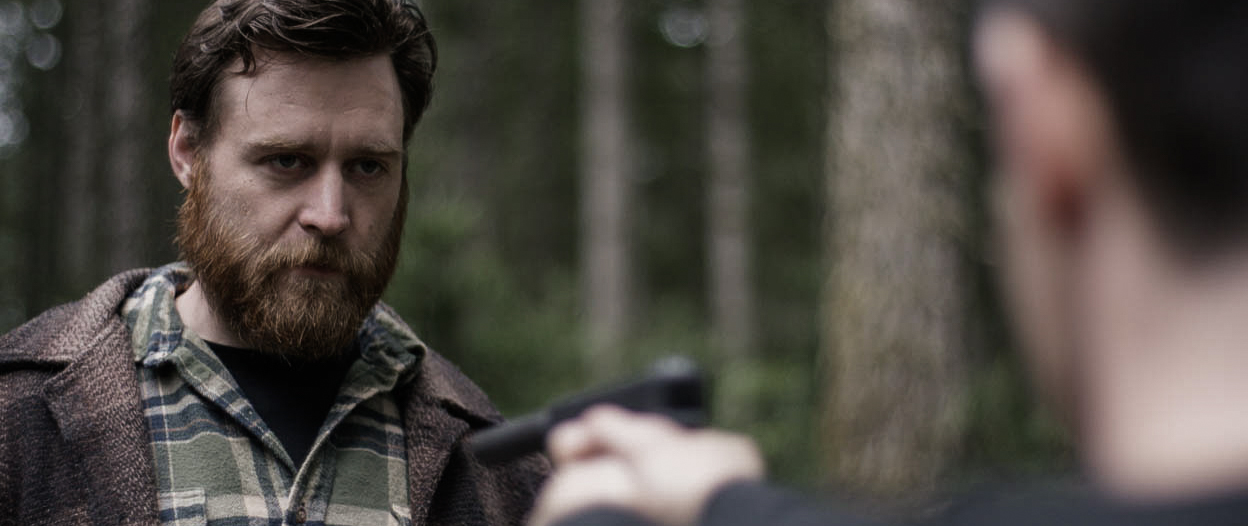
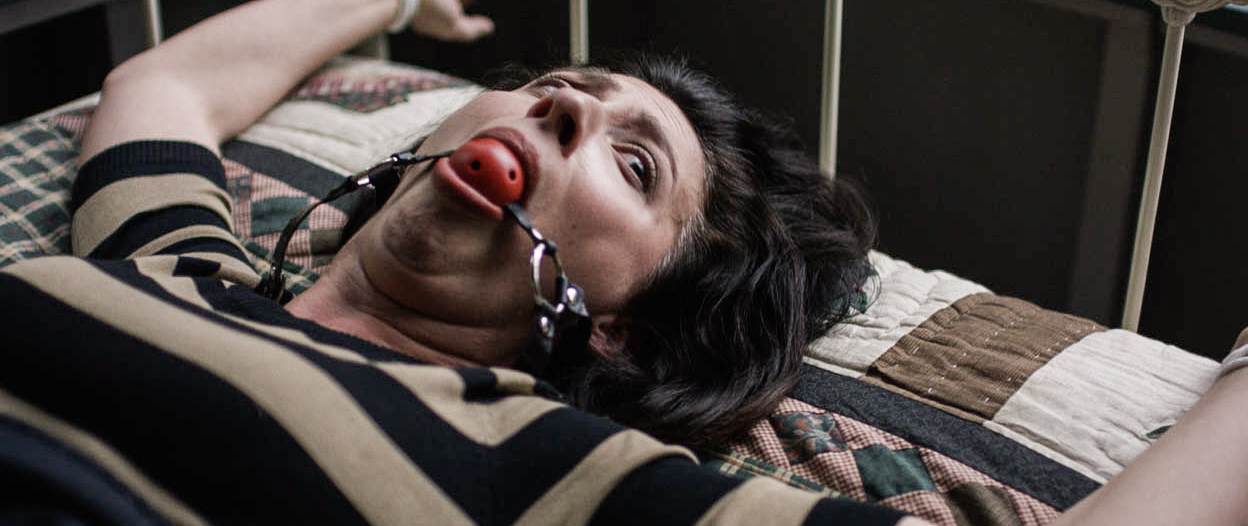
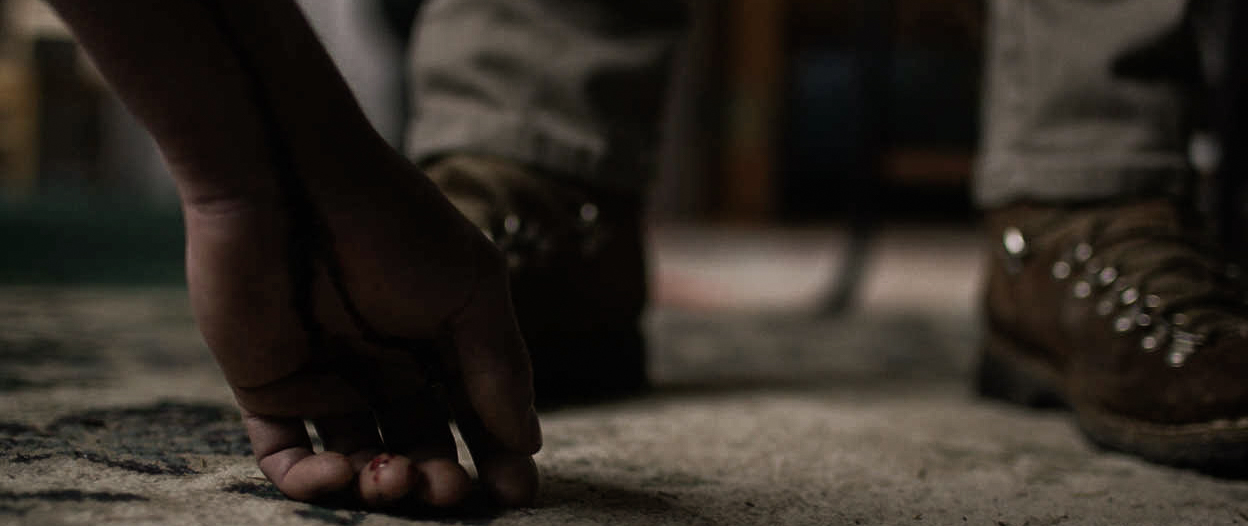
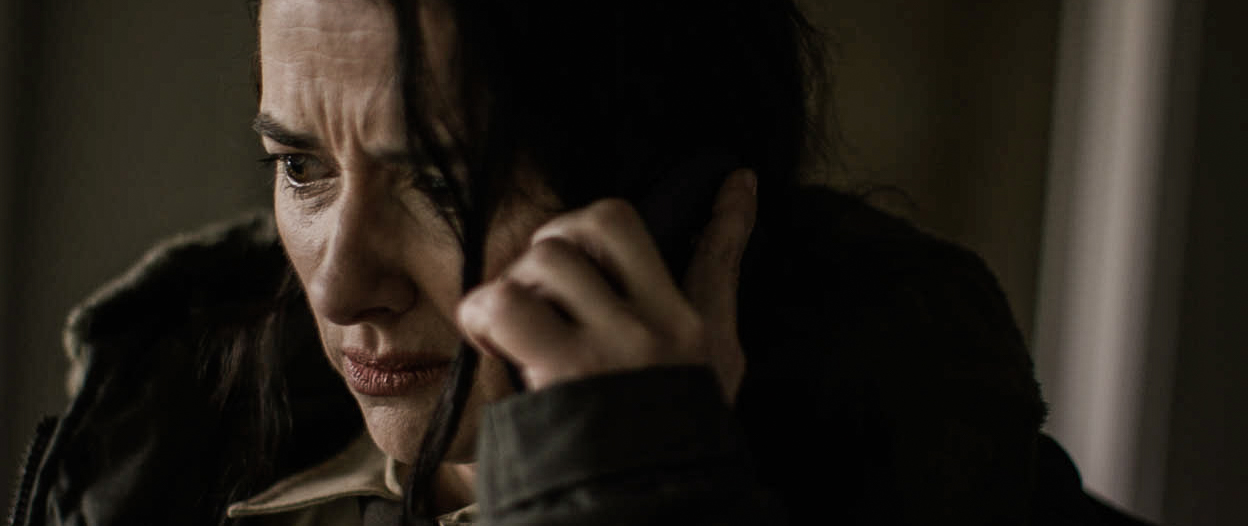
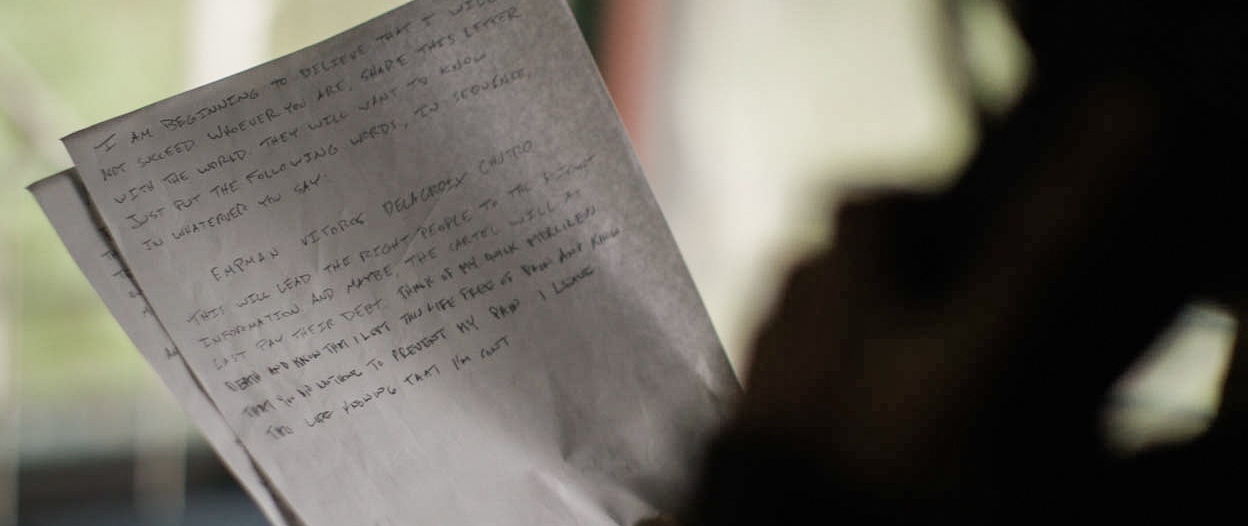
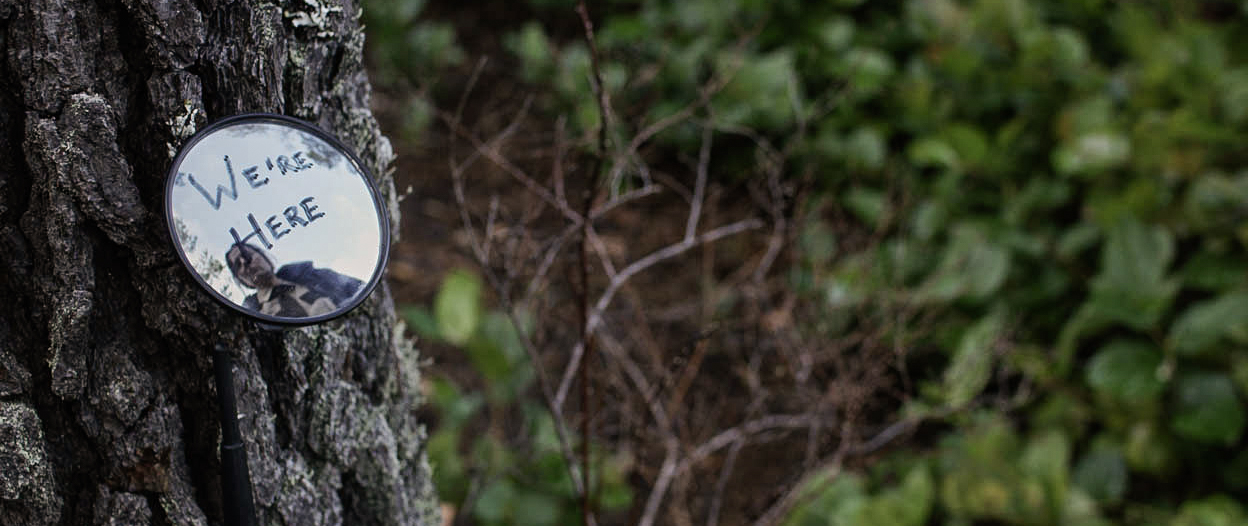
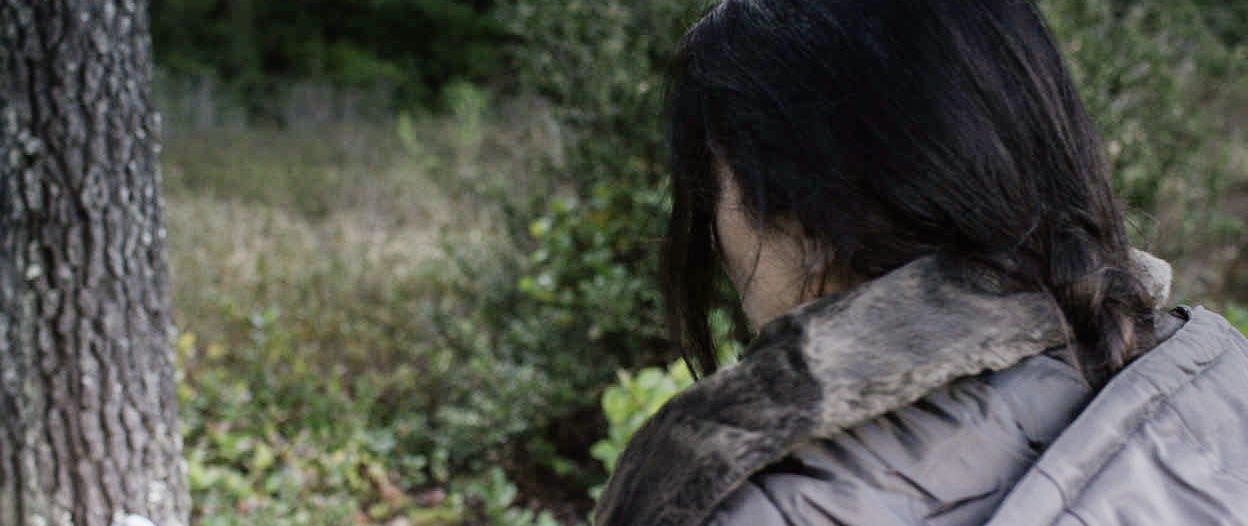
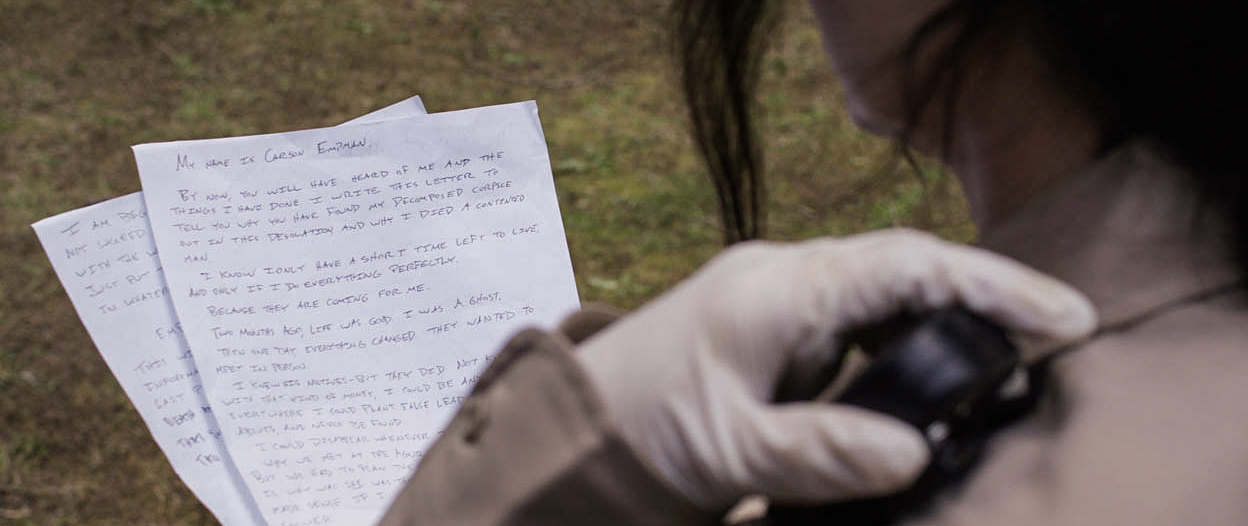
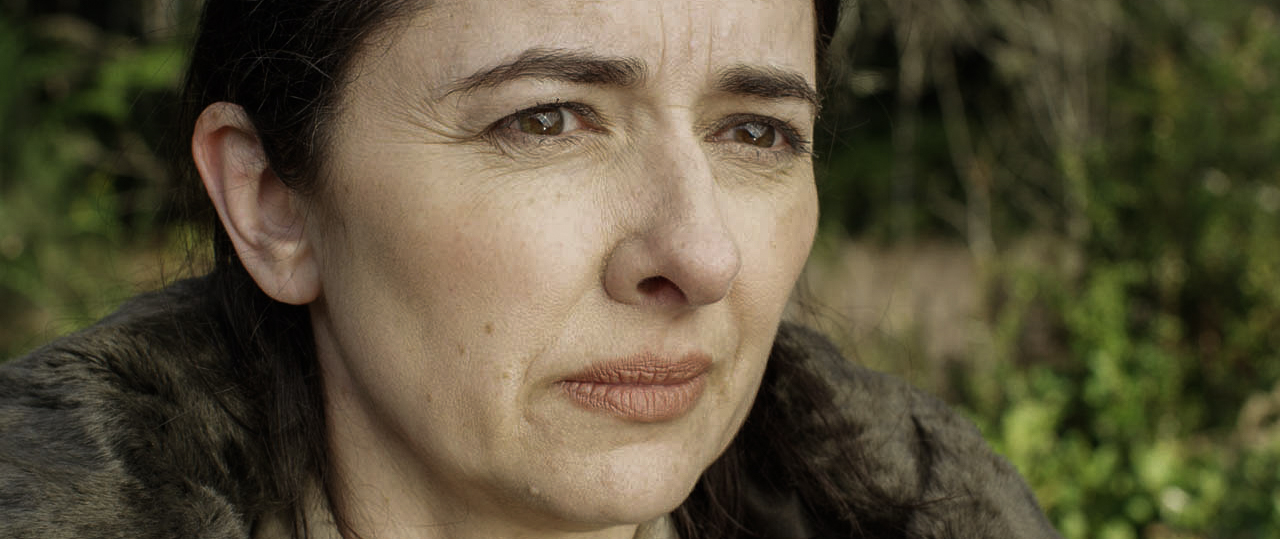
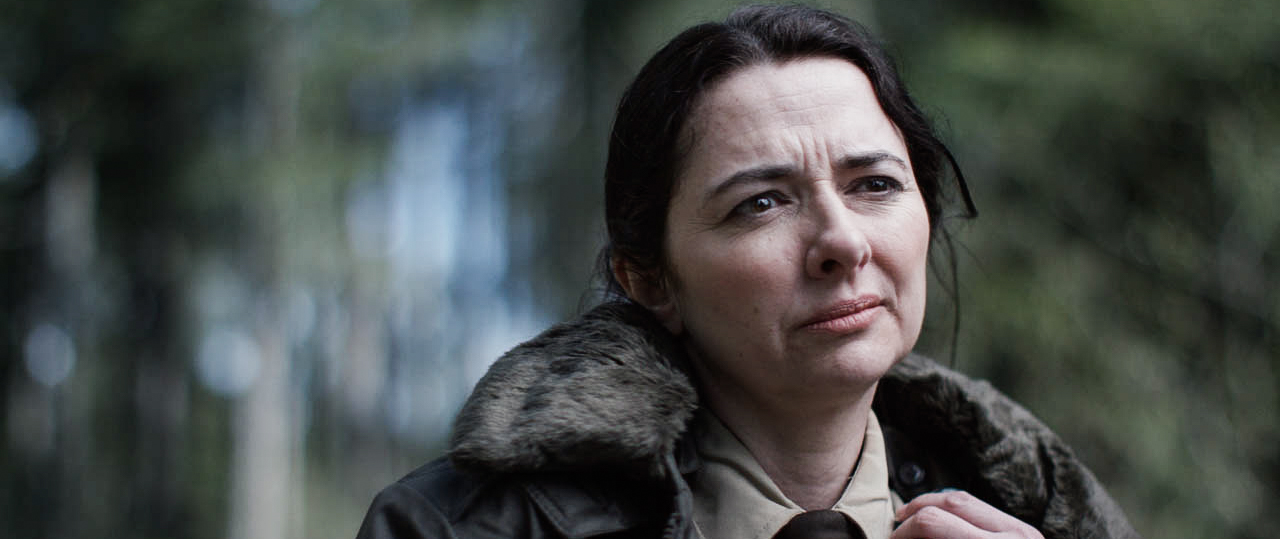
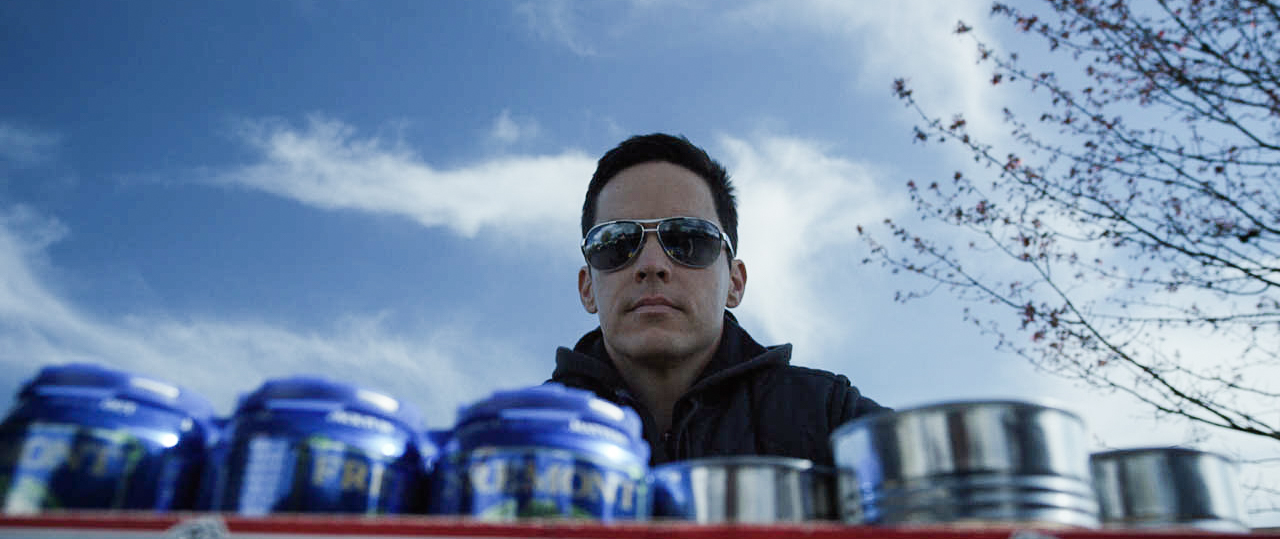
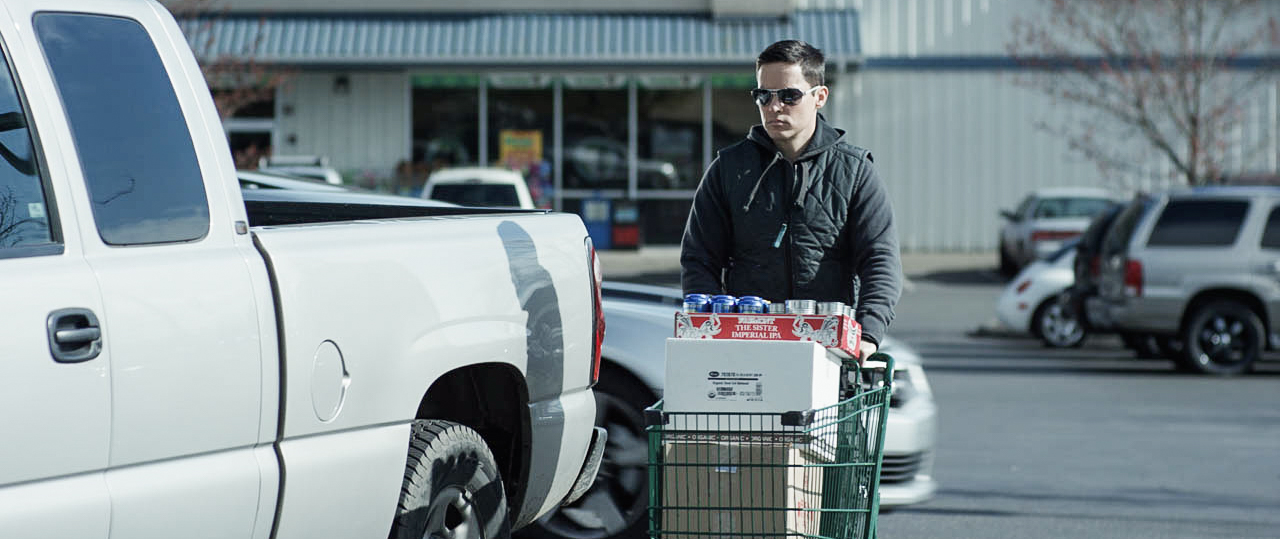
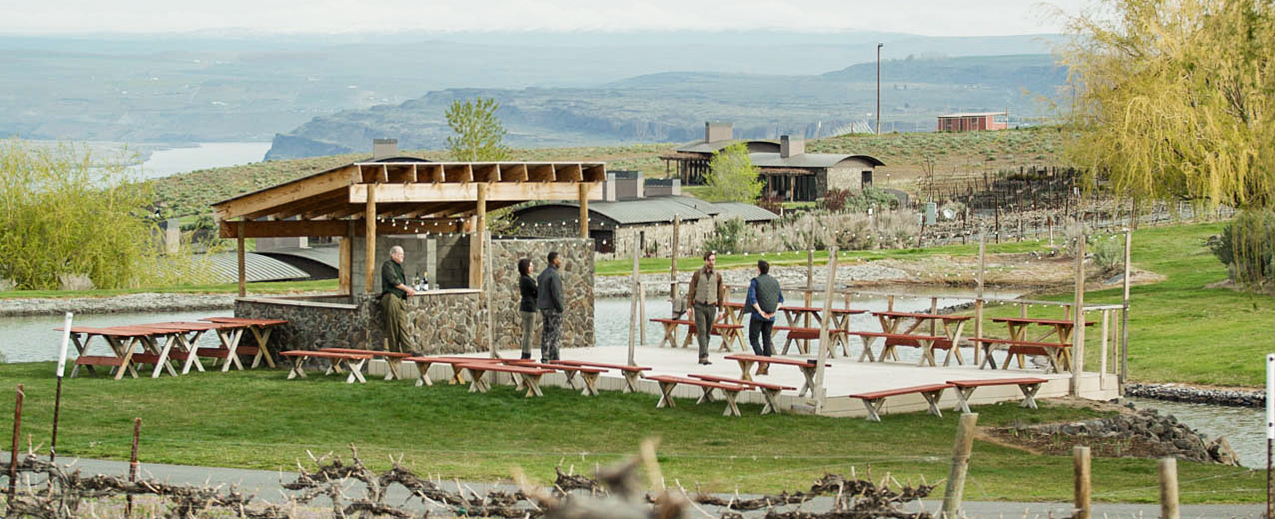
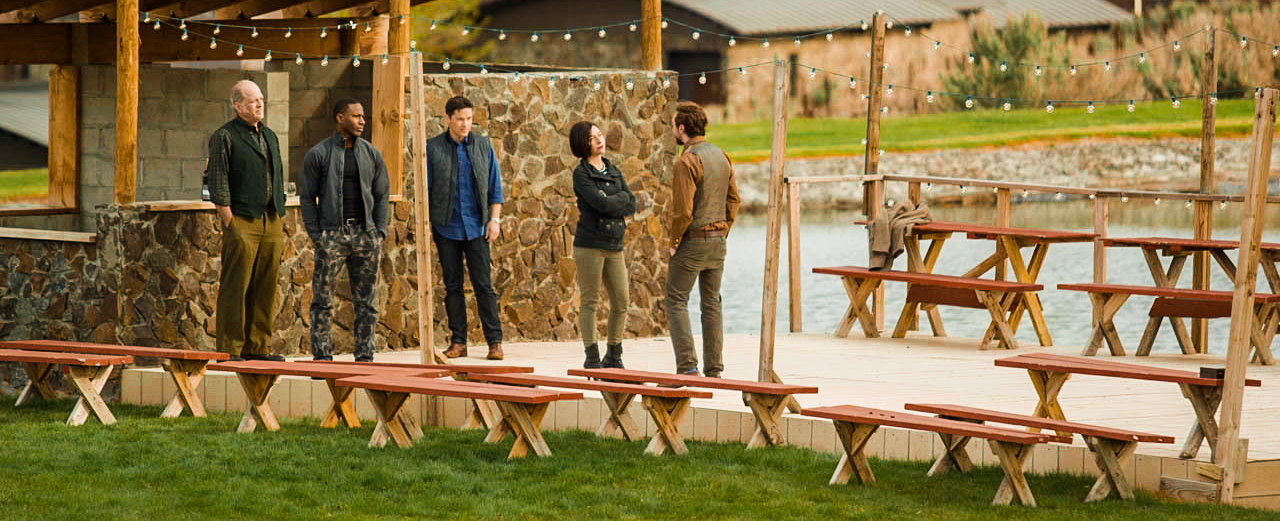
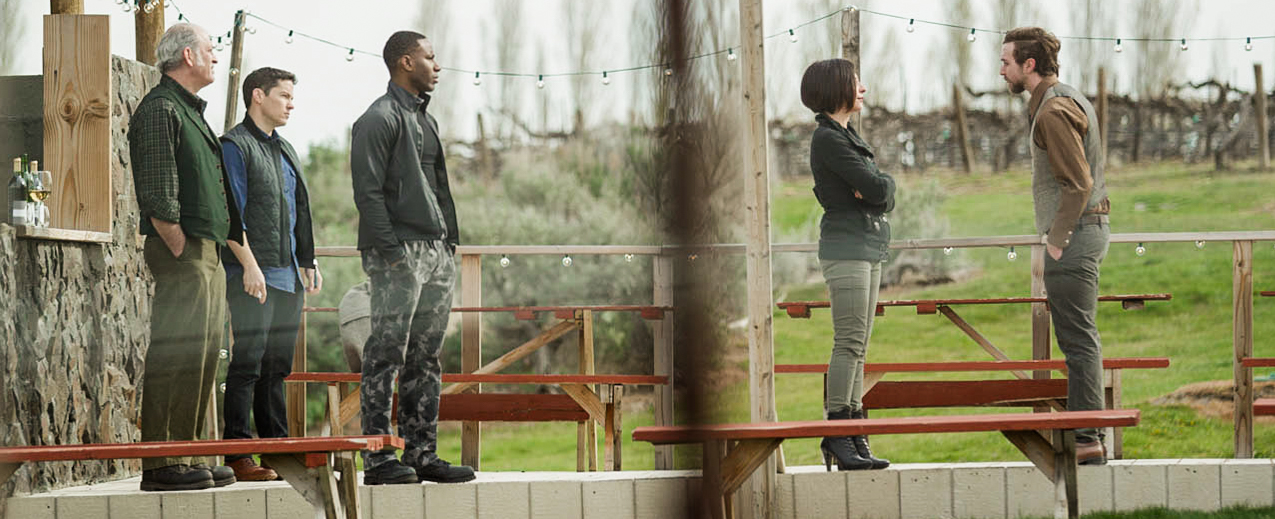
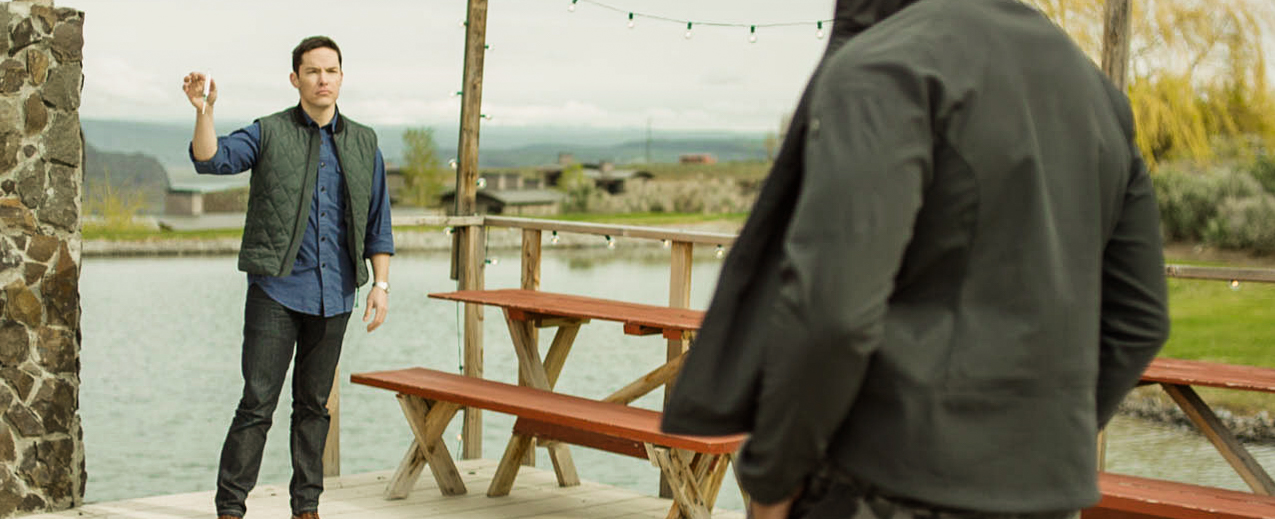
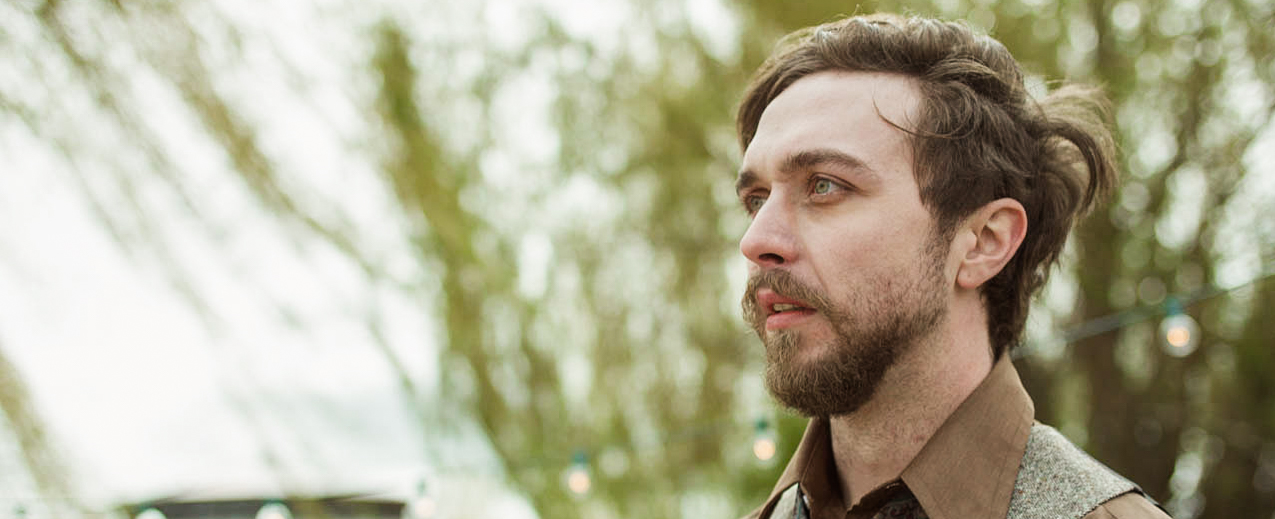
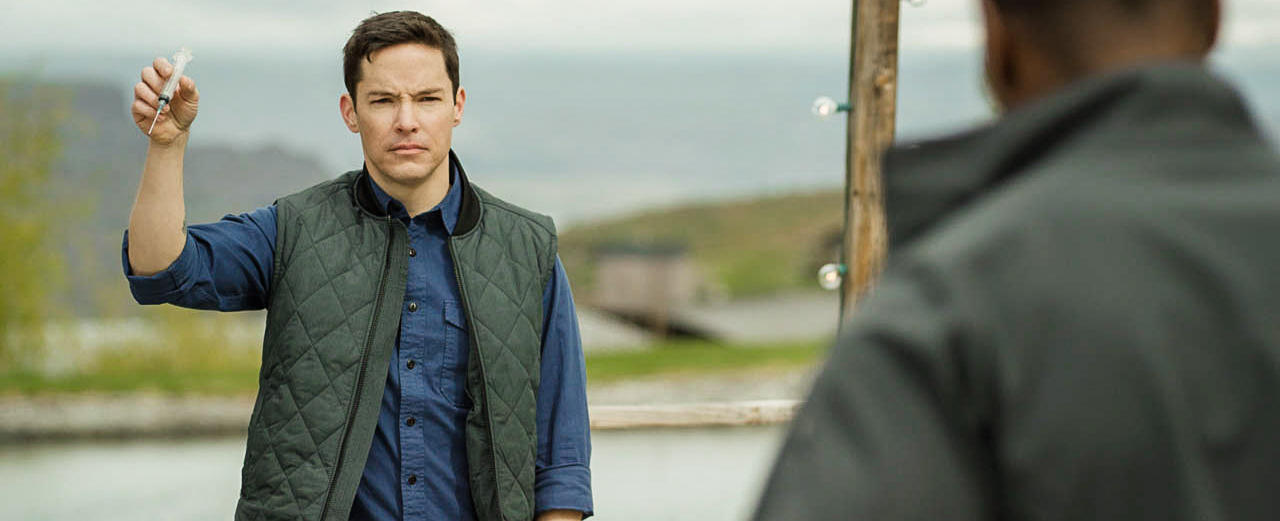
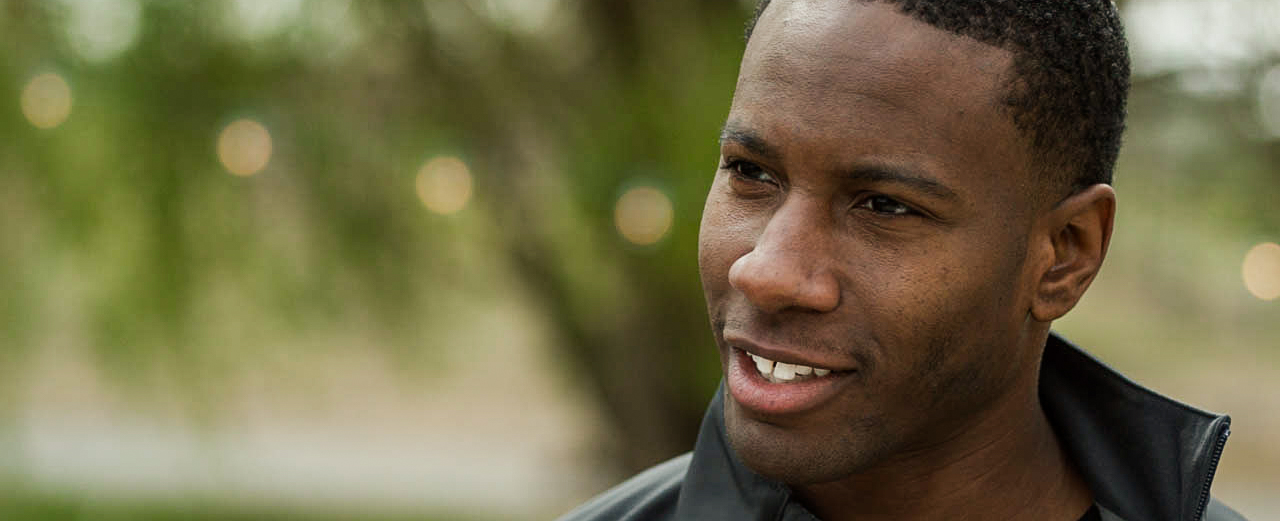
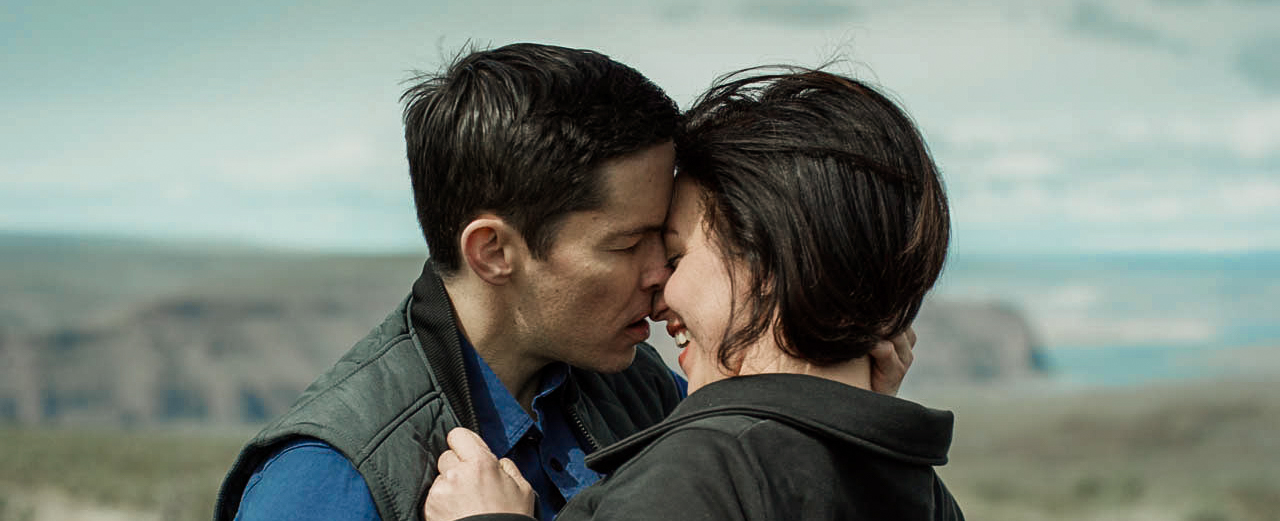
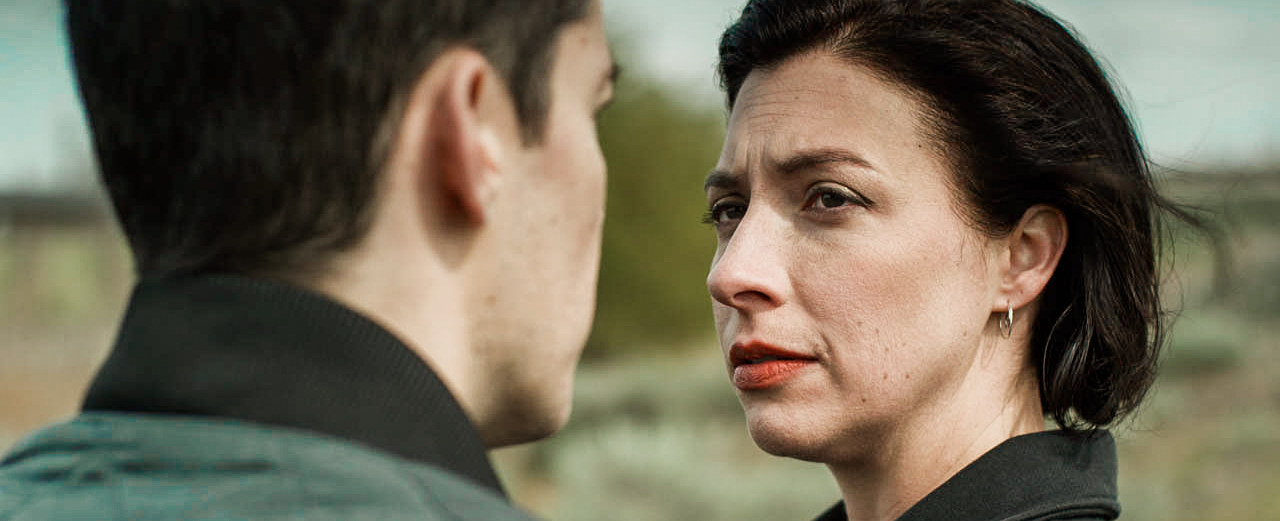
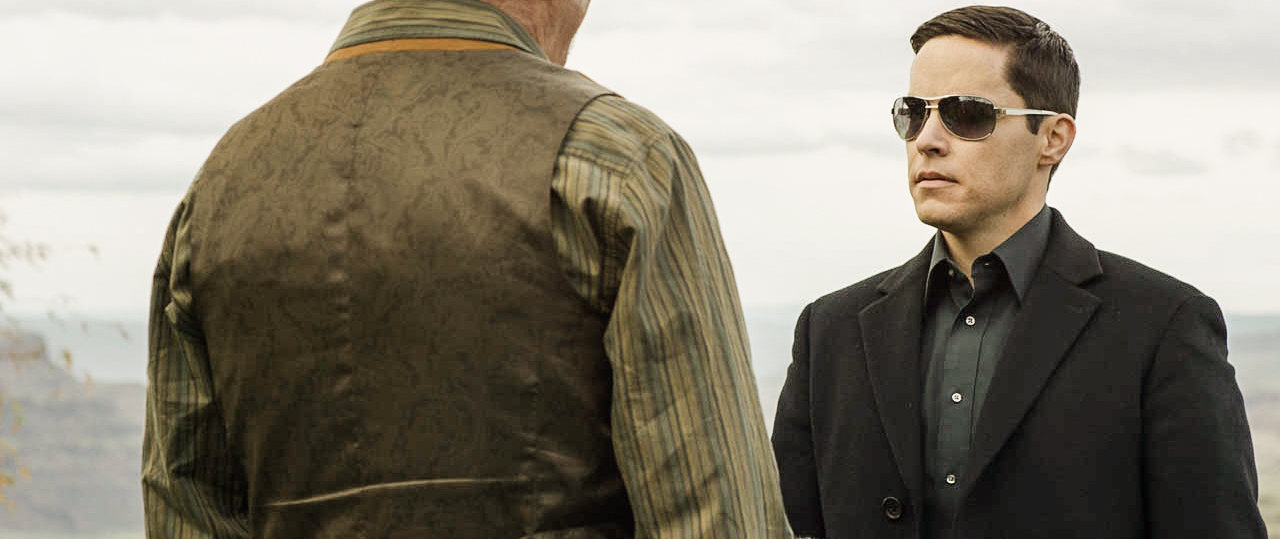
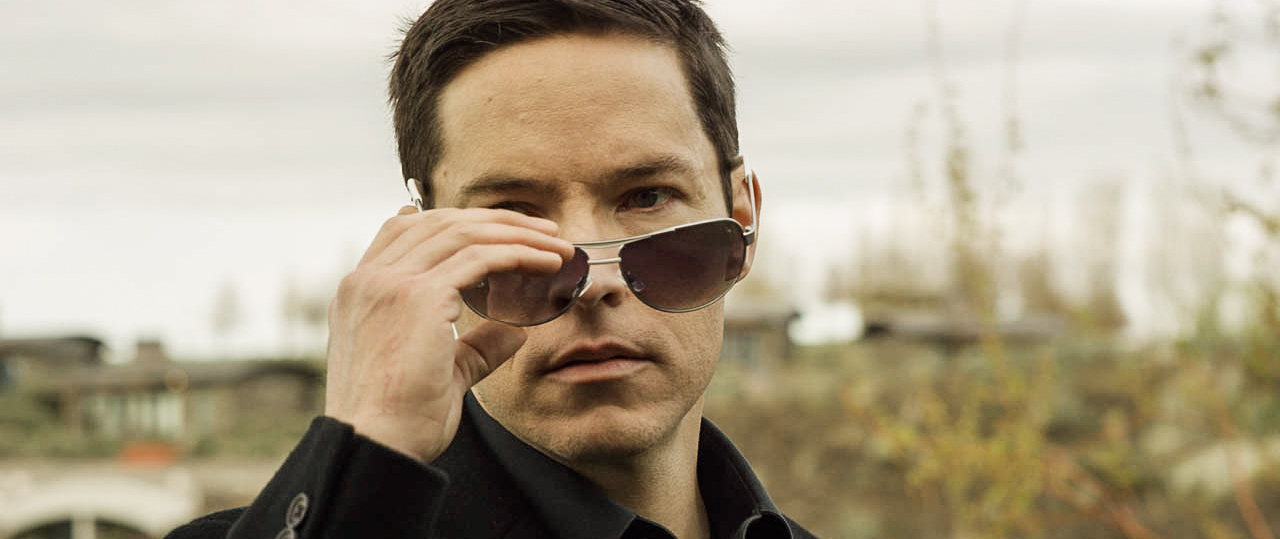
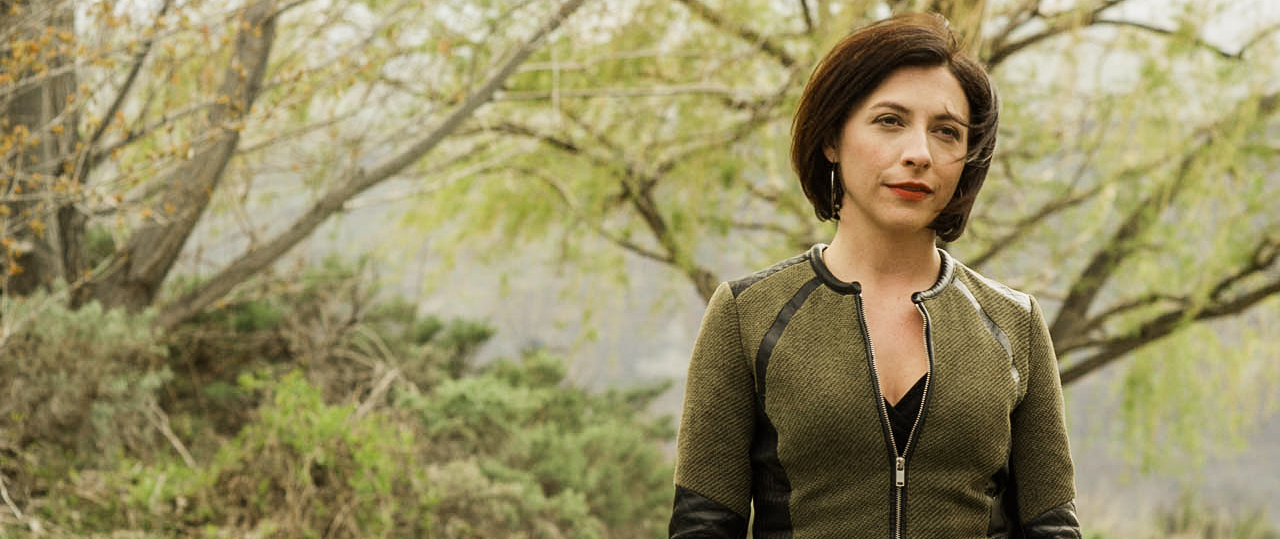
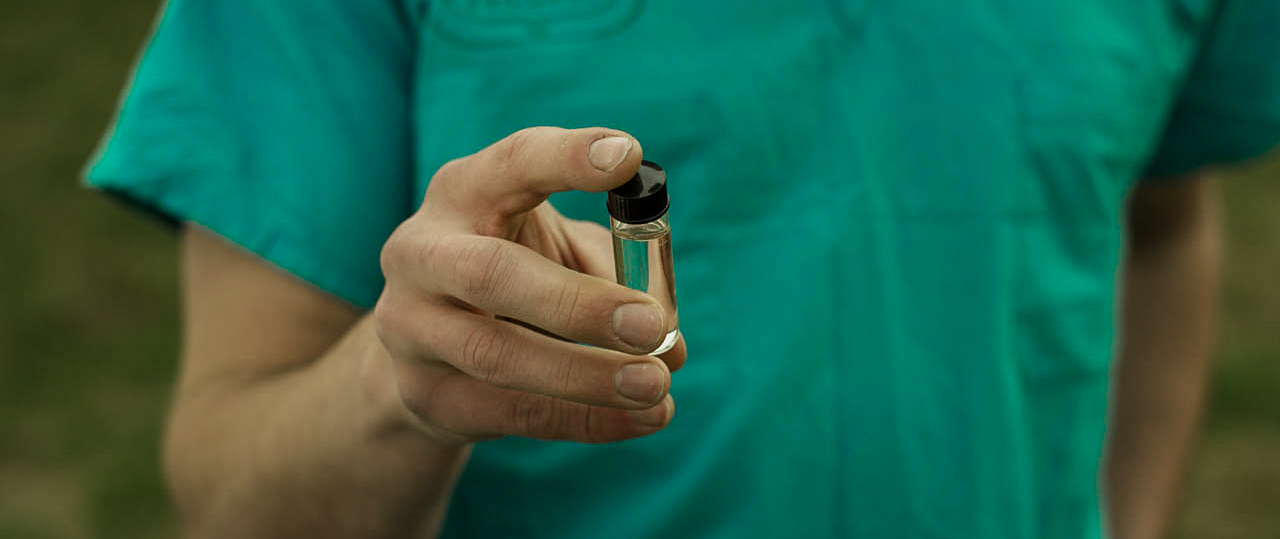
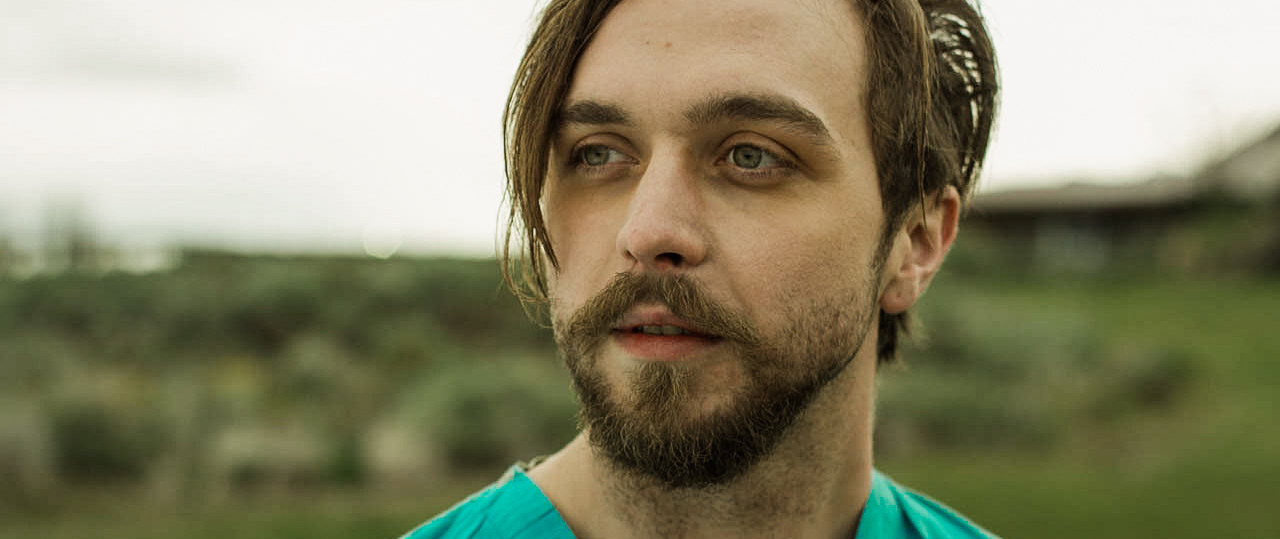
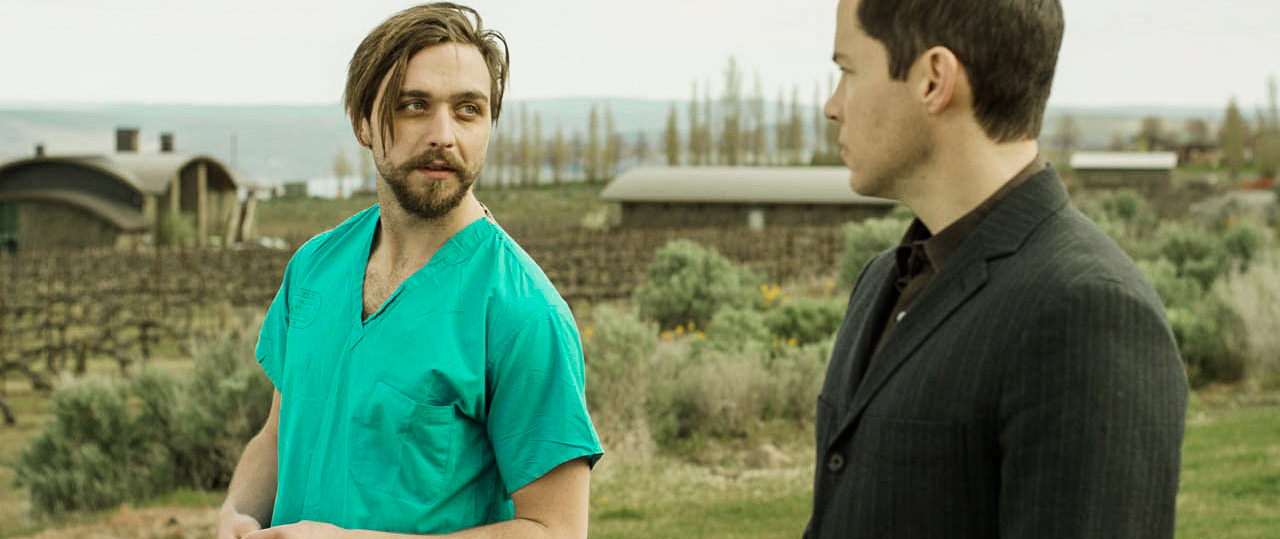
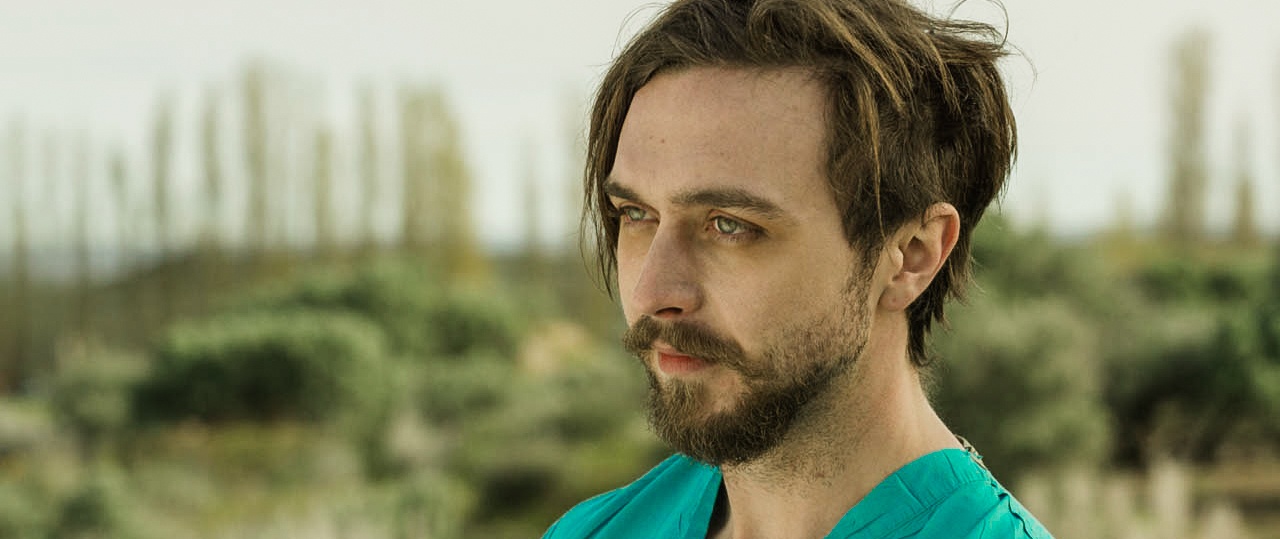
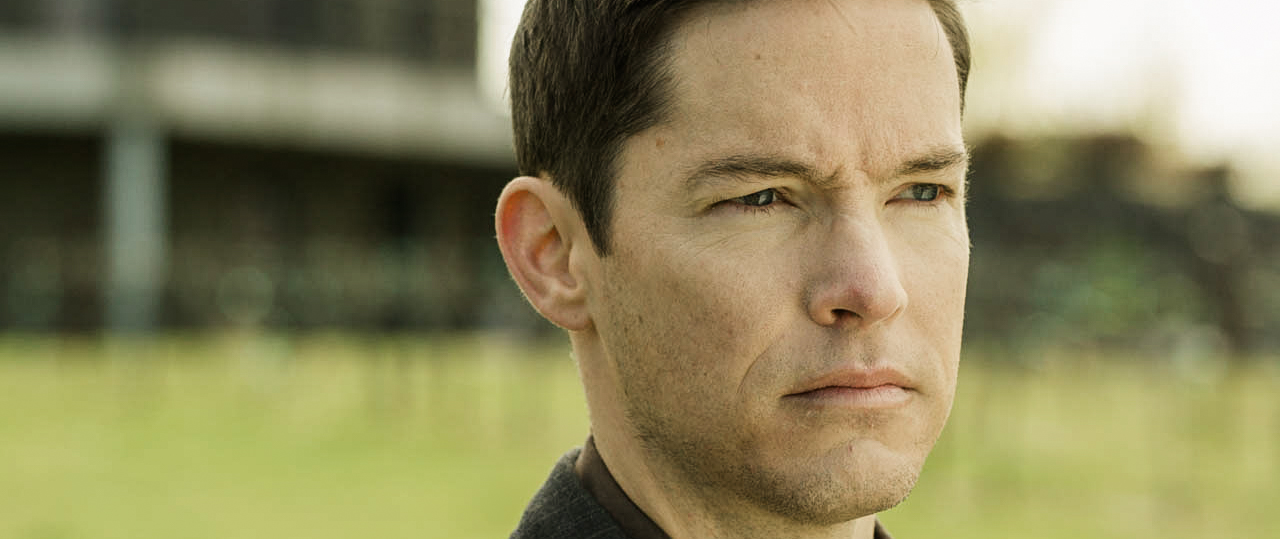
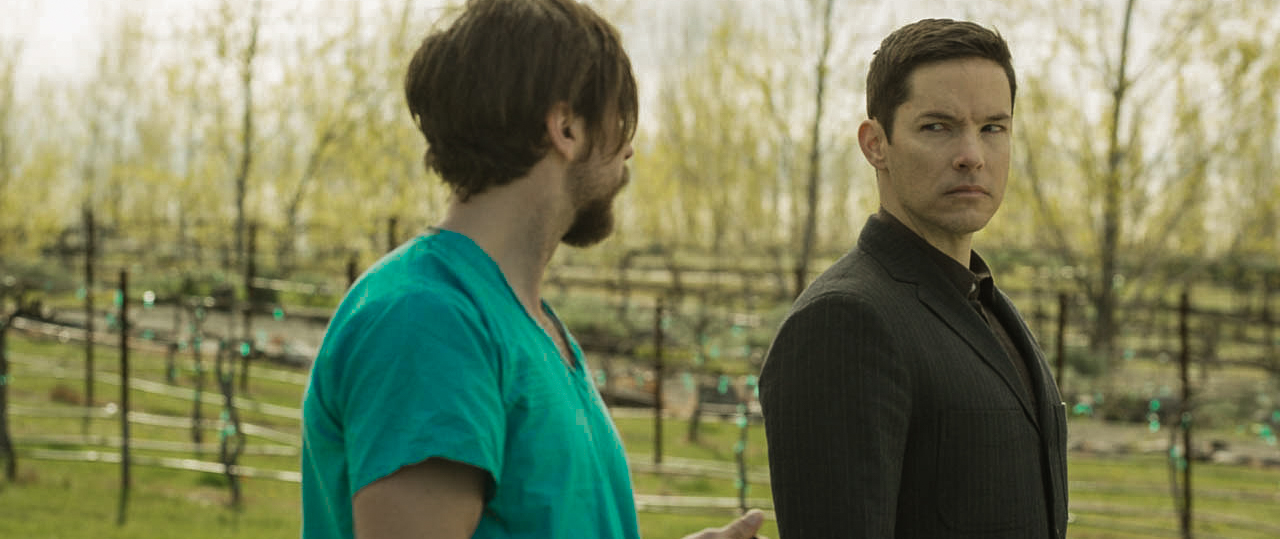
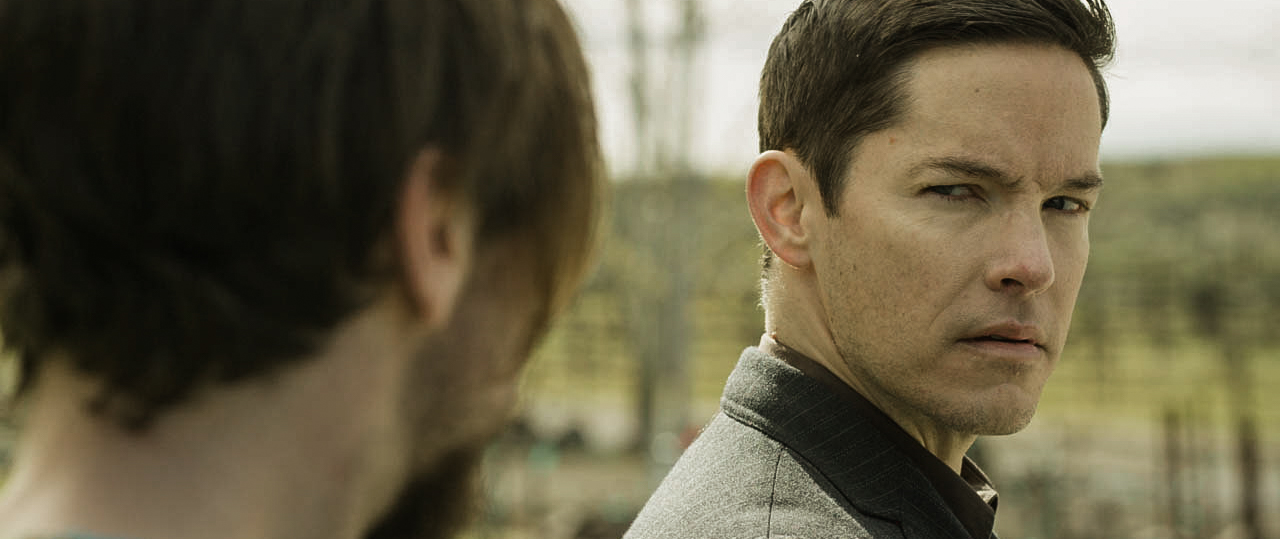
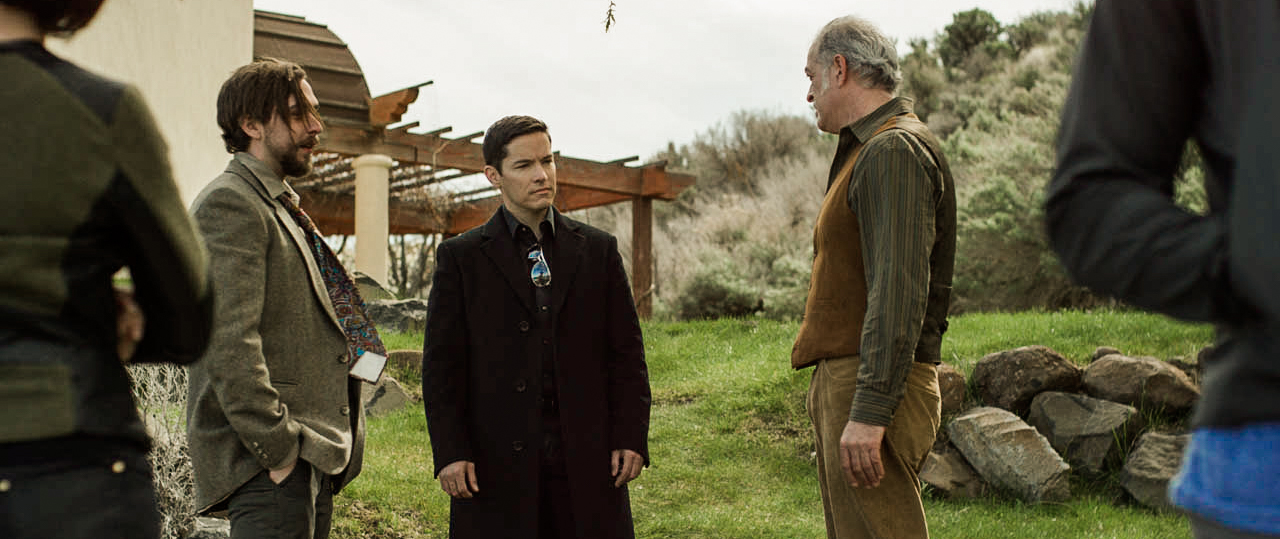
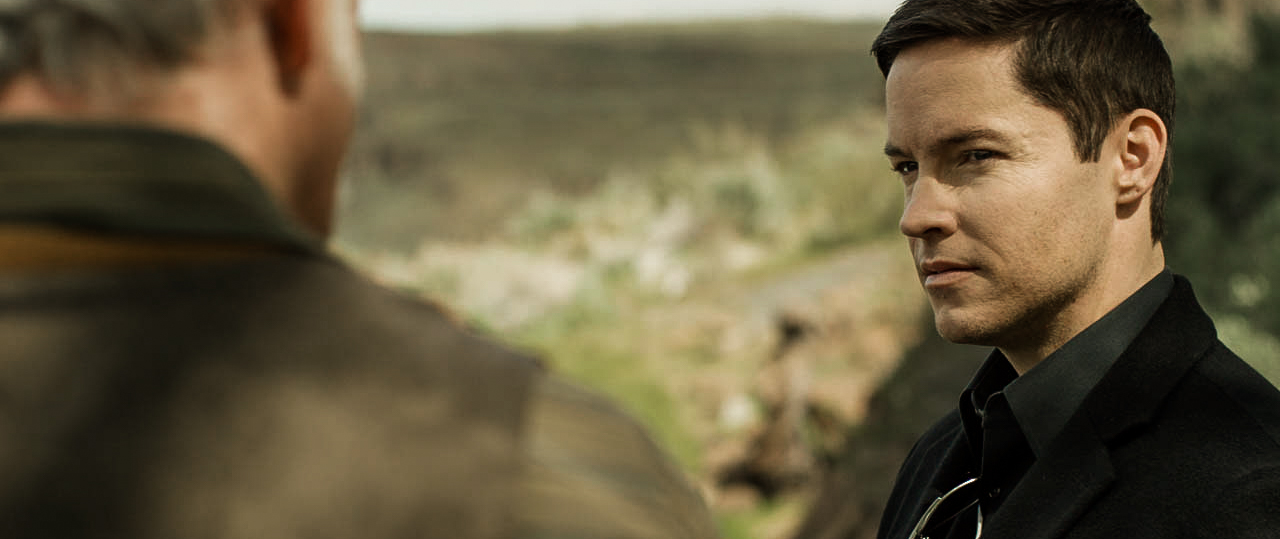
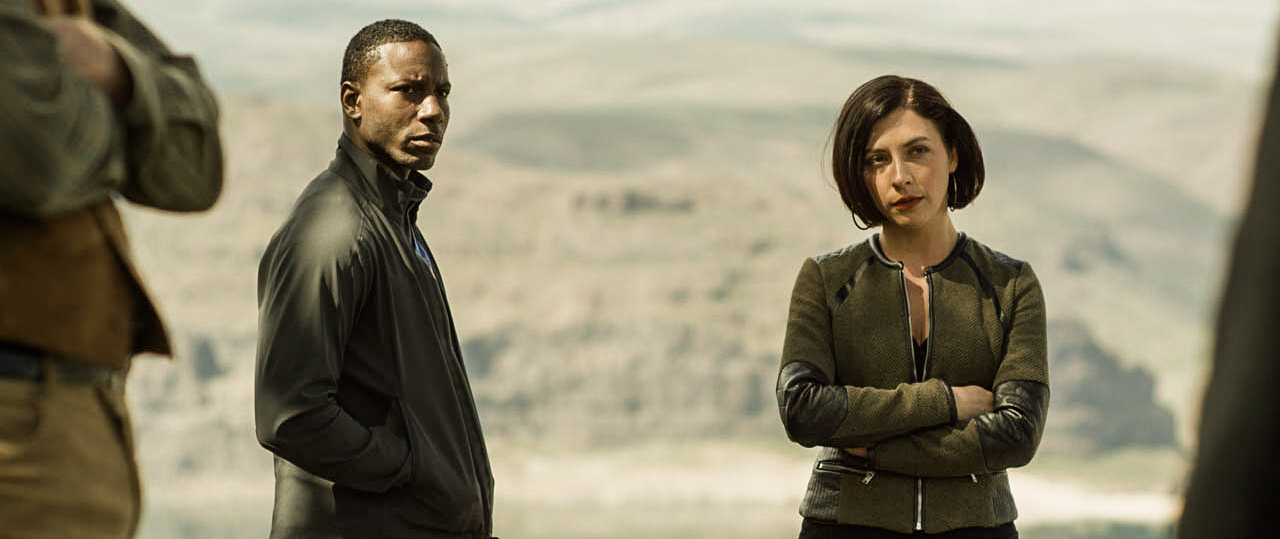
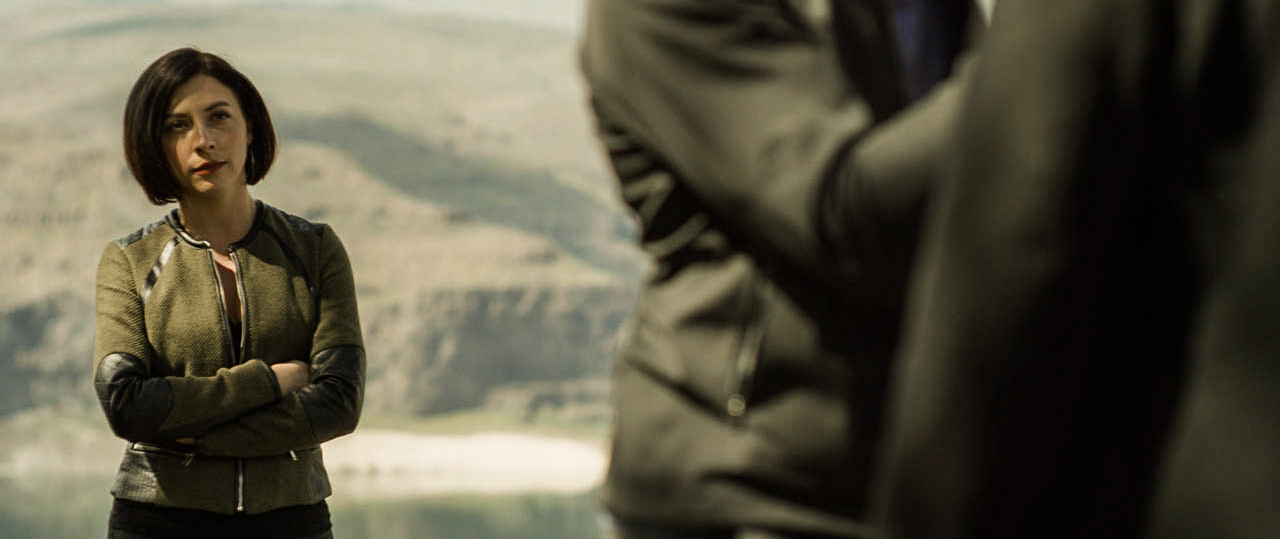
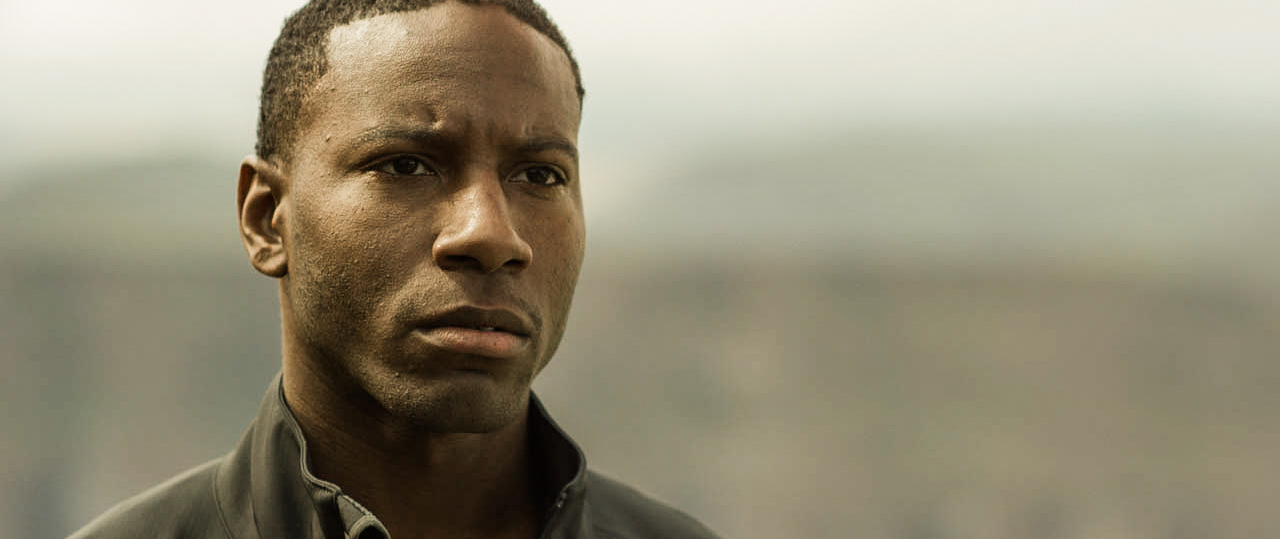
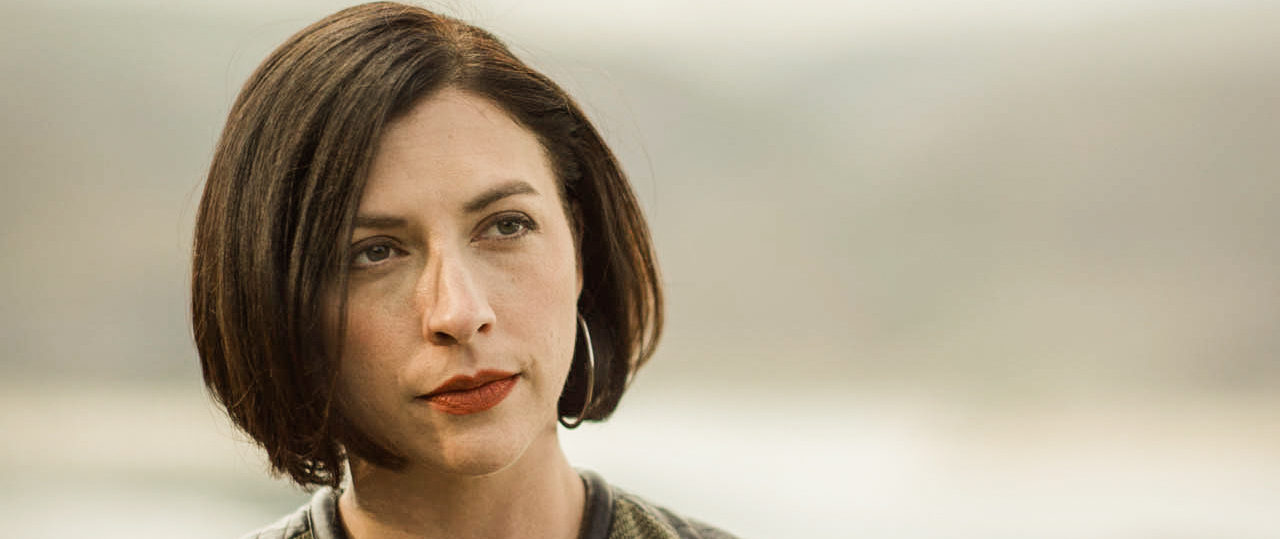
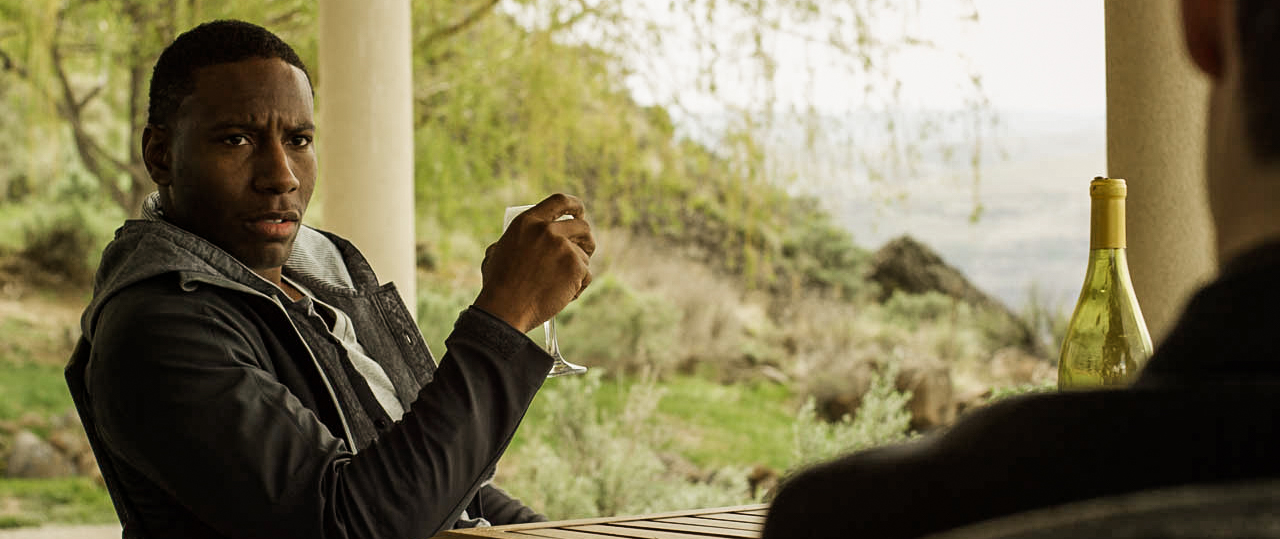
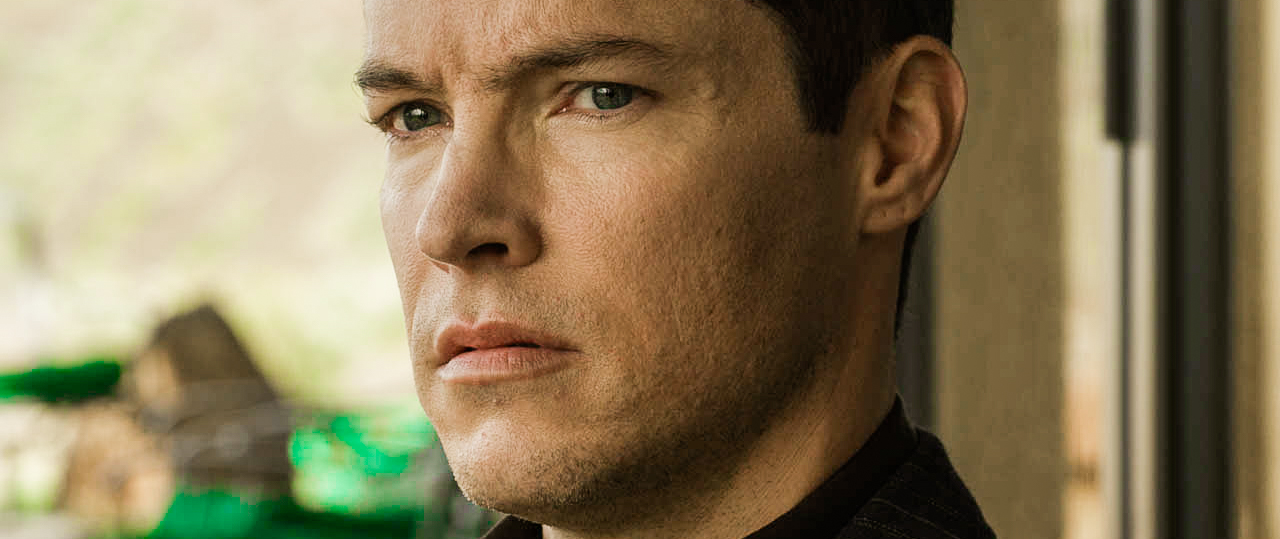
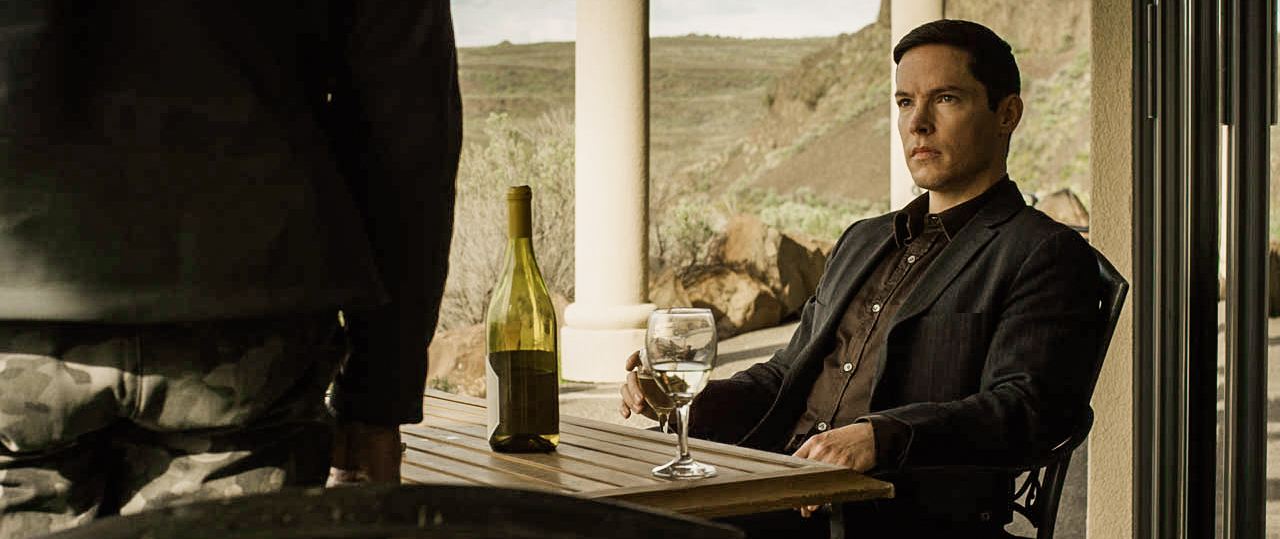
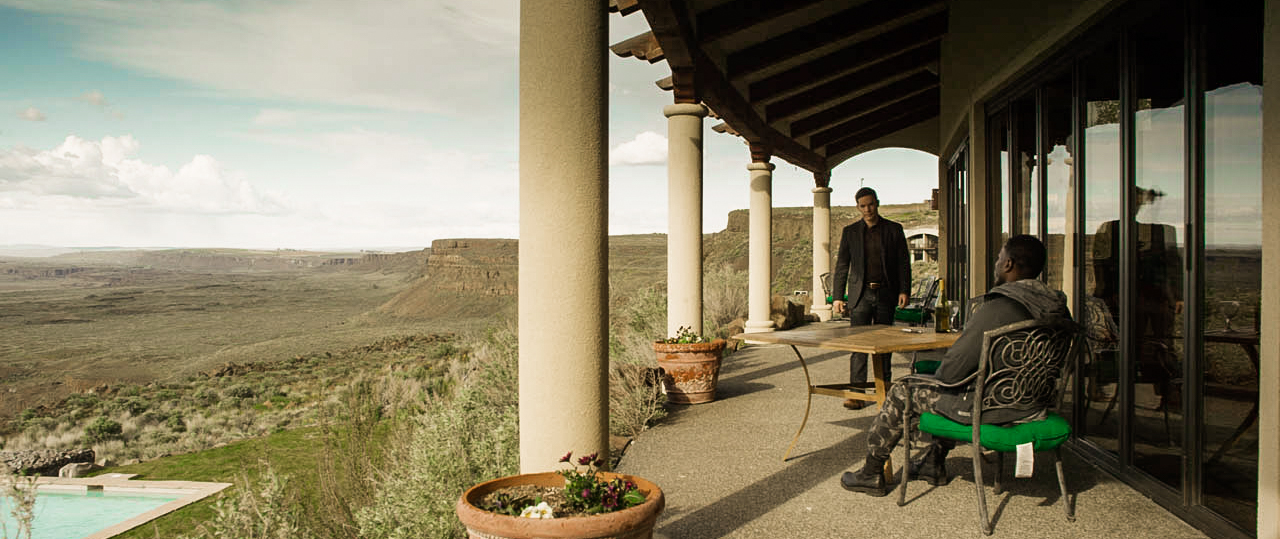
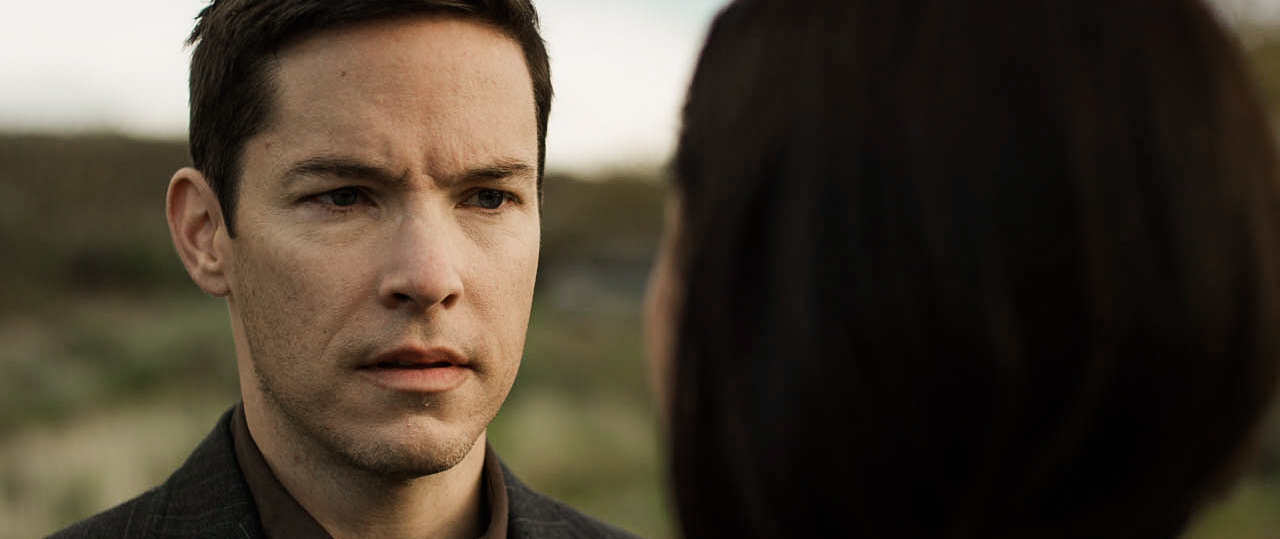
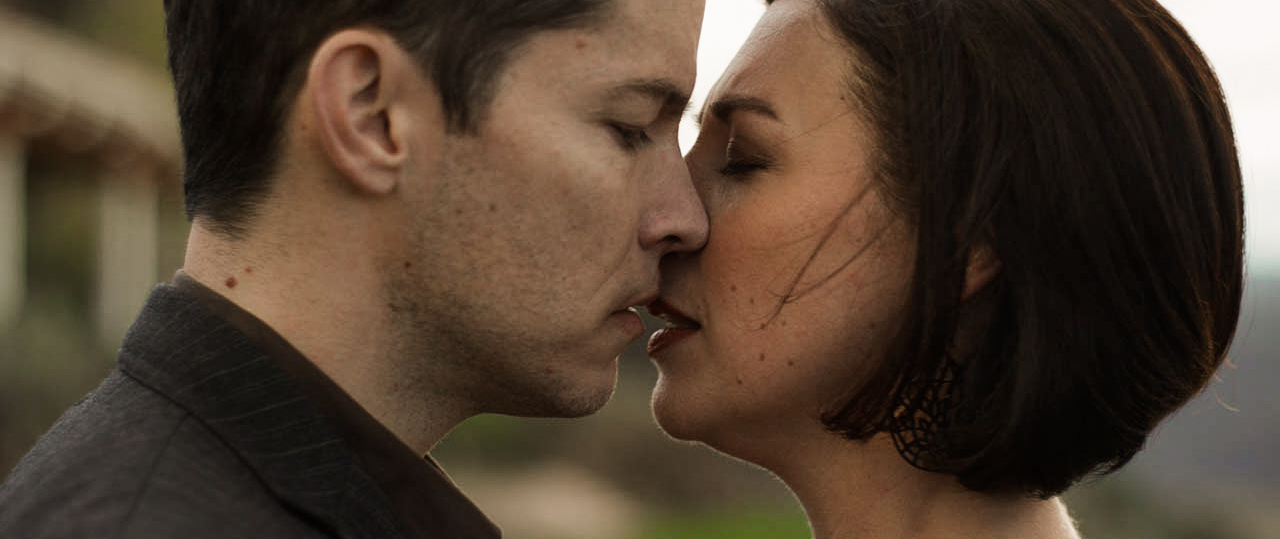
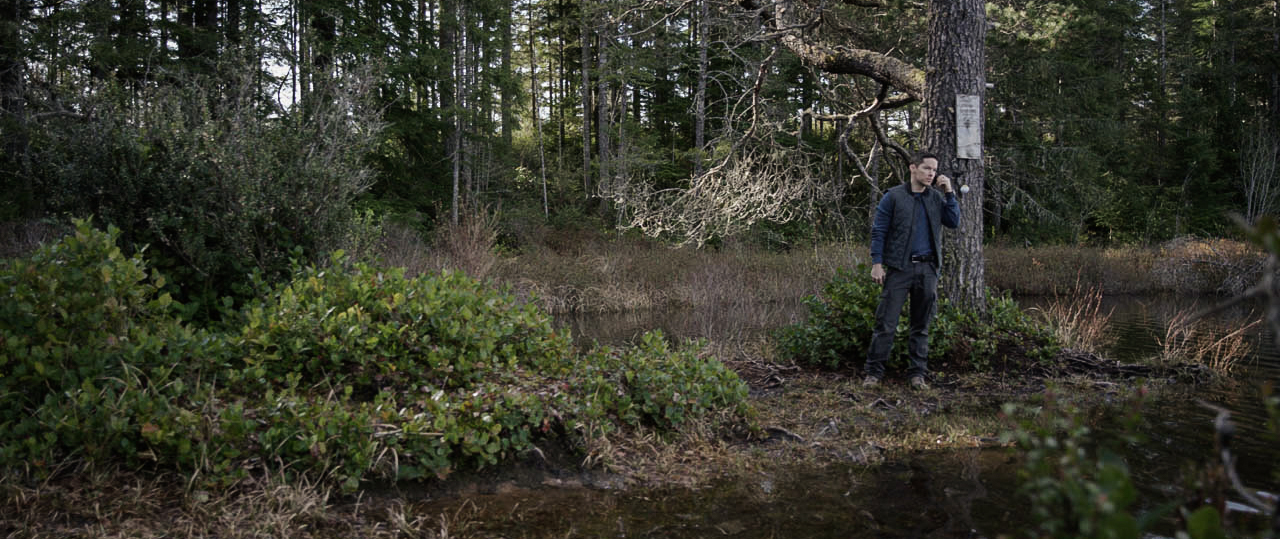
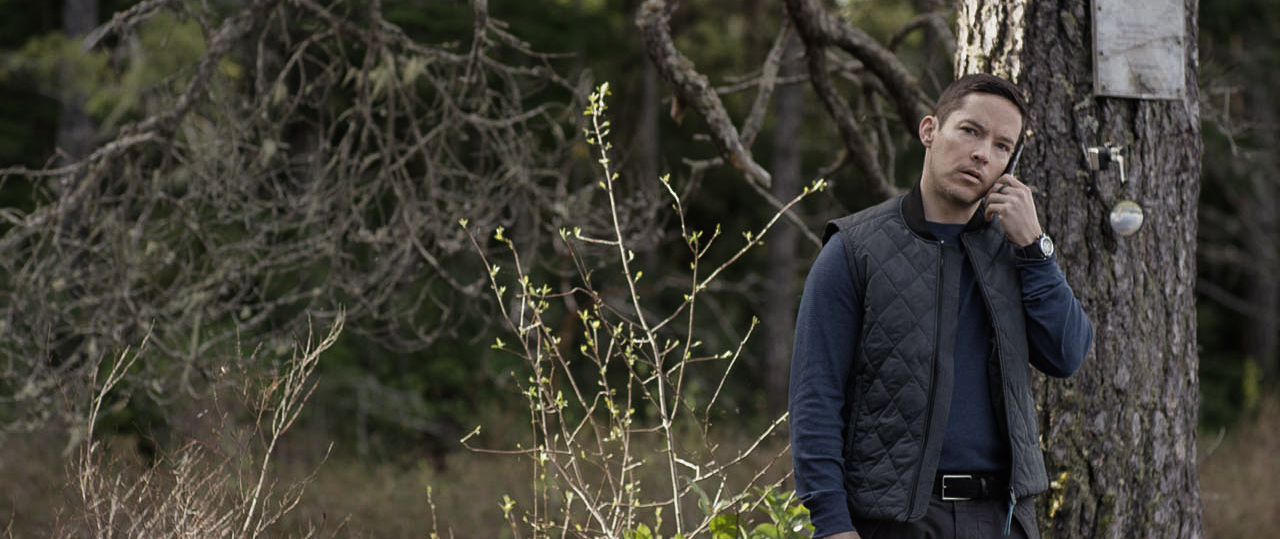
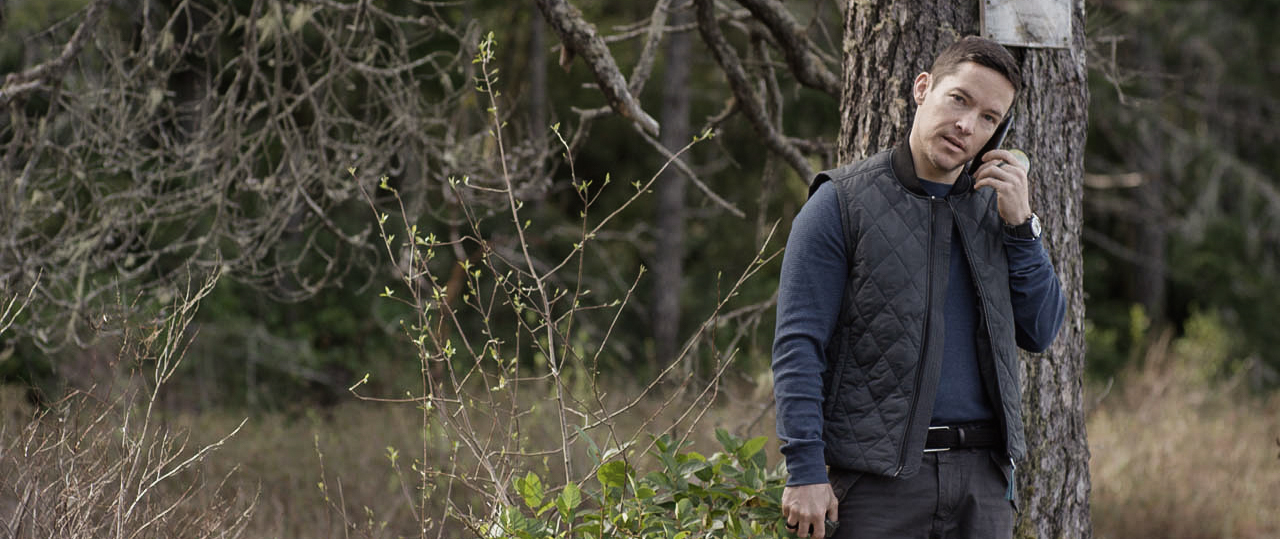
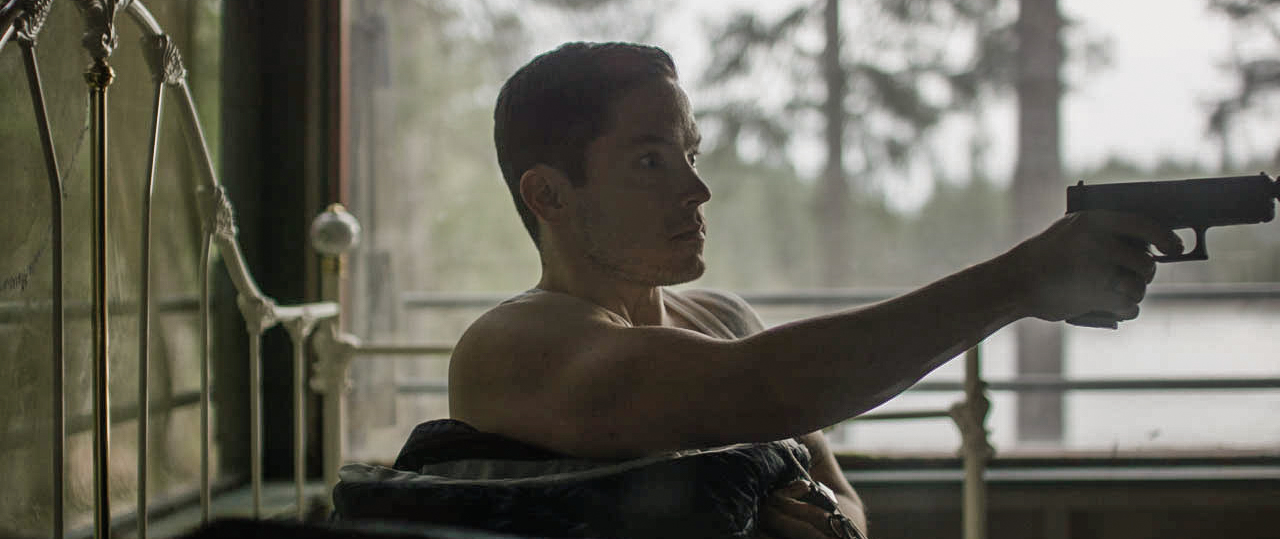
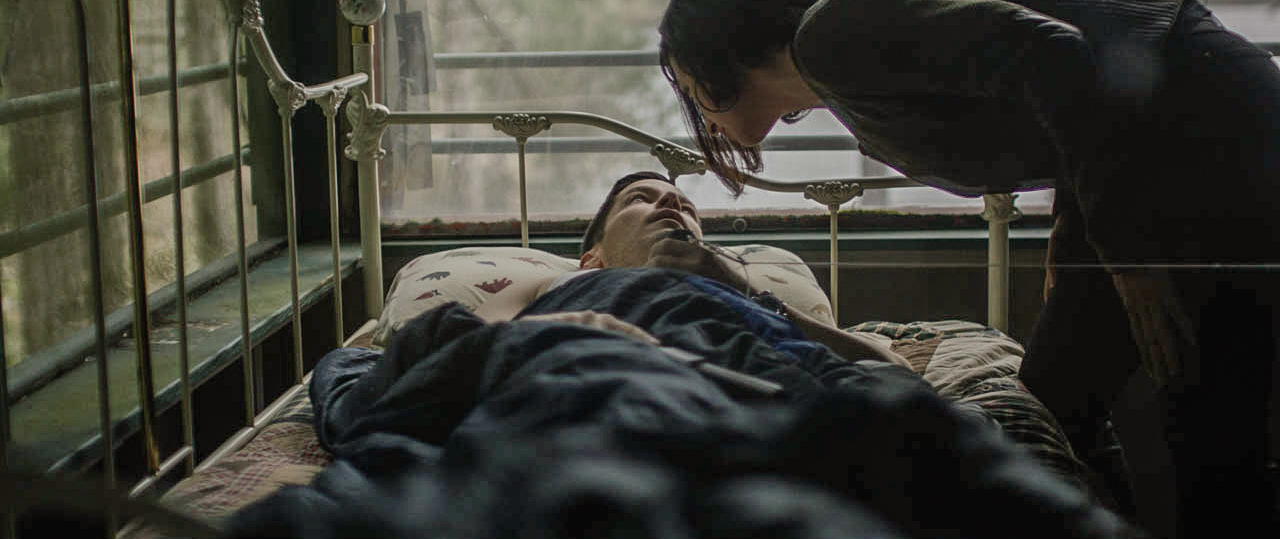
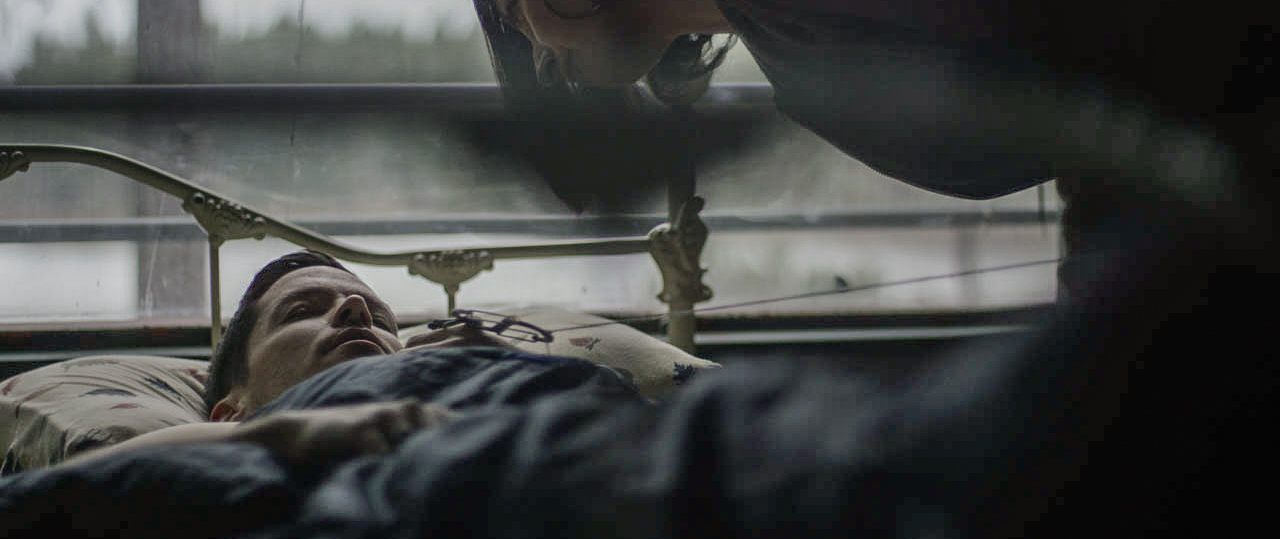
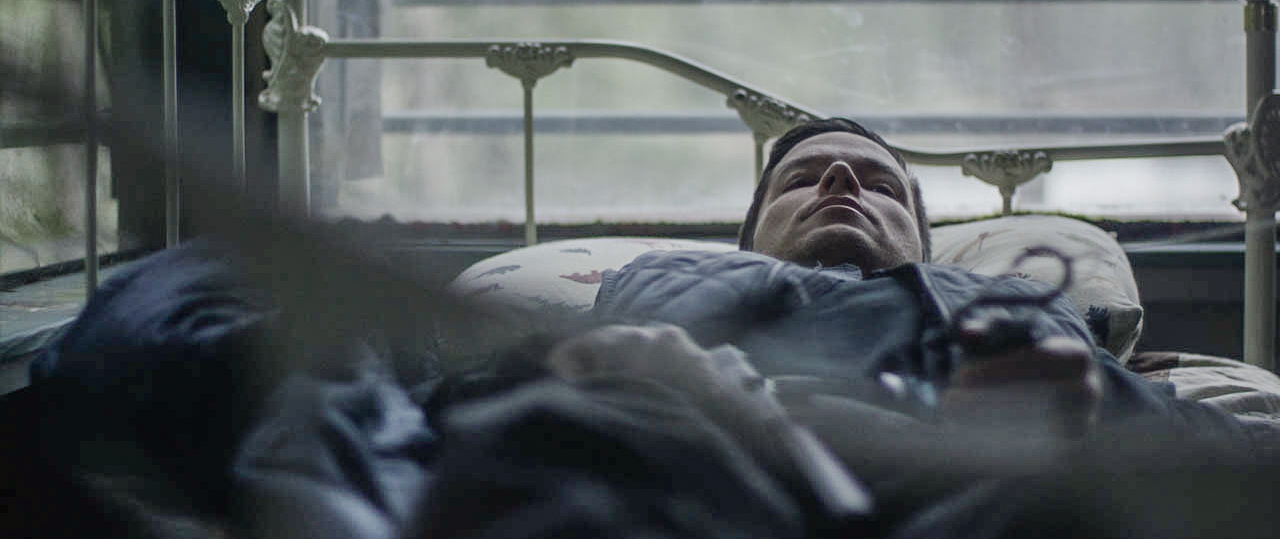
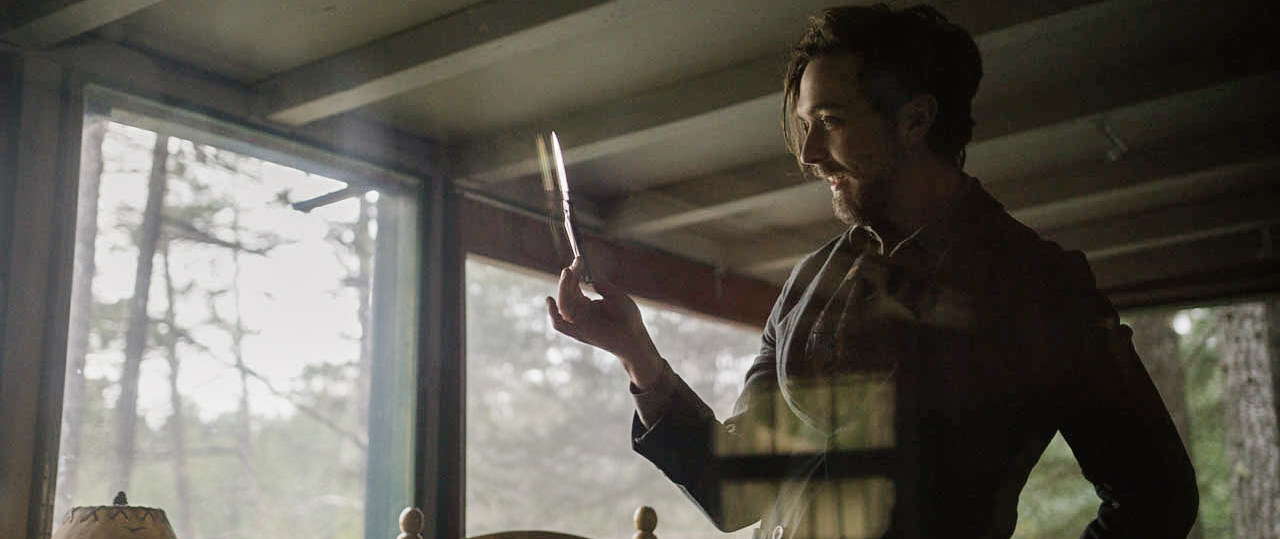
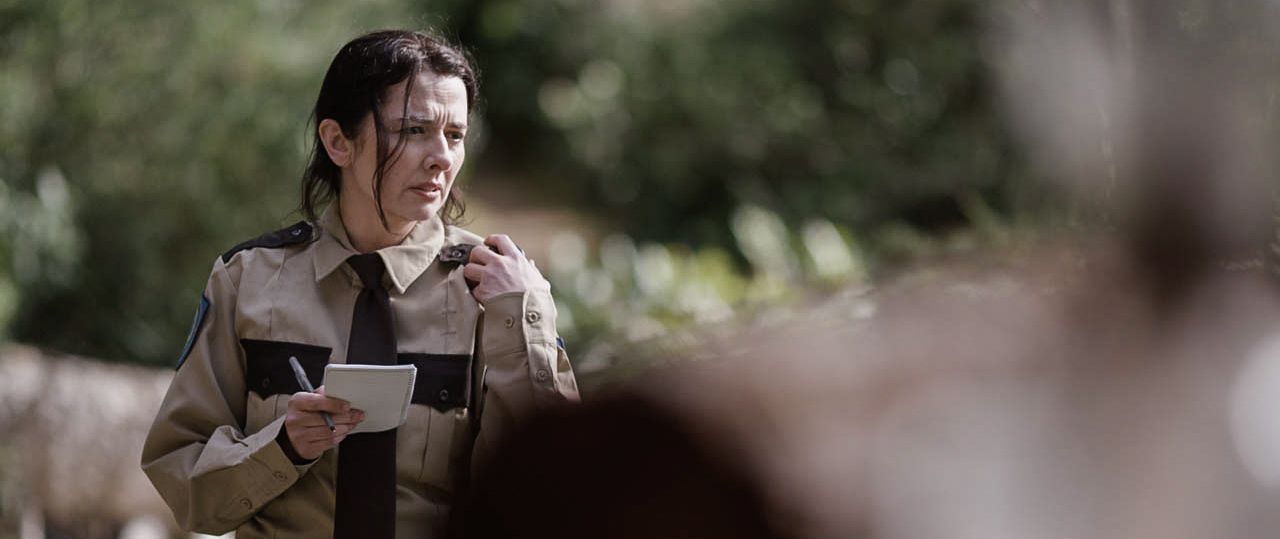
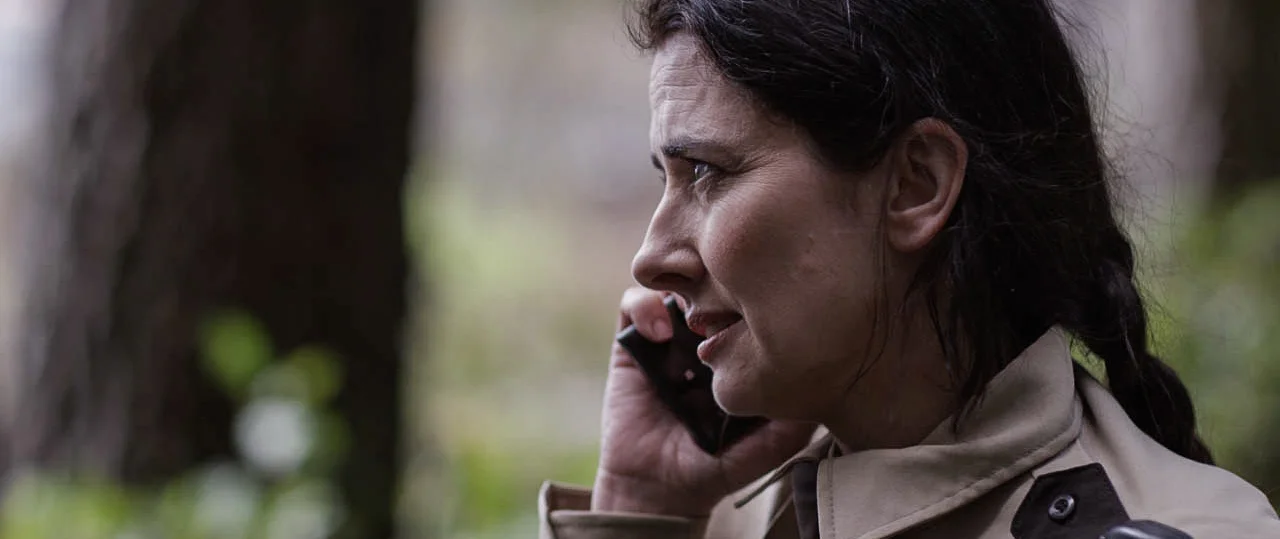
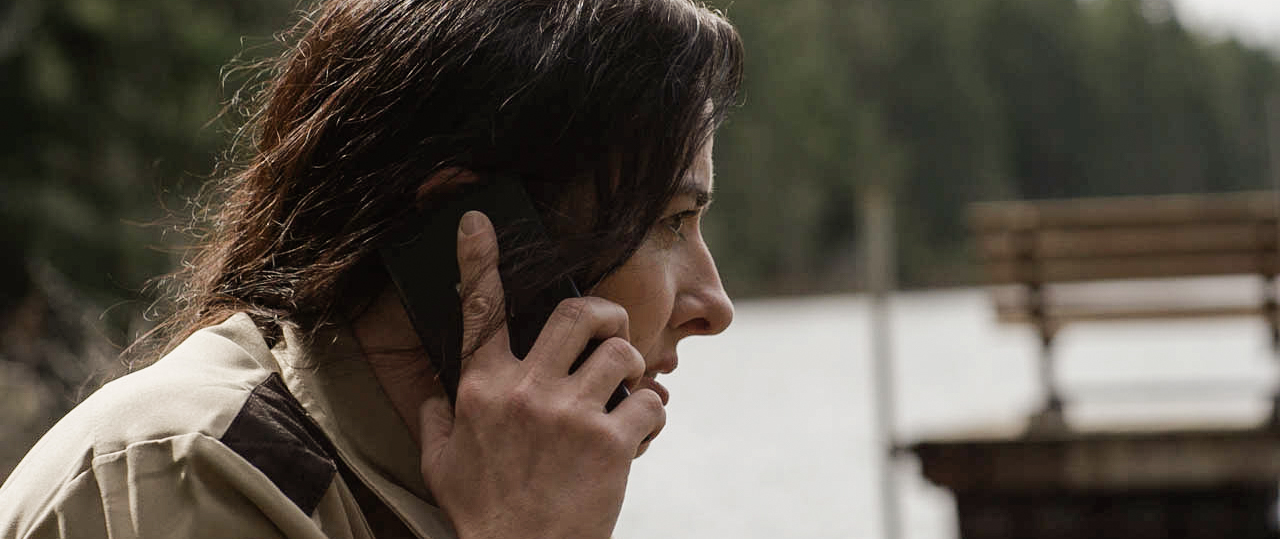
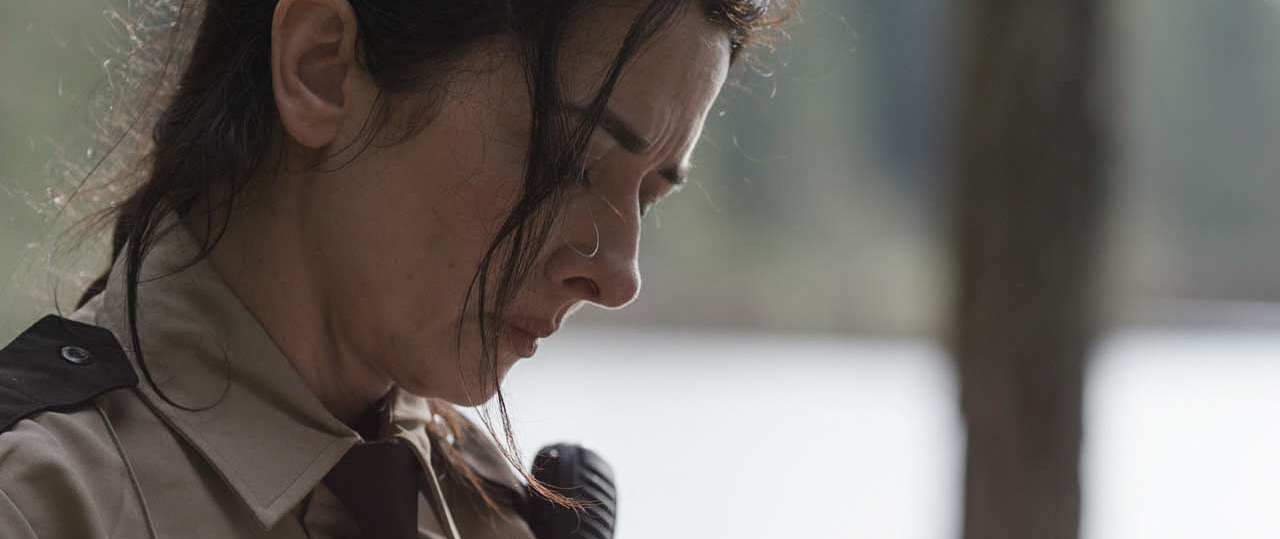
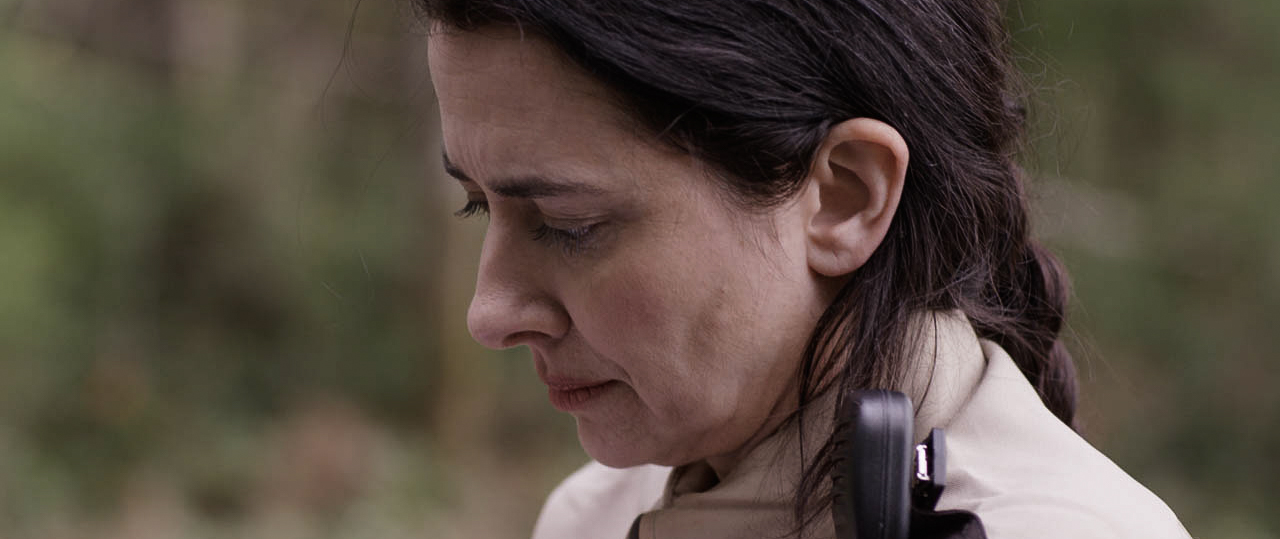
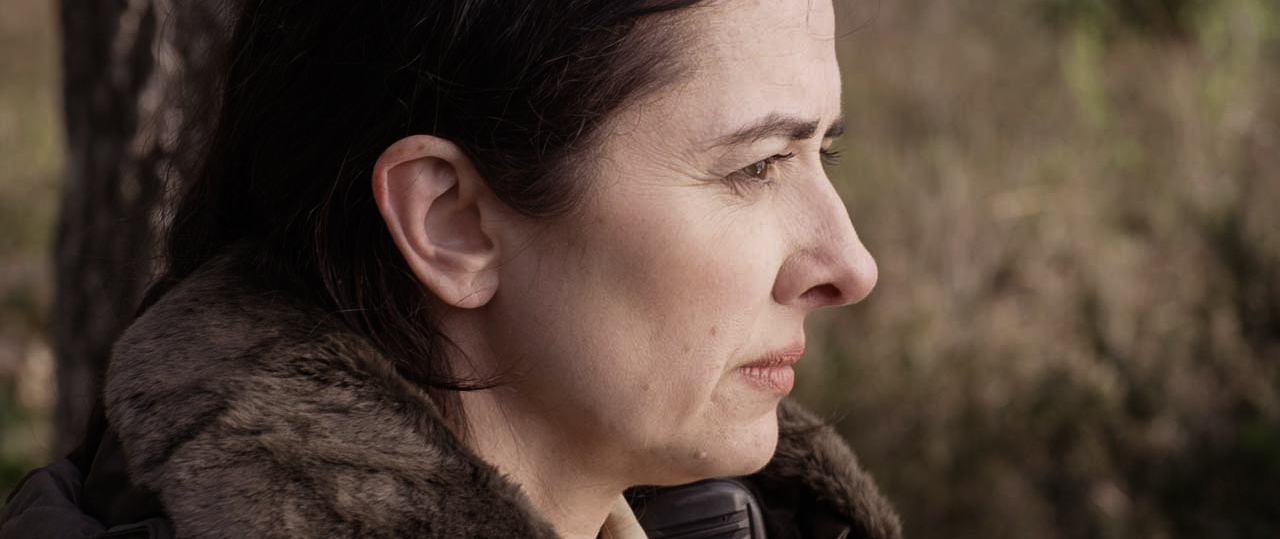
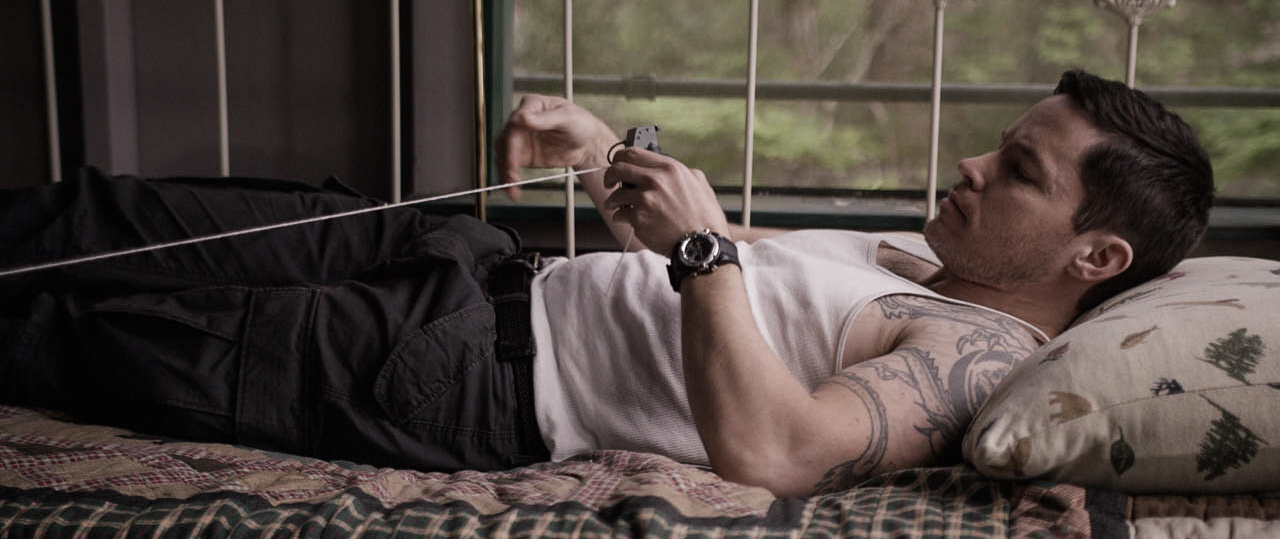
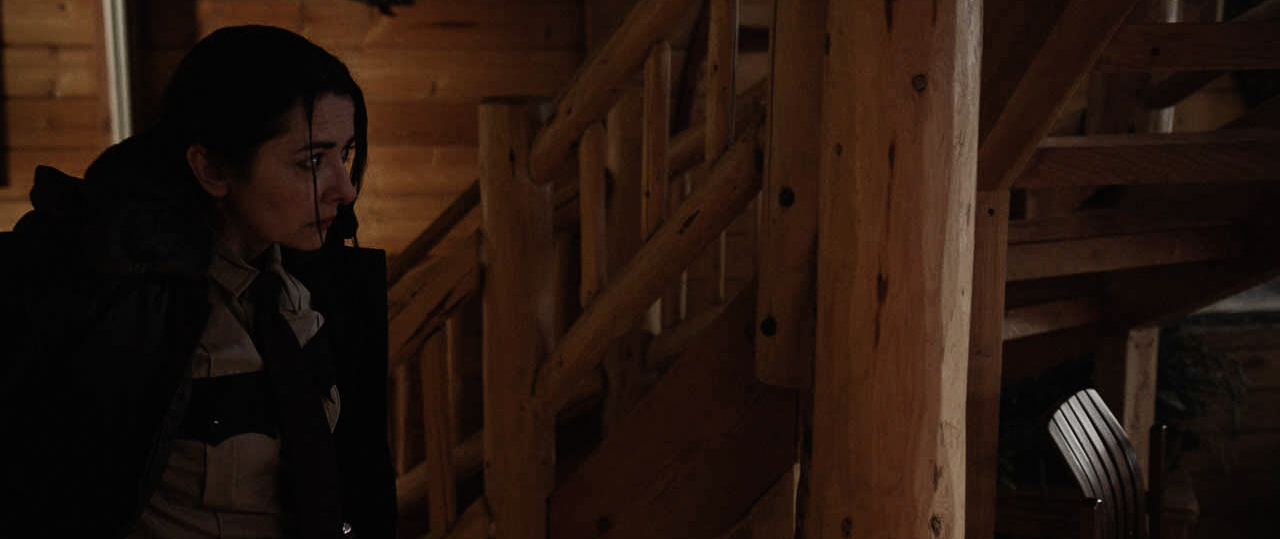
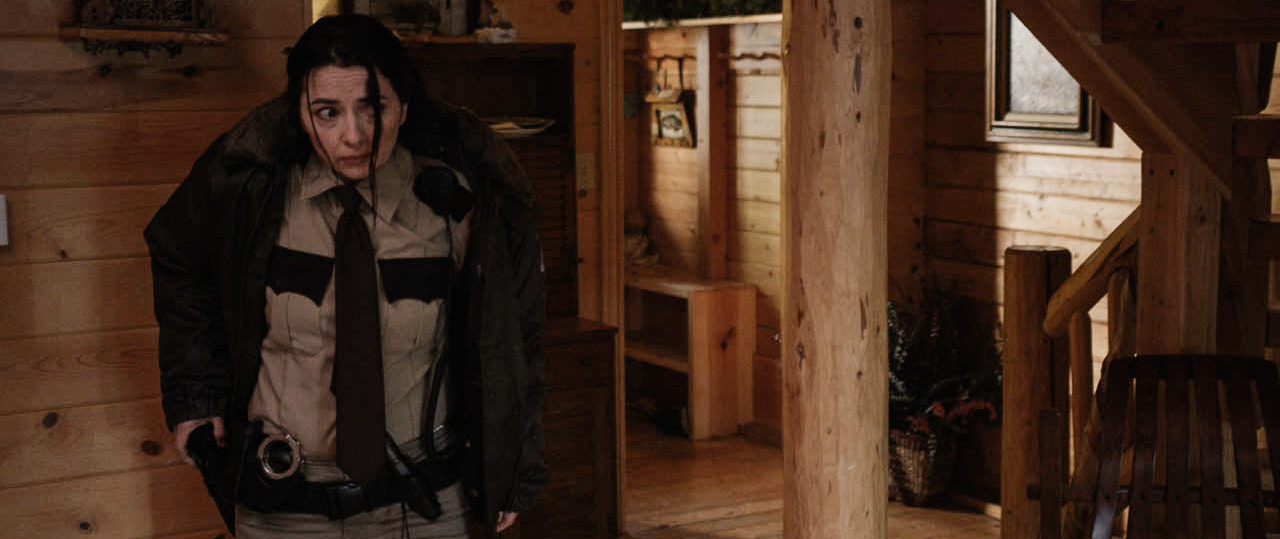
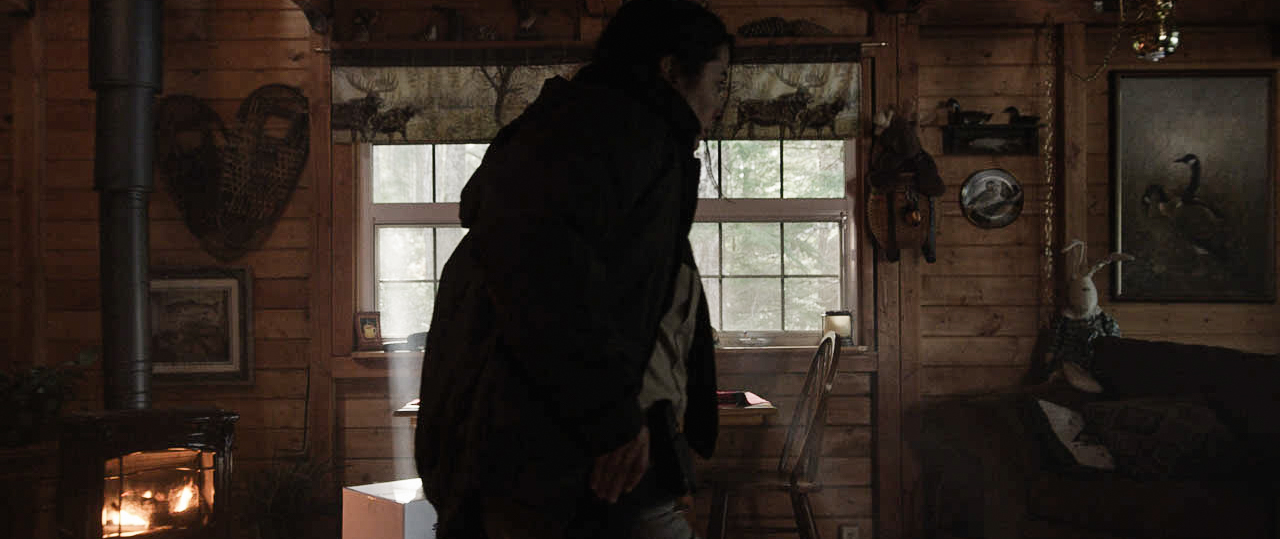
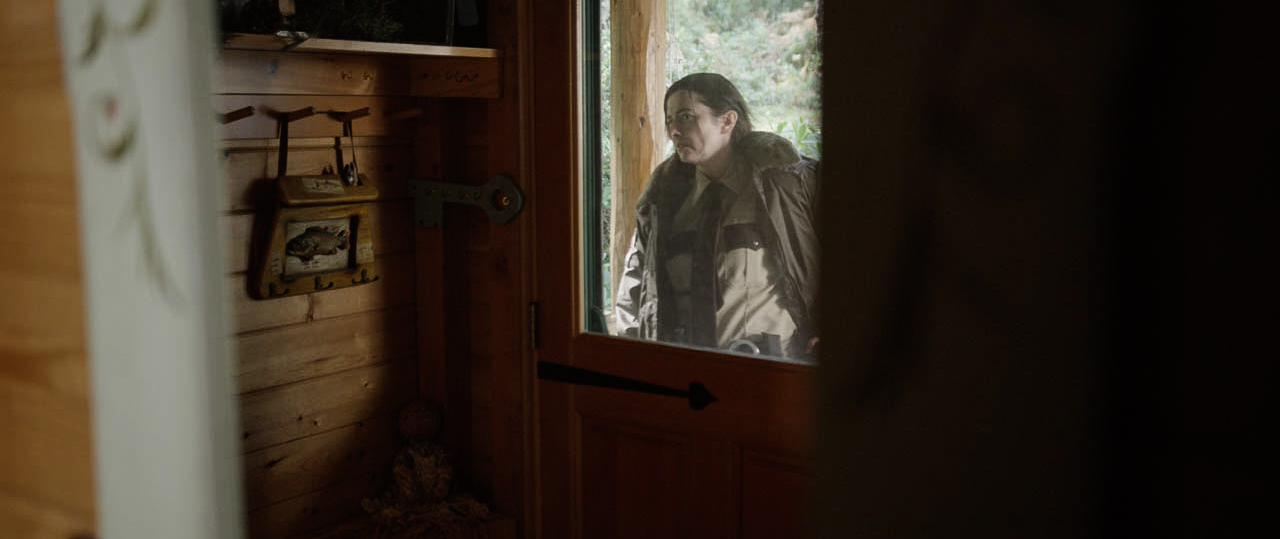
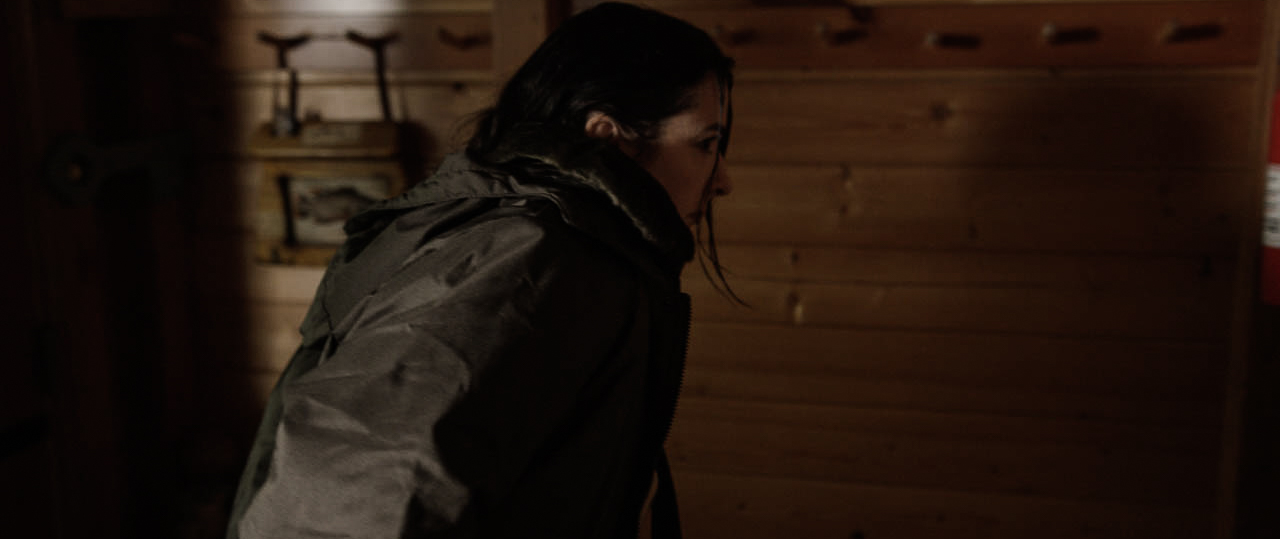
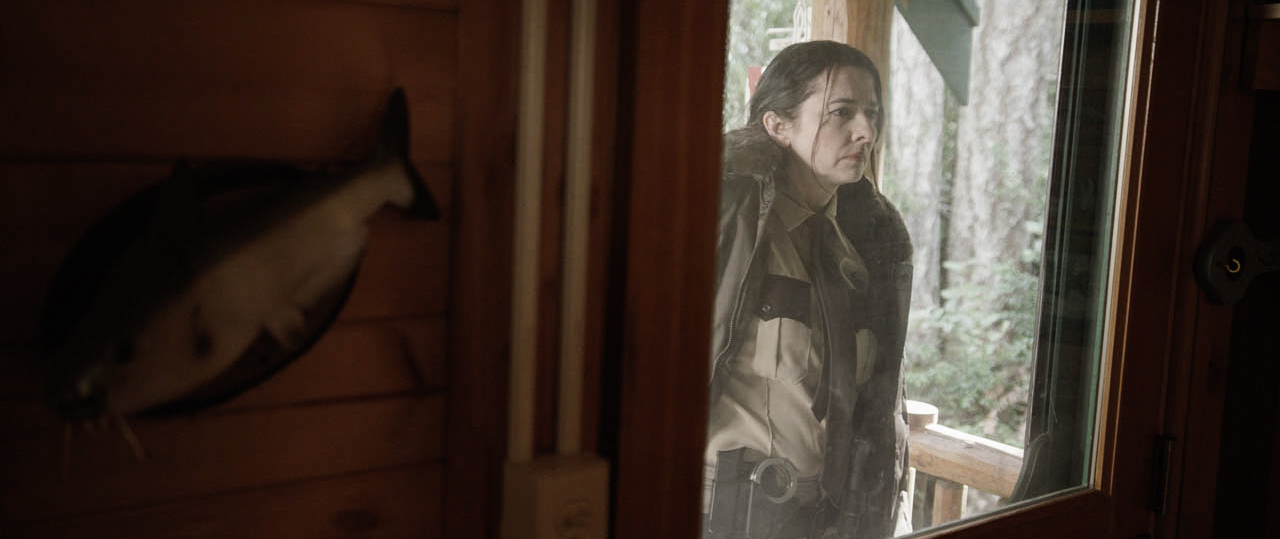
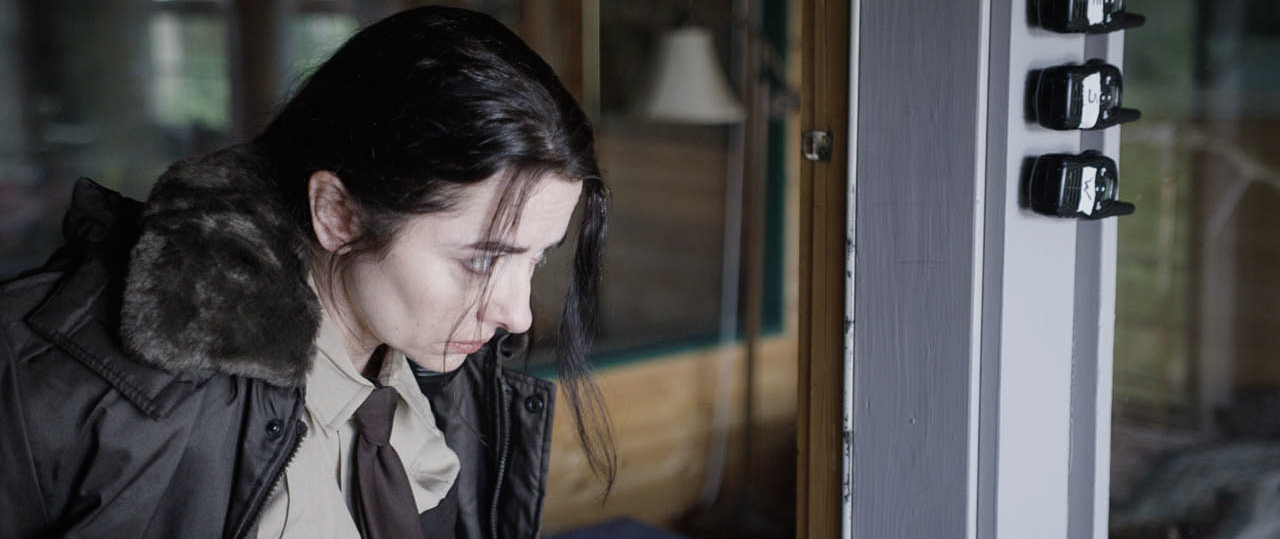
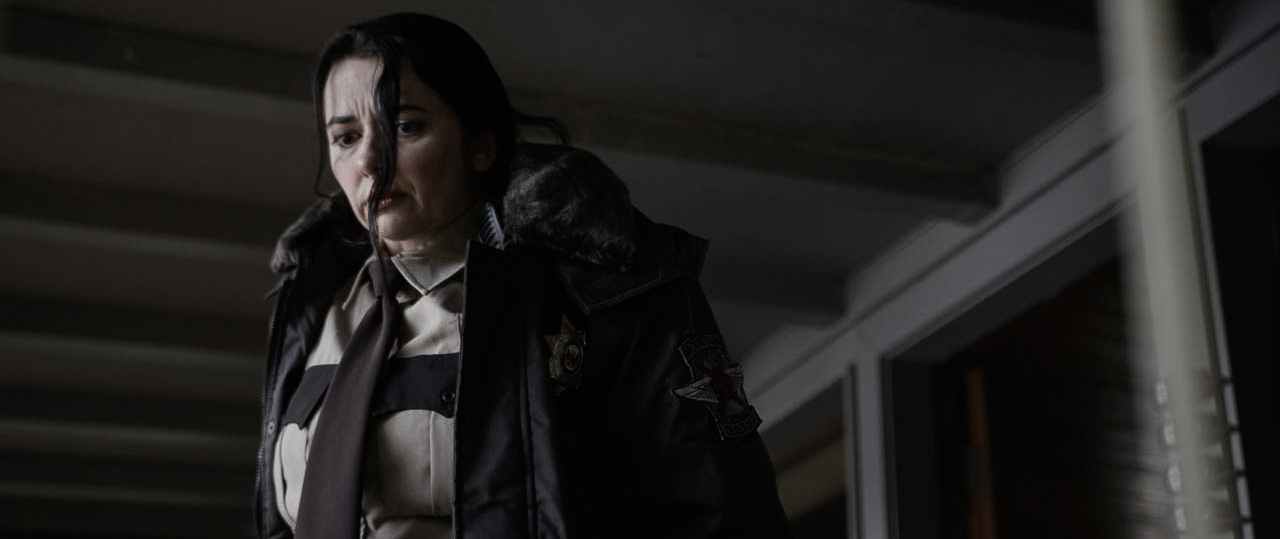
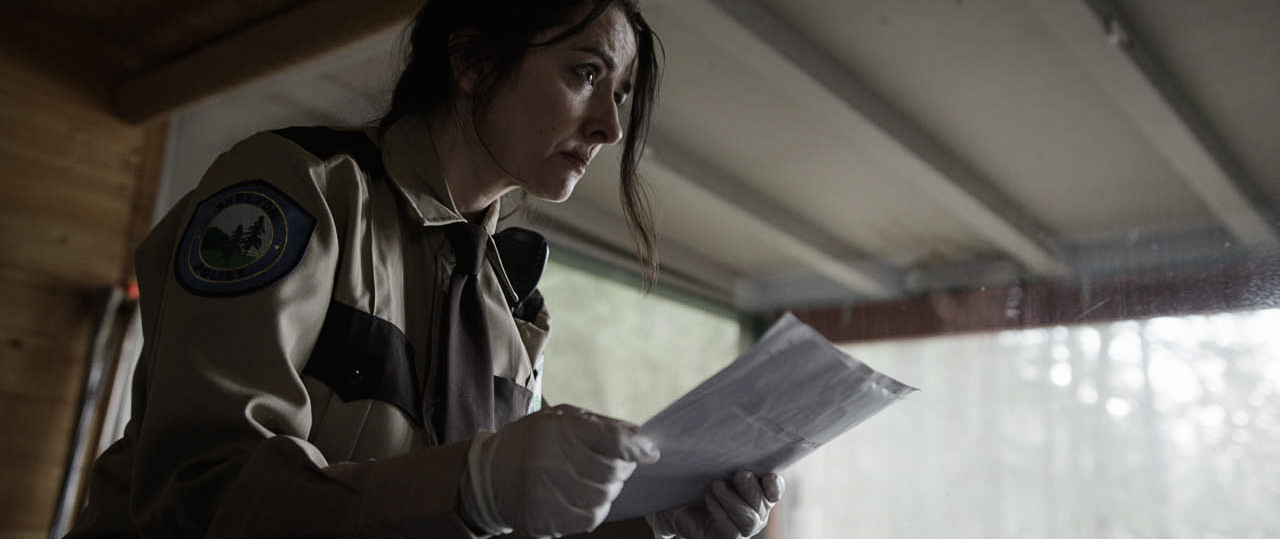
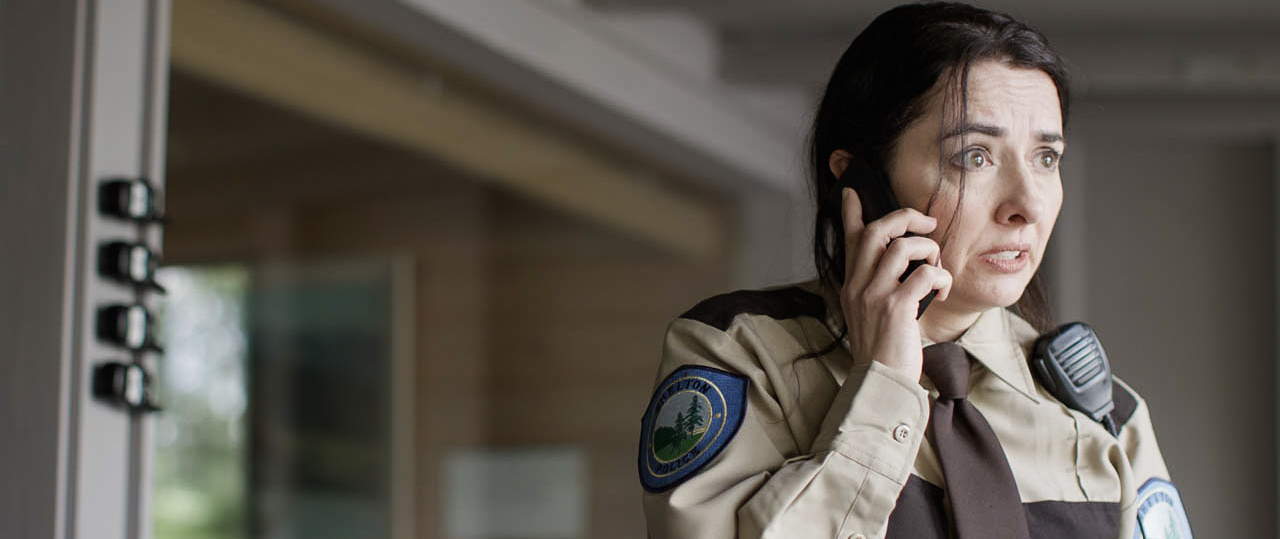
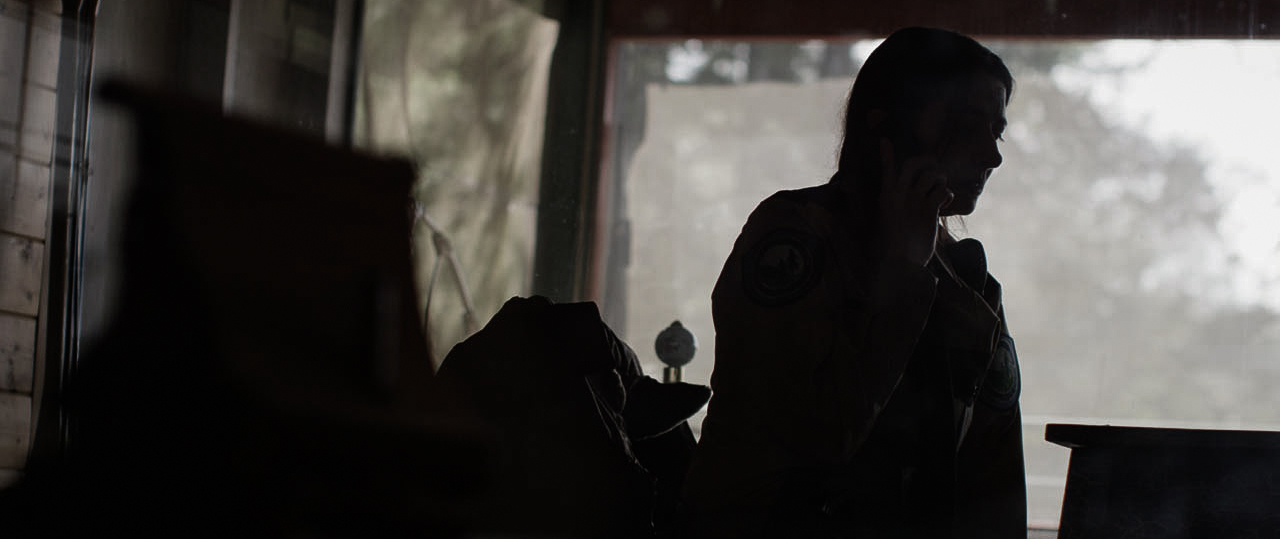
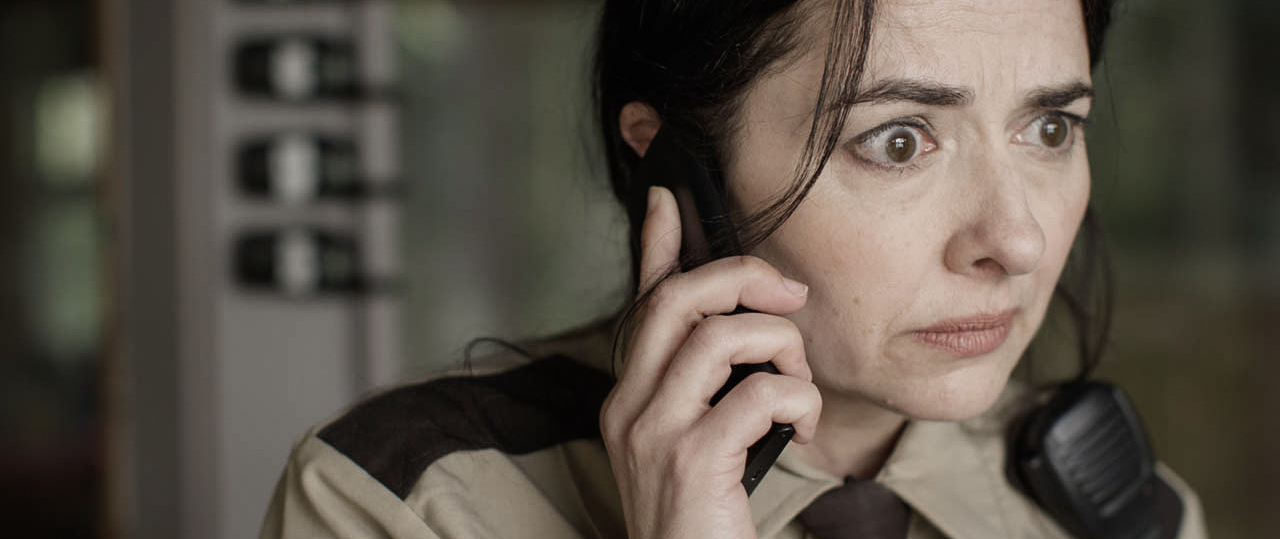
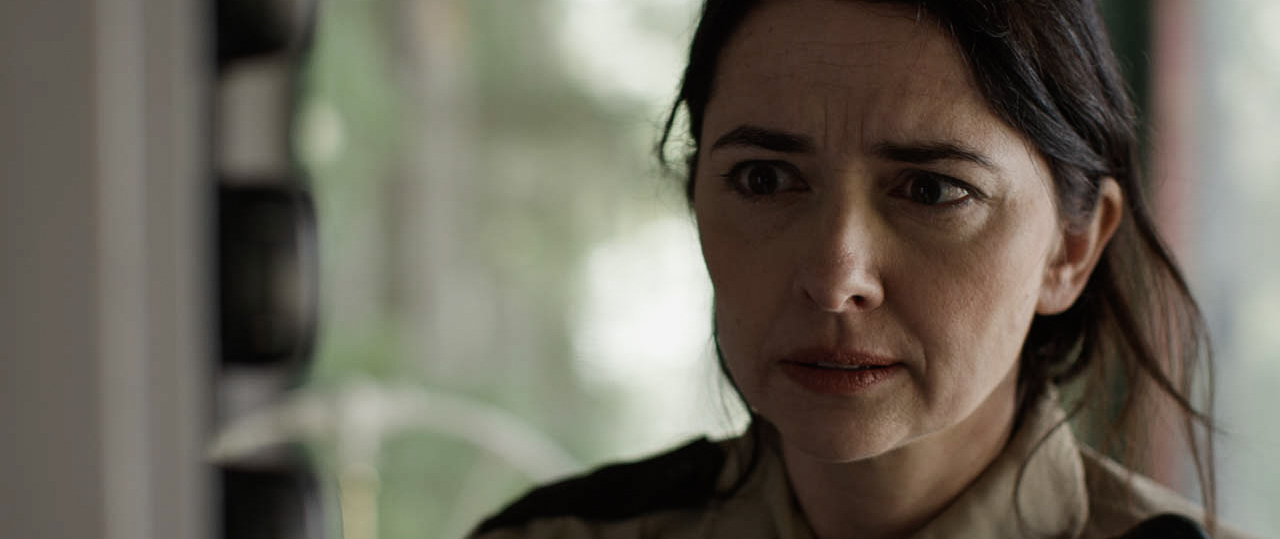
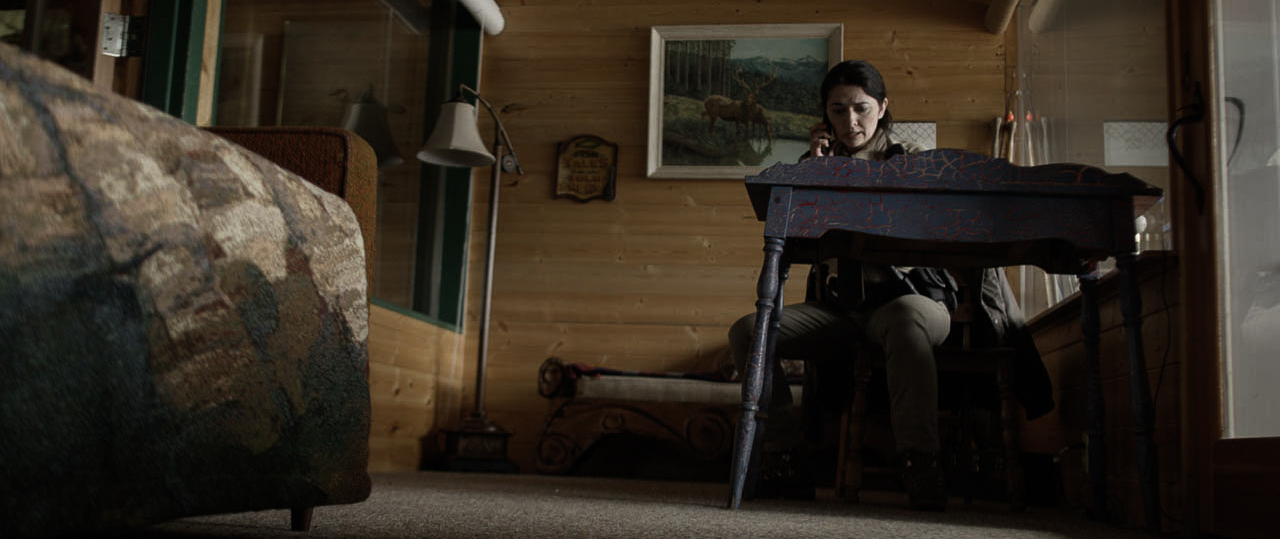
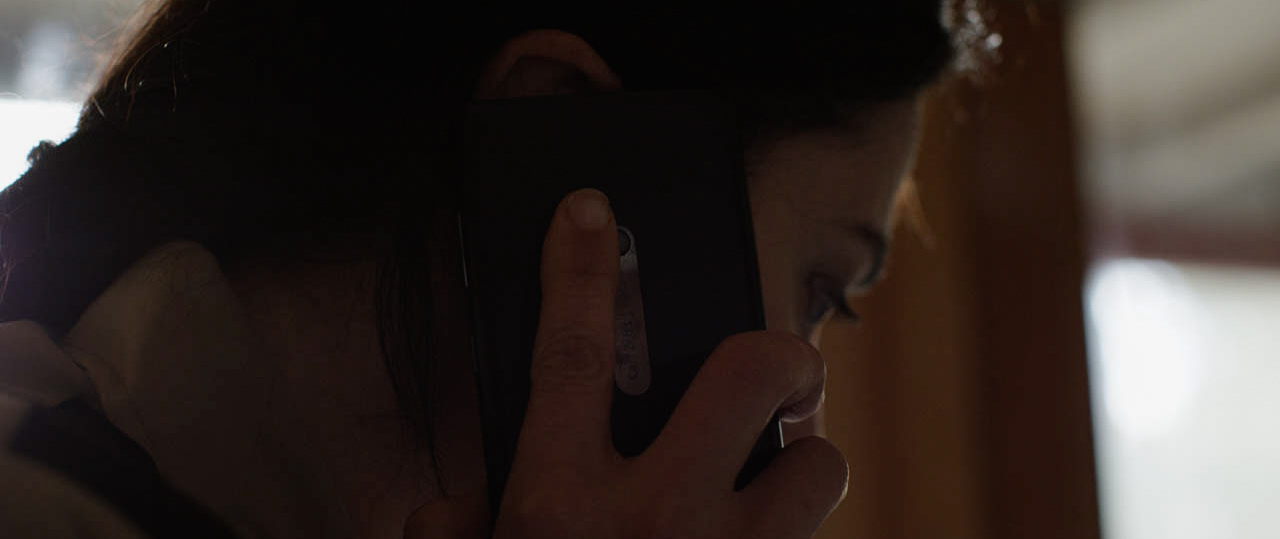
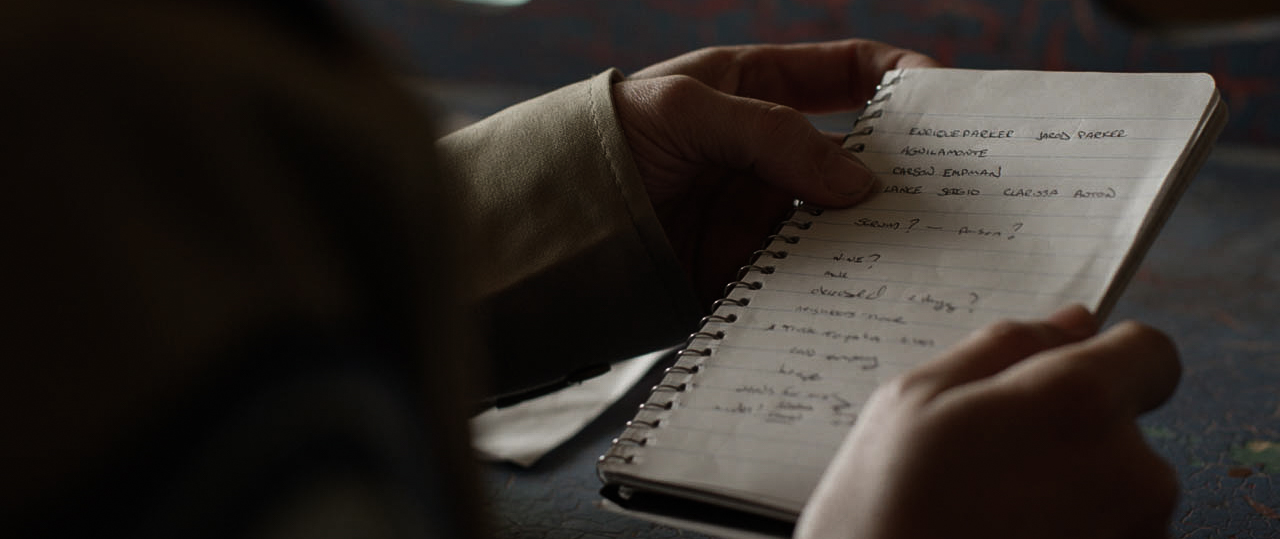
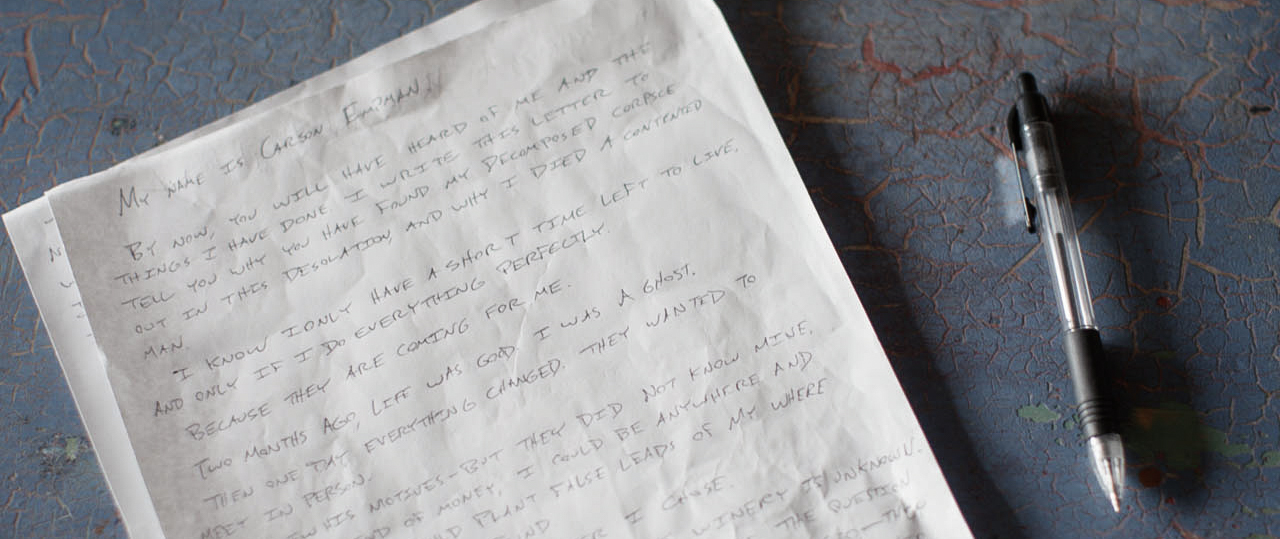
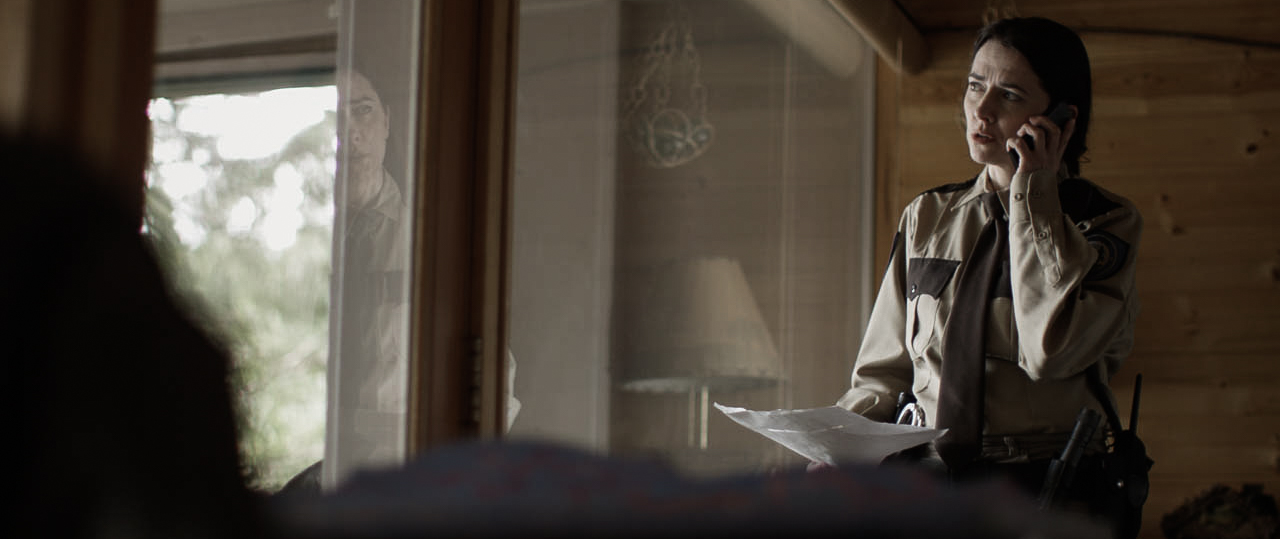
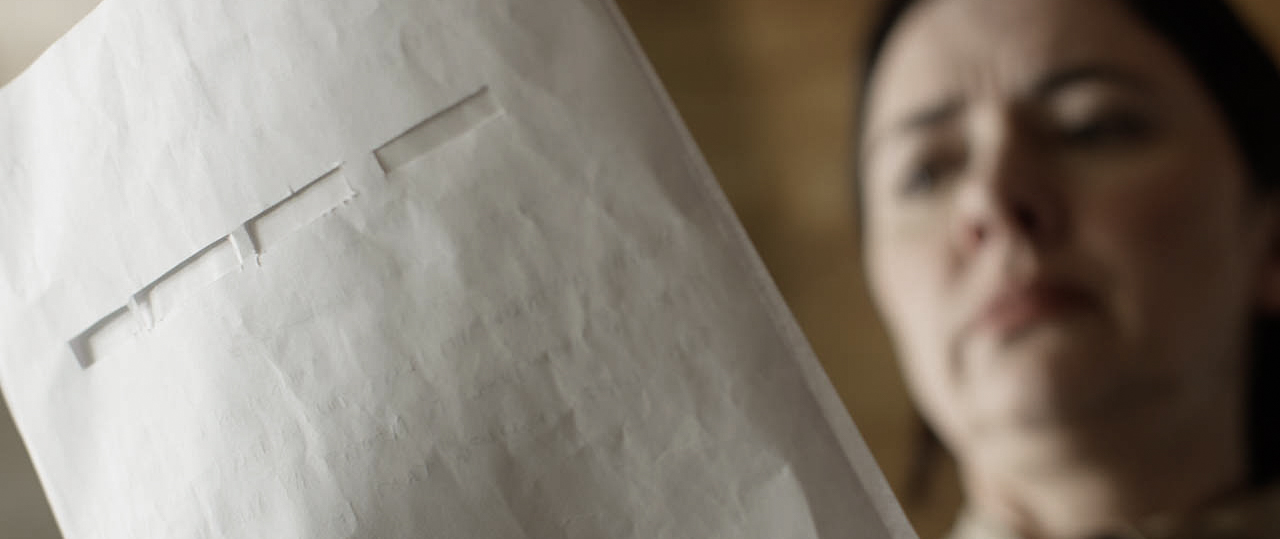
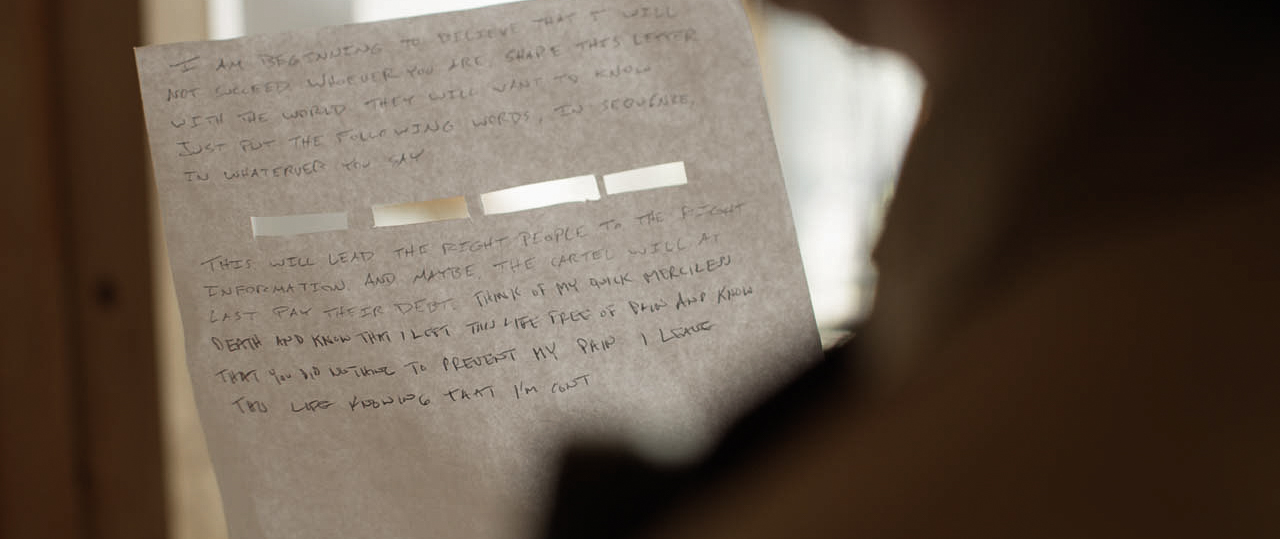
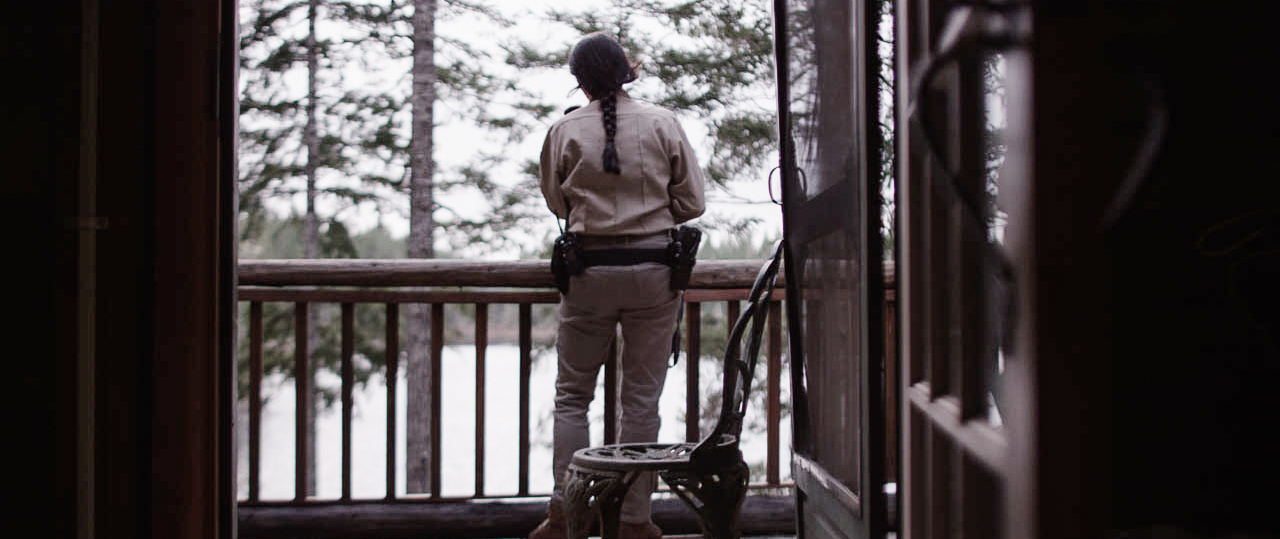
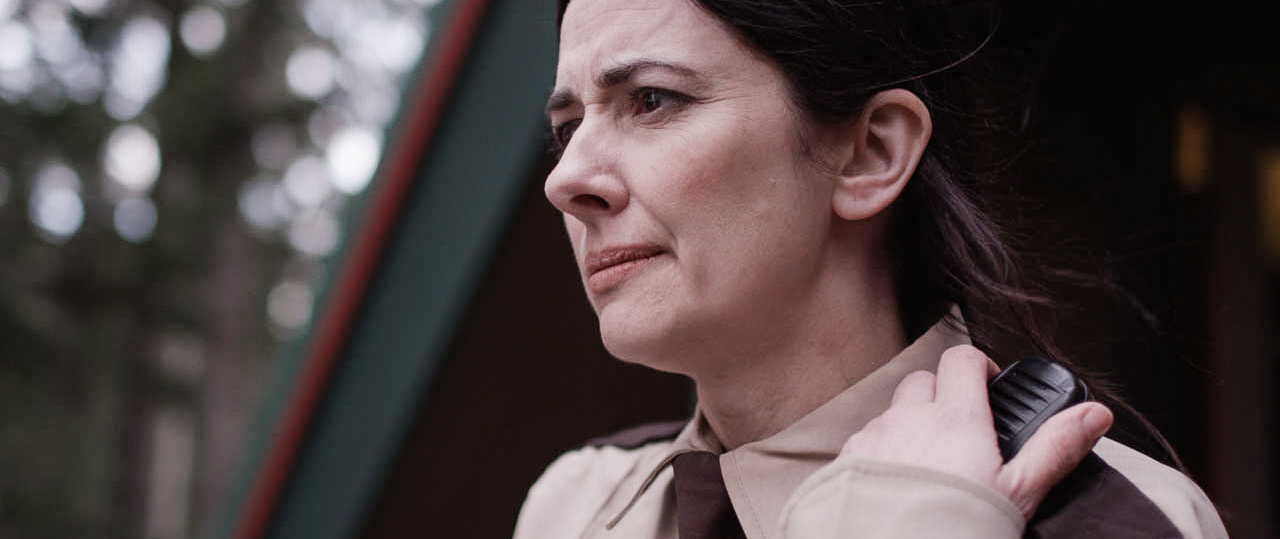
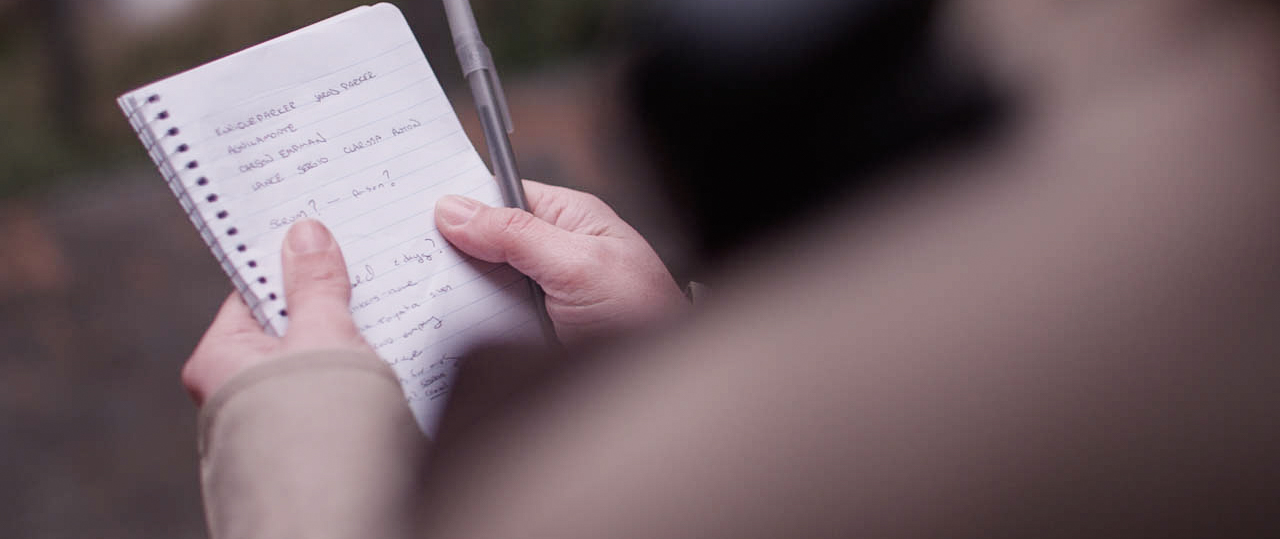
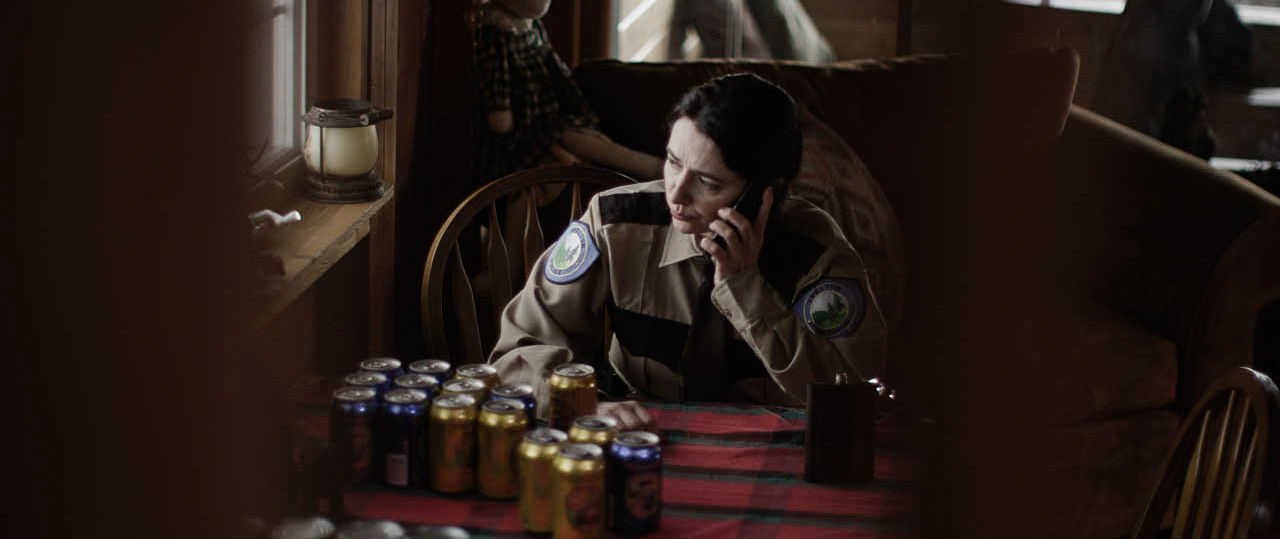
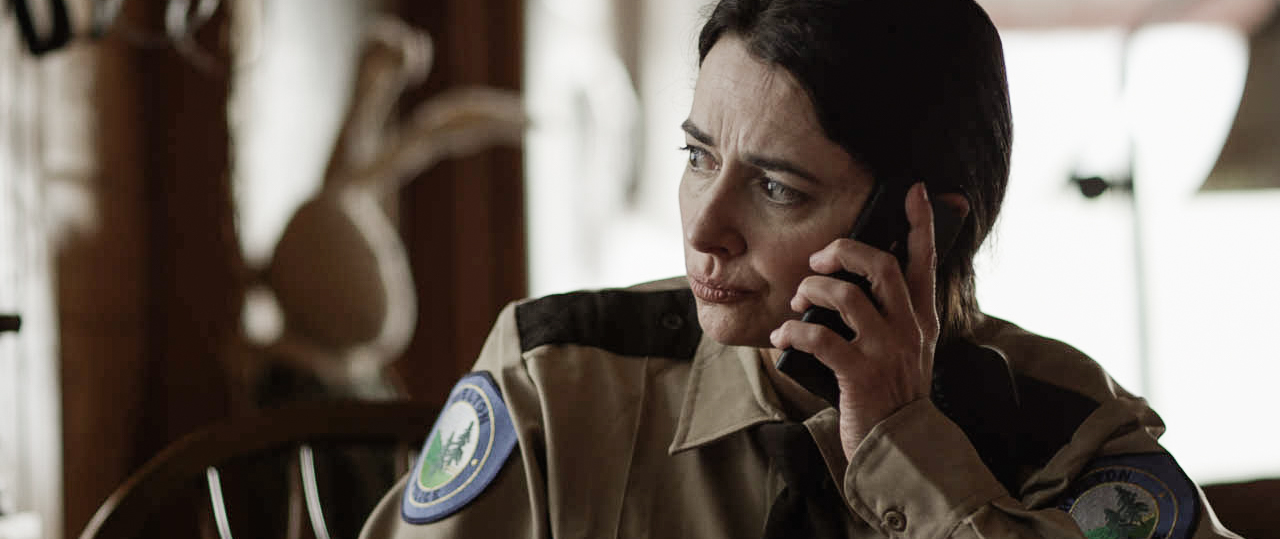
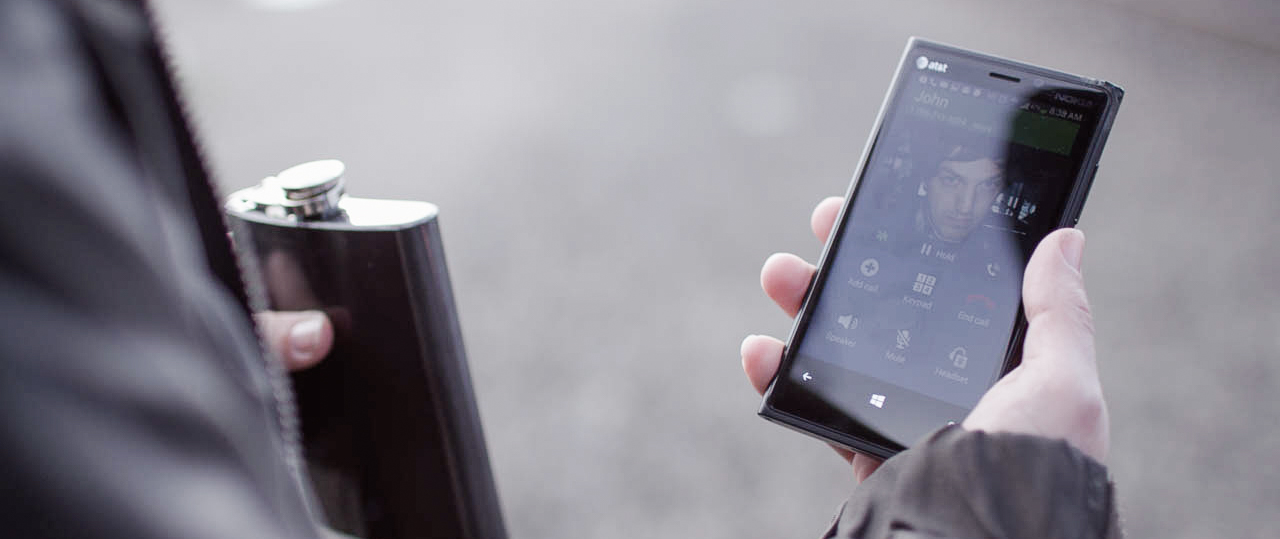
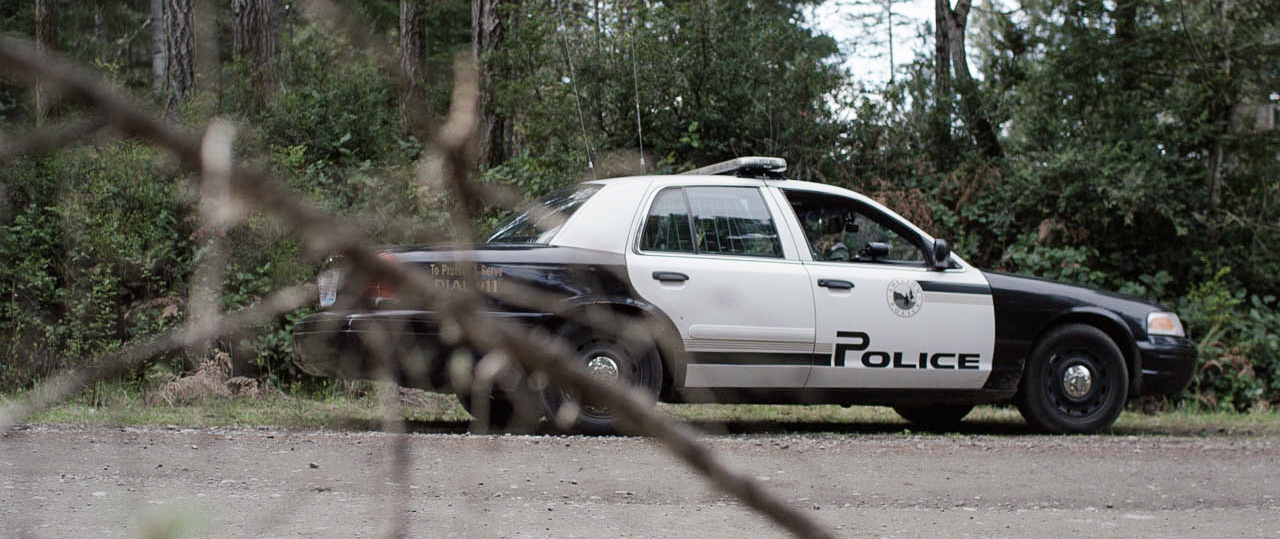
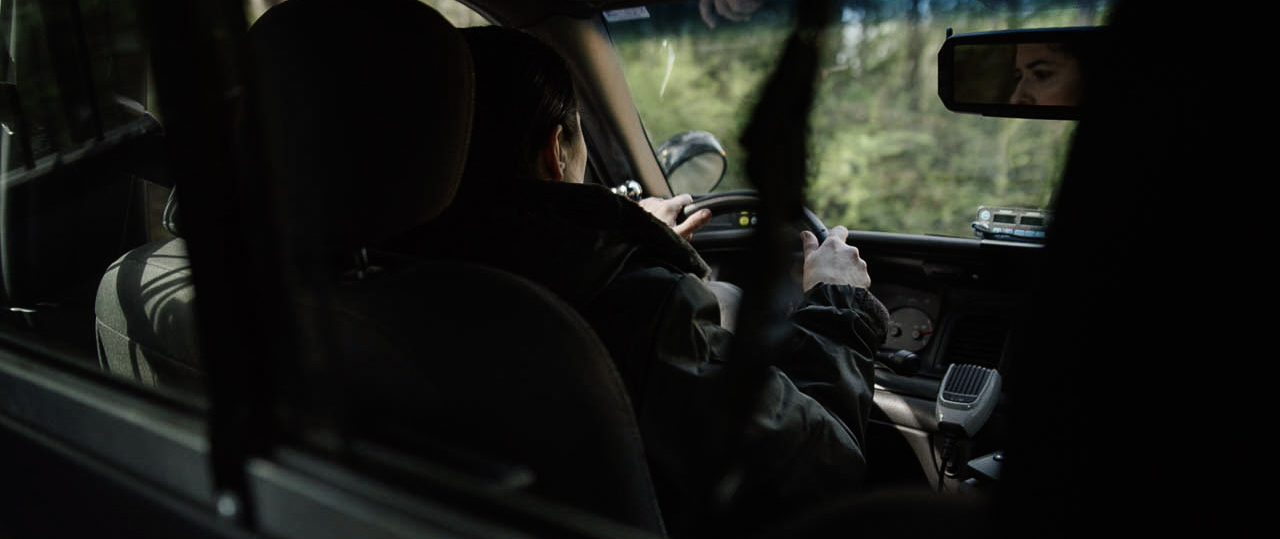
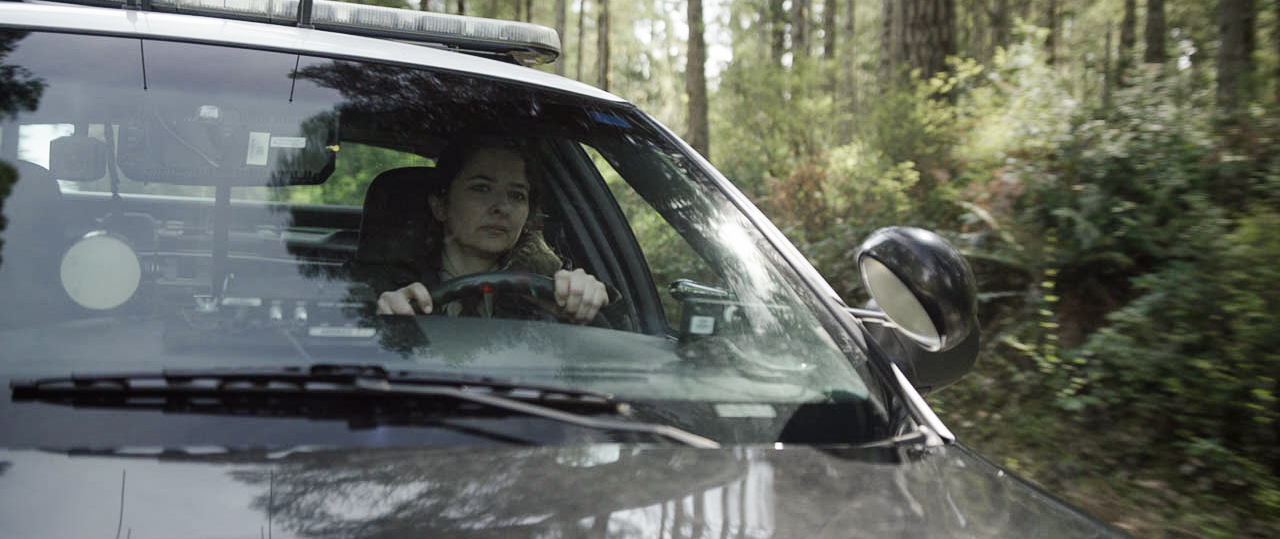
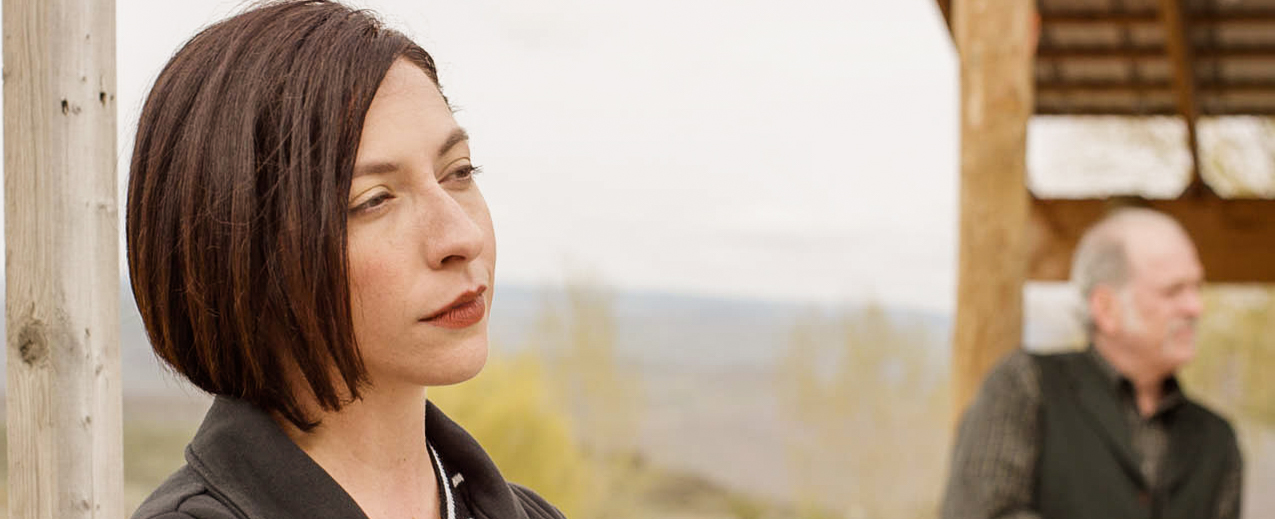
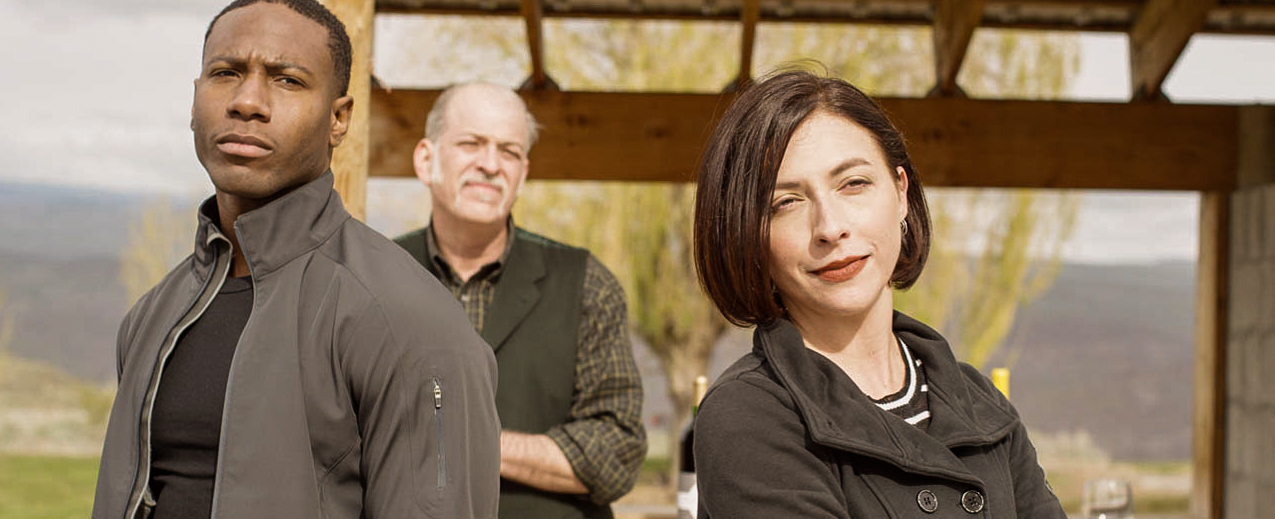
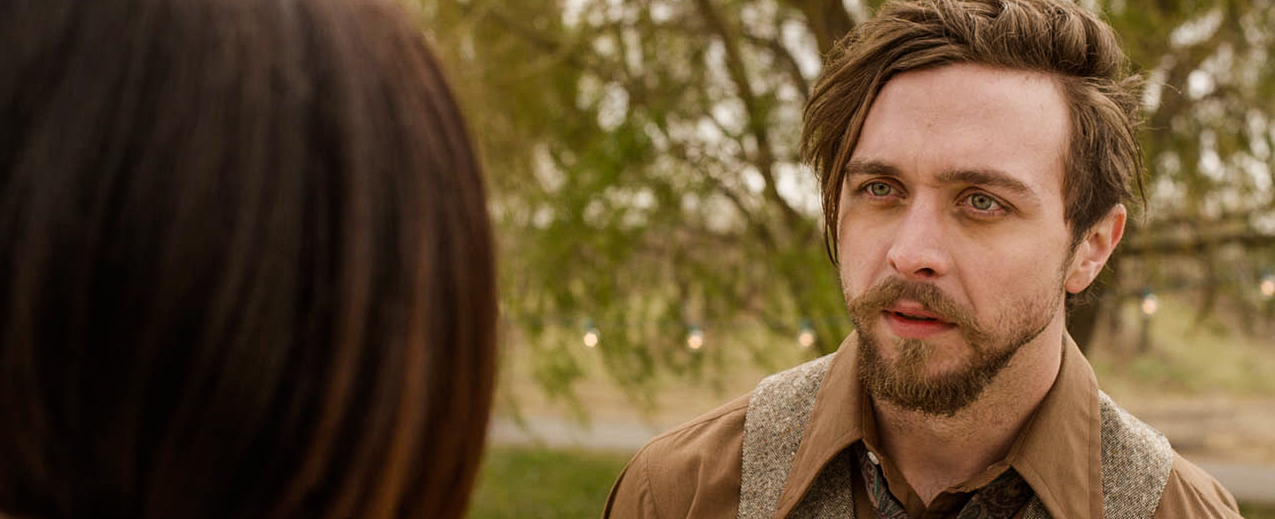
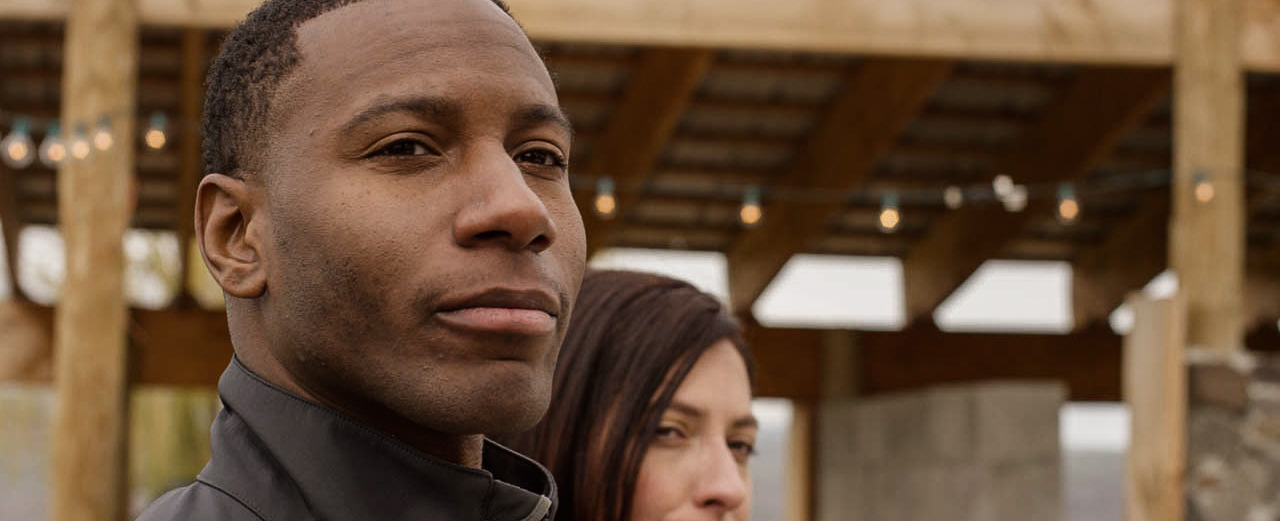
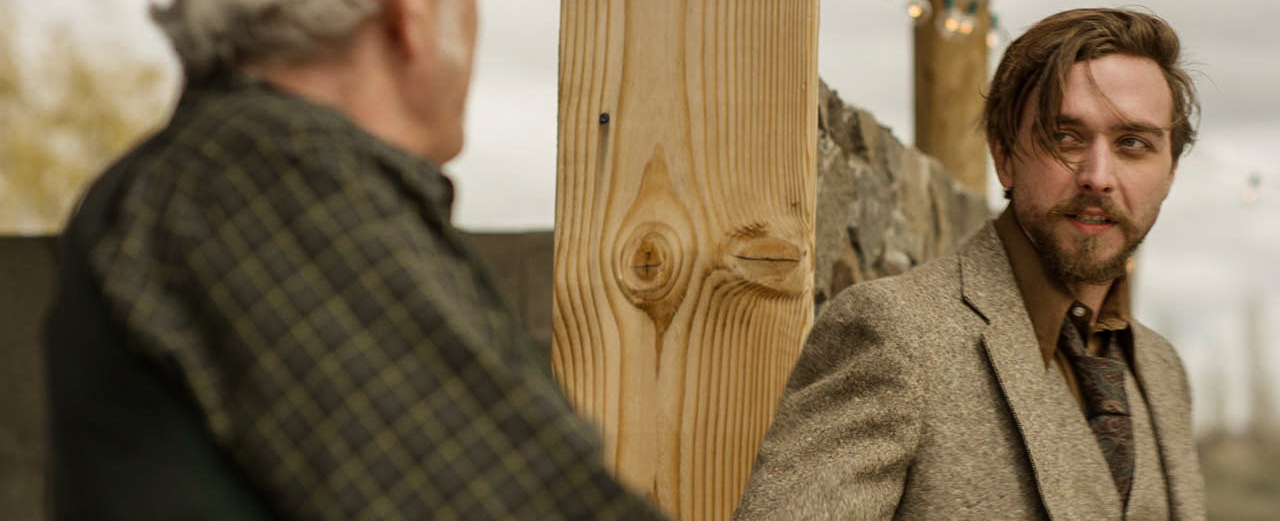
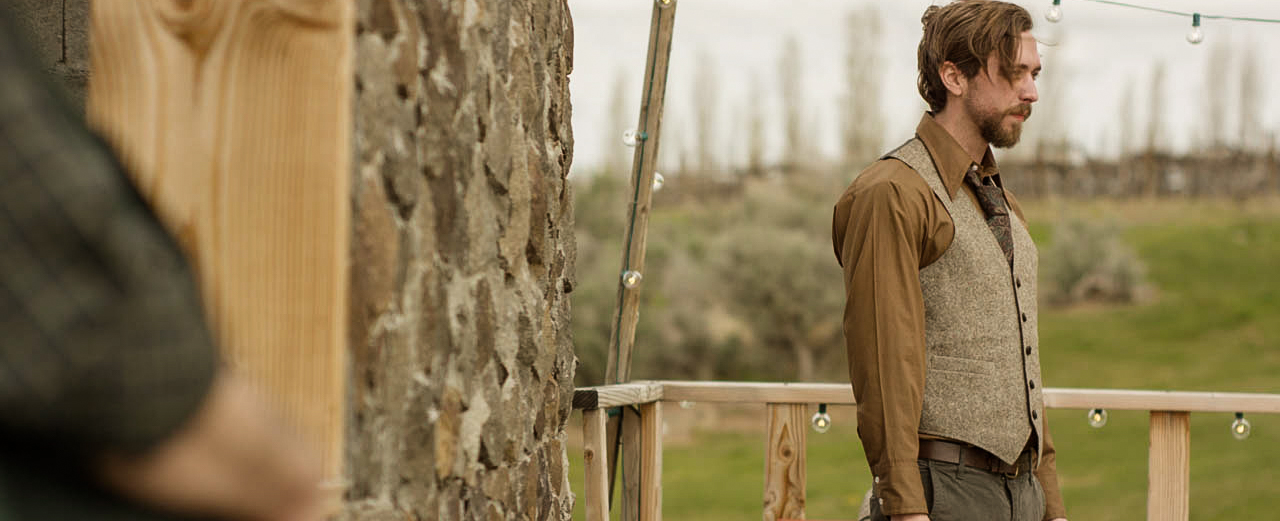
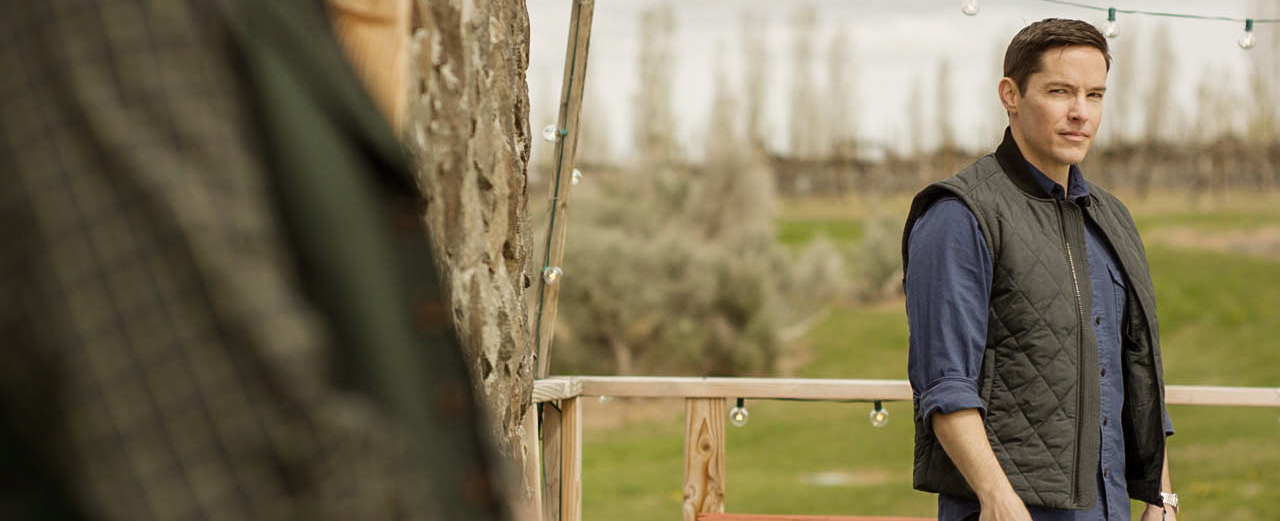
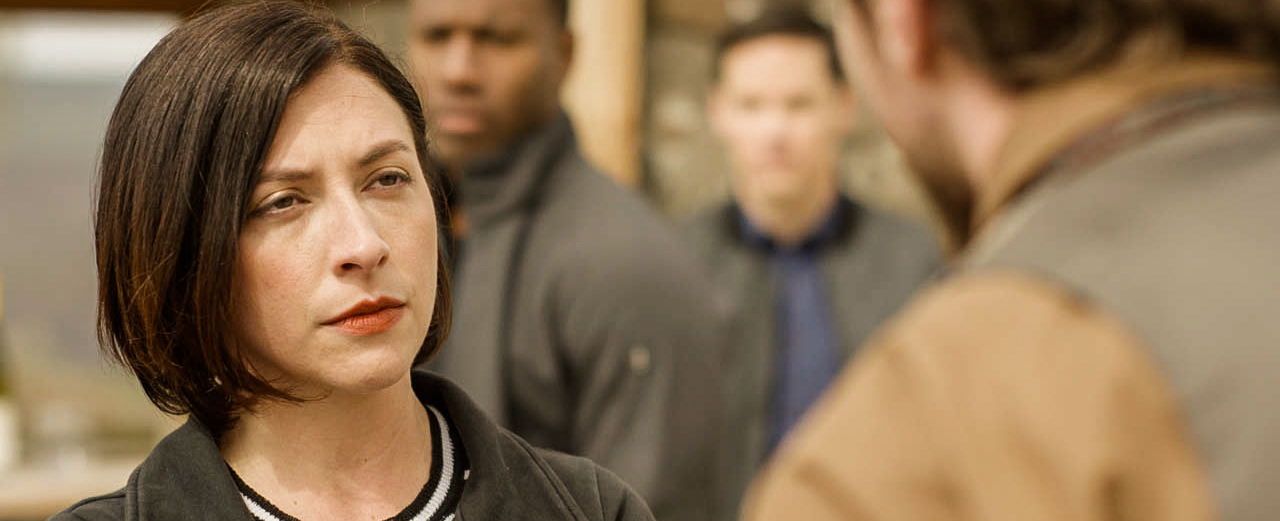
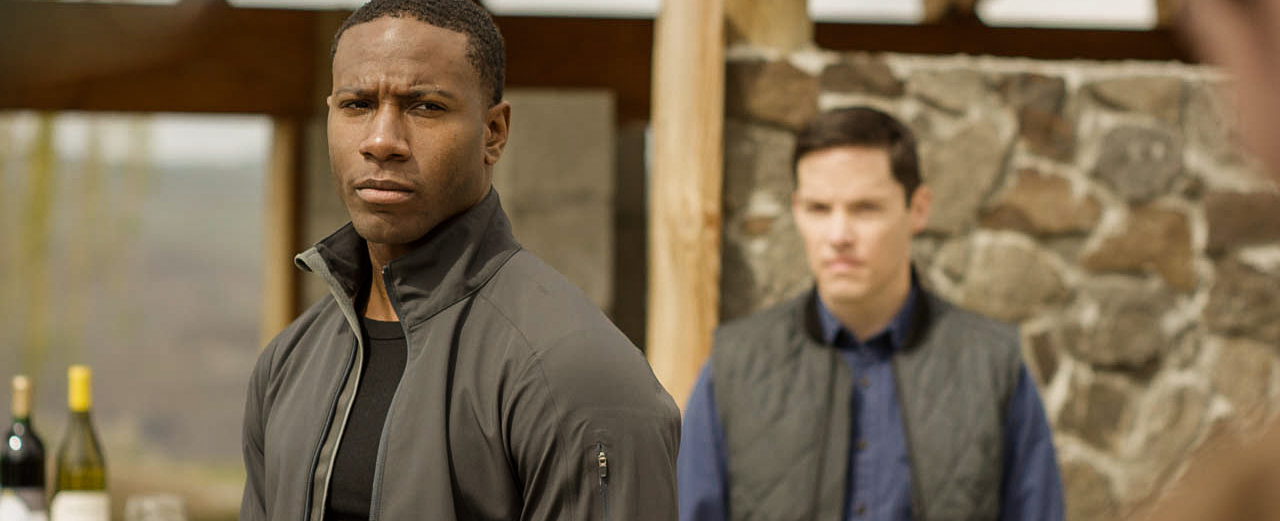
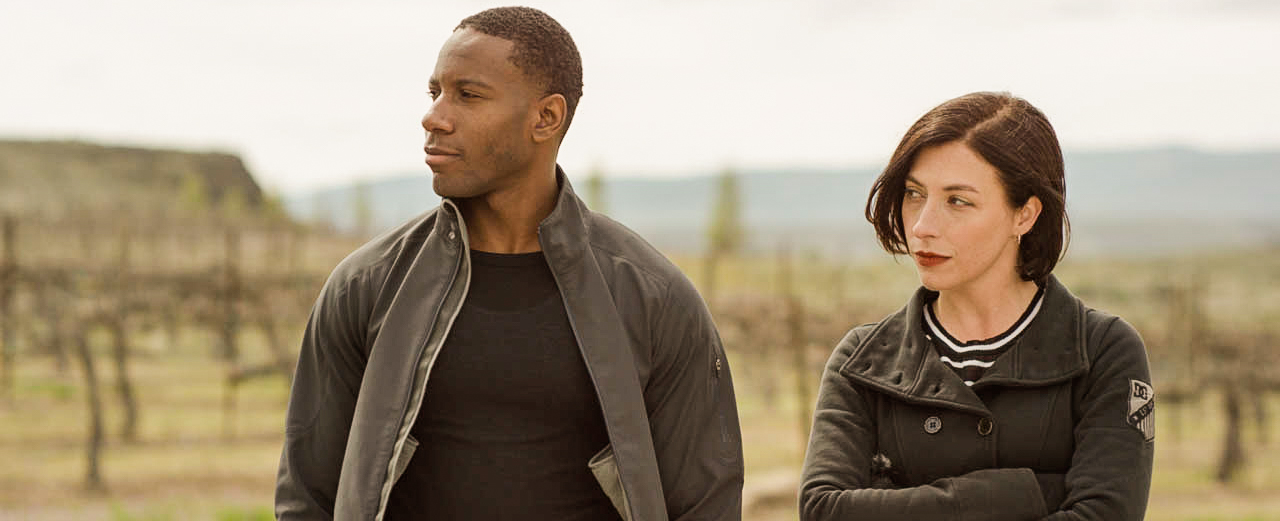
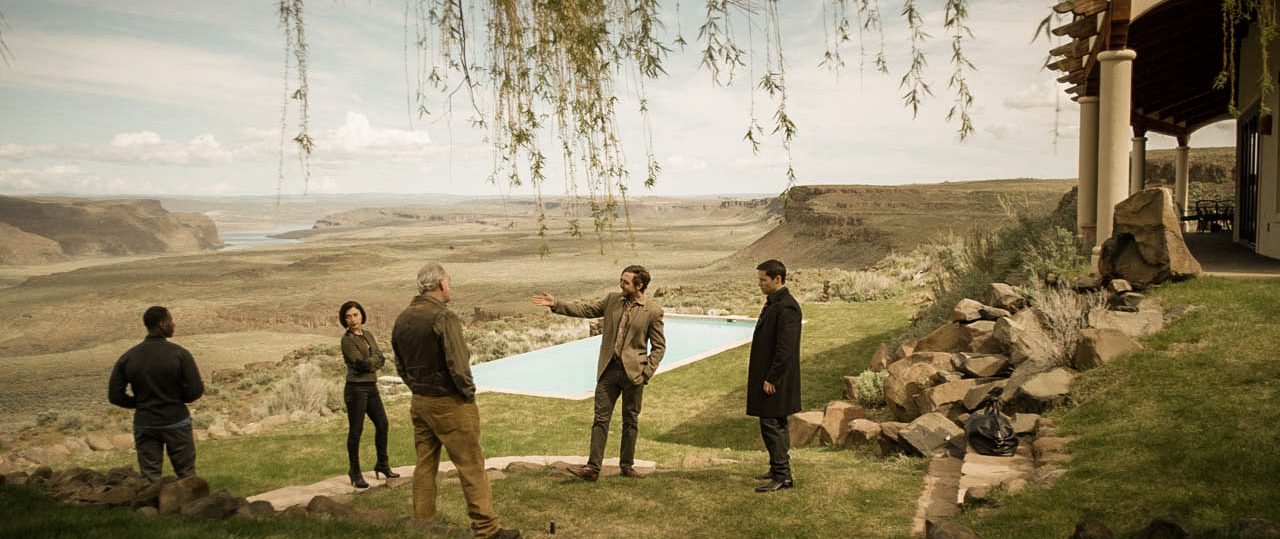
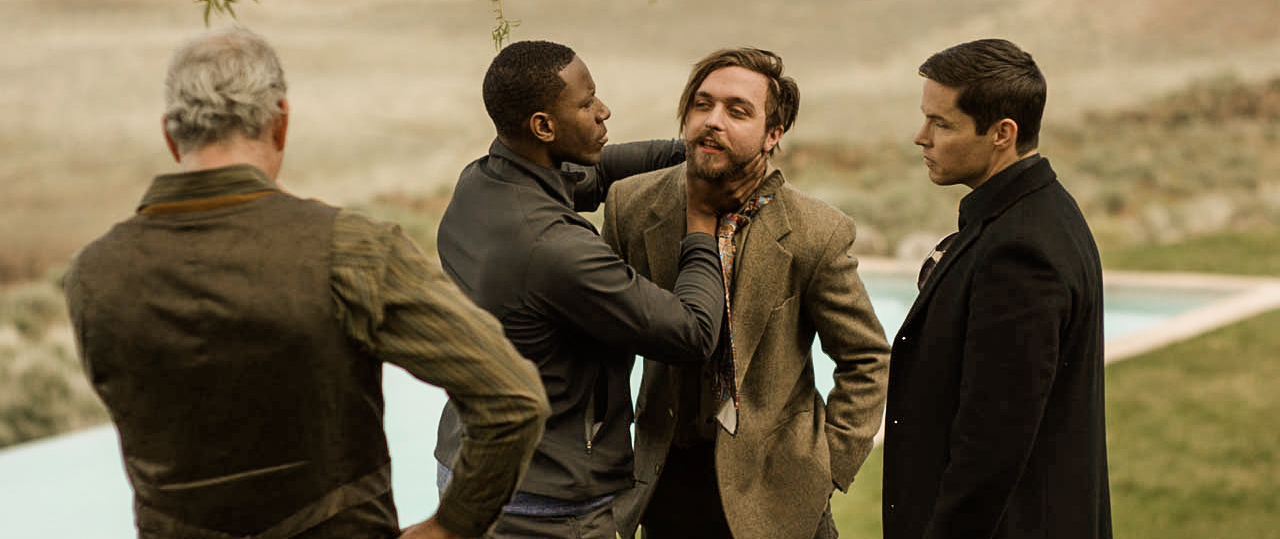
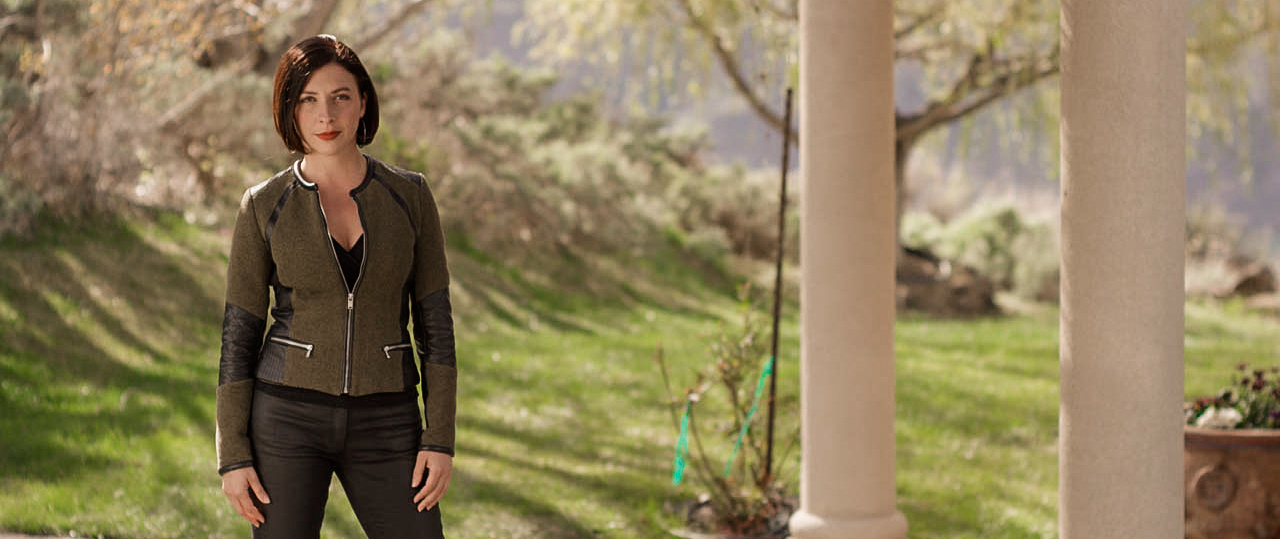
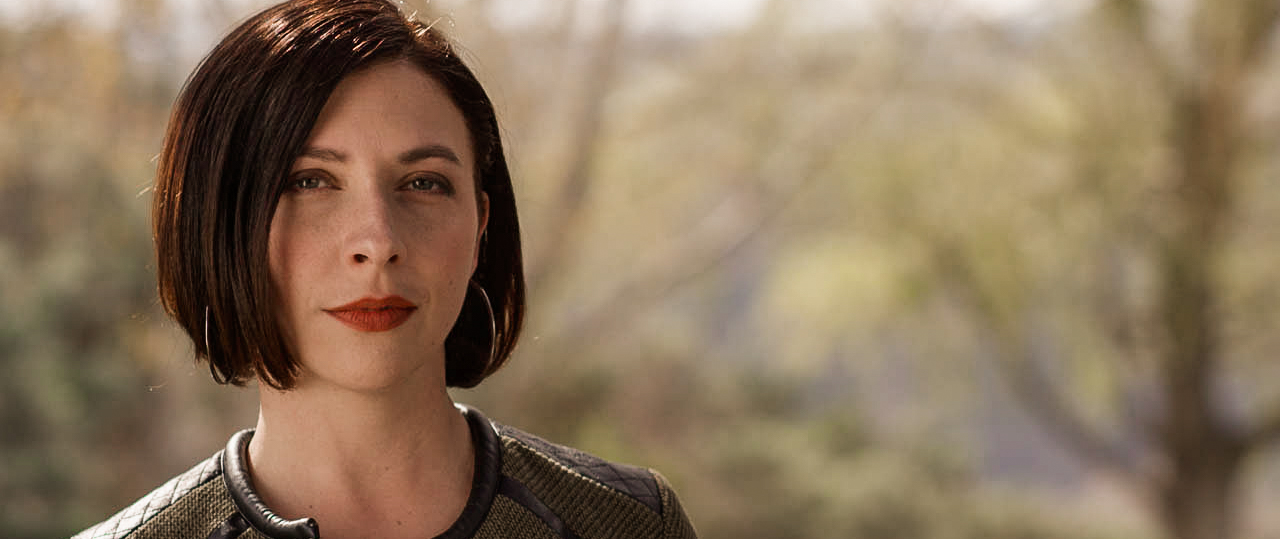
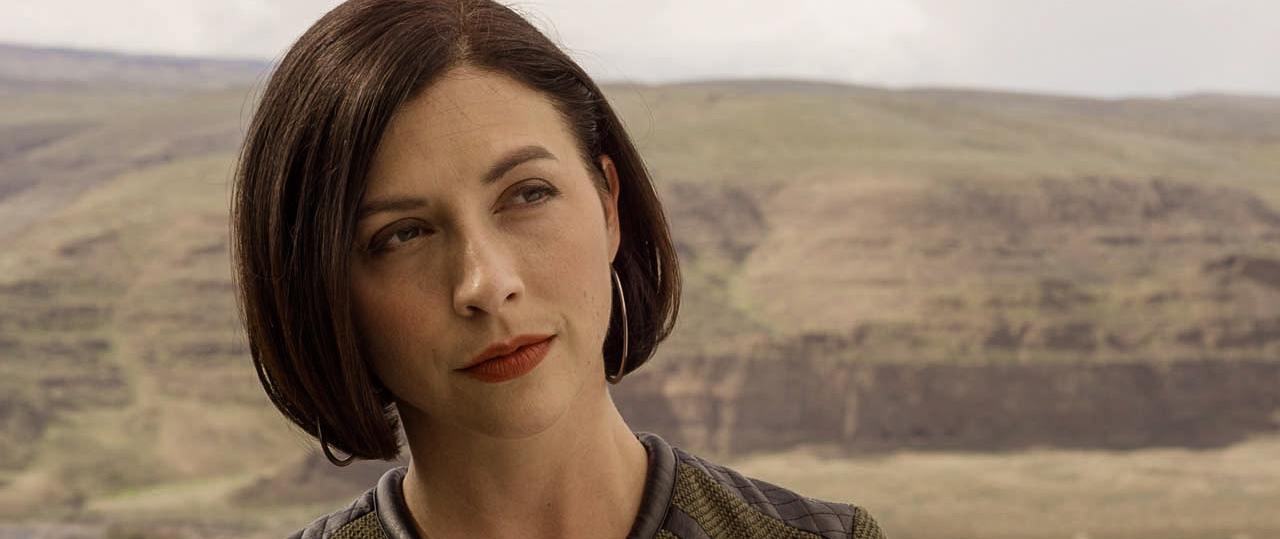
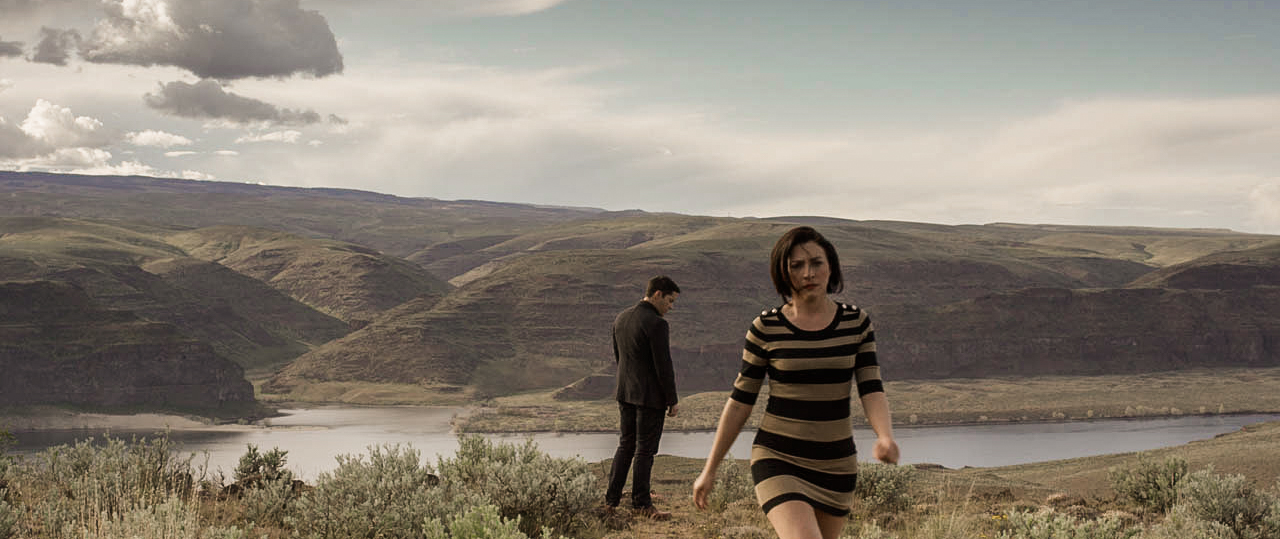
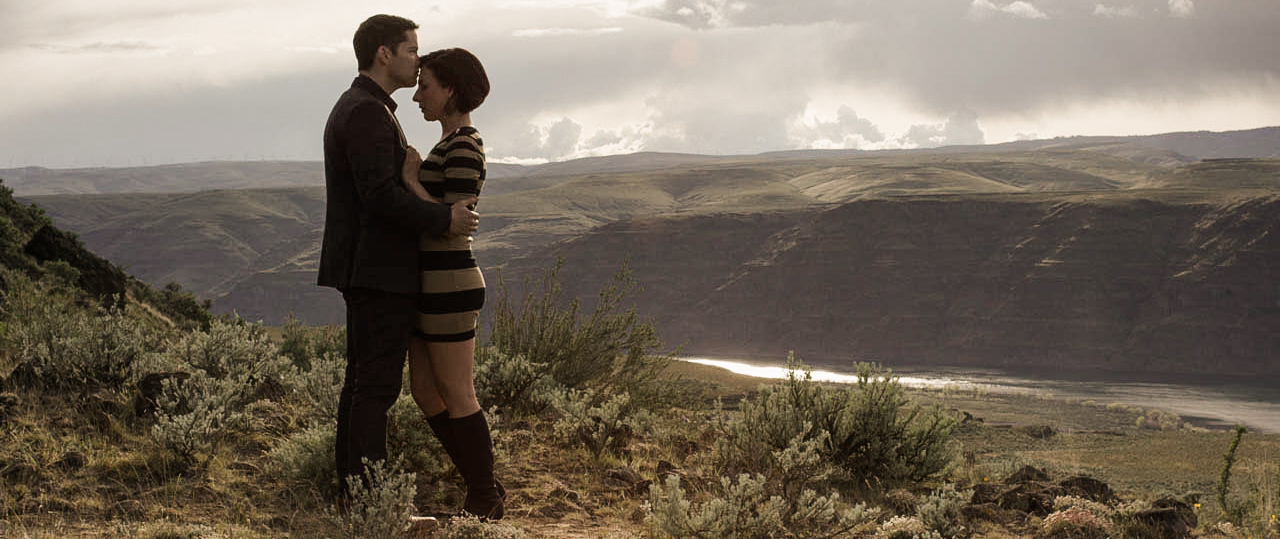
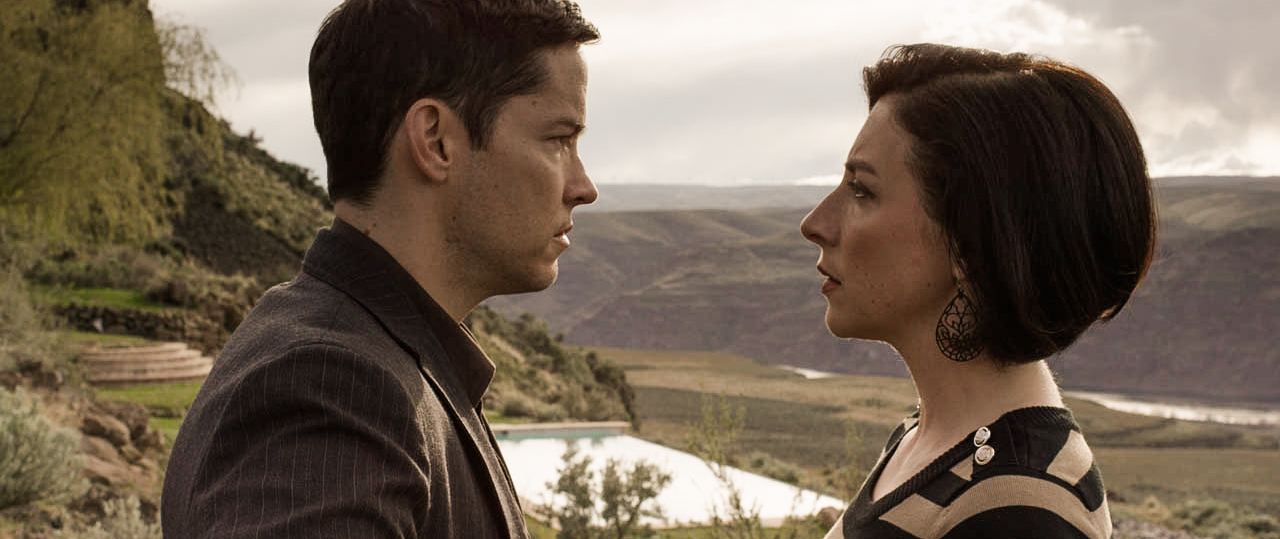
The movie takes place in three different time periods. Real time, which Alice (played by Darlene Sellers), our lead detective is discovering a grisly crime scene at a remote cabin. Then, we jump back in time to see Carson (played by David S. Hogan) our Lead for the film, occupying the cabin and trying to protect himself from the cartel thats hunting him down. Here is where he spends his time calling media outlets to expose the cartel. Then we jump back even further to show Carson in the cartel at ground zero for crime, which is at a cartel owned winery. This point in time shows Carson and the rest of the hit men and women scheming devilish plans of assassinations and crime, but it's here where we see Carson fall in love with a fellow assassin named Clarissa (played by Angela DiMarco). So we have 3 different points in time and it jumps around between them very frequently. I wanted to make sure that the viewer could easily tell the difference just by camera work alone. So we sat down and schemed up some ways to have specific shooting methods for each time period.


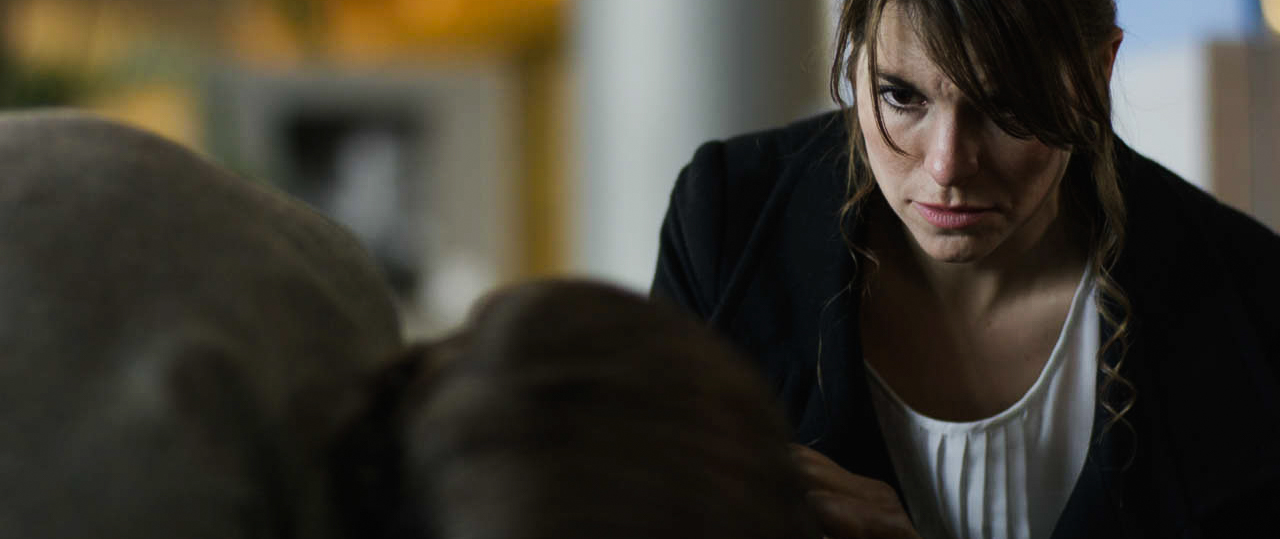
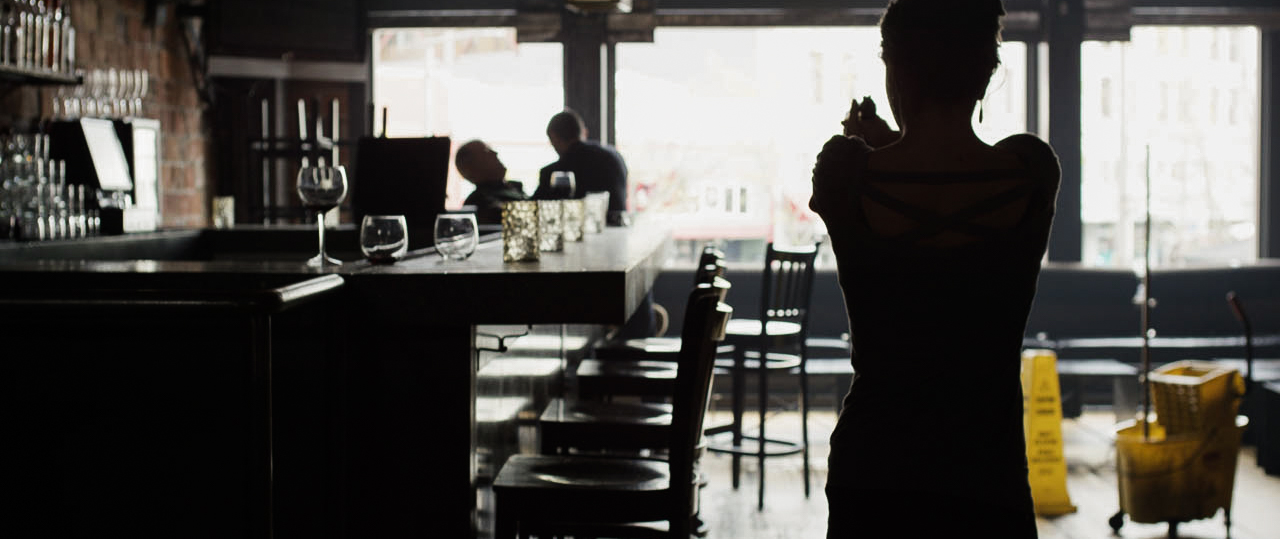


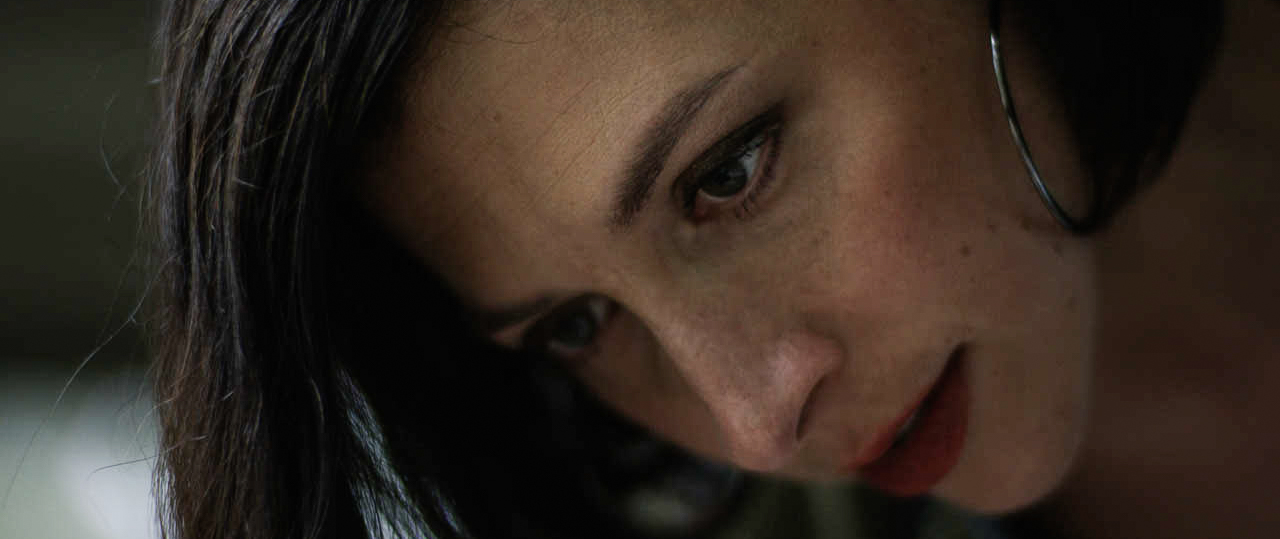


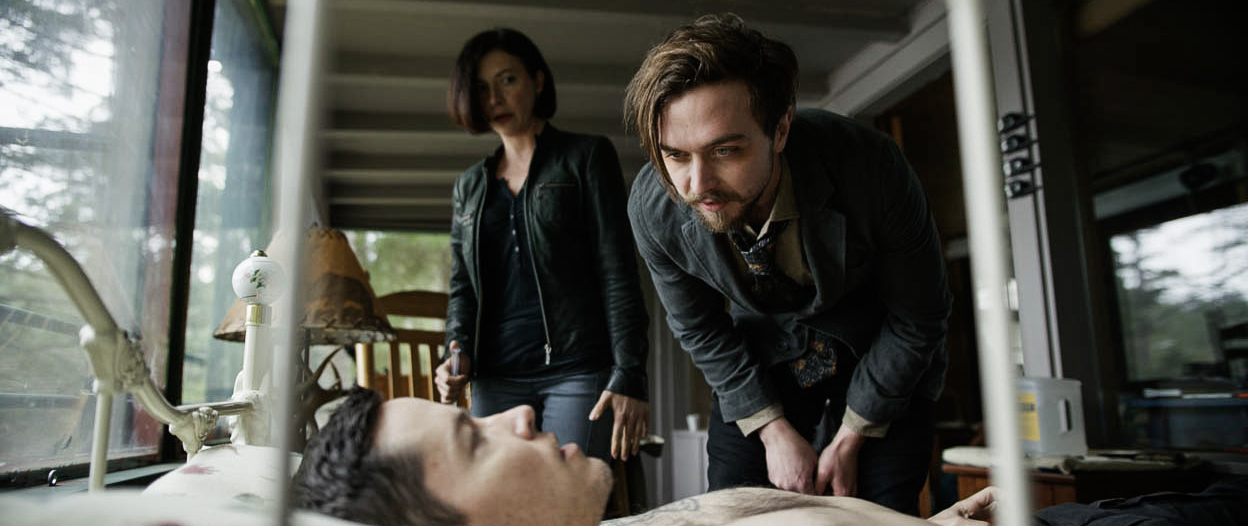
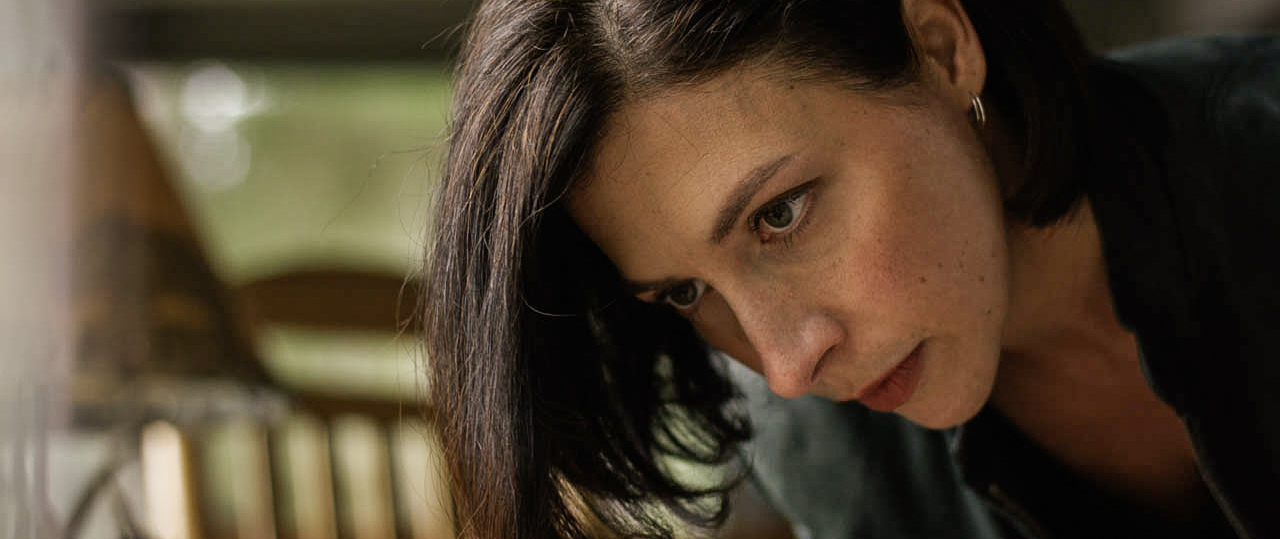


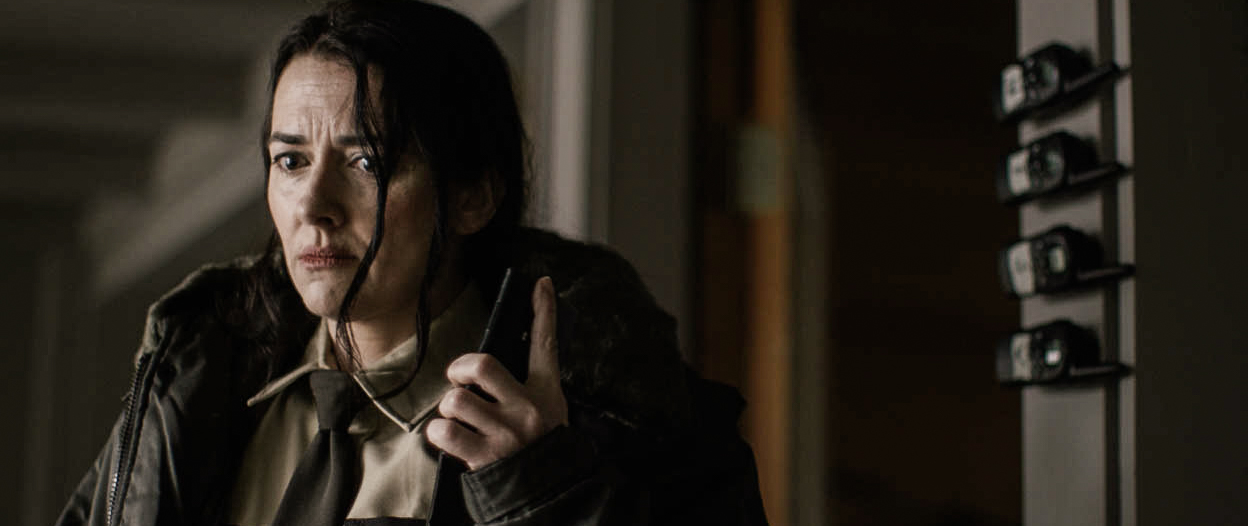
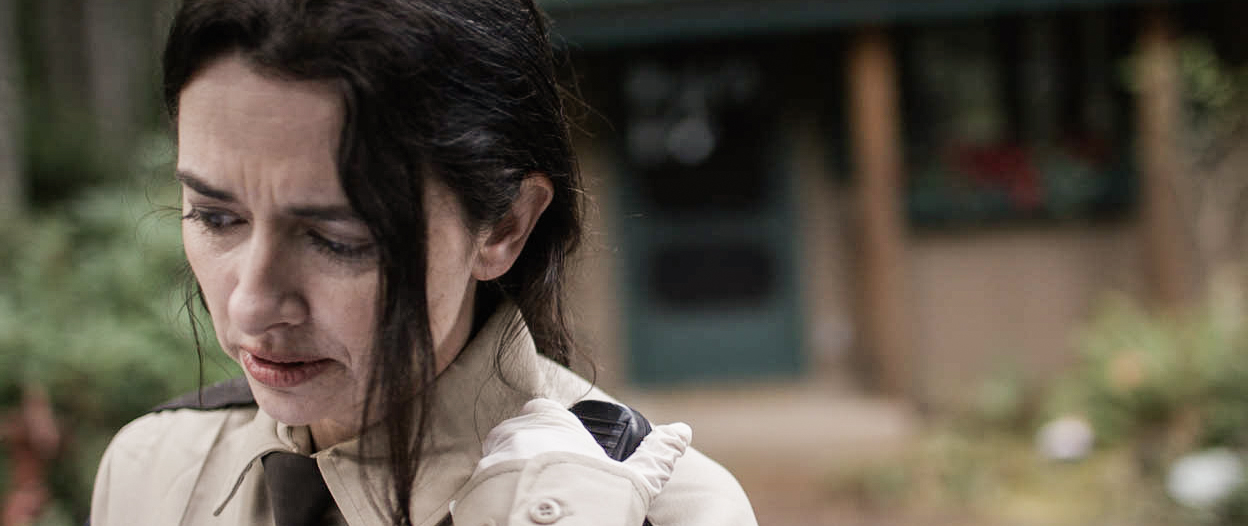
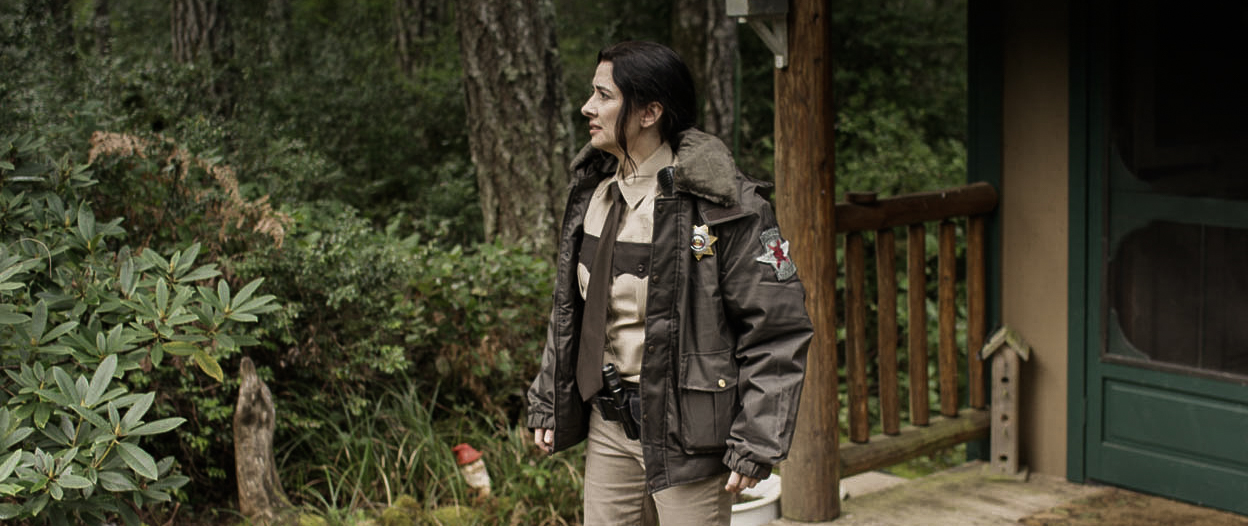
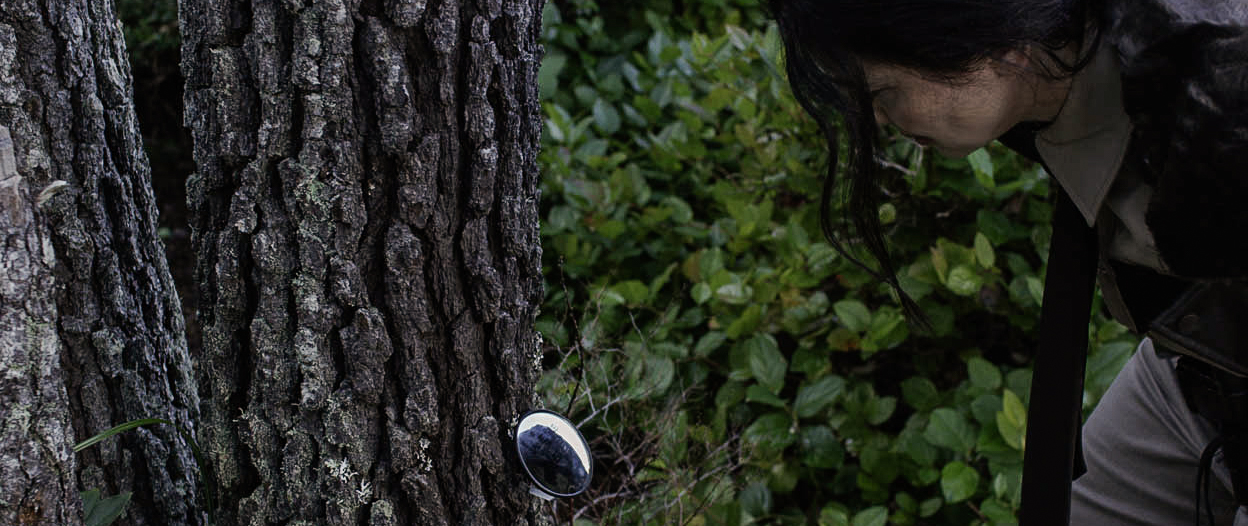
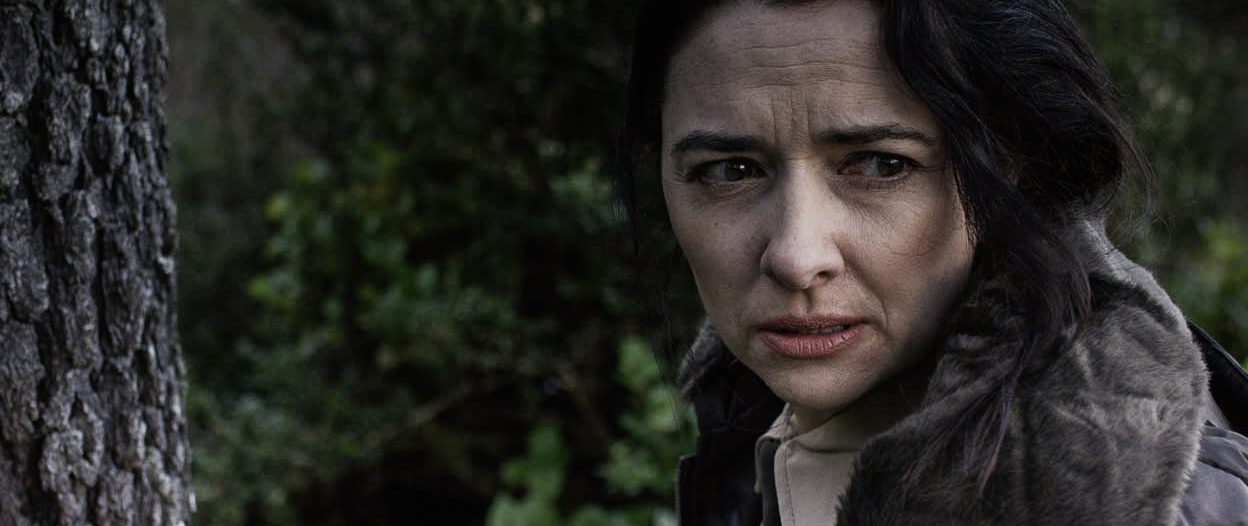
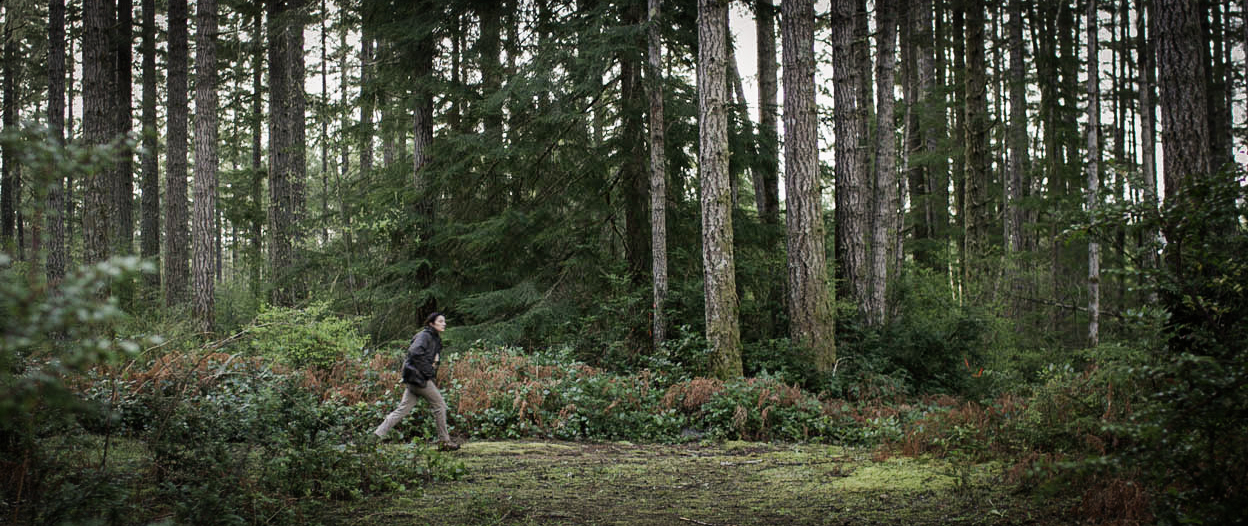
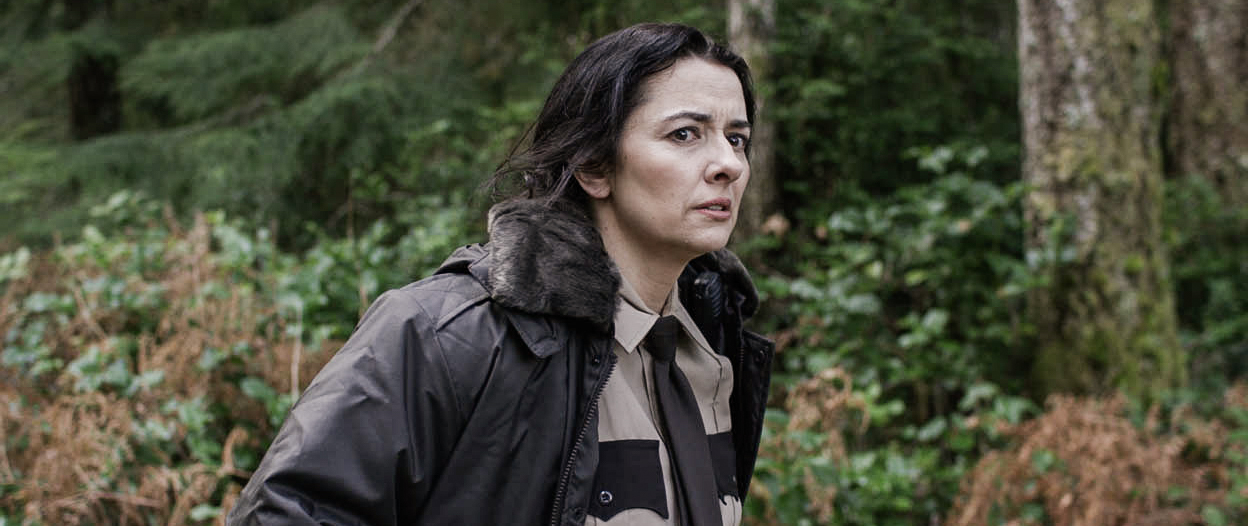

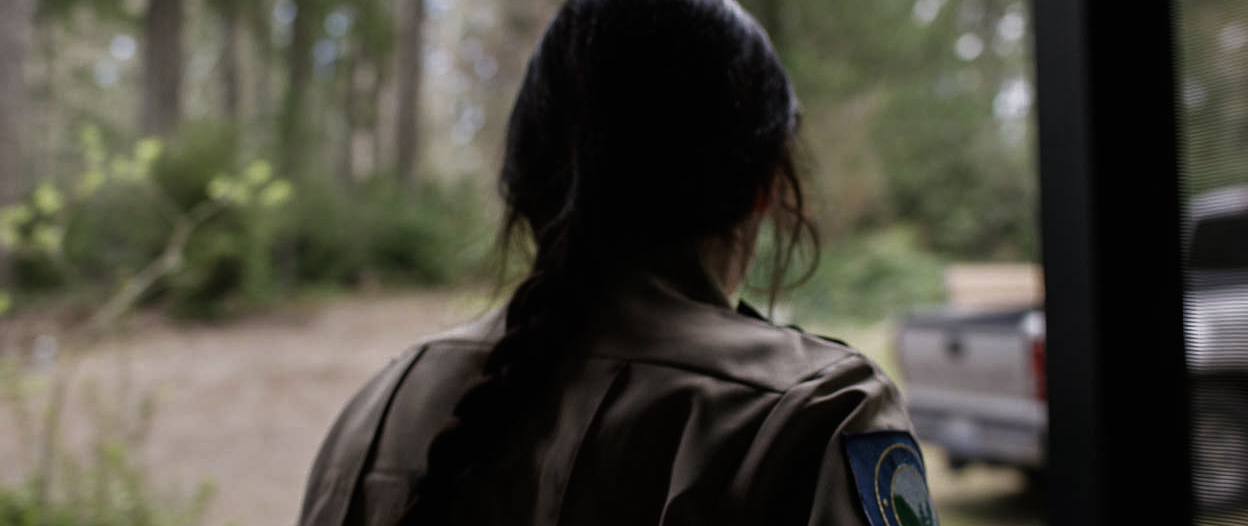
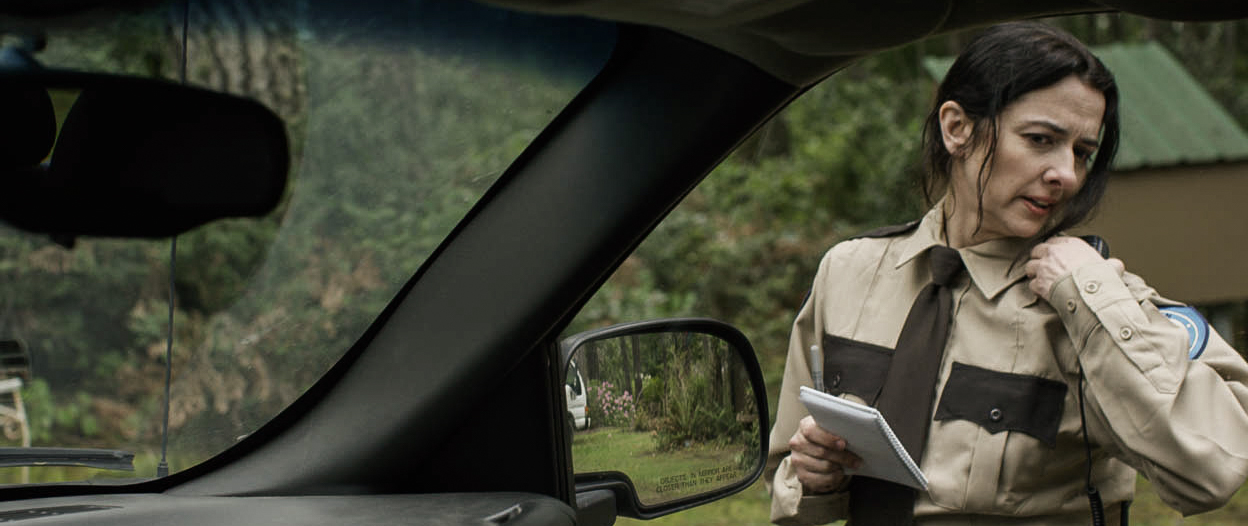
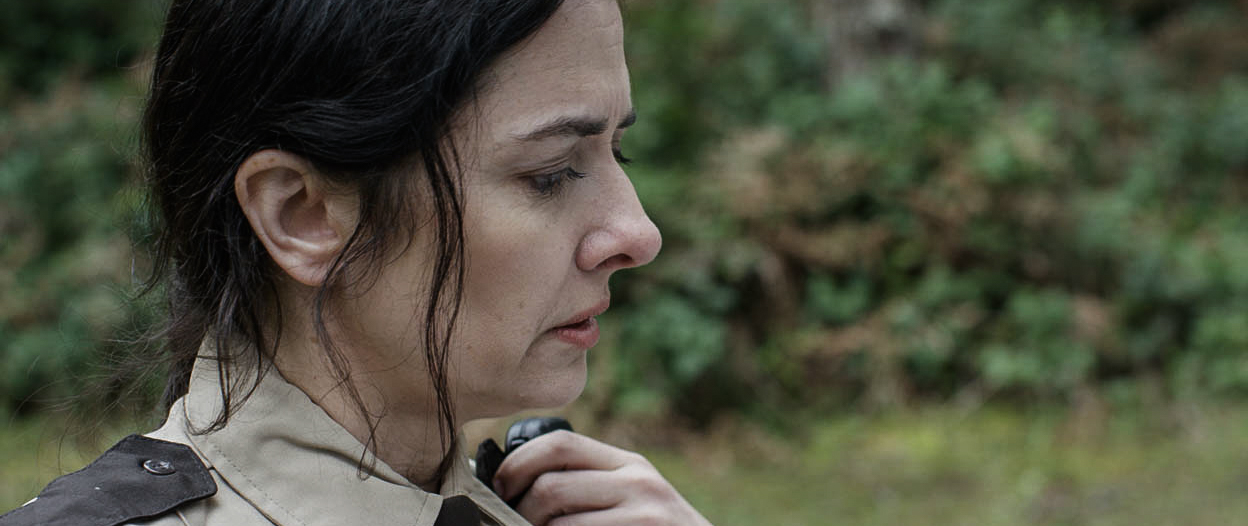
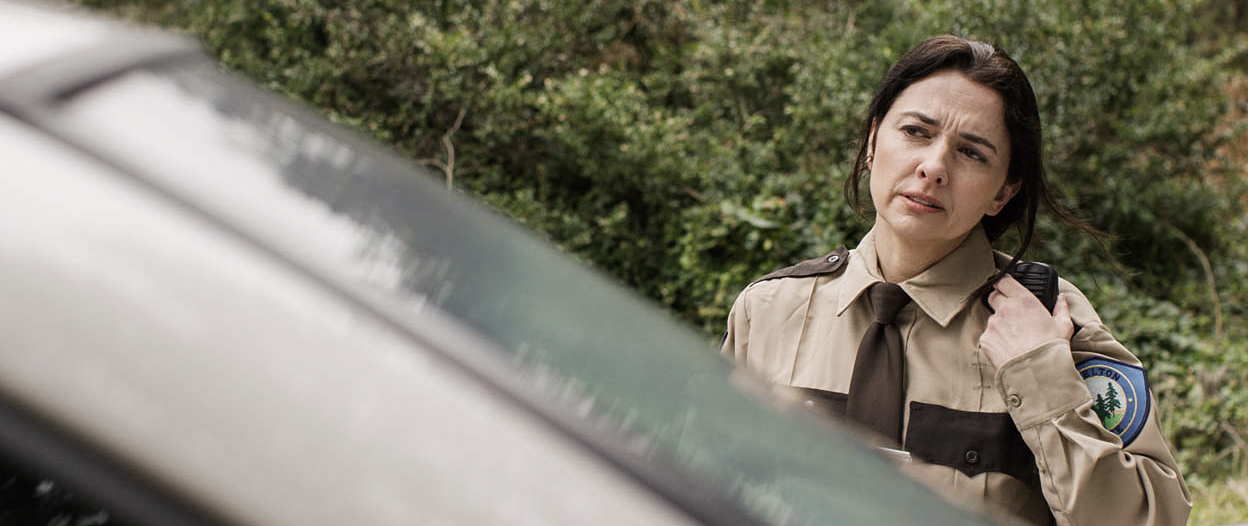
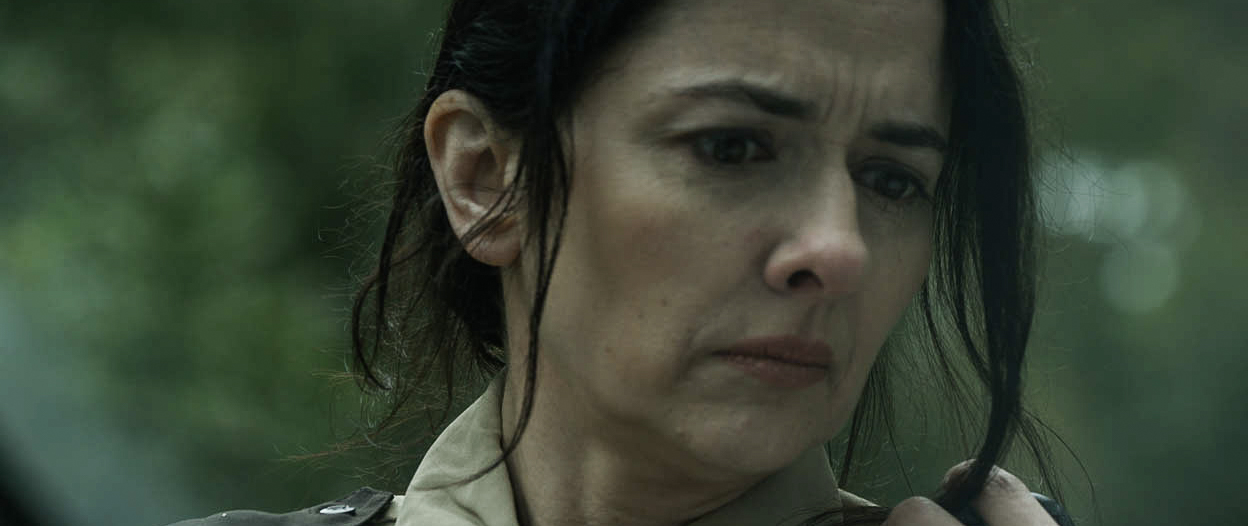
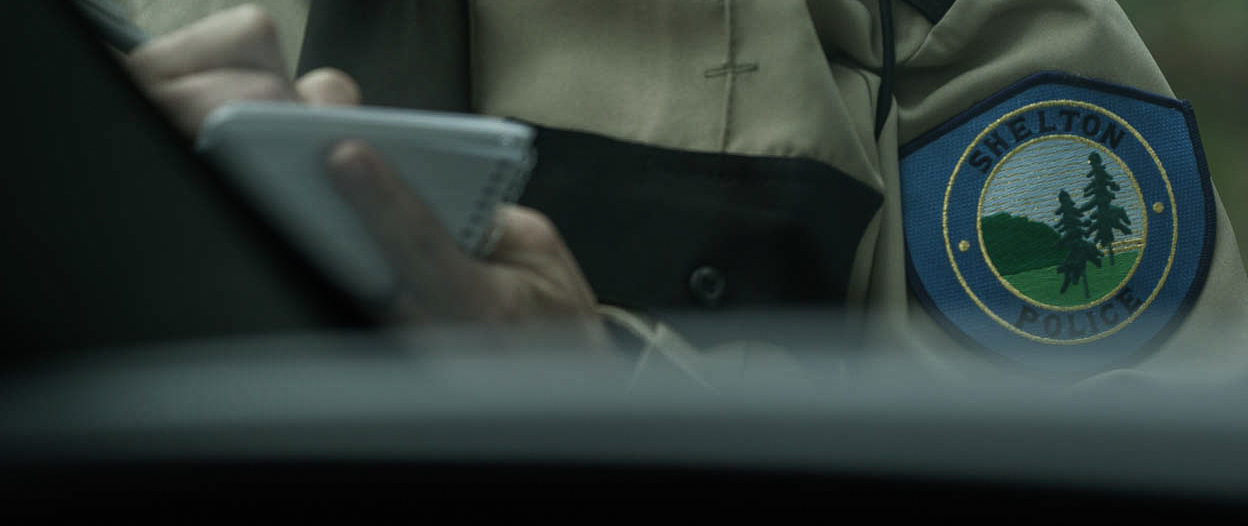
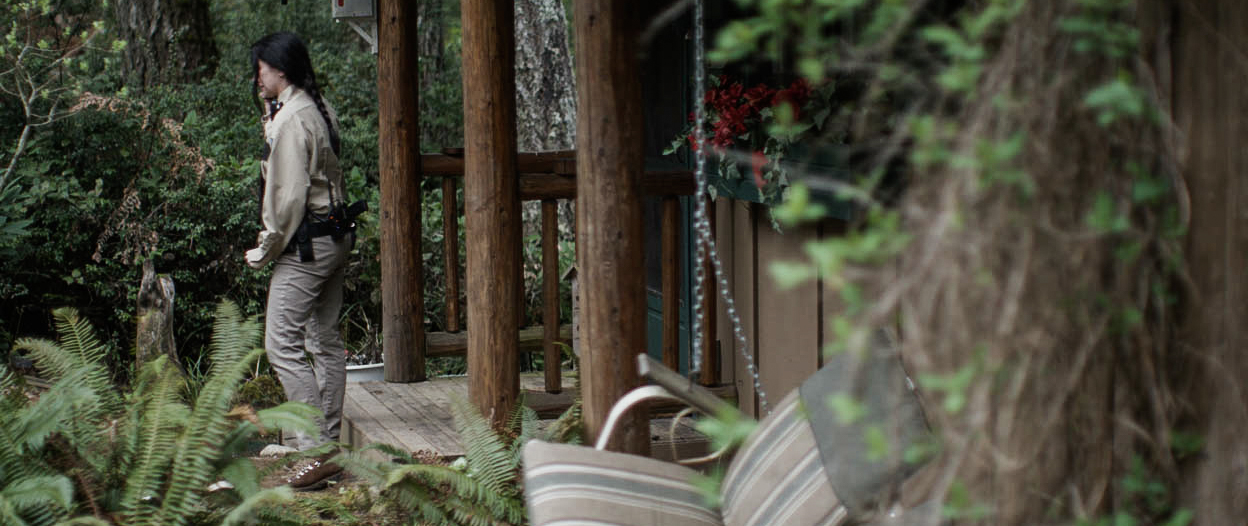
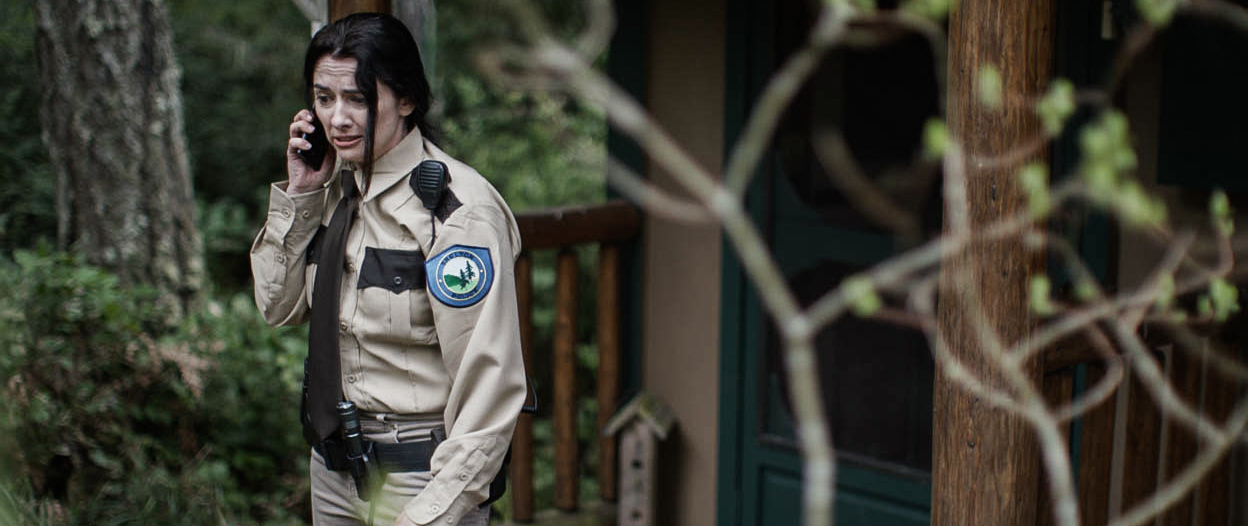

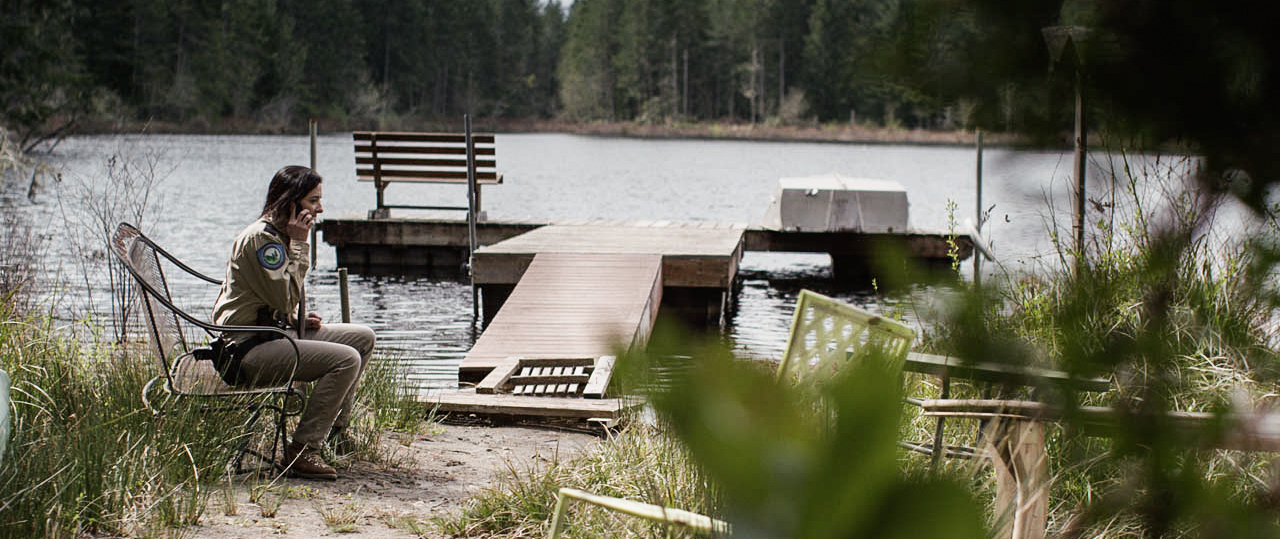
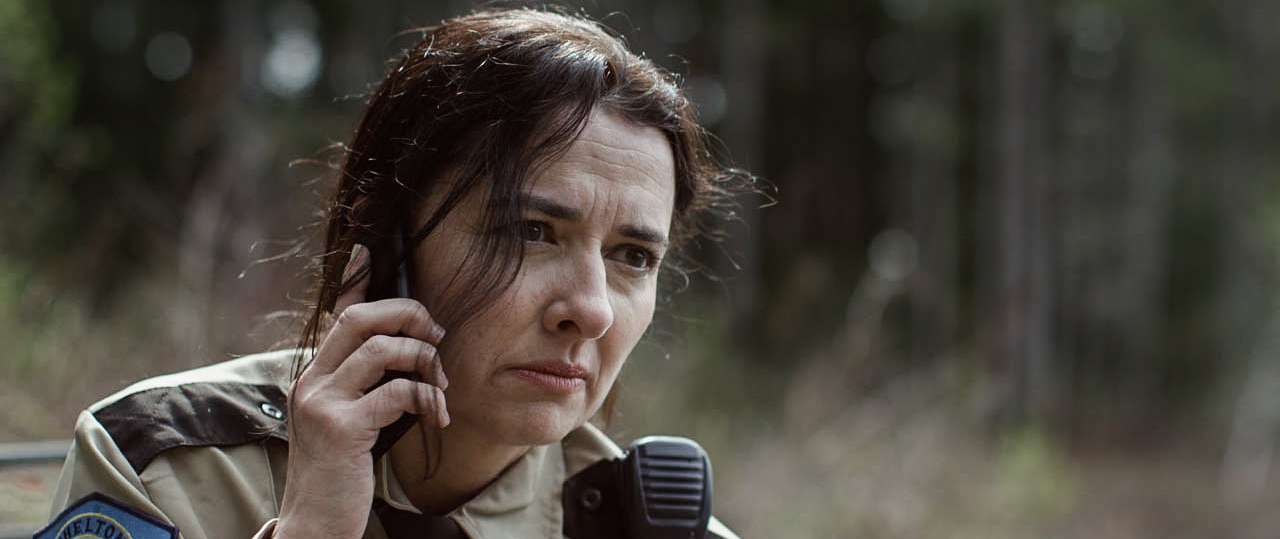
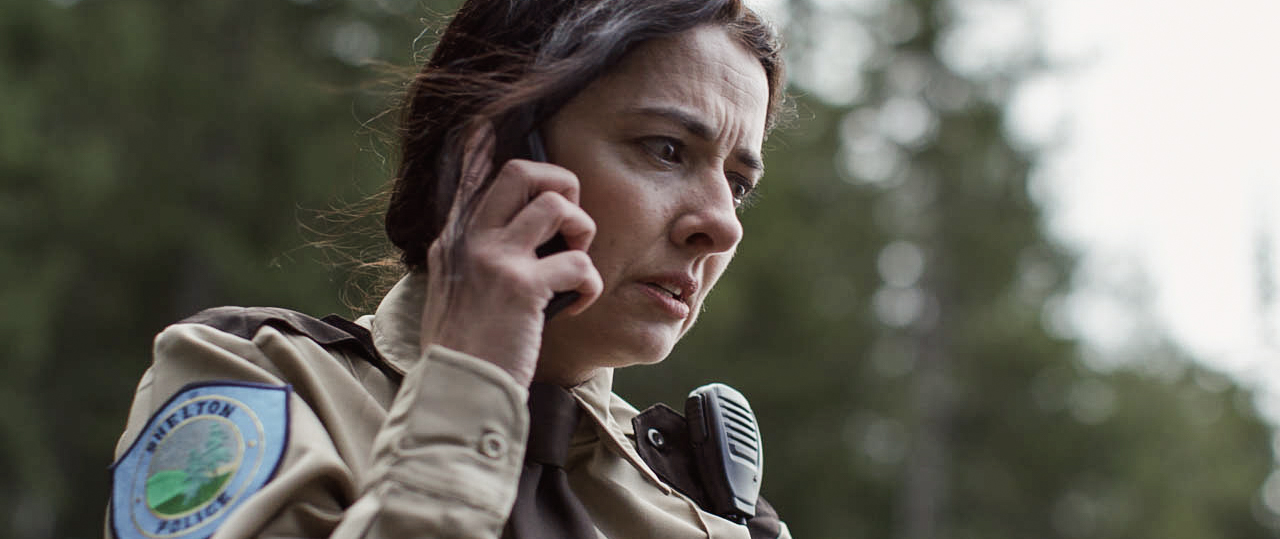
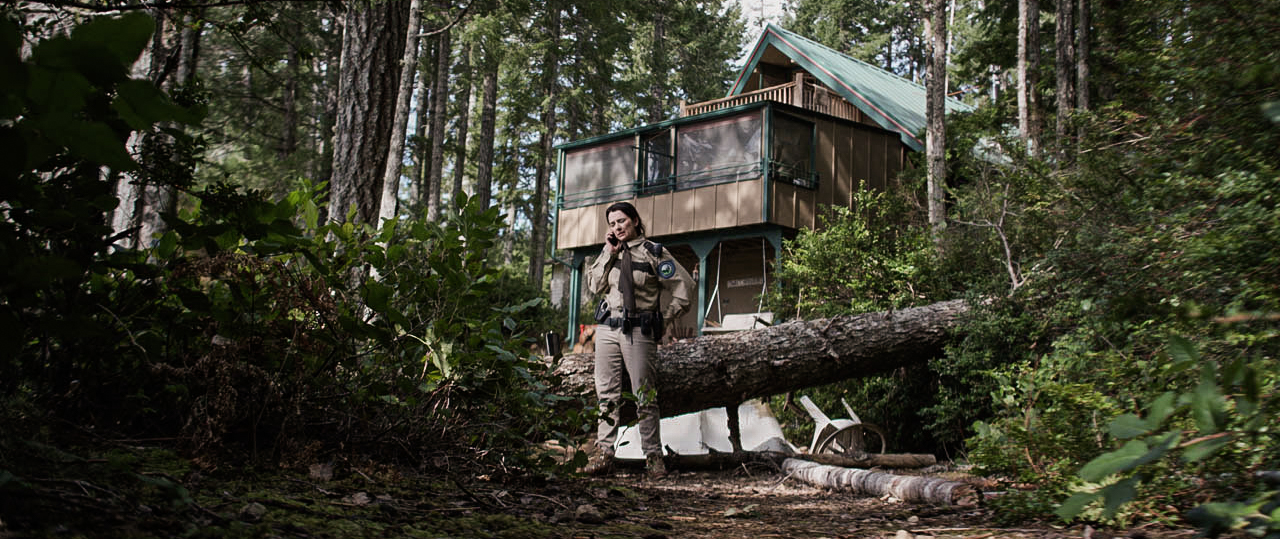
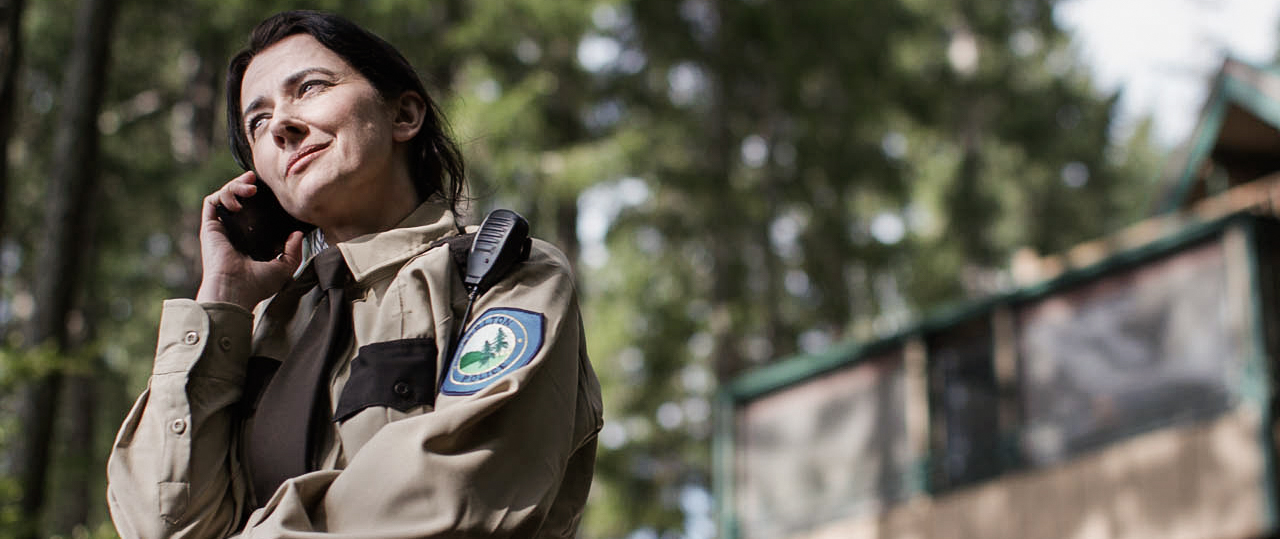
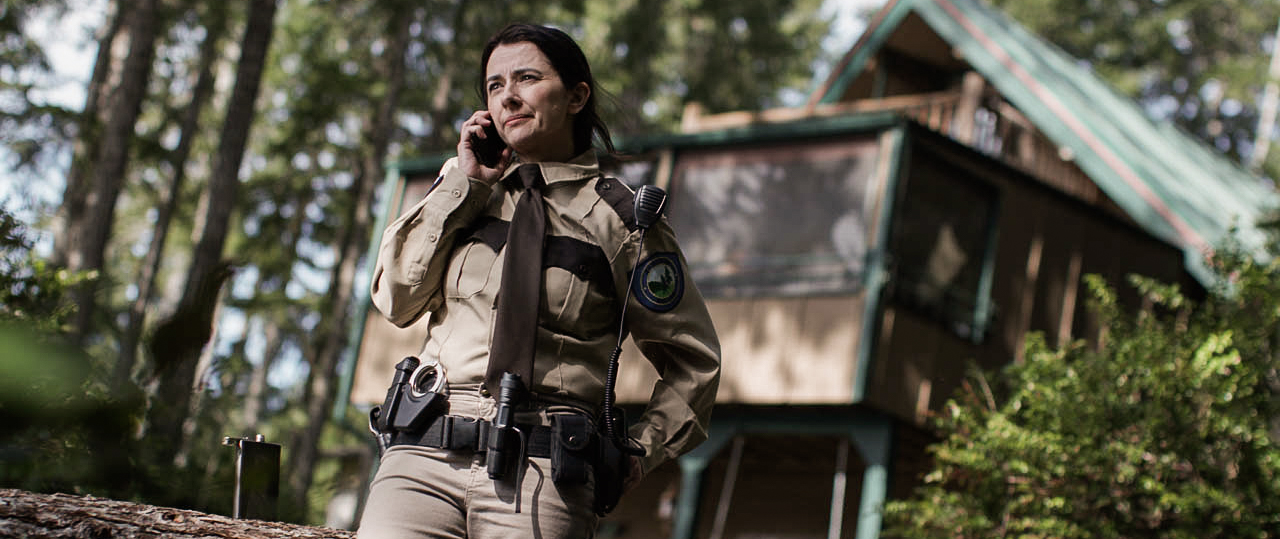
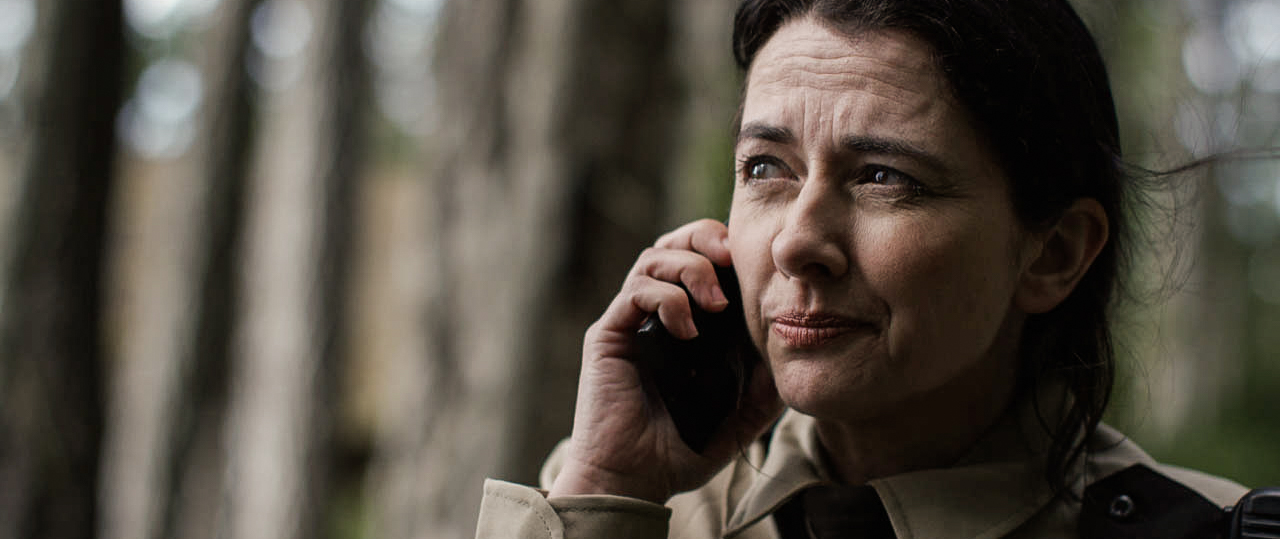
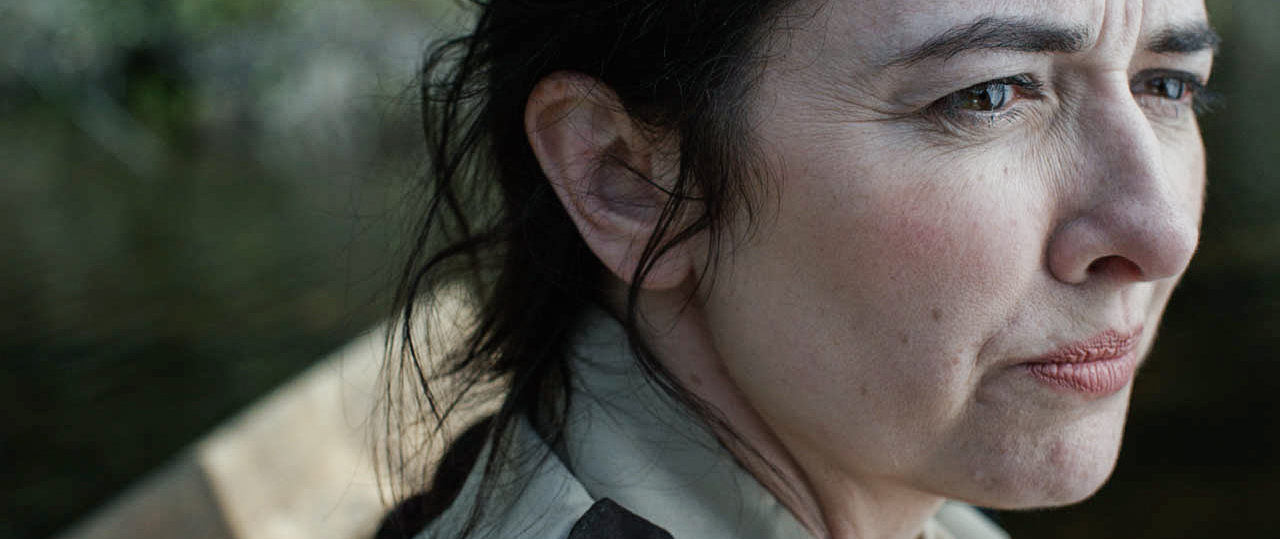
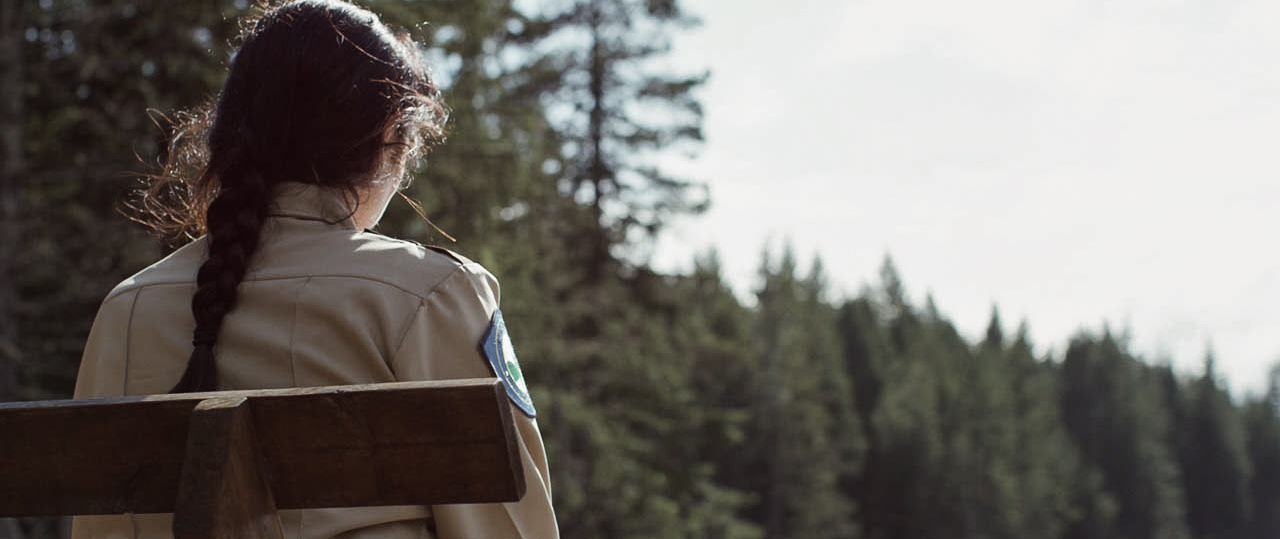
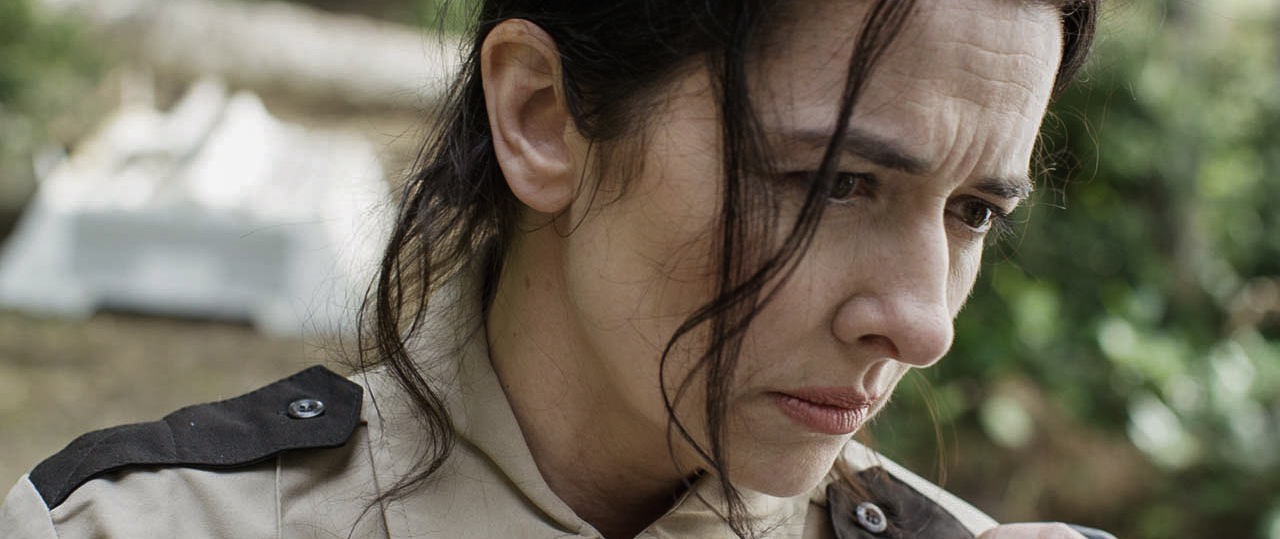

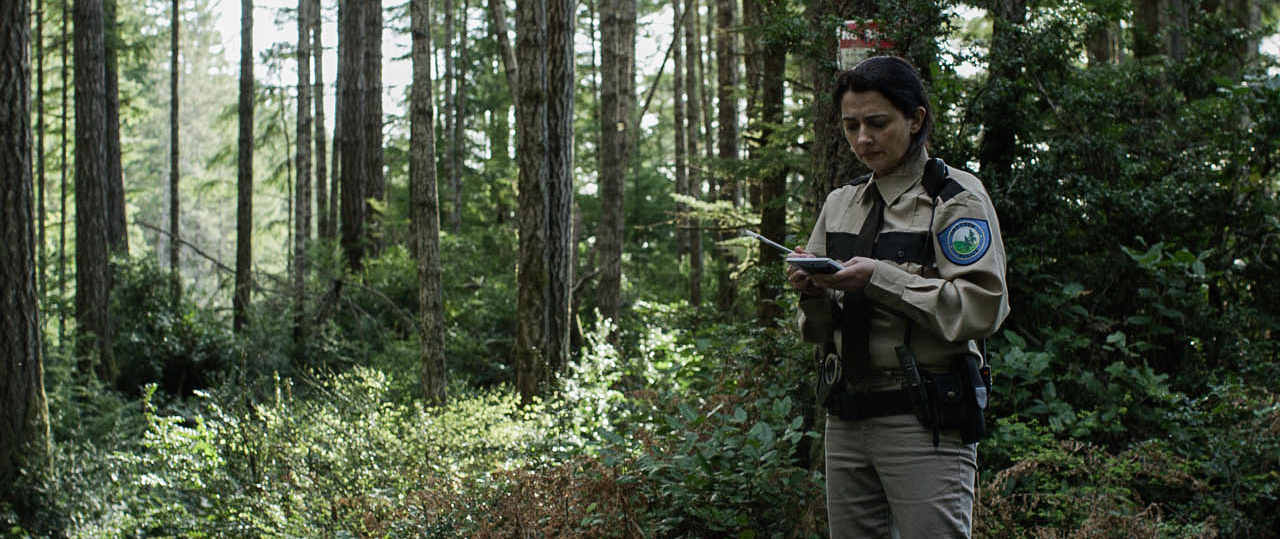
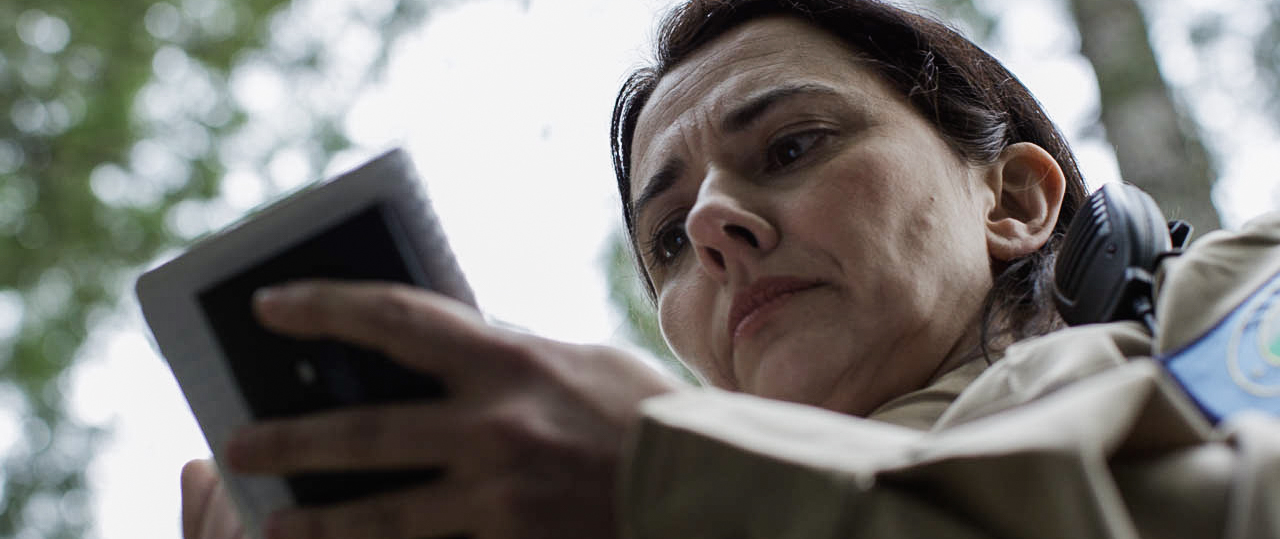
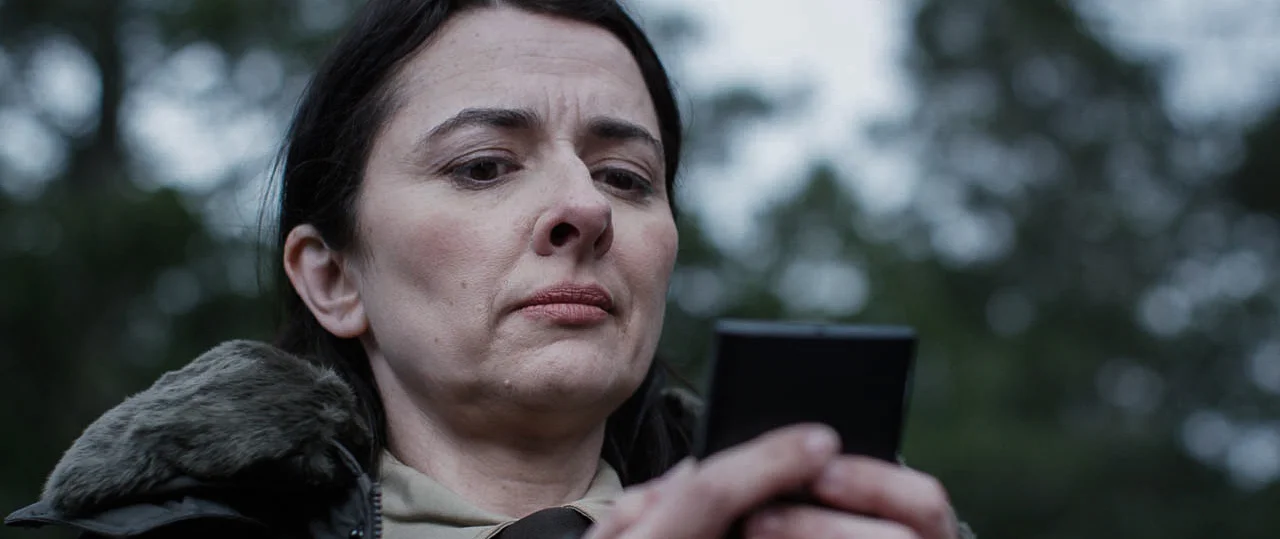
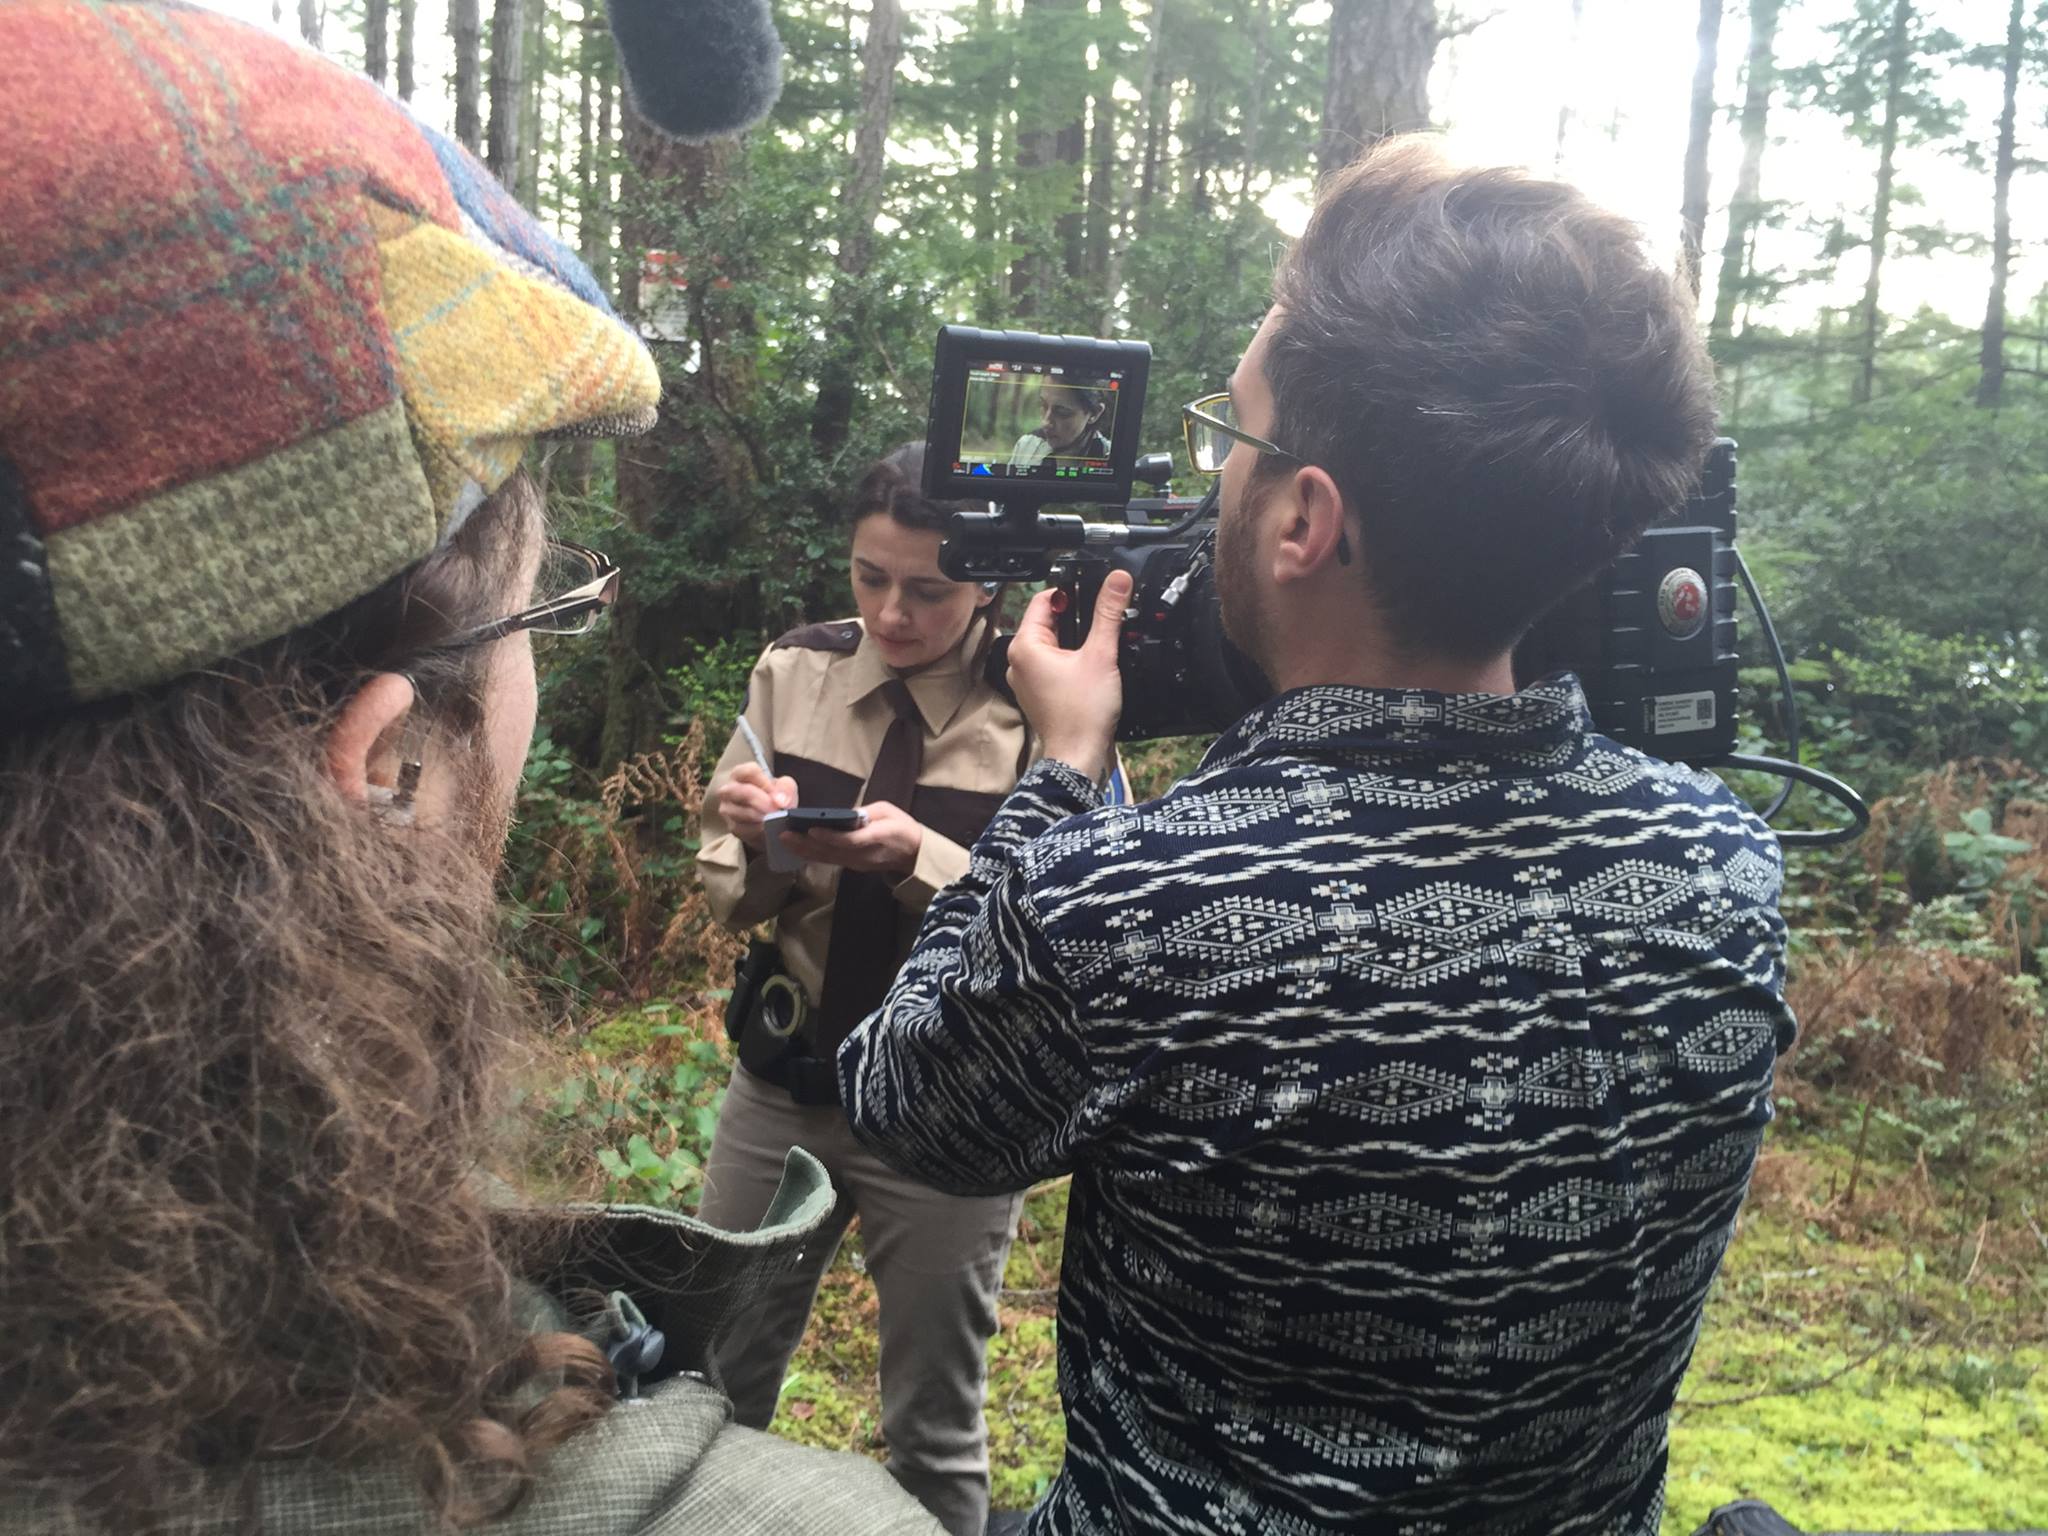
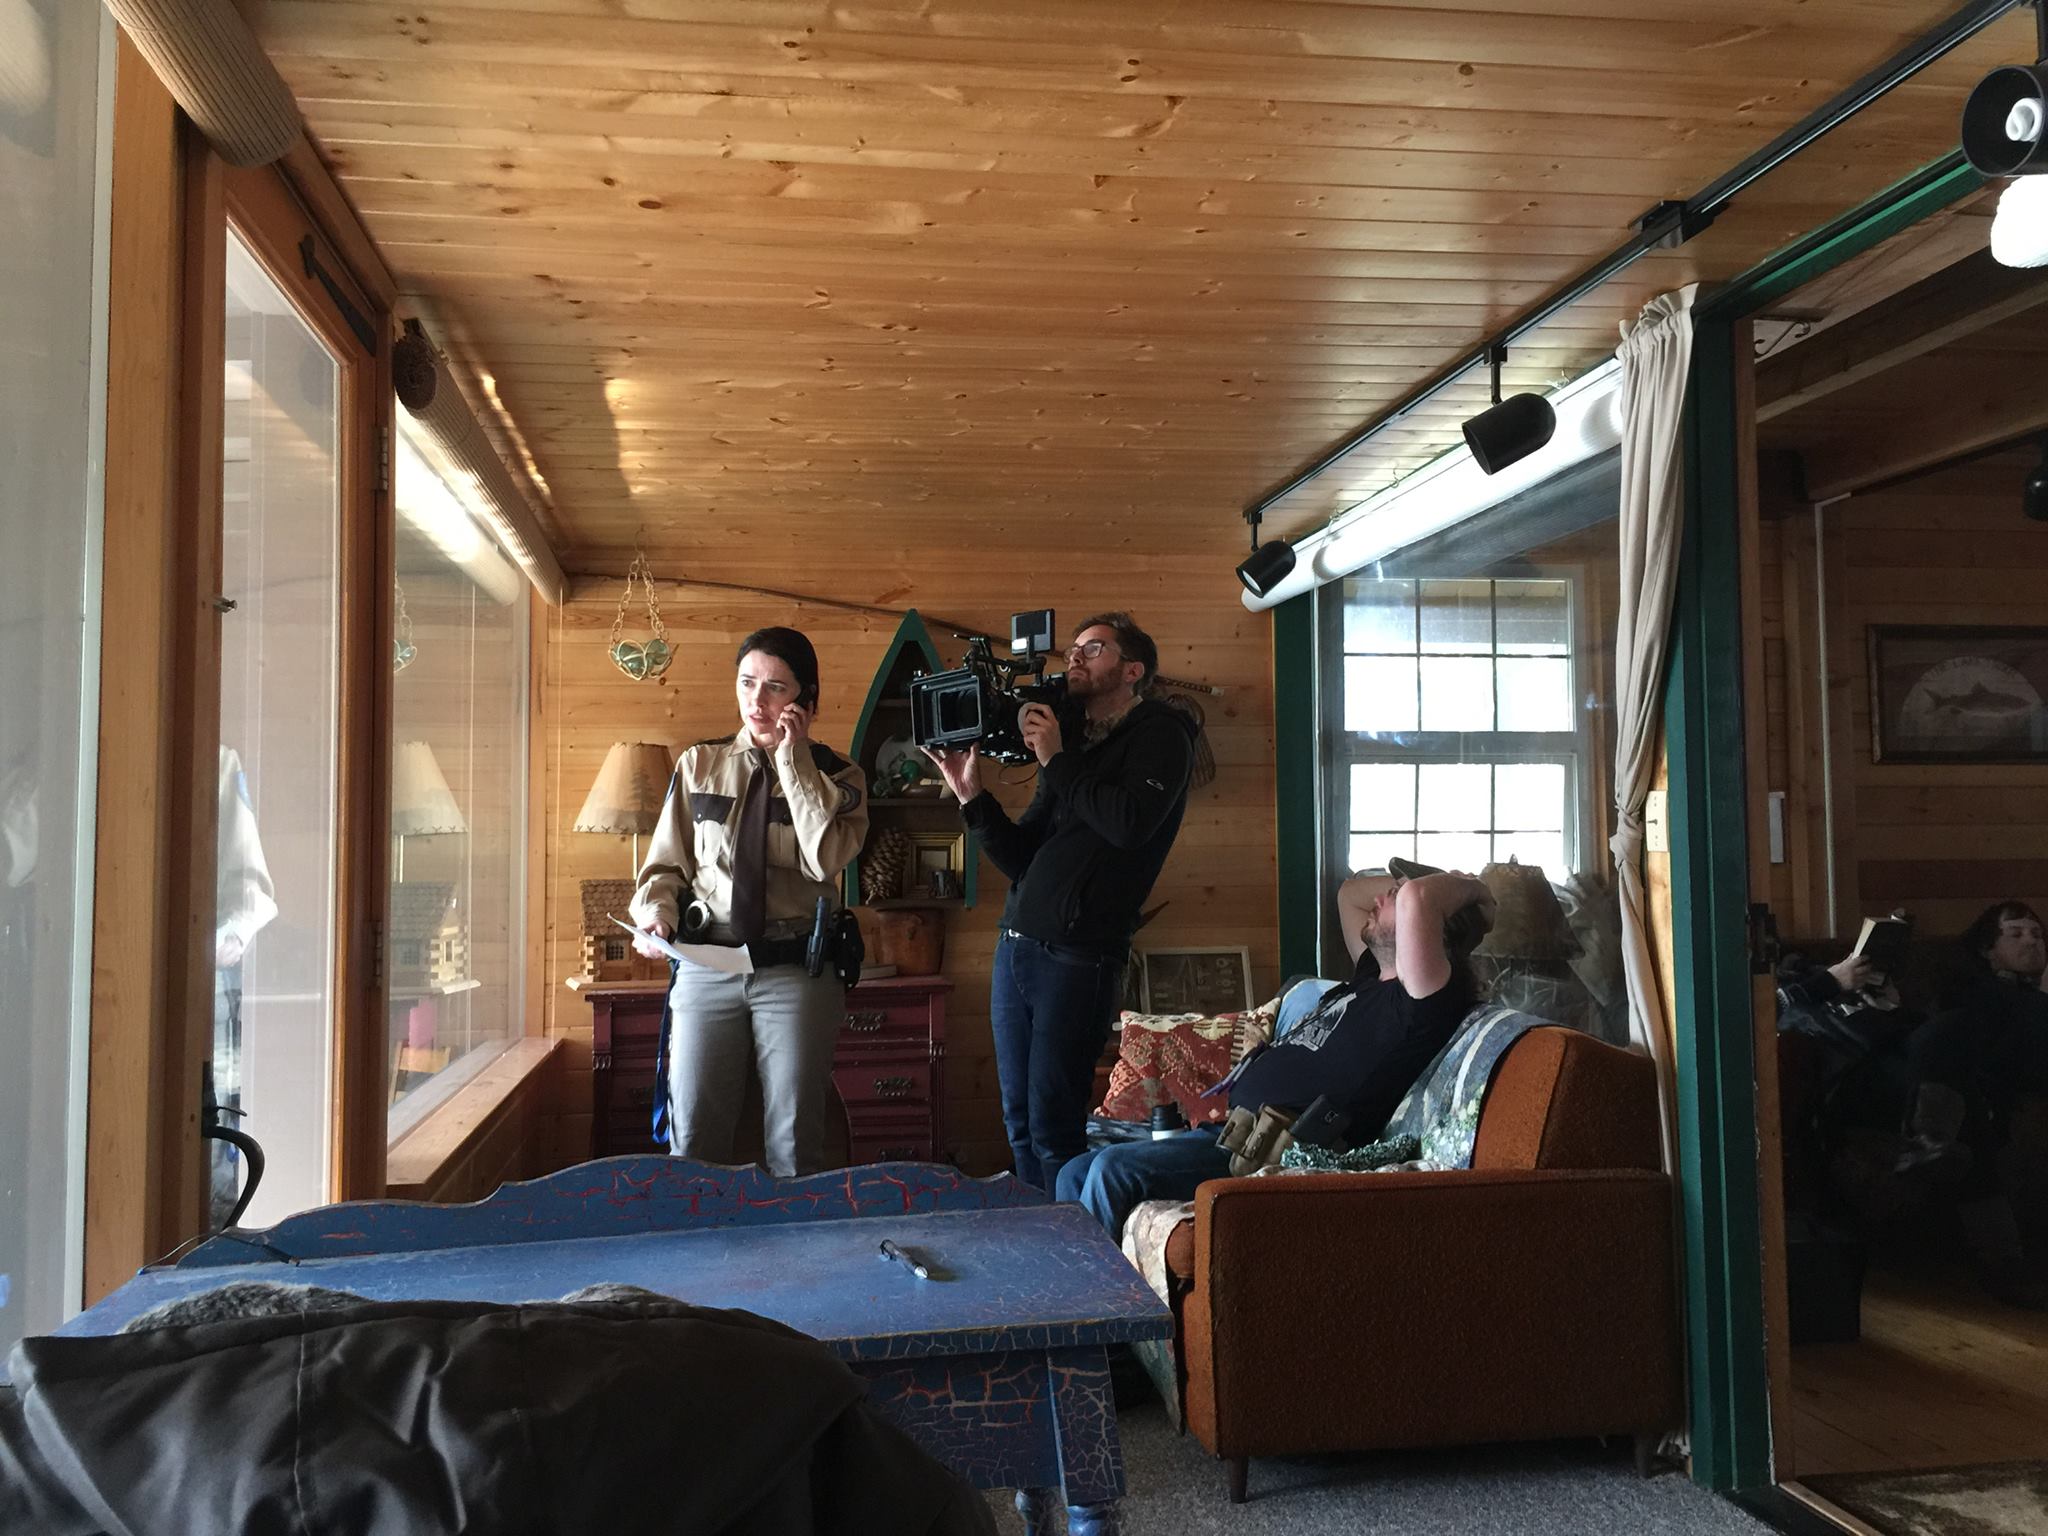
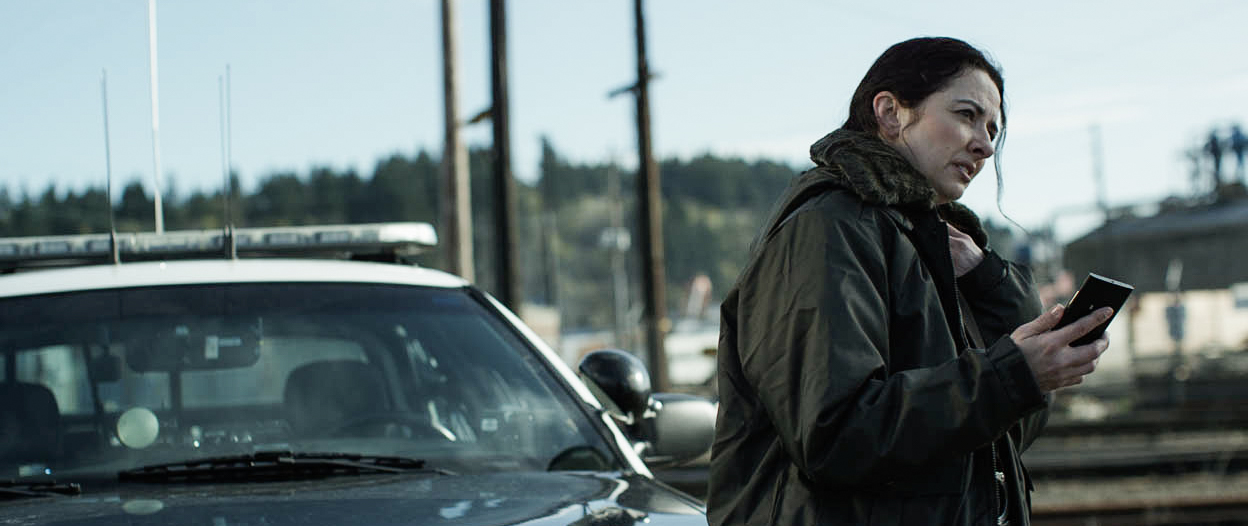
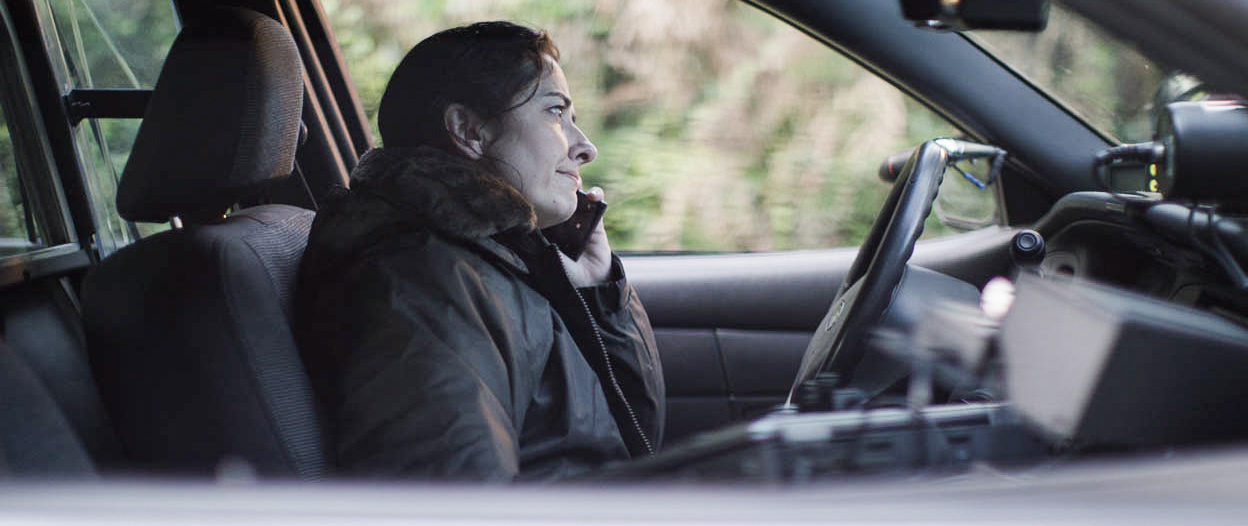
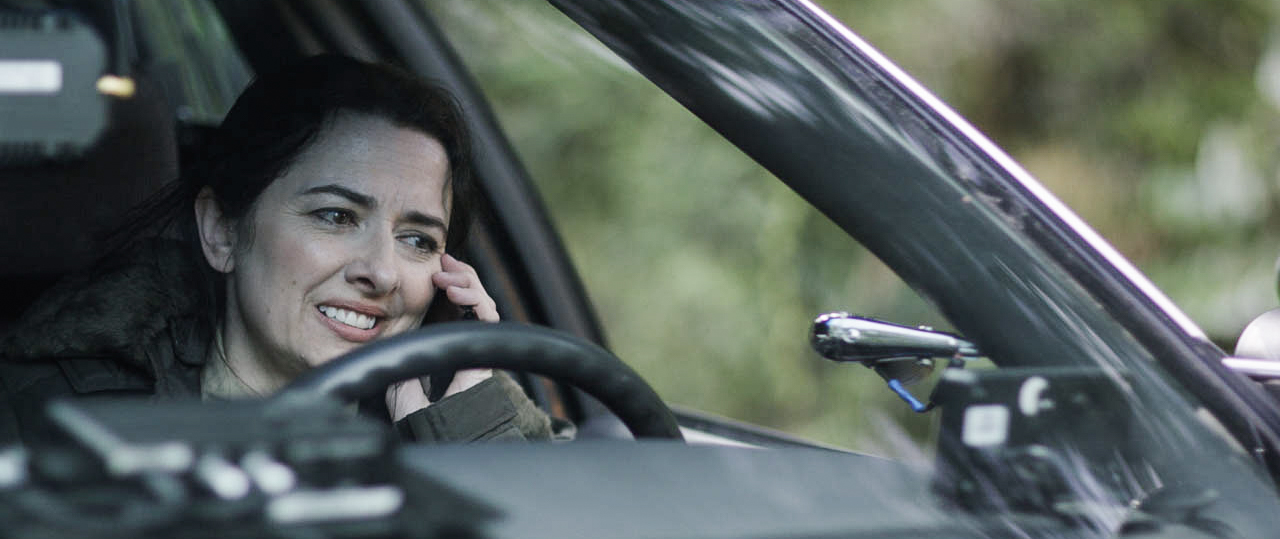
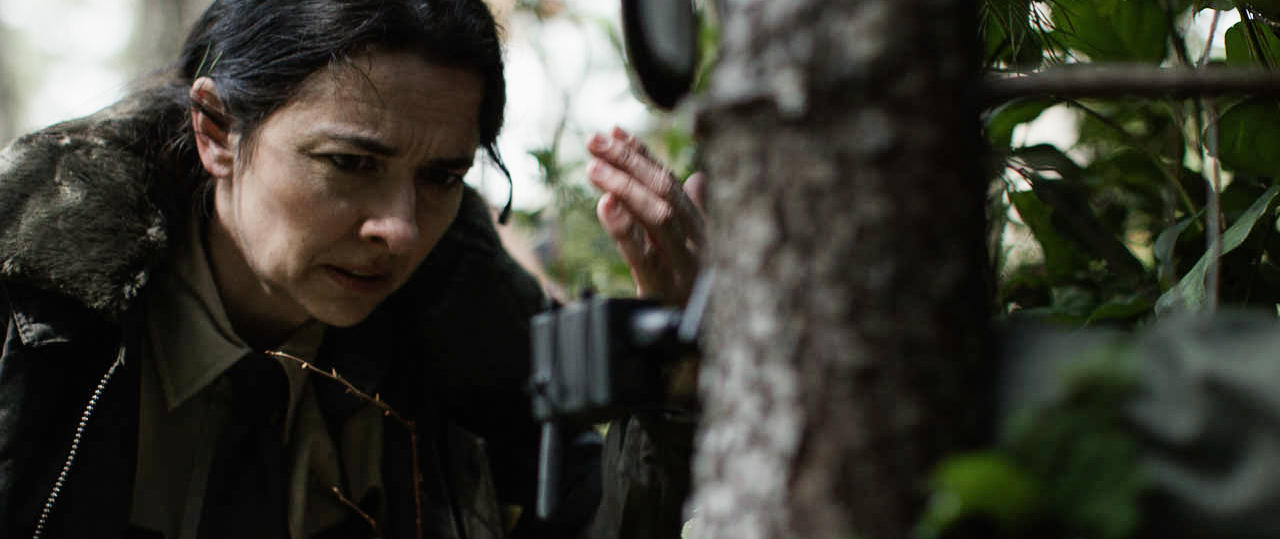
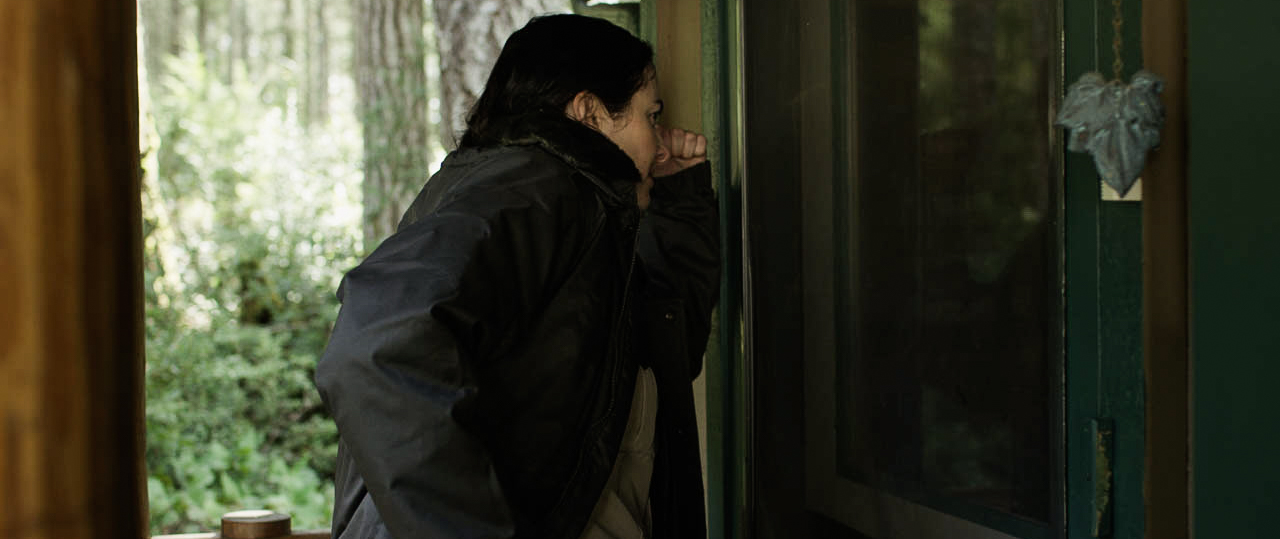
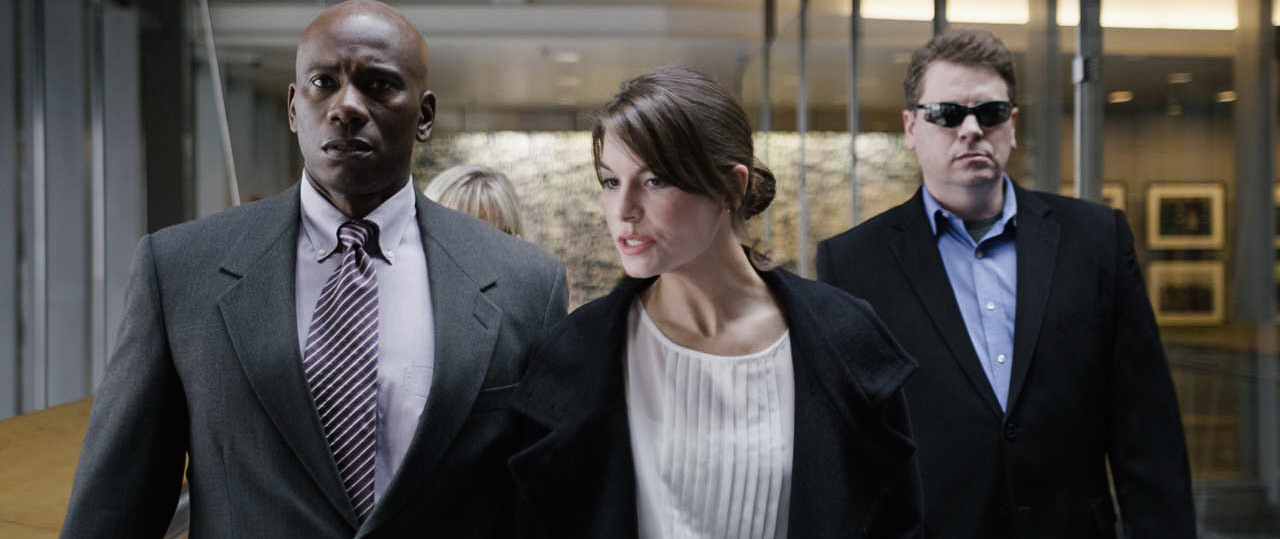
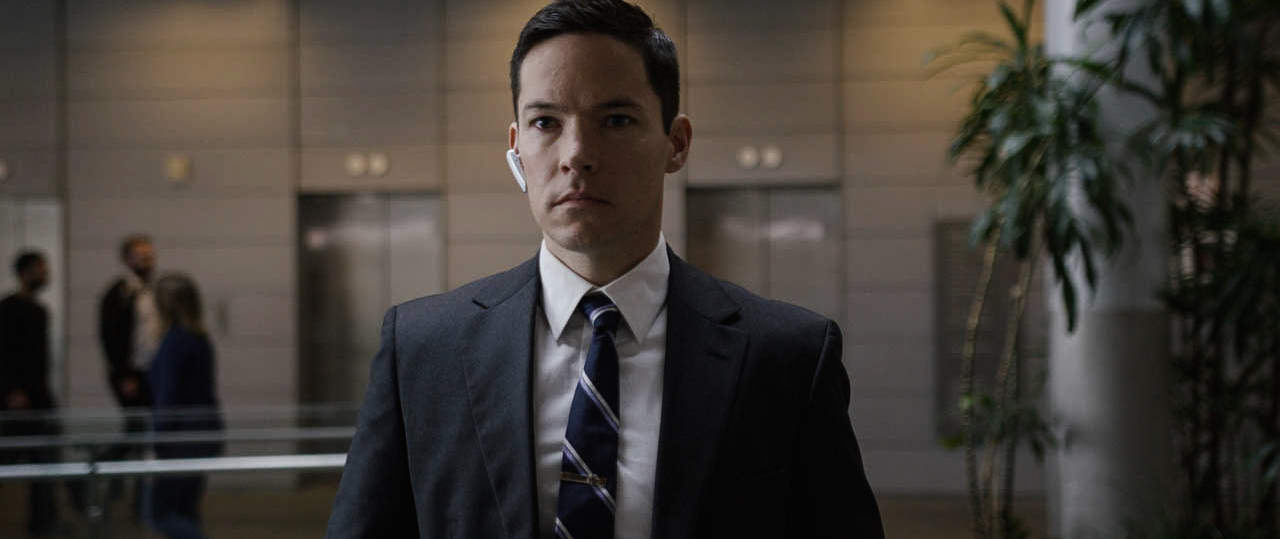
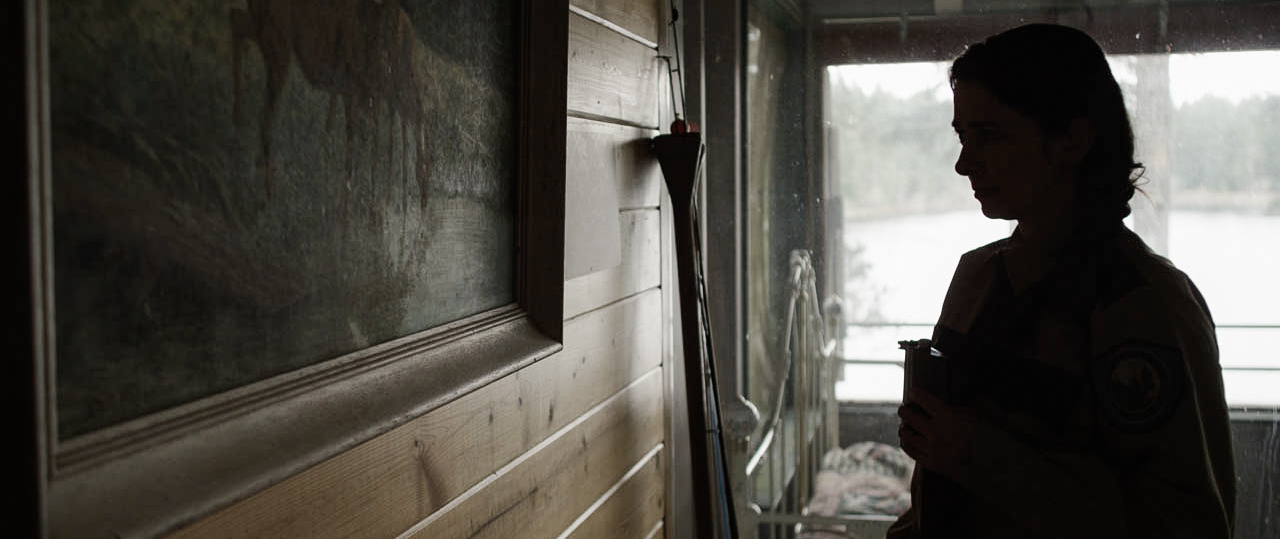
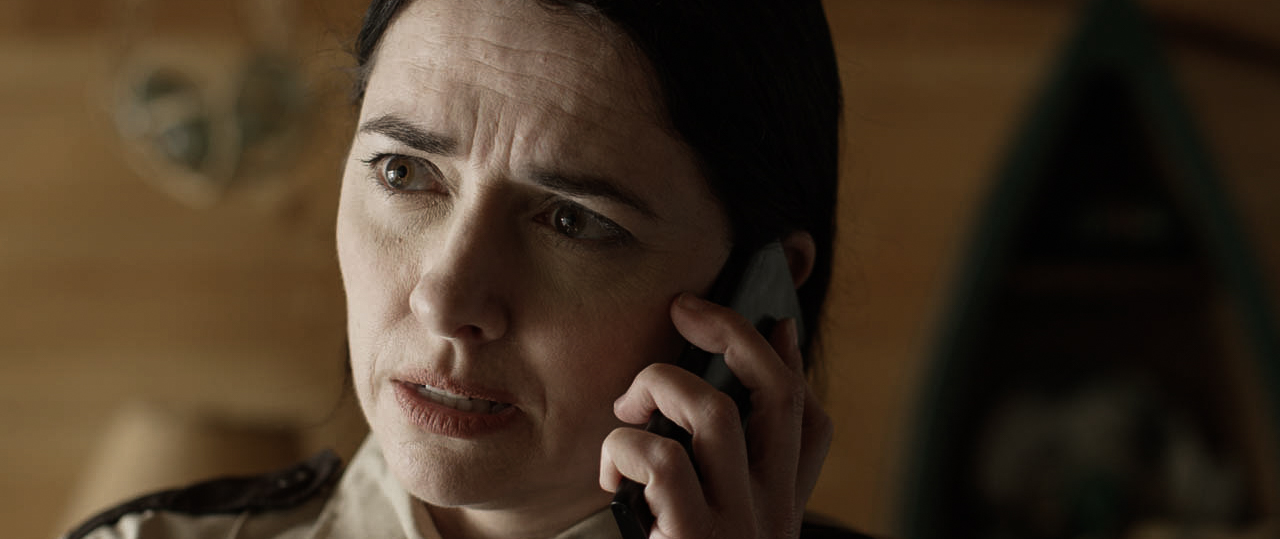
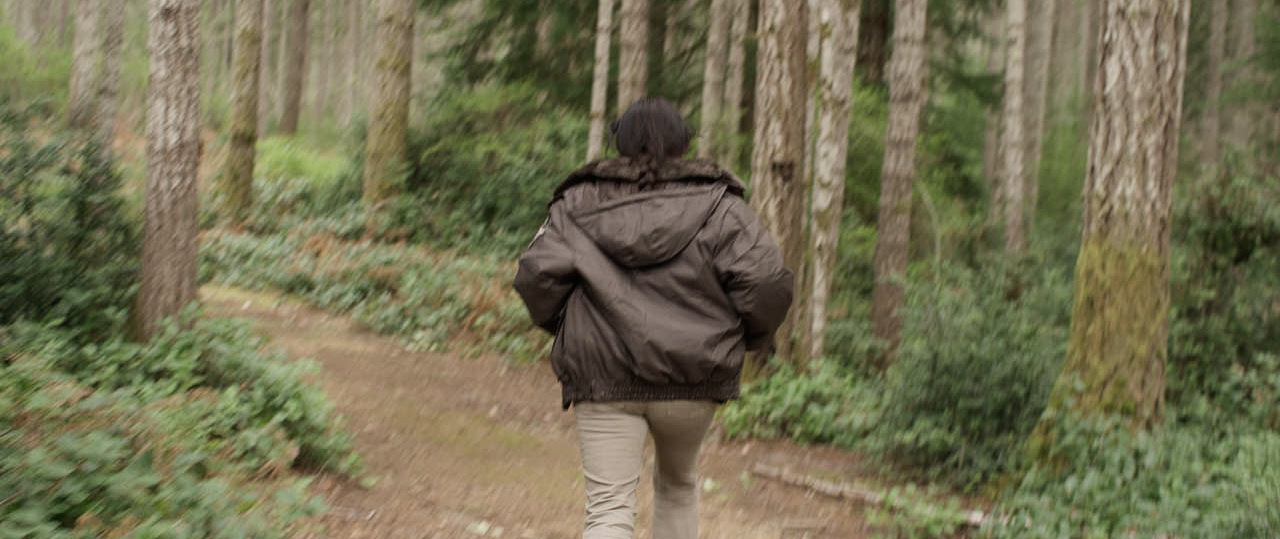
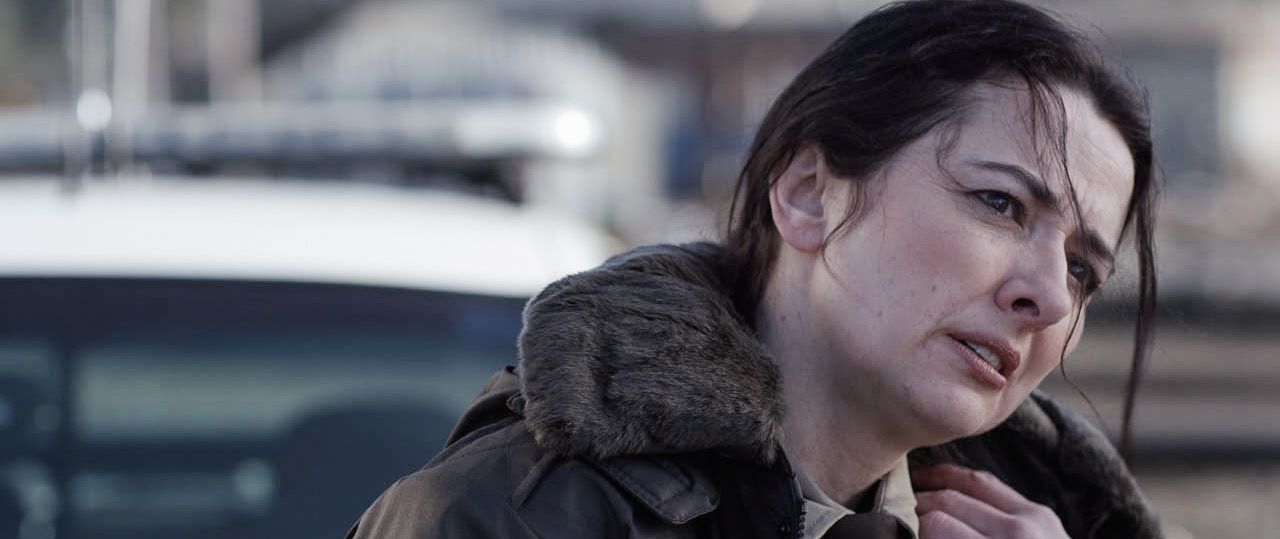
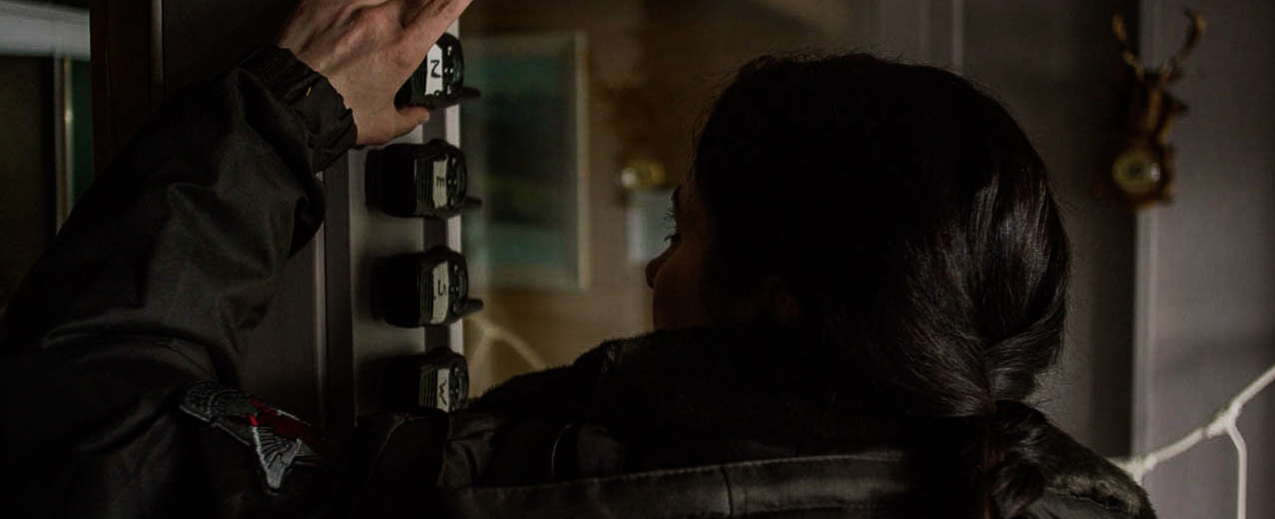
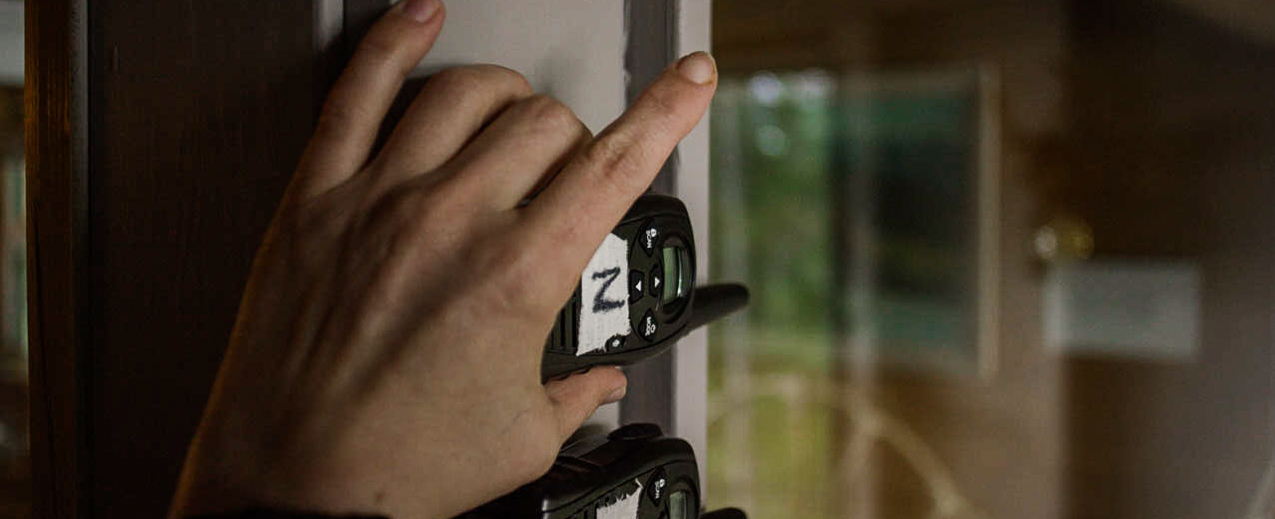
ALICE: For anything with Alice it was to be all handheld. I boosted the shutter up slightly to 1/72 to give a little more realism to Alice's scenes. I wanted her stuff to feel as real and documentary like as possible. I also decided to shoot all of her stuff on the Canon CNE primes. We had my full set to work with and being that they are very light and sharp for primes, it made the handheld work a lot easier. Also with Alice we shot everything on 35mm or wider unless she was on the phone or talking on her radio. Those were the only bits of action we reserved telephoto lenses for, mostly using the 85mm. Also with Alice, we tried to be following her a lot, We wanted to be behind her as she stumbled across clues and let her be the vehicle to lead the camera and audience towards each new discovery.
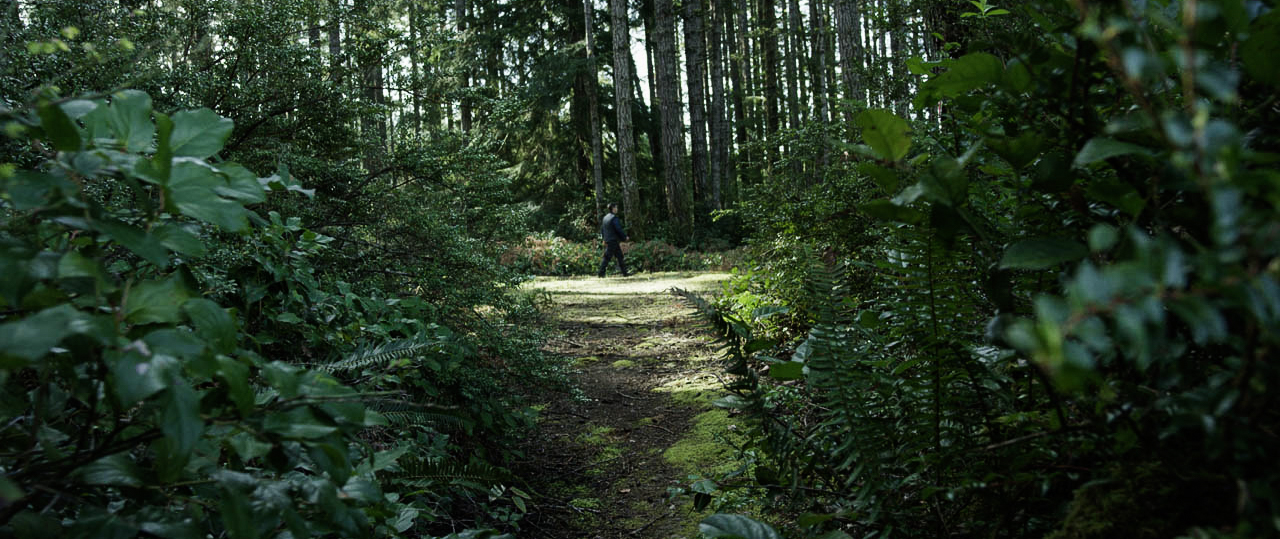
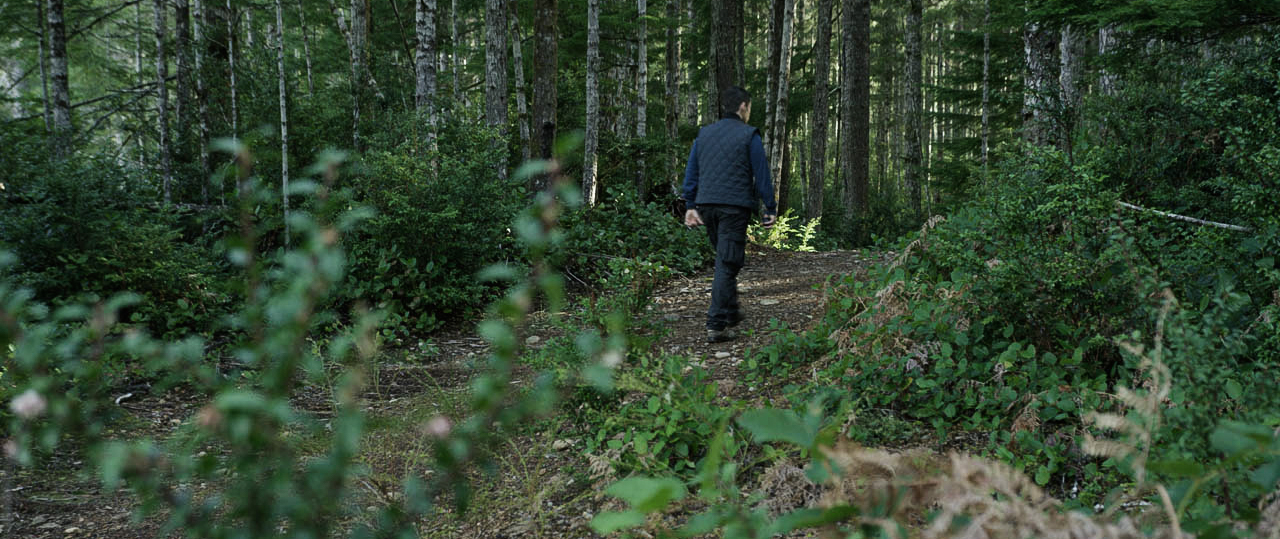
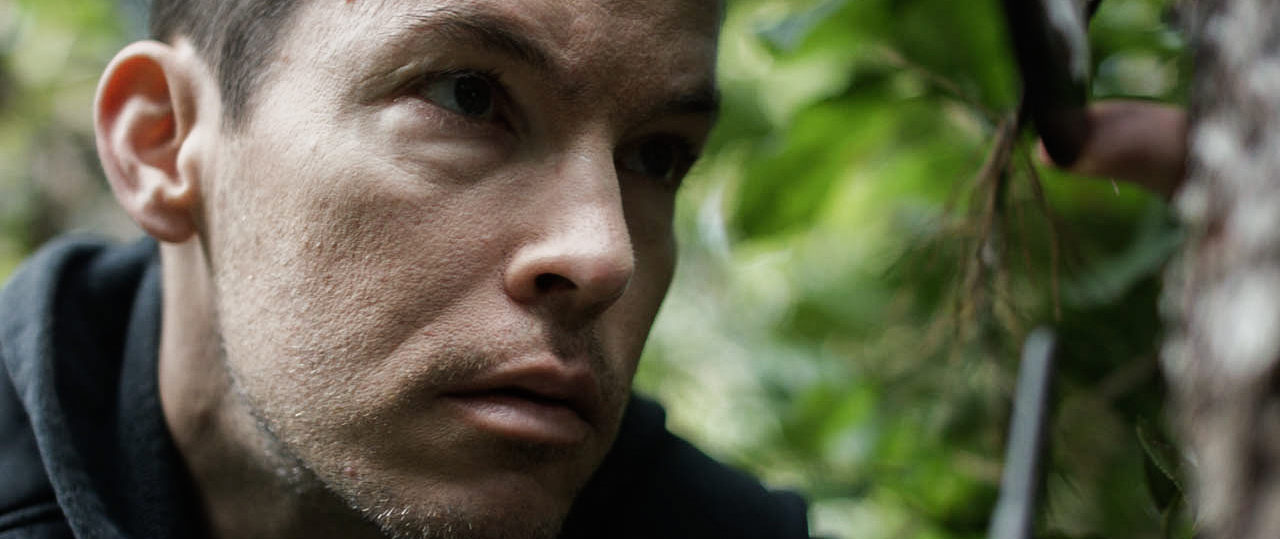
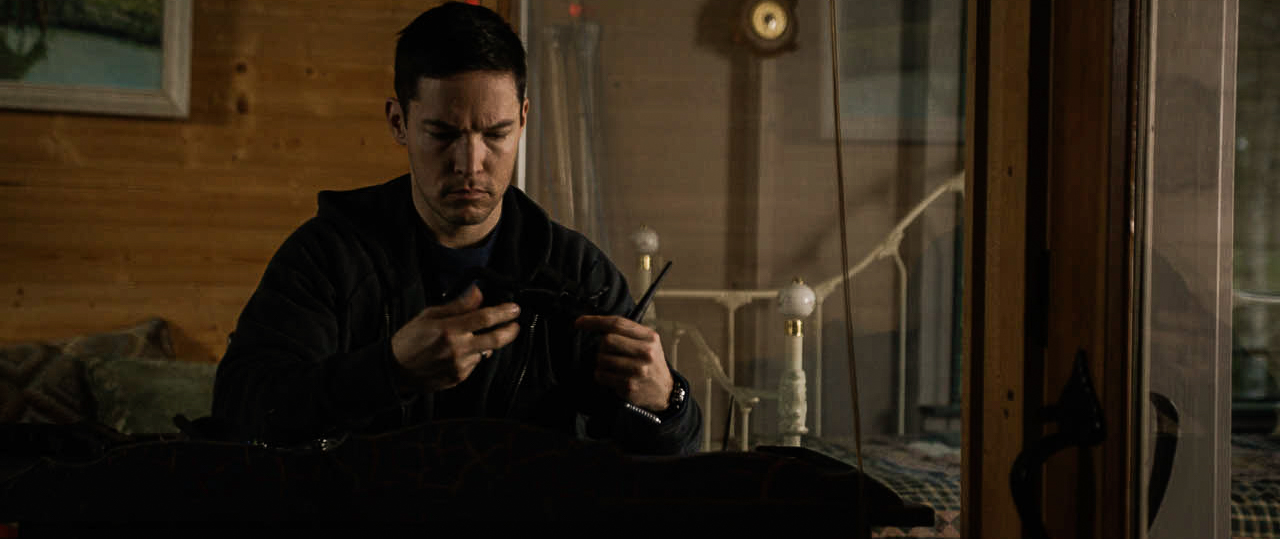
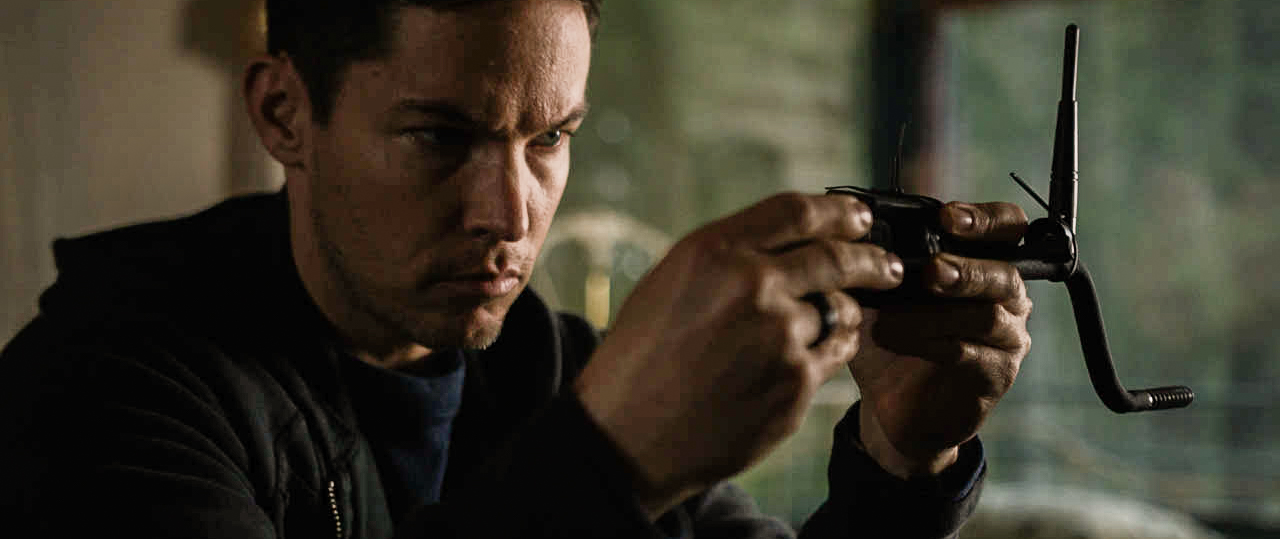
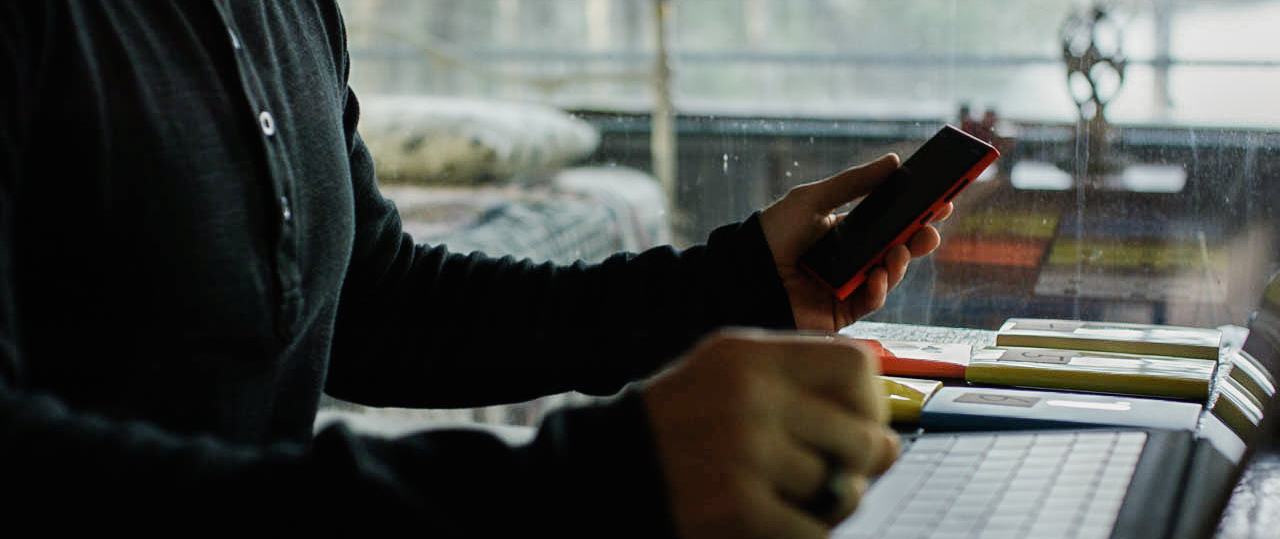
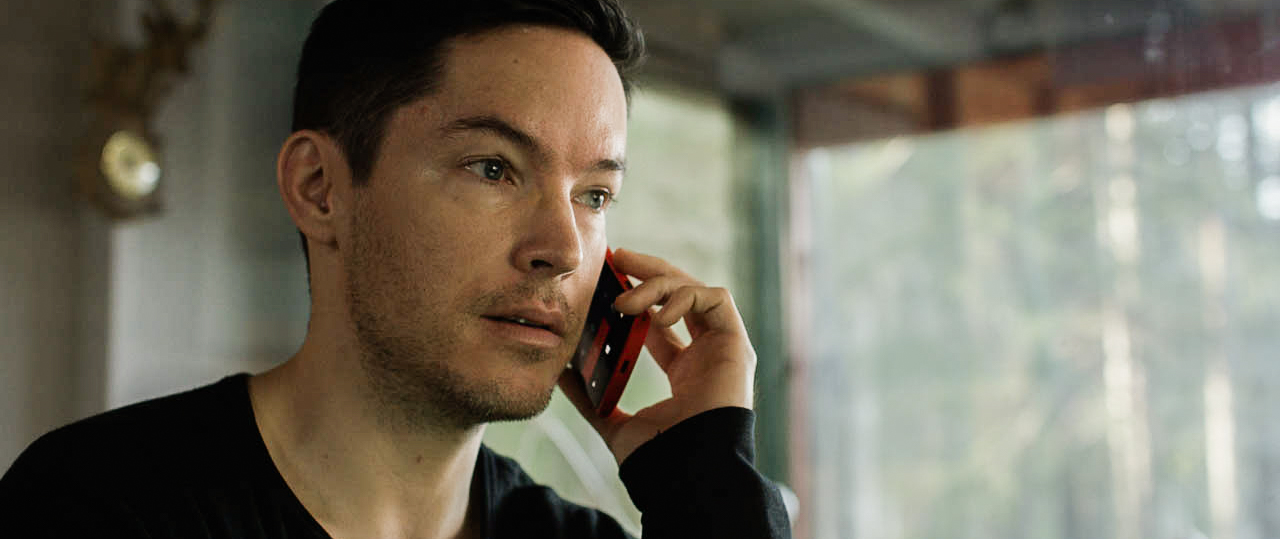
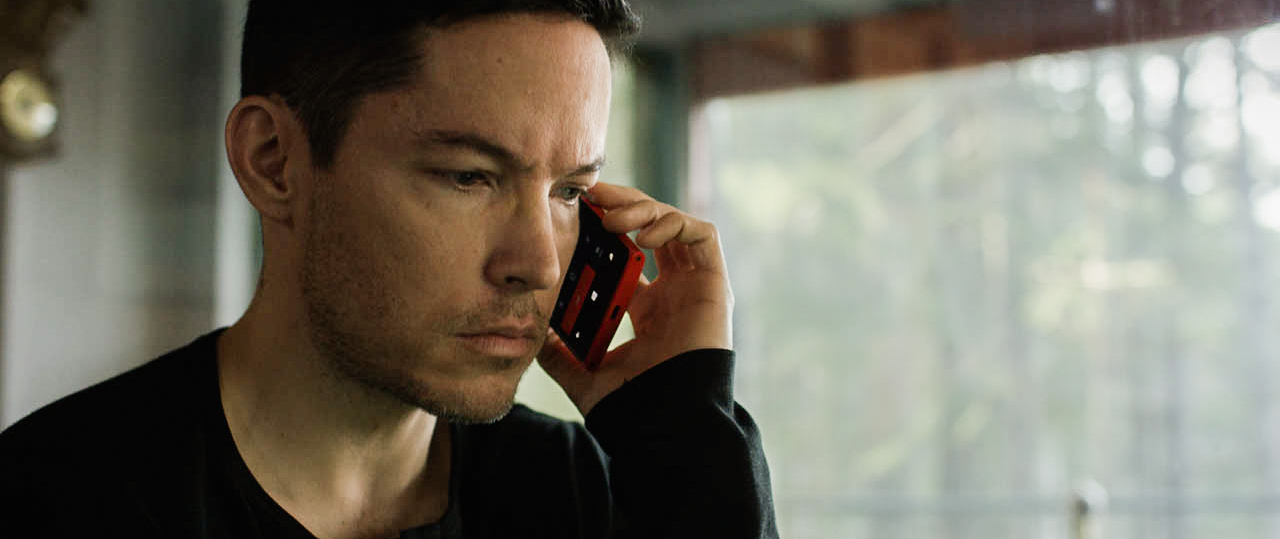
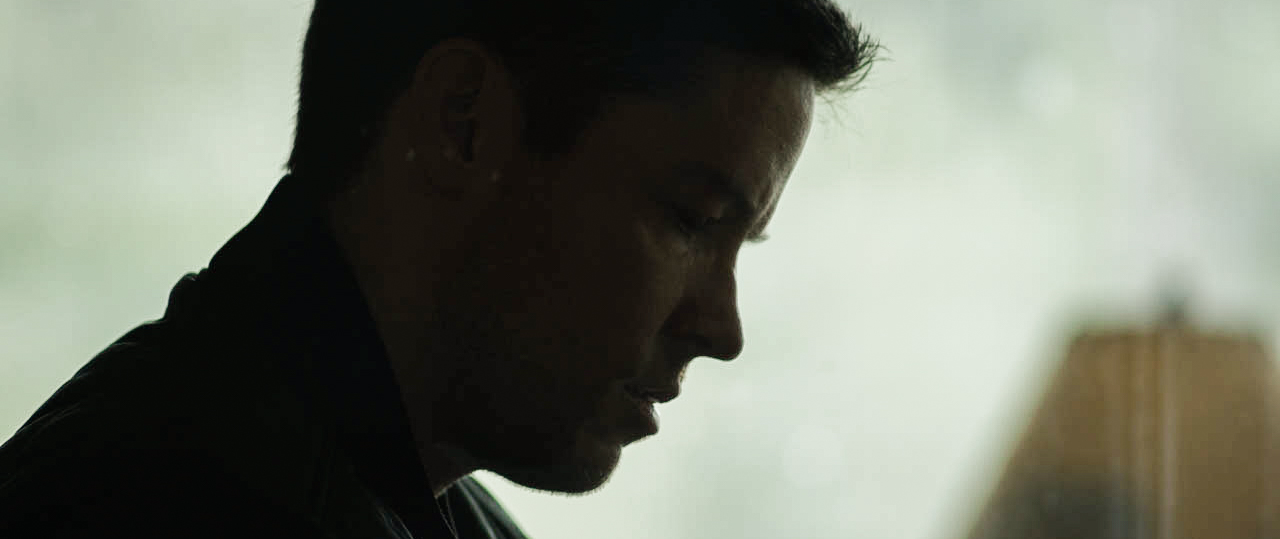
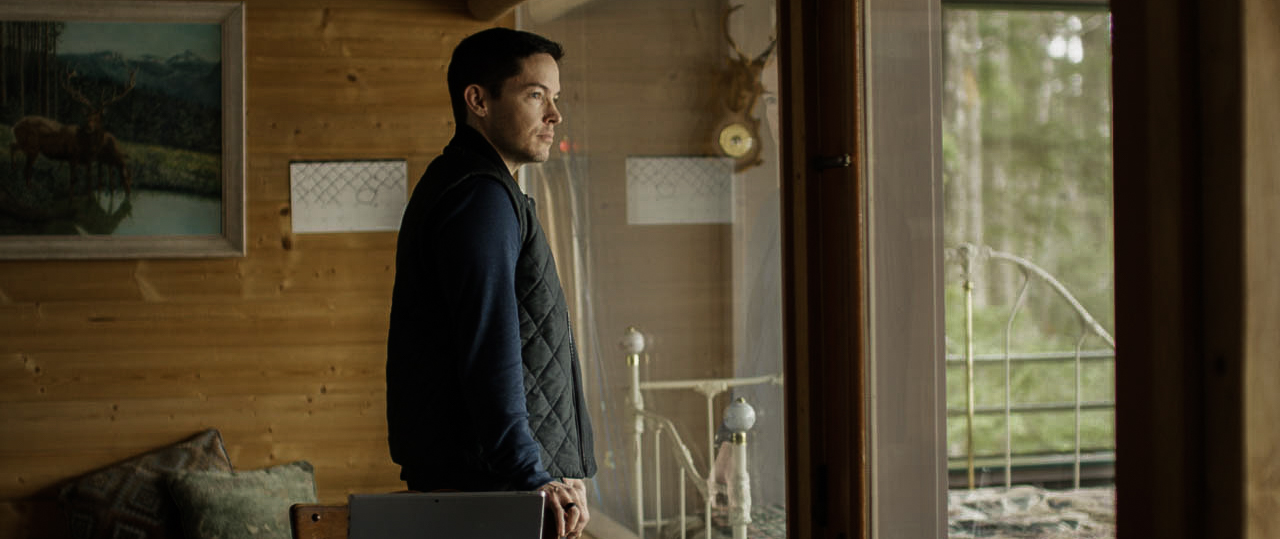
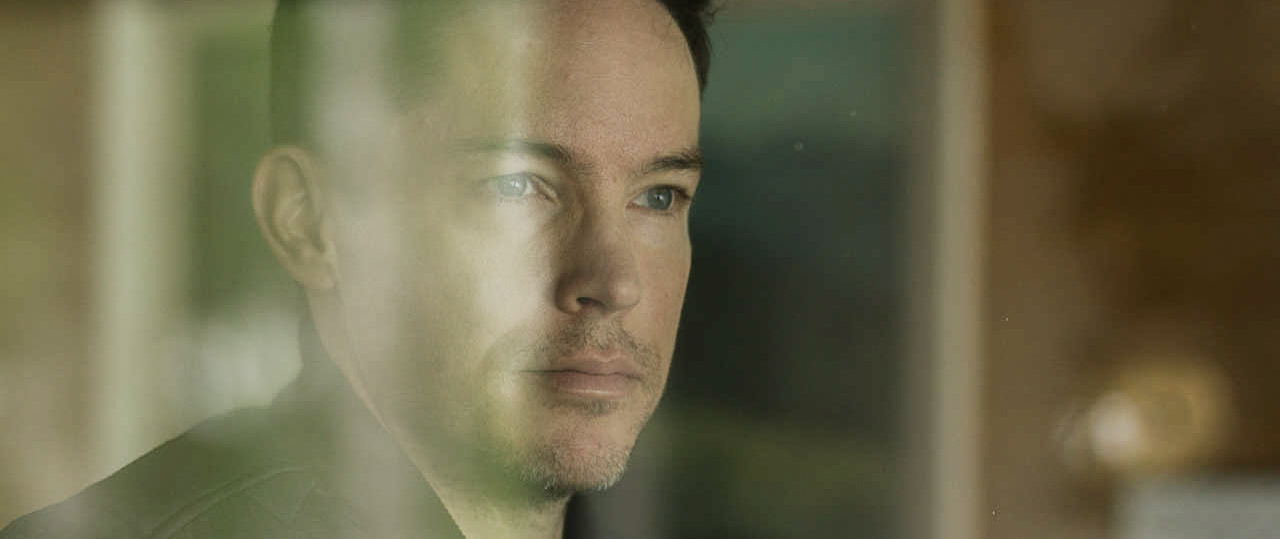
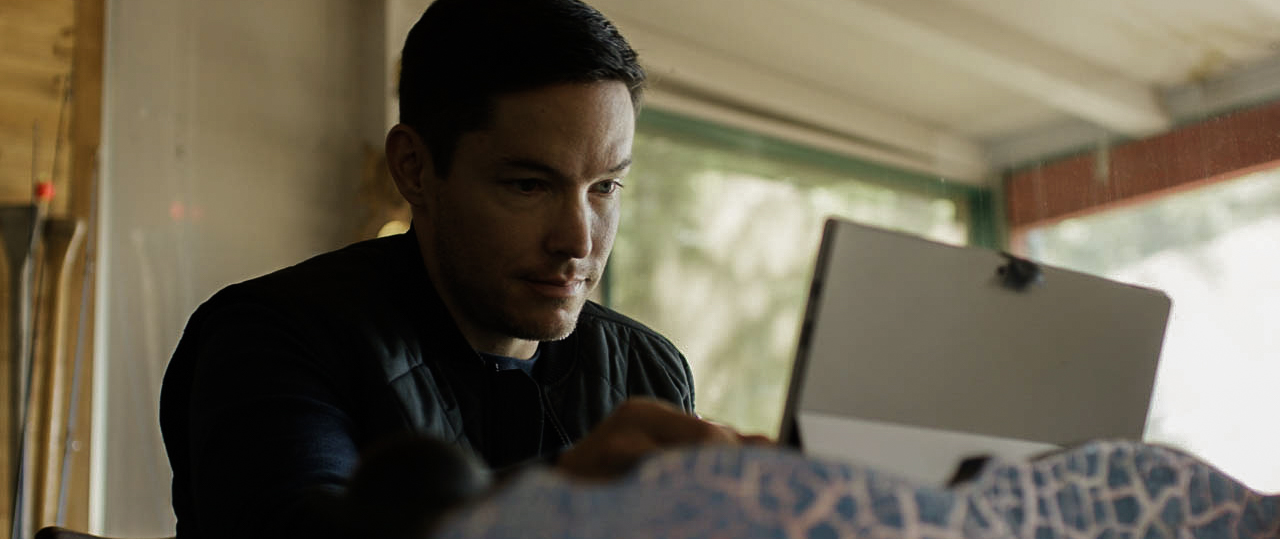
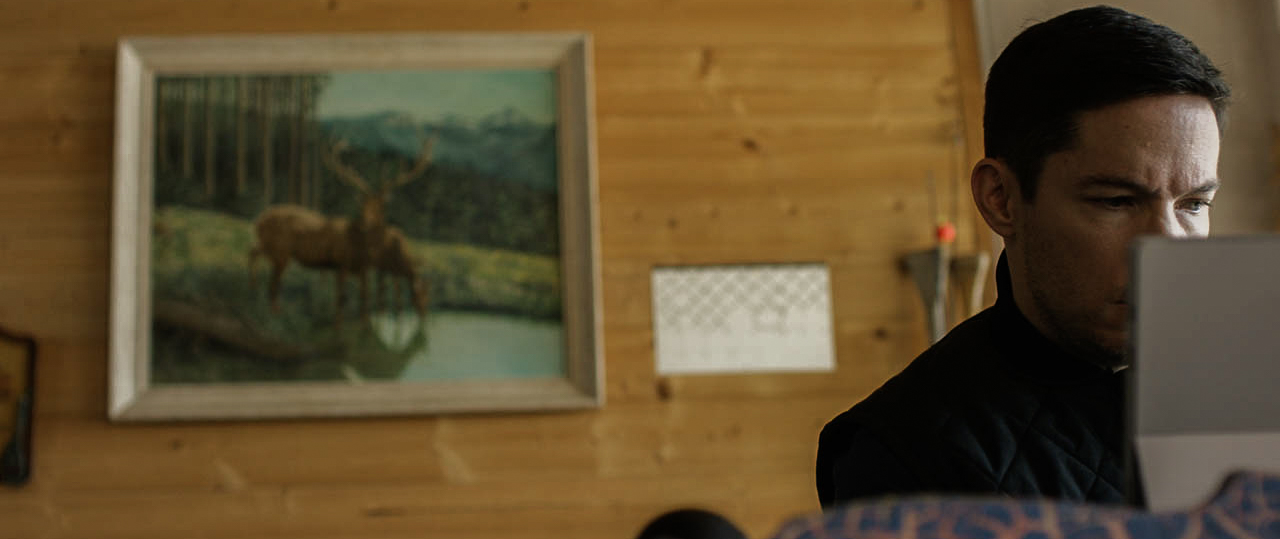
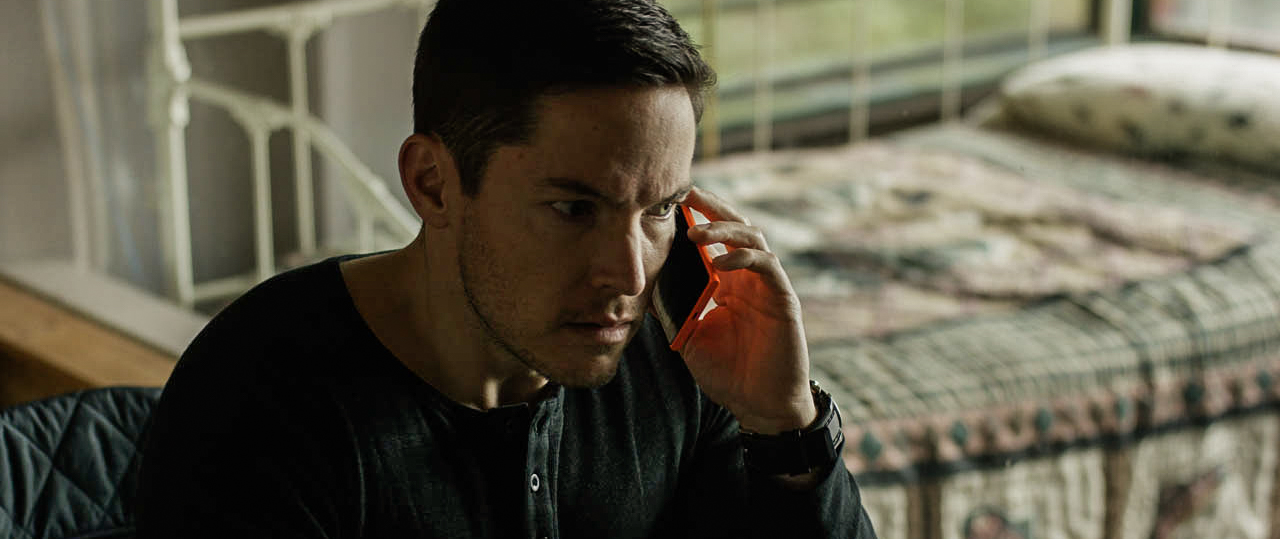
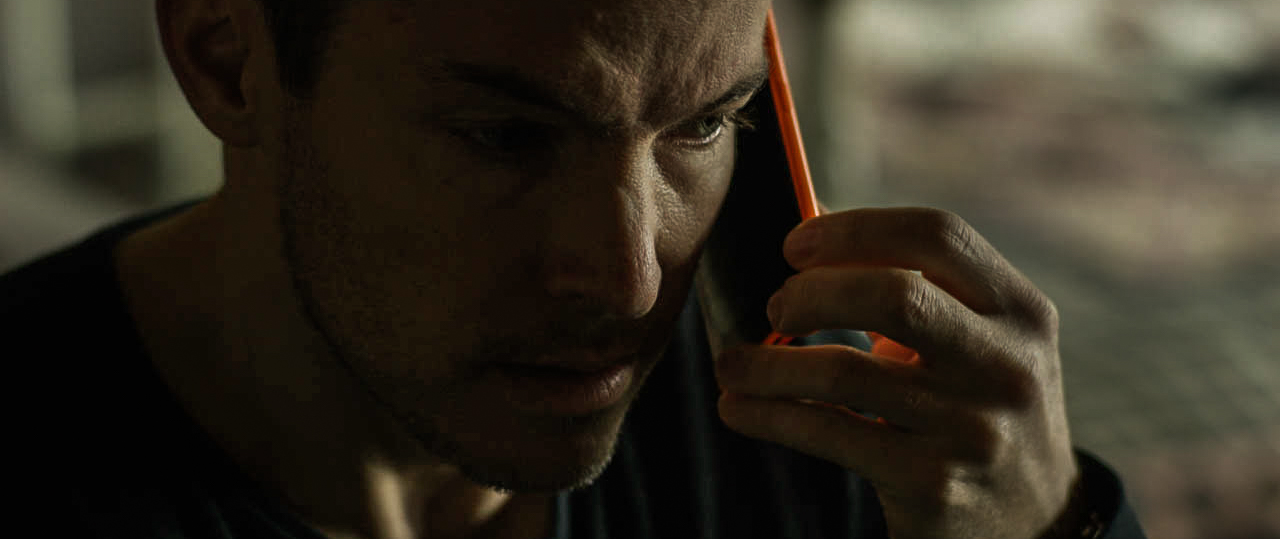
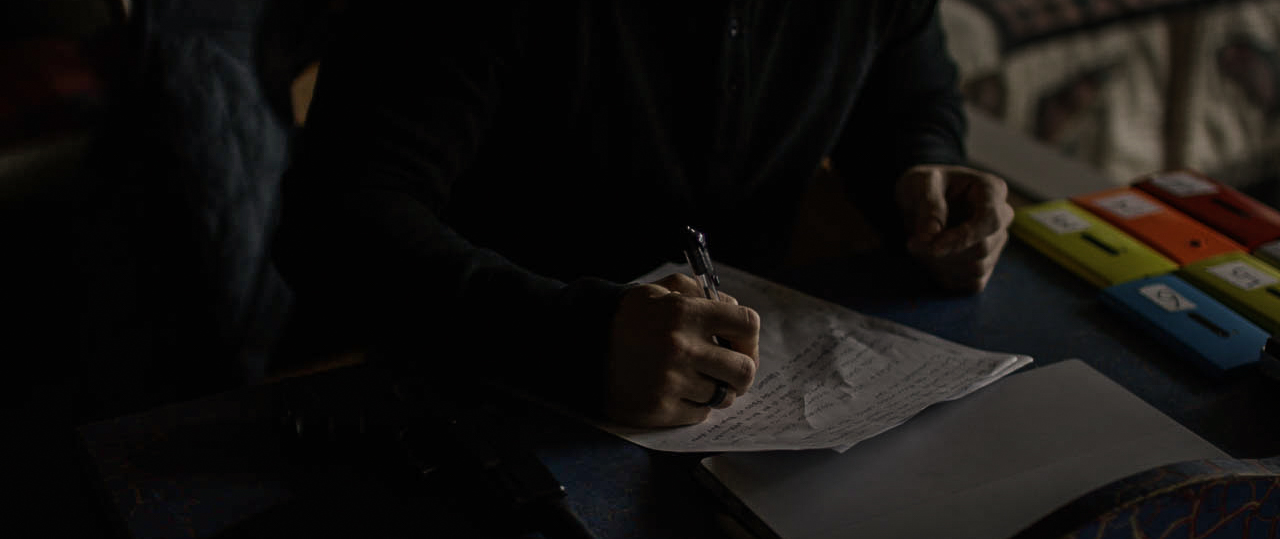
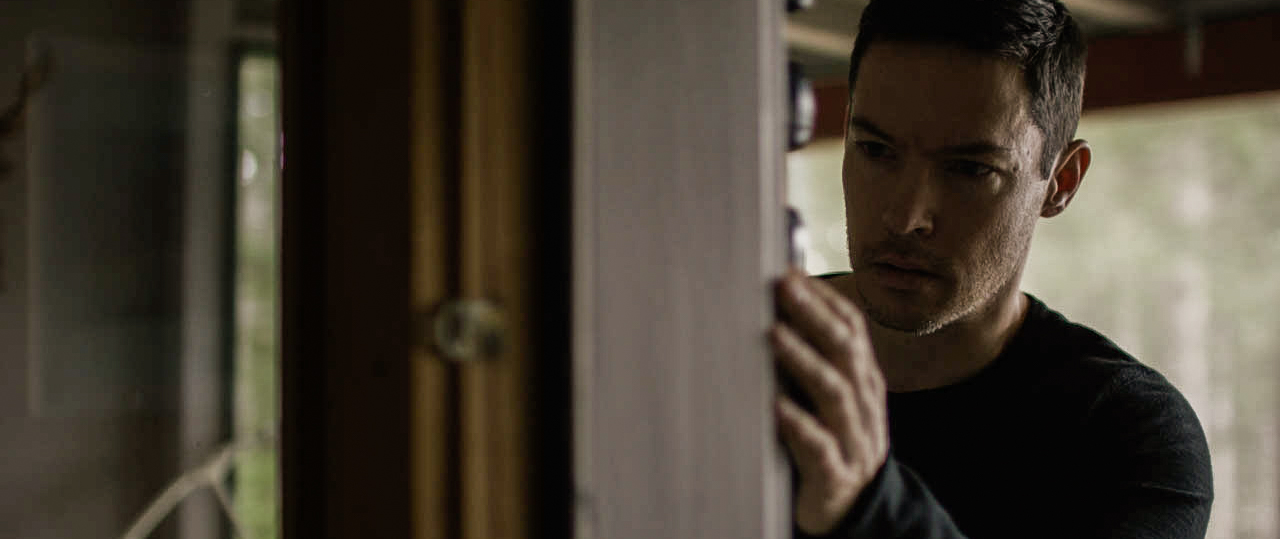
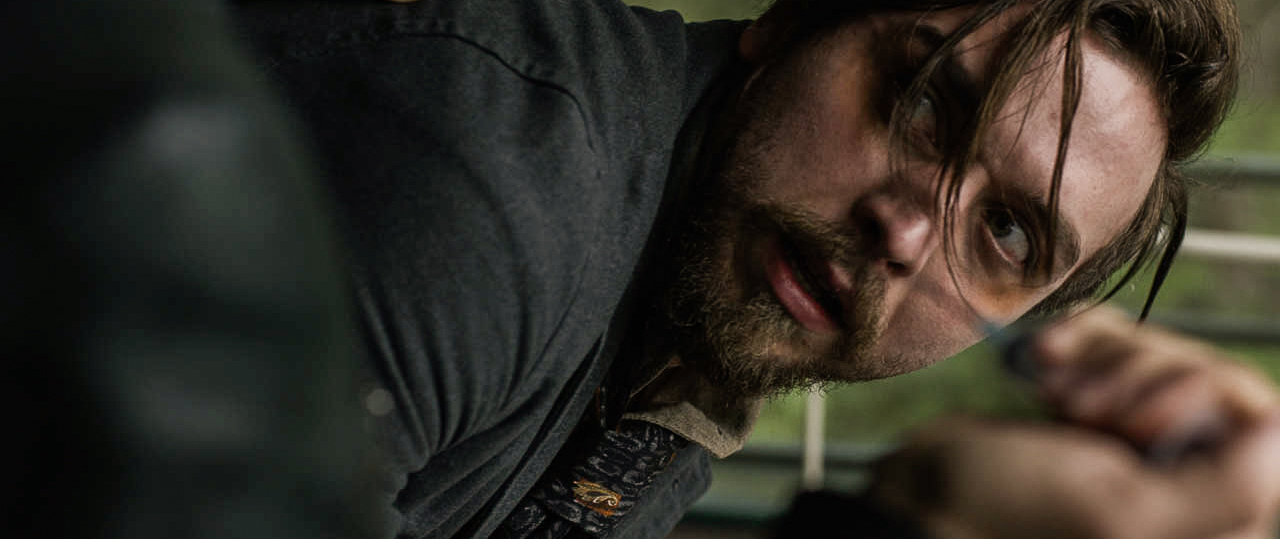
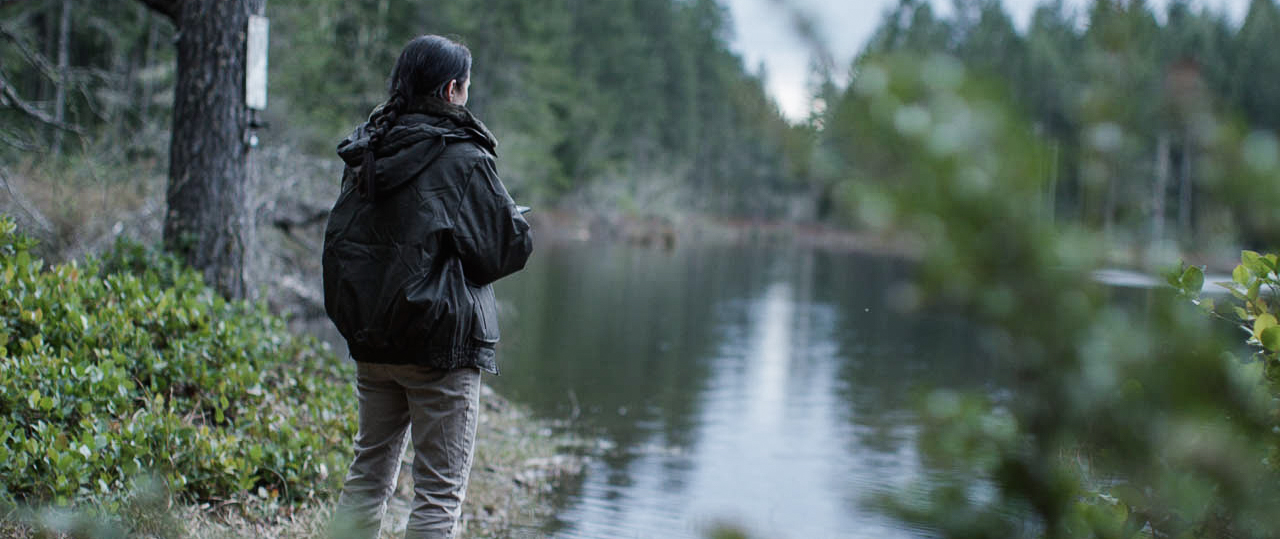
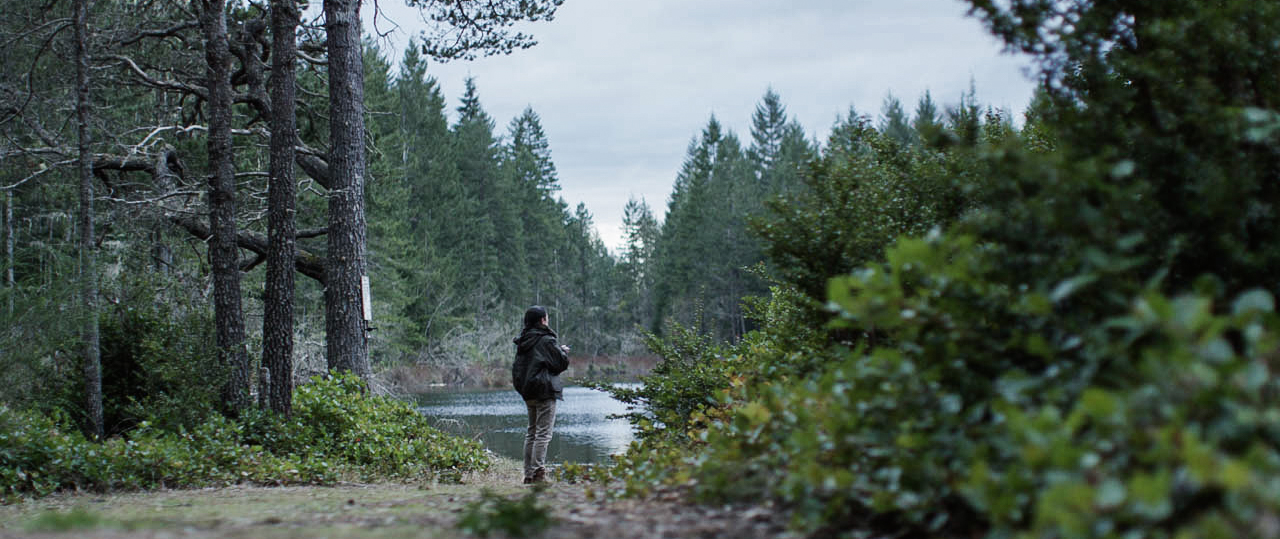
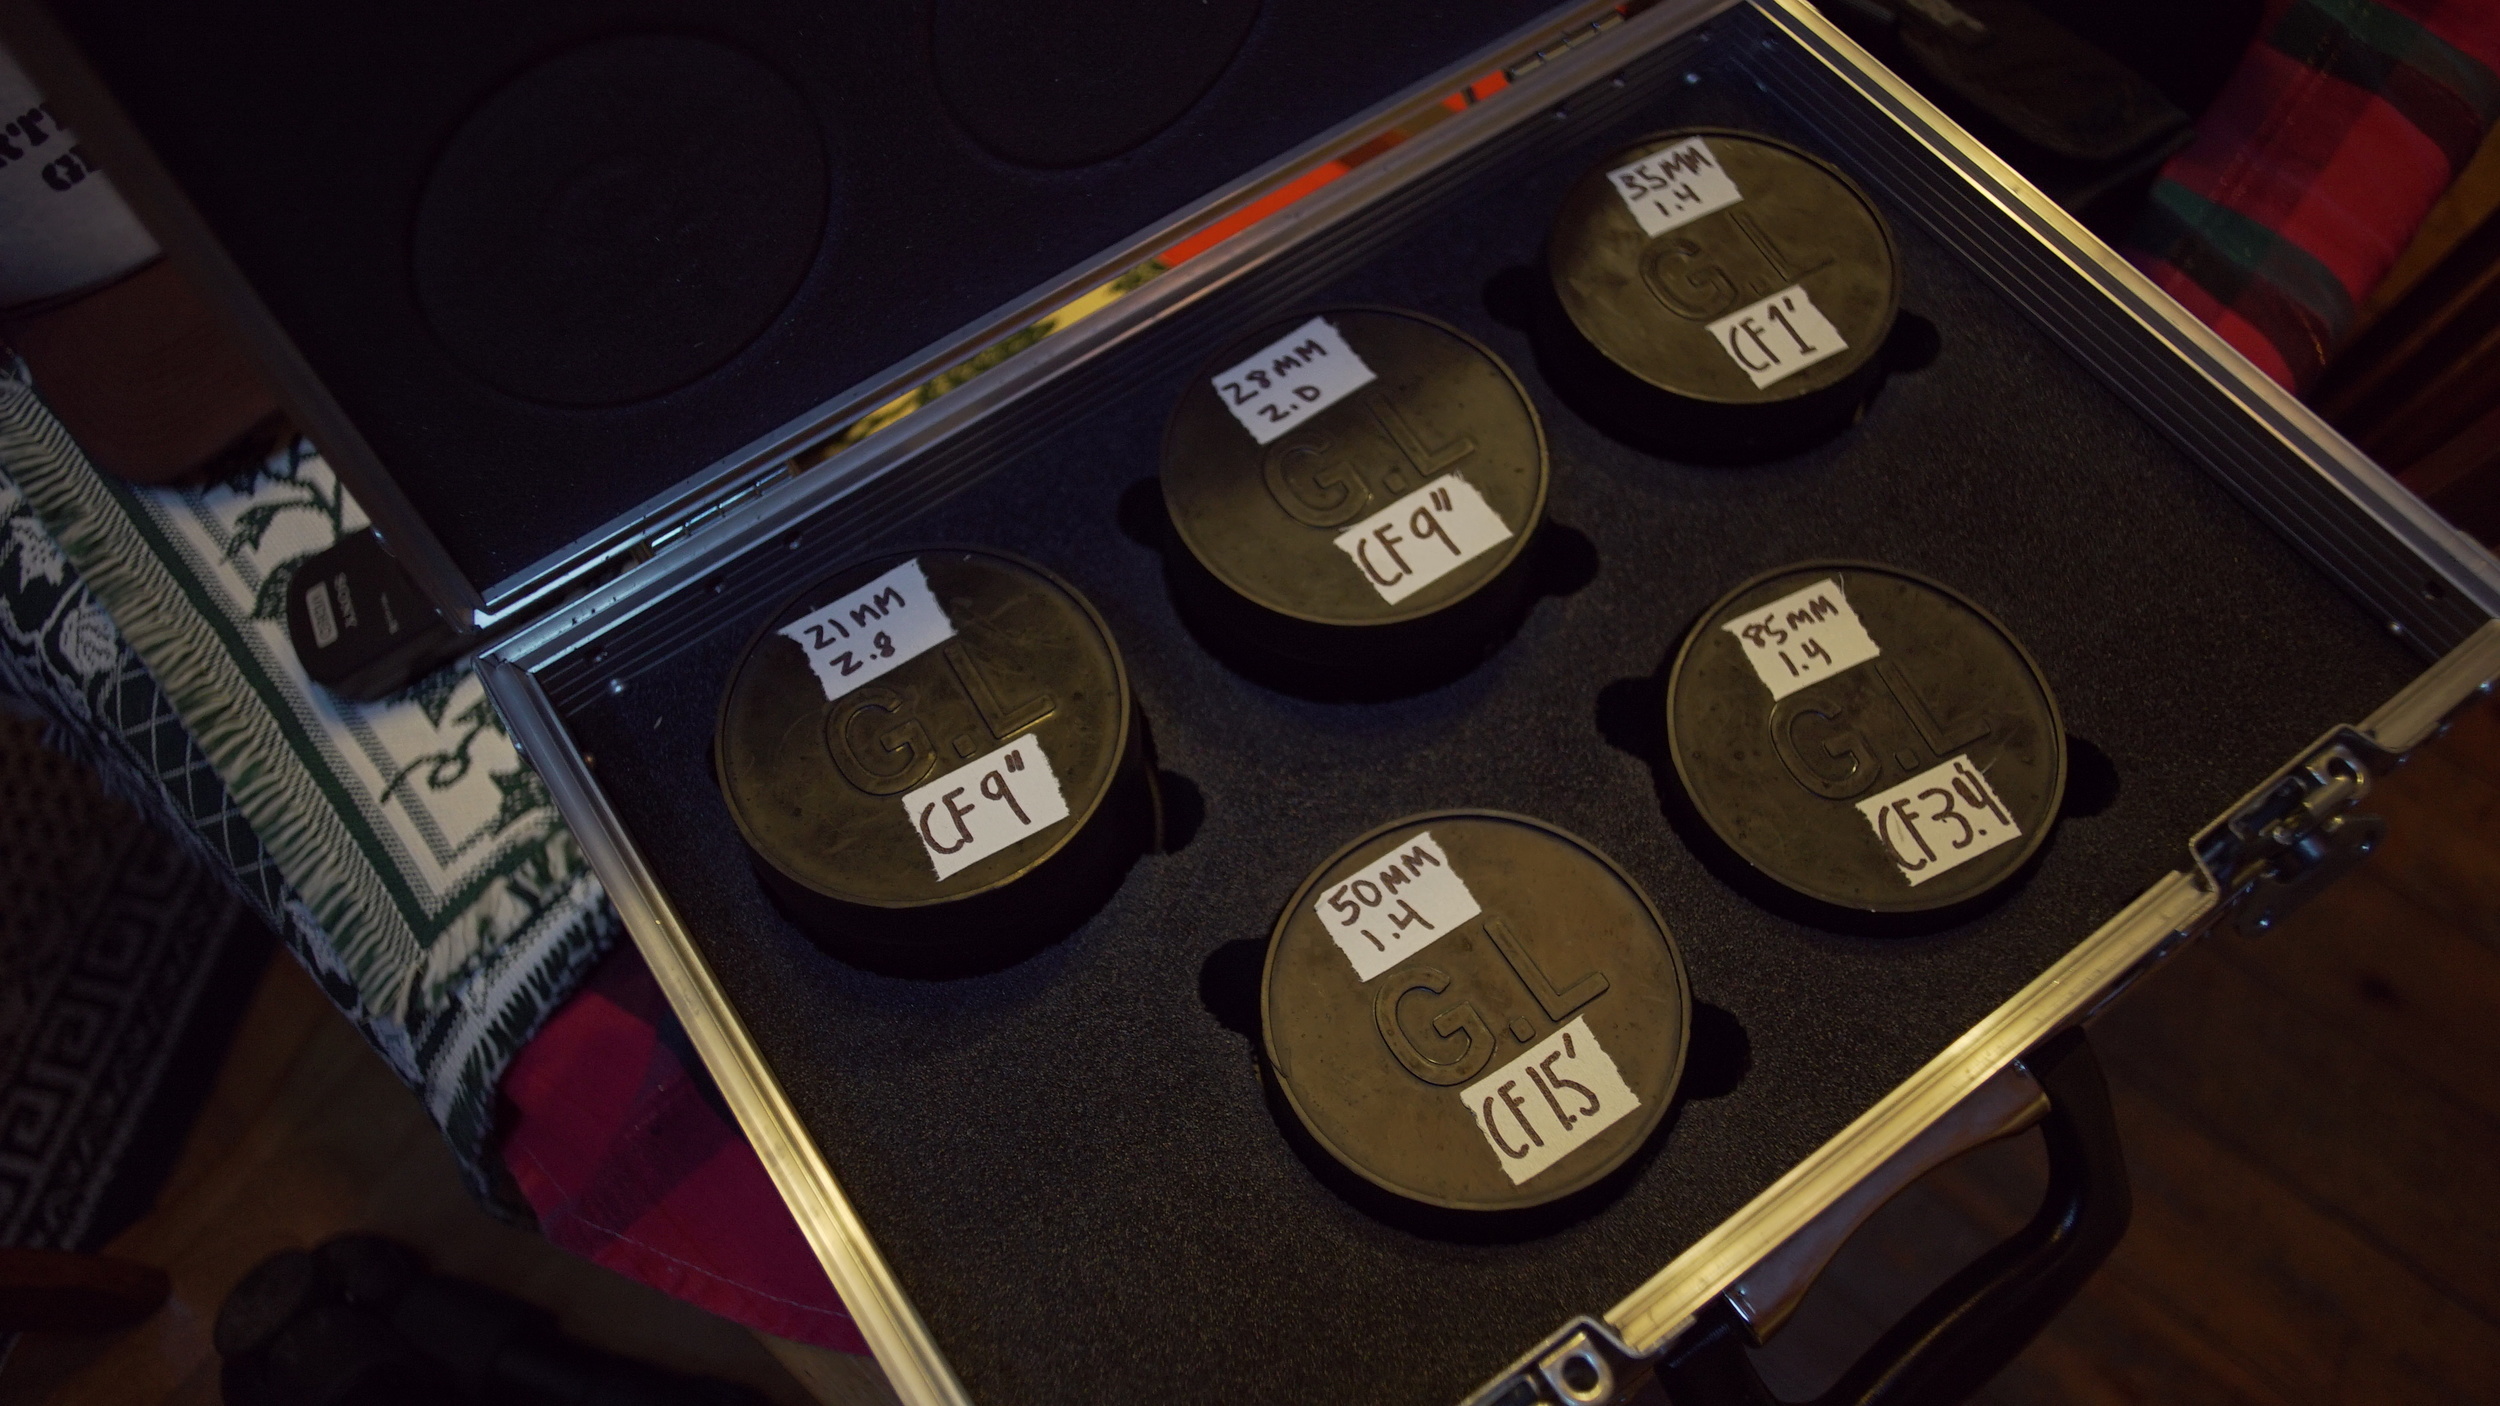
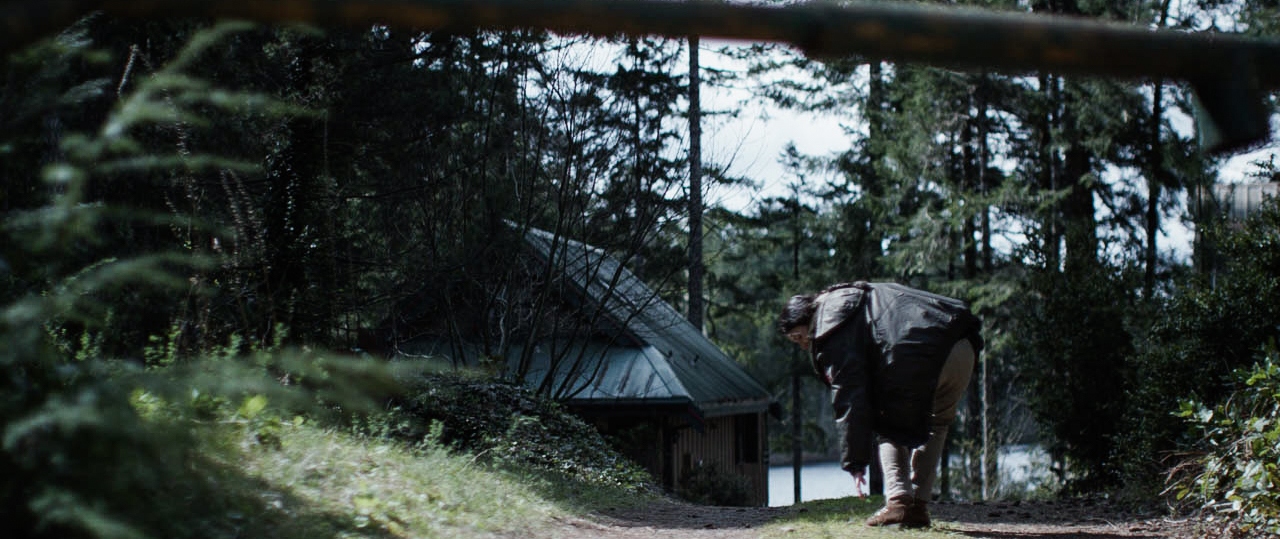
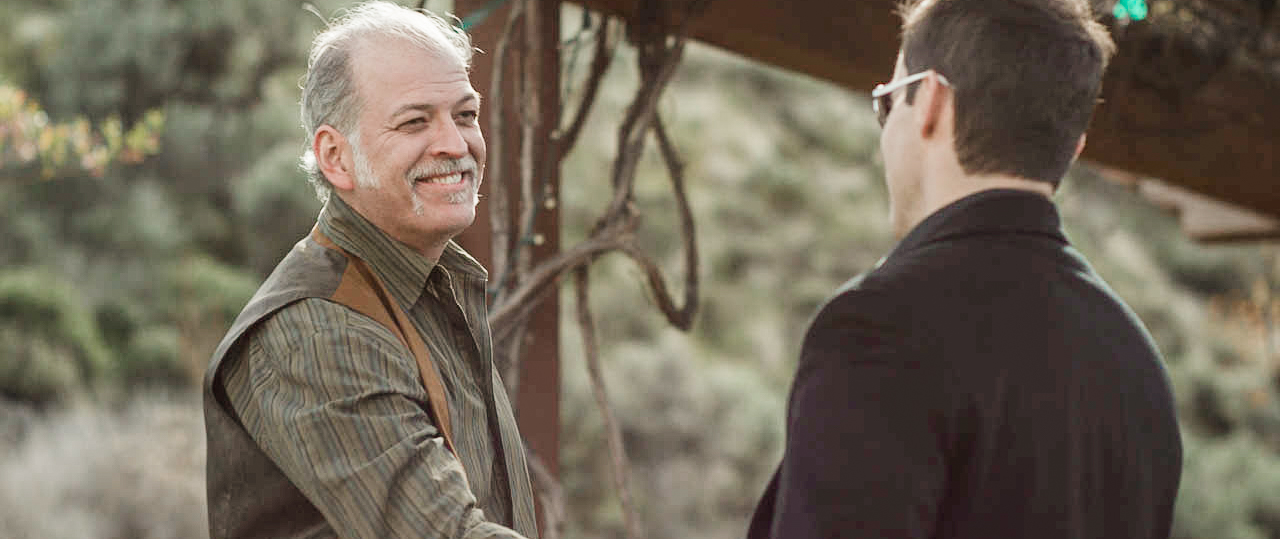
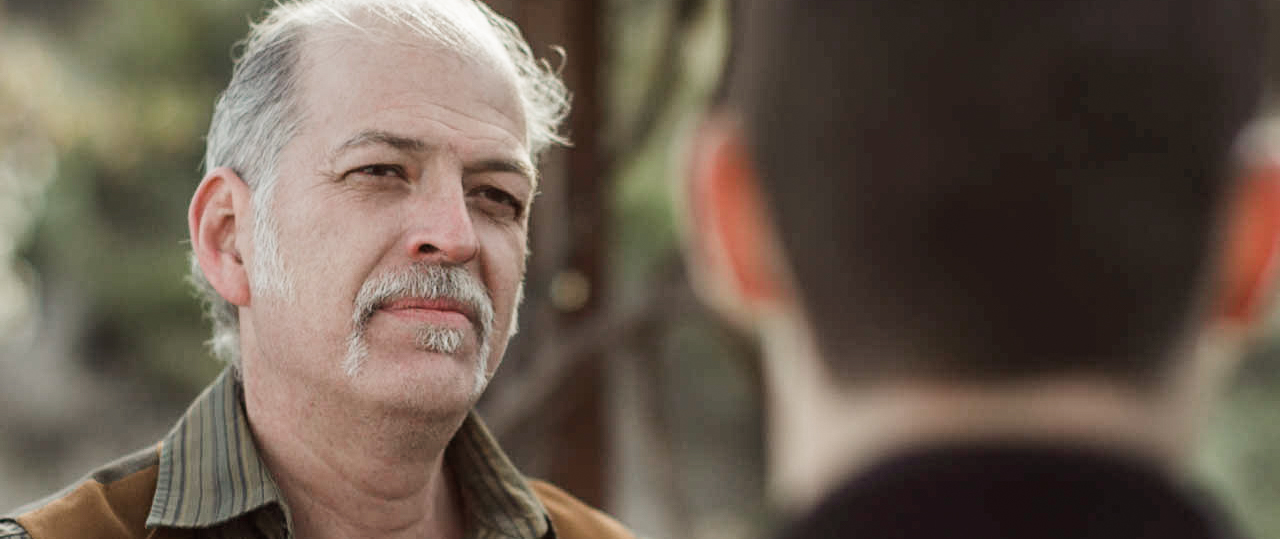
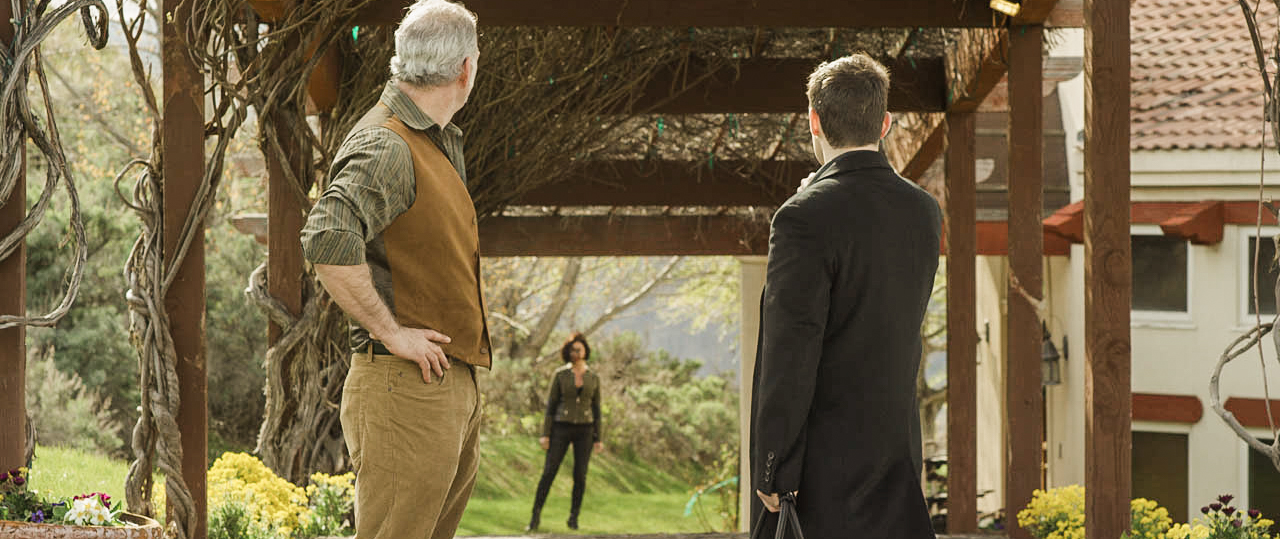
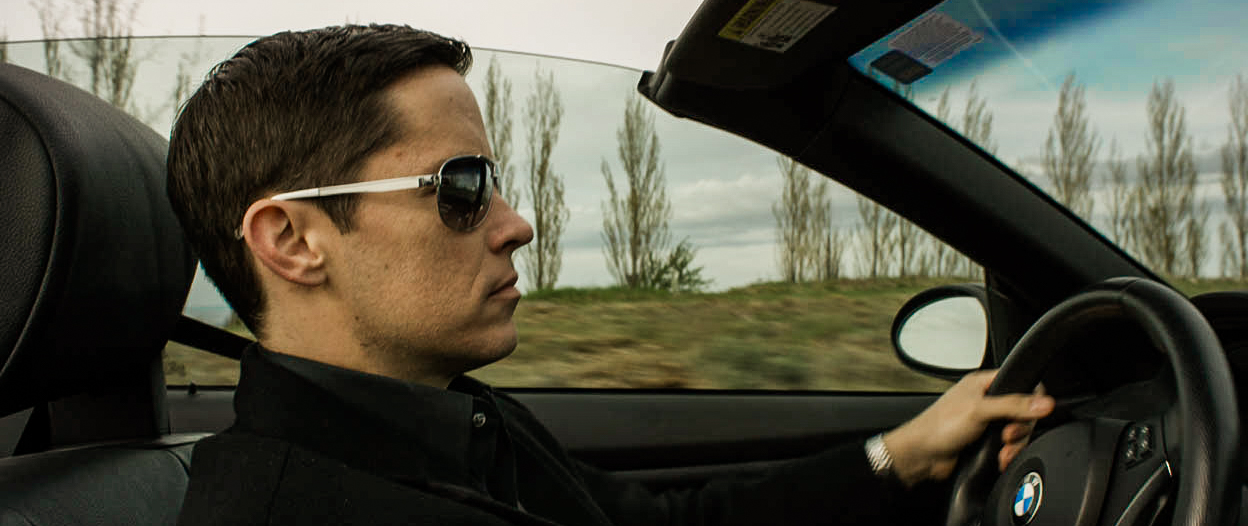
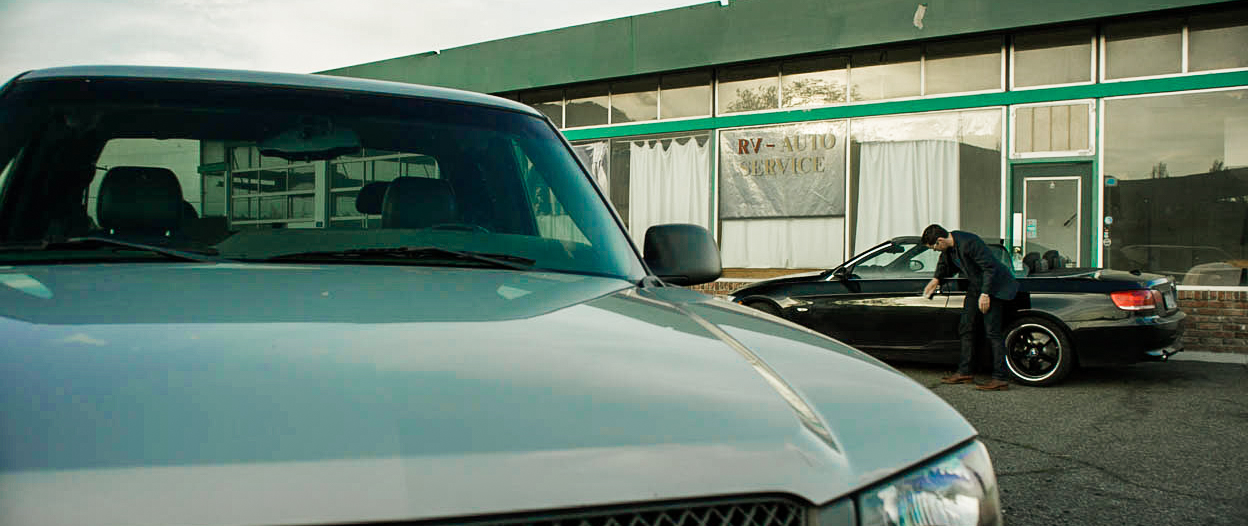
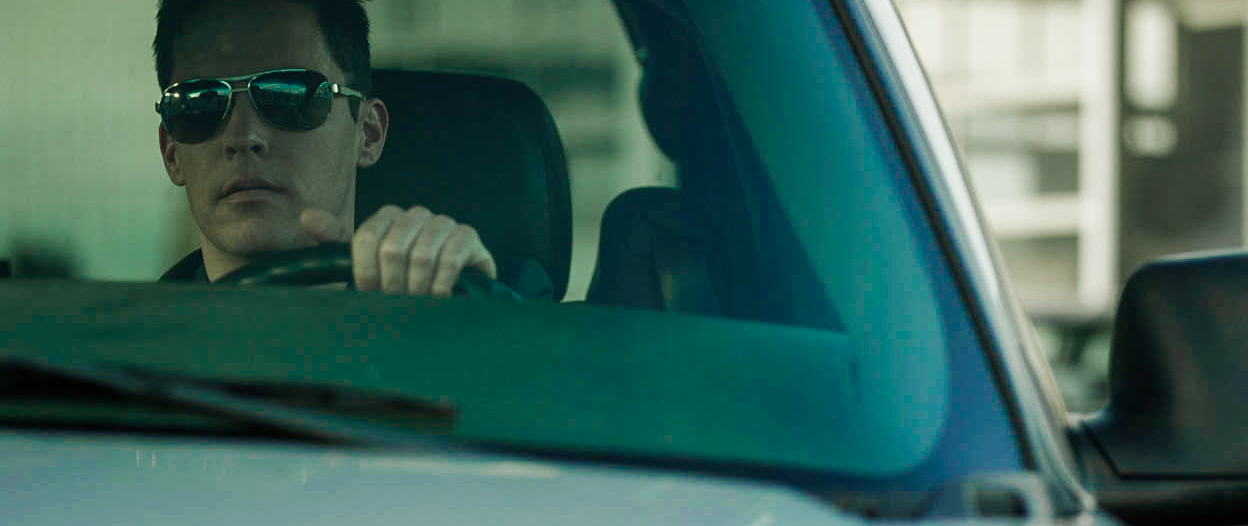
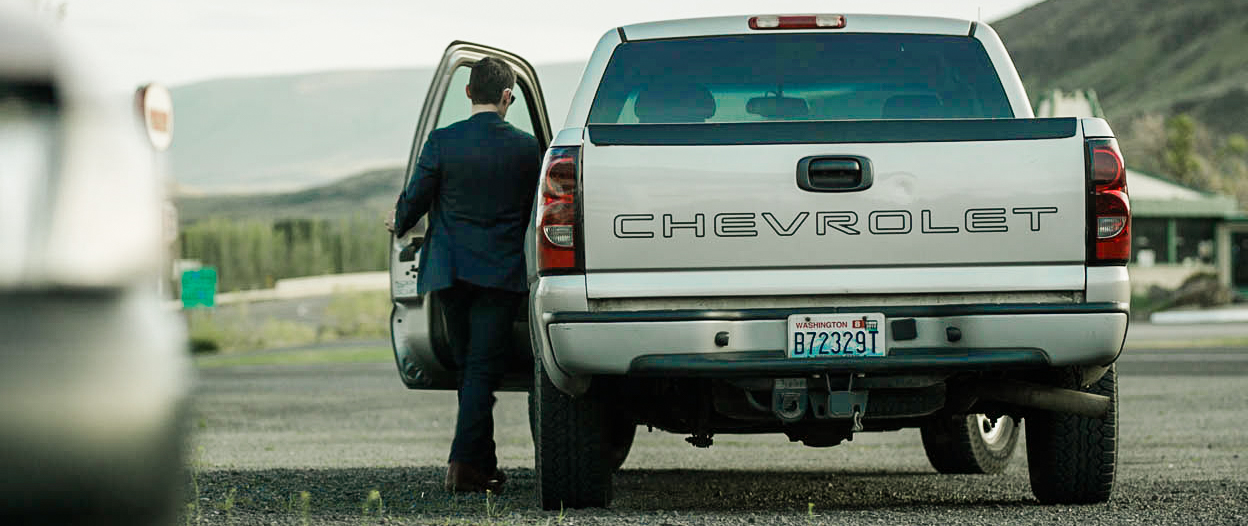
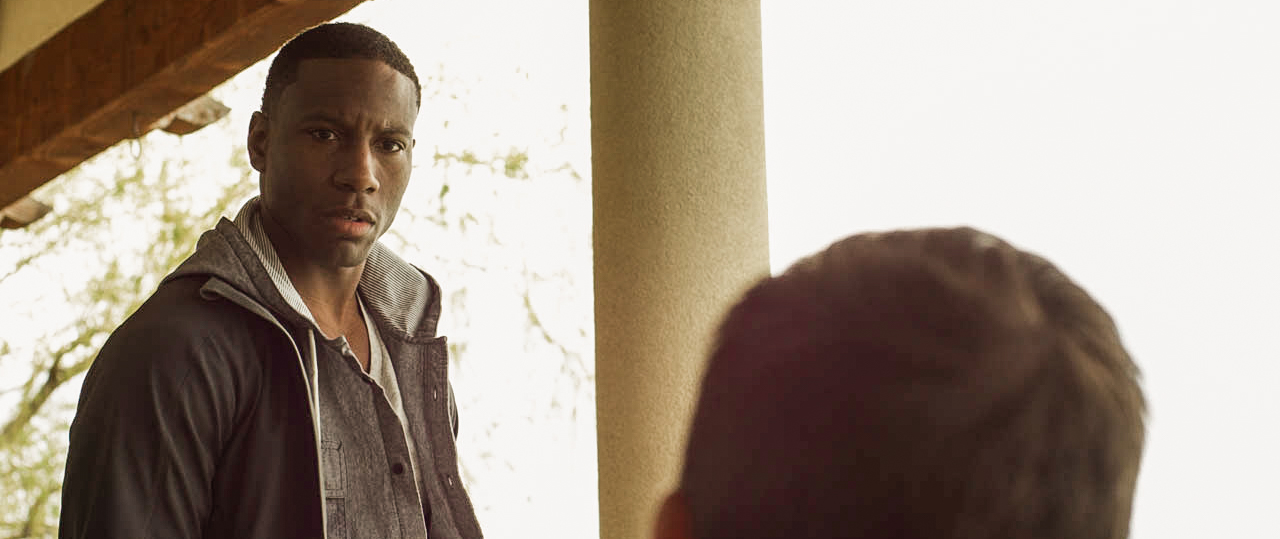
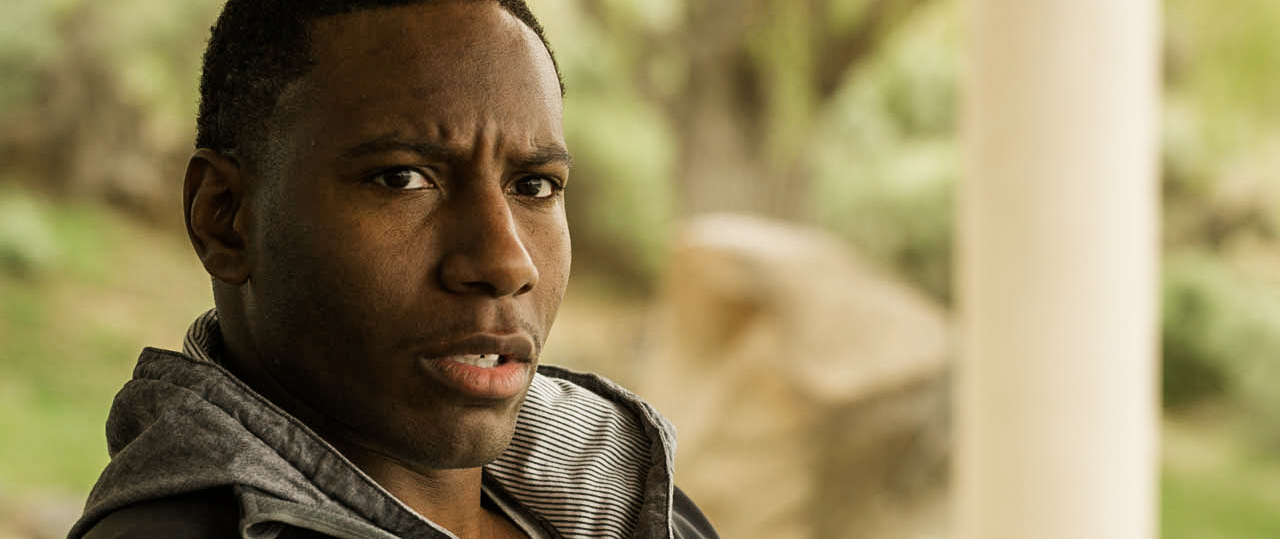
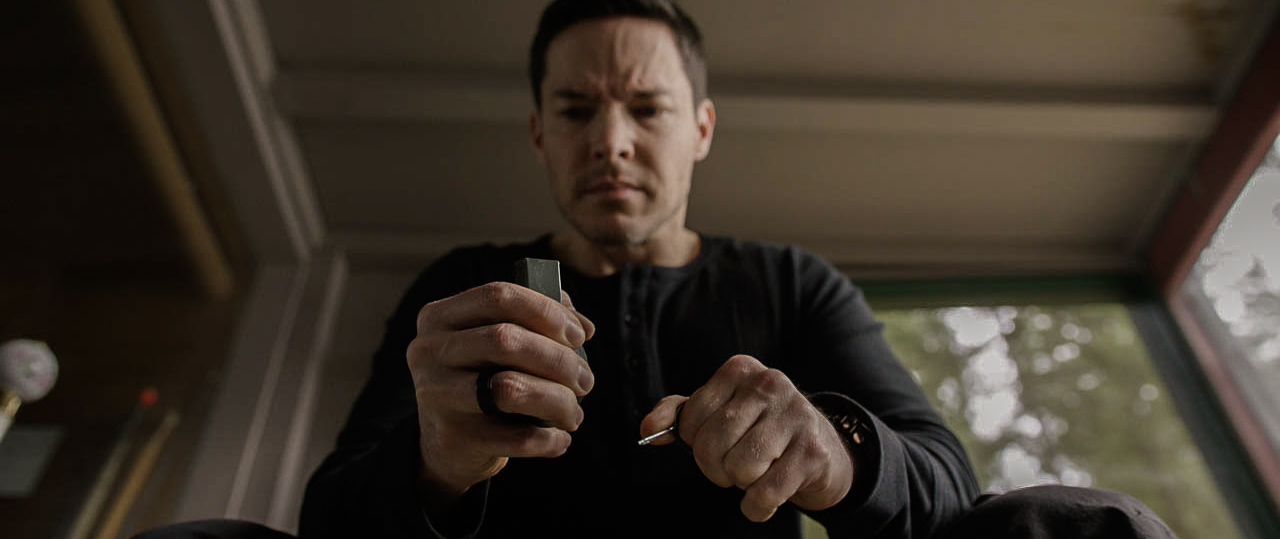
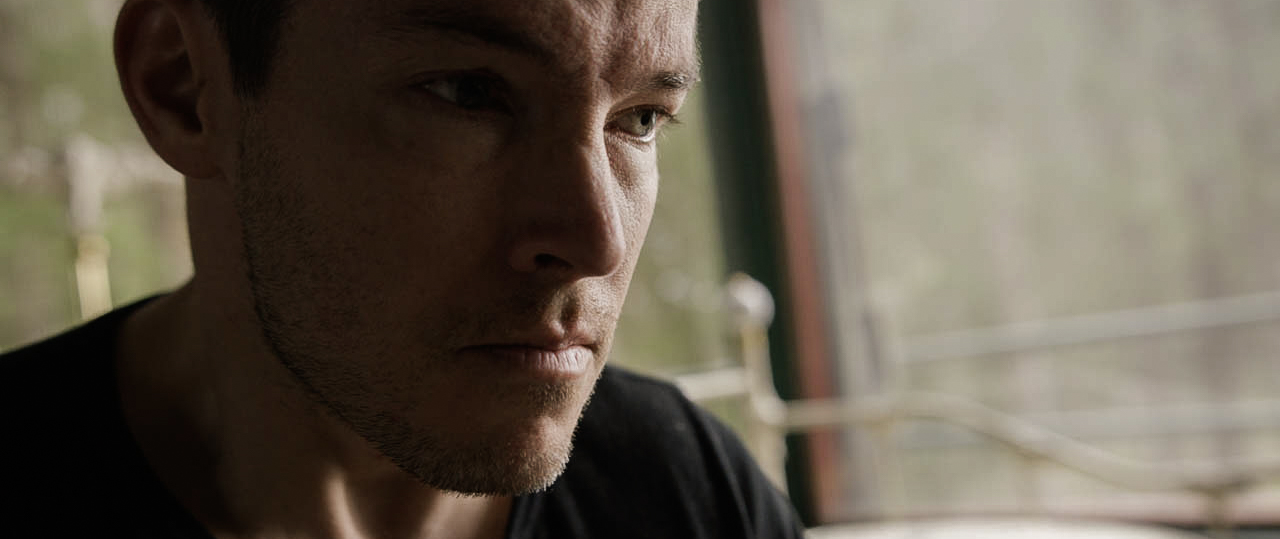
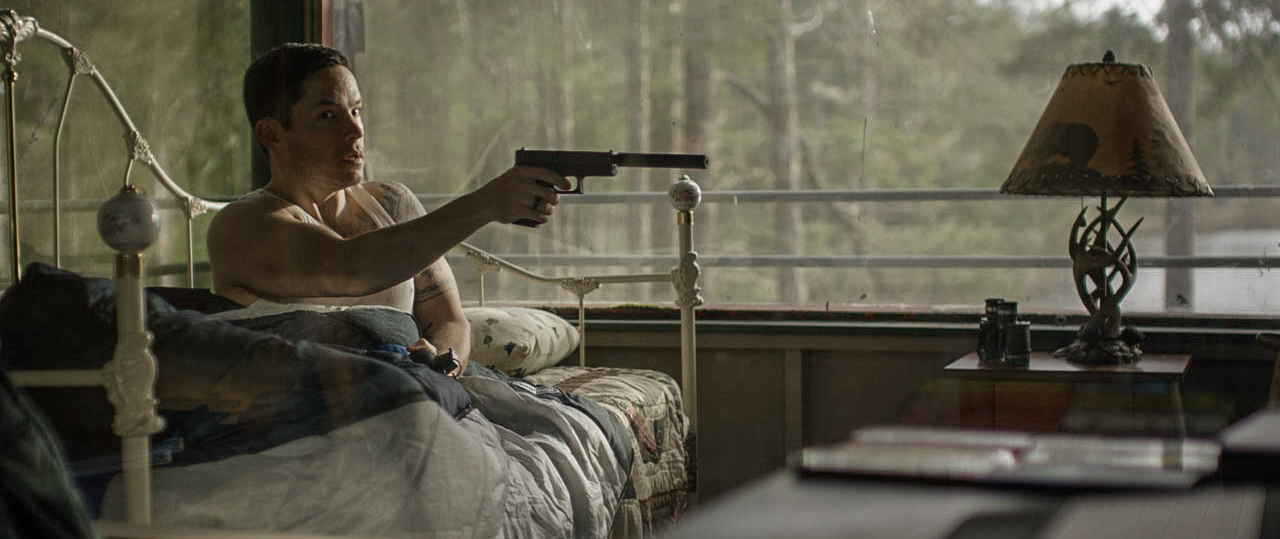
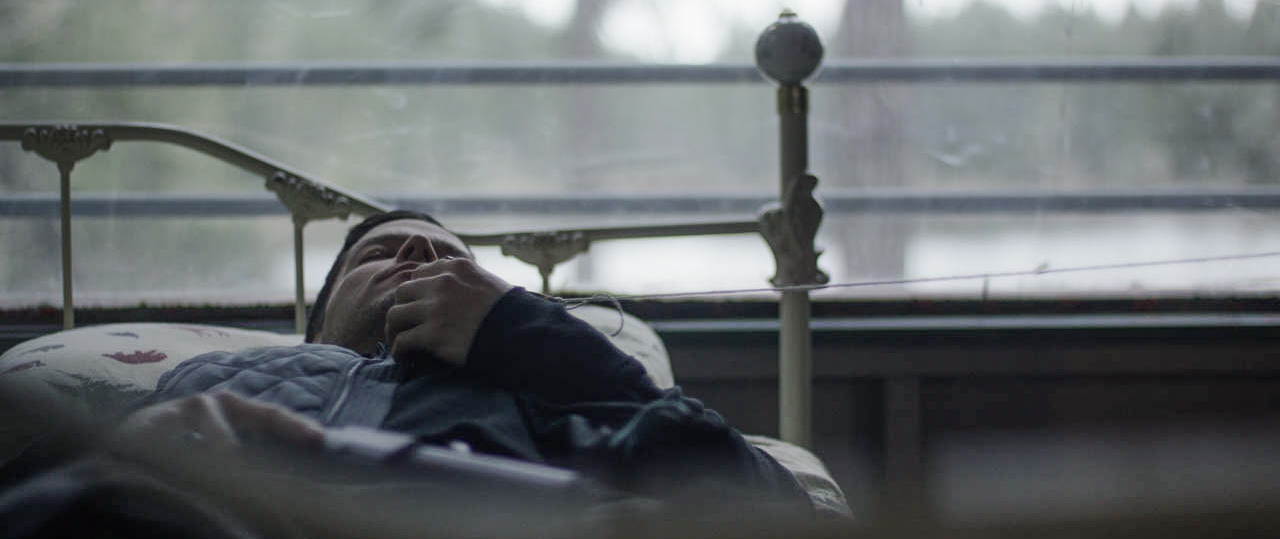
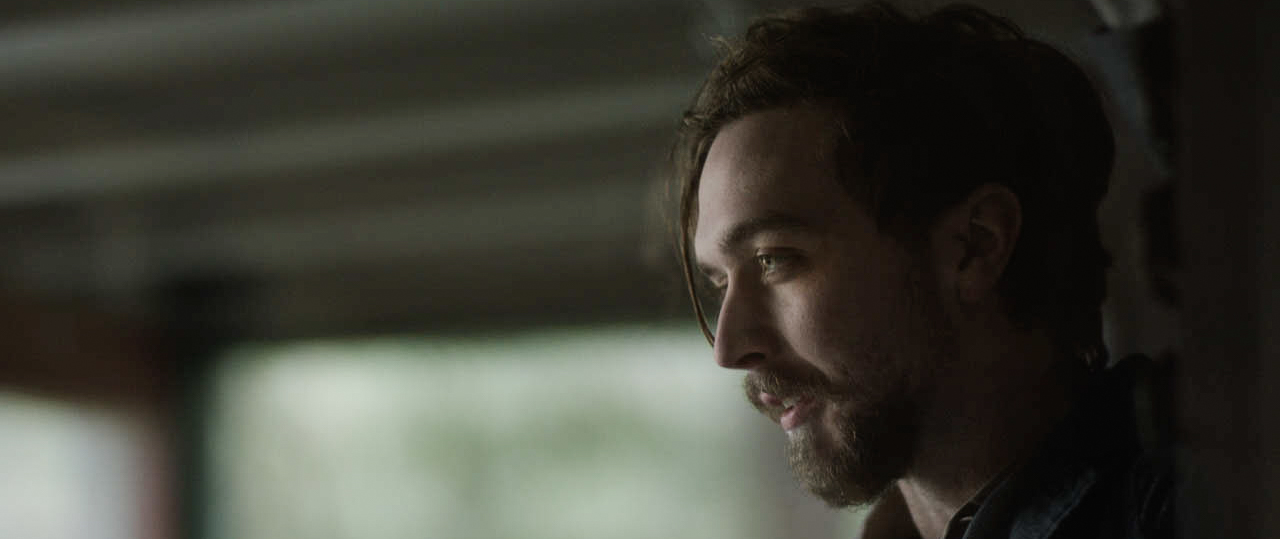
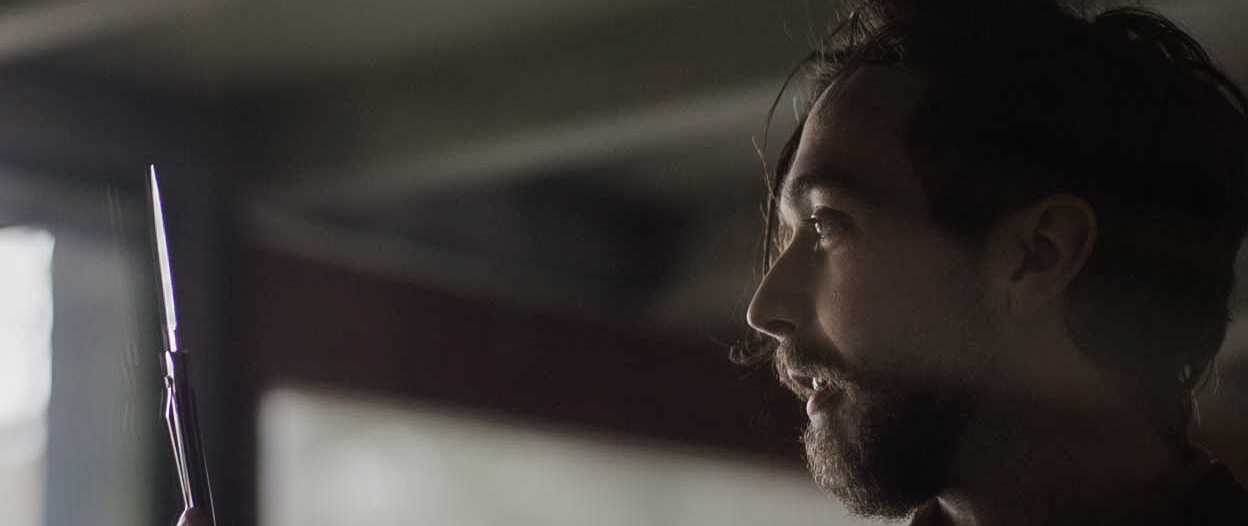
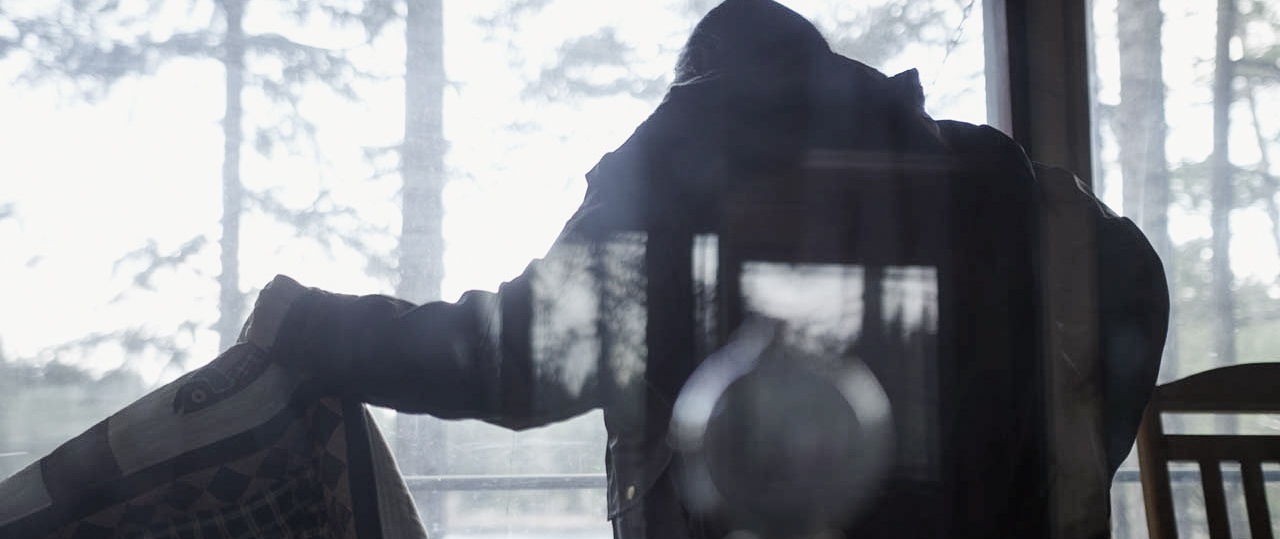
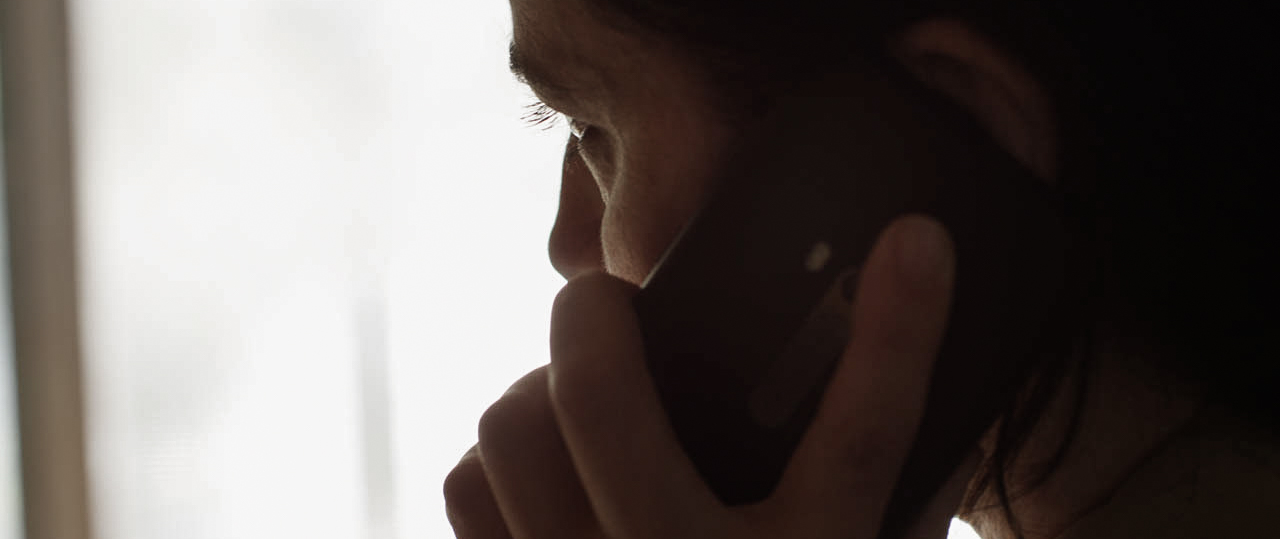
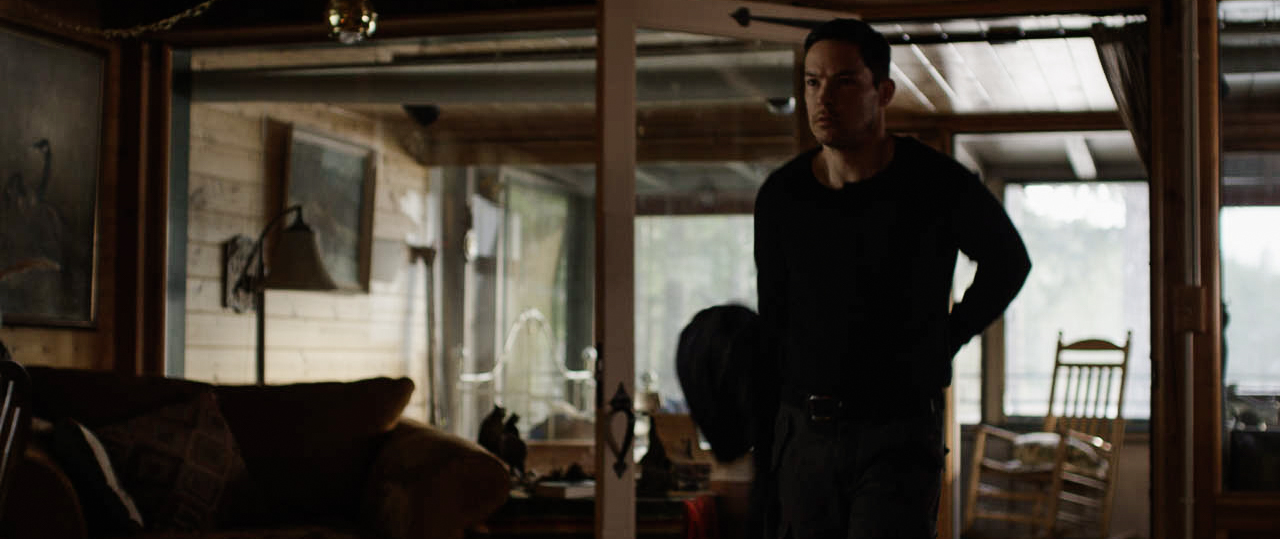
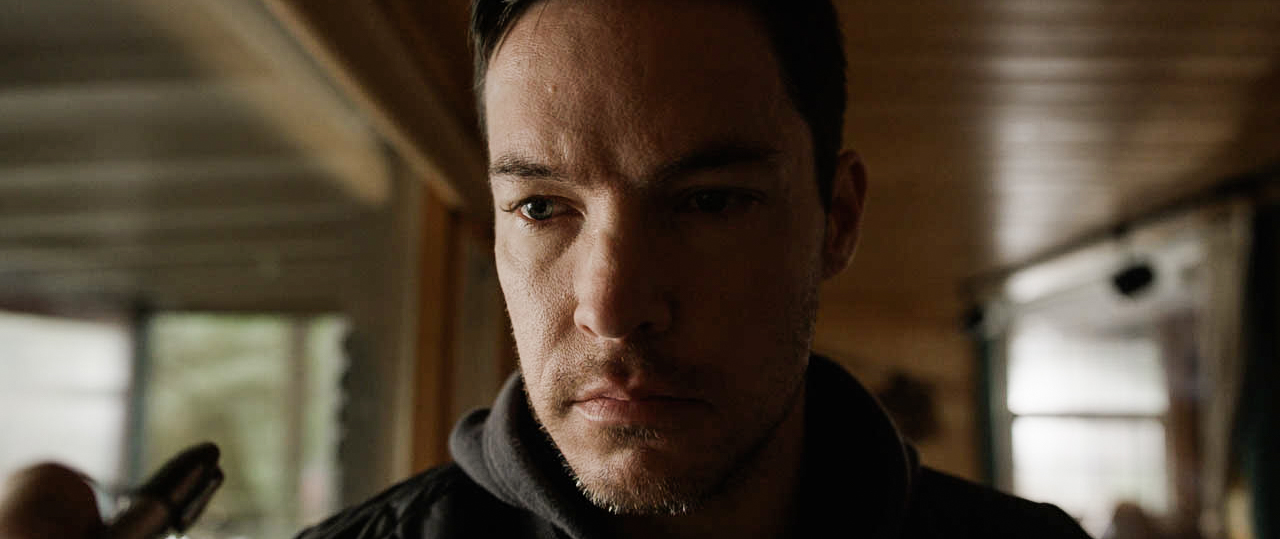
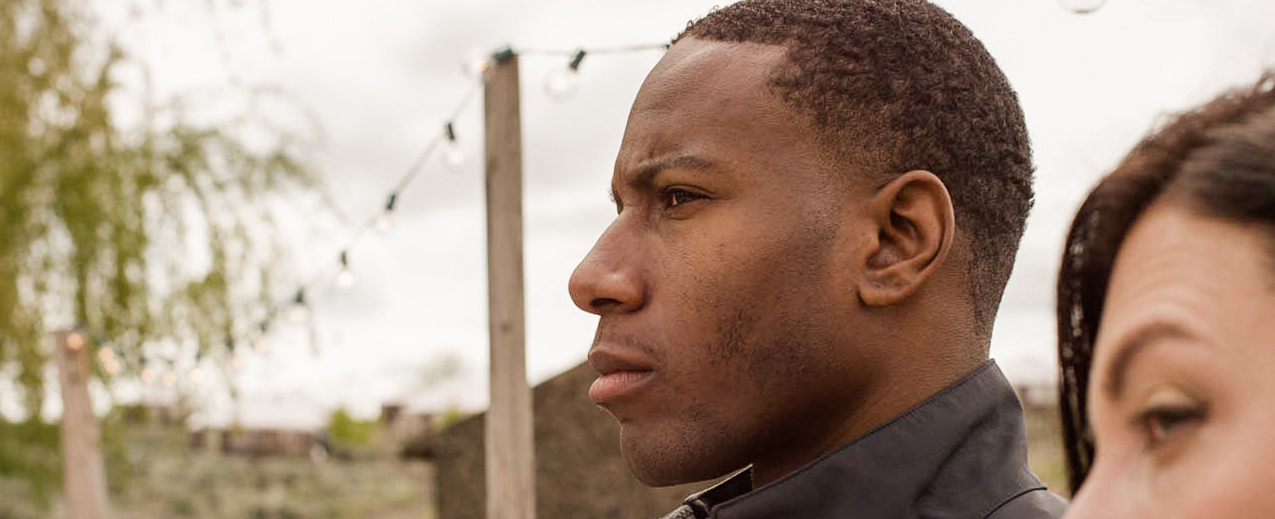
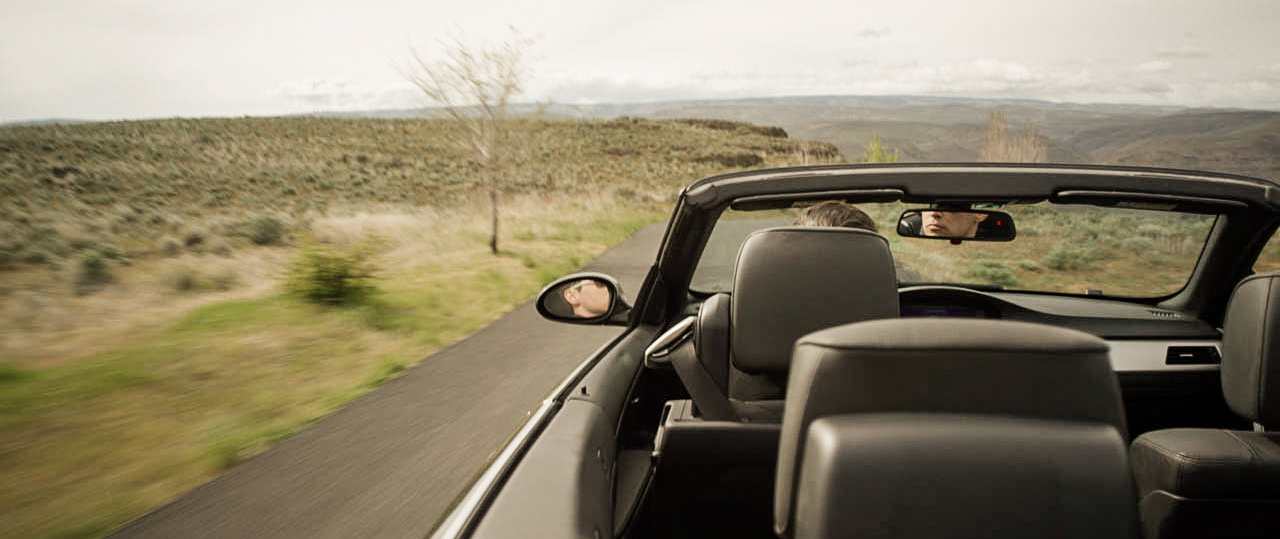
CARSON: So for Carson at the cabin we decided on a few different ways to shoot his scenes. First off, lens choice. We decided to shoot on some vintage Zeiss Contax Lenses that had been rehoused by GL Optics. We had a 21,28,35,50,85 on tap. They have a bit more of a cooler tone and less contrast to them compared to the Canons so we thought these would be great given the mood of Carson's scenes. We chose to shoot most of Carson's coverage either on sticks or with some movement via dana dolly. Also we chose less traditional shots with Carson having more of a security footage or somebody is watching him type of vibe. We did however want to give Carson and Alice a connection so we chose to shoot him in mostly wide lenses as well unless he was on the phone. Then we would use the 85mm to cover his close ups. It was very important to give them a relationship via camera work since Alice is working hard to understand Carson's dark situation.
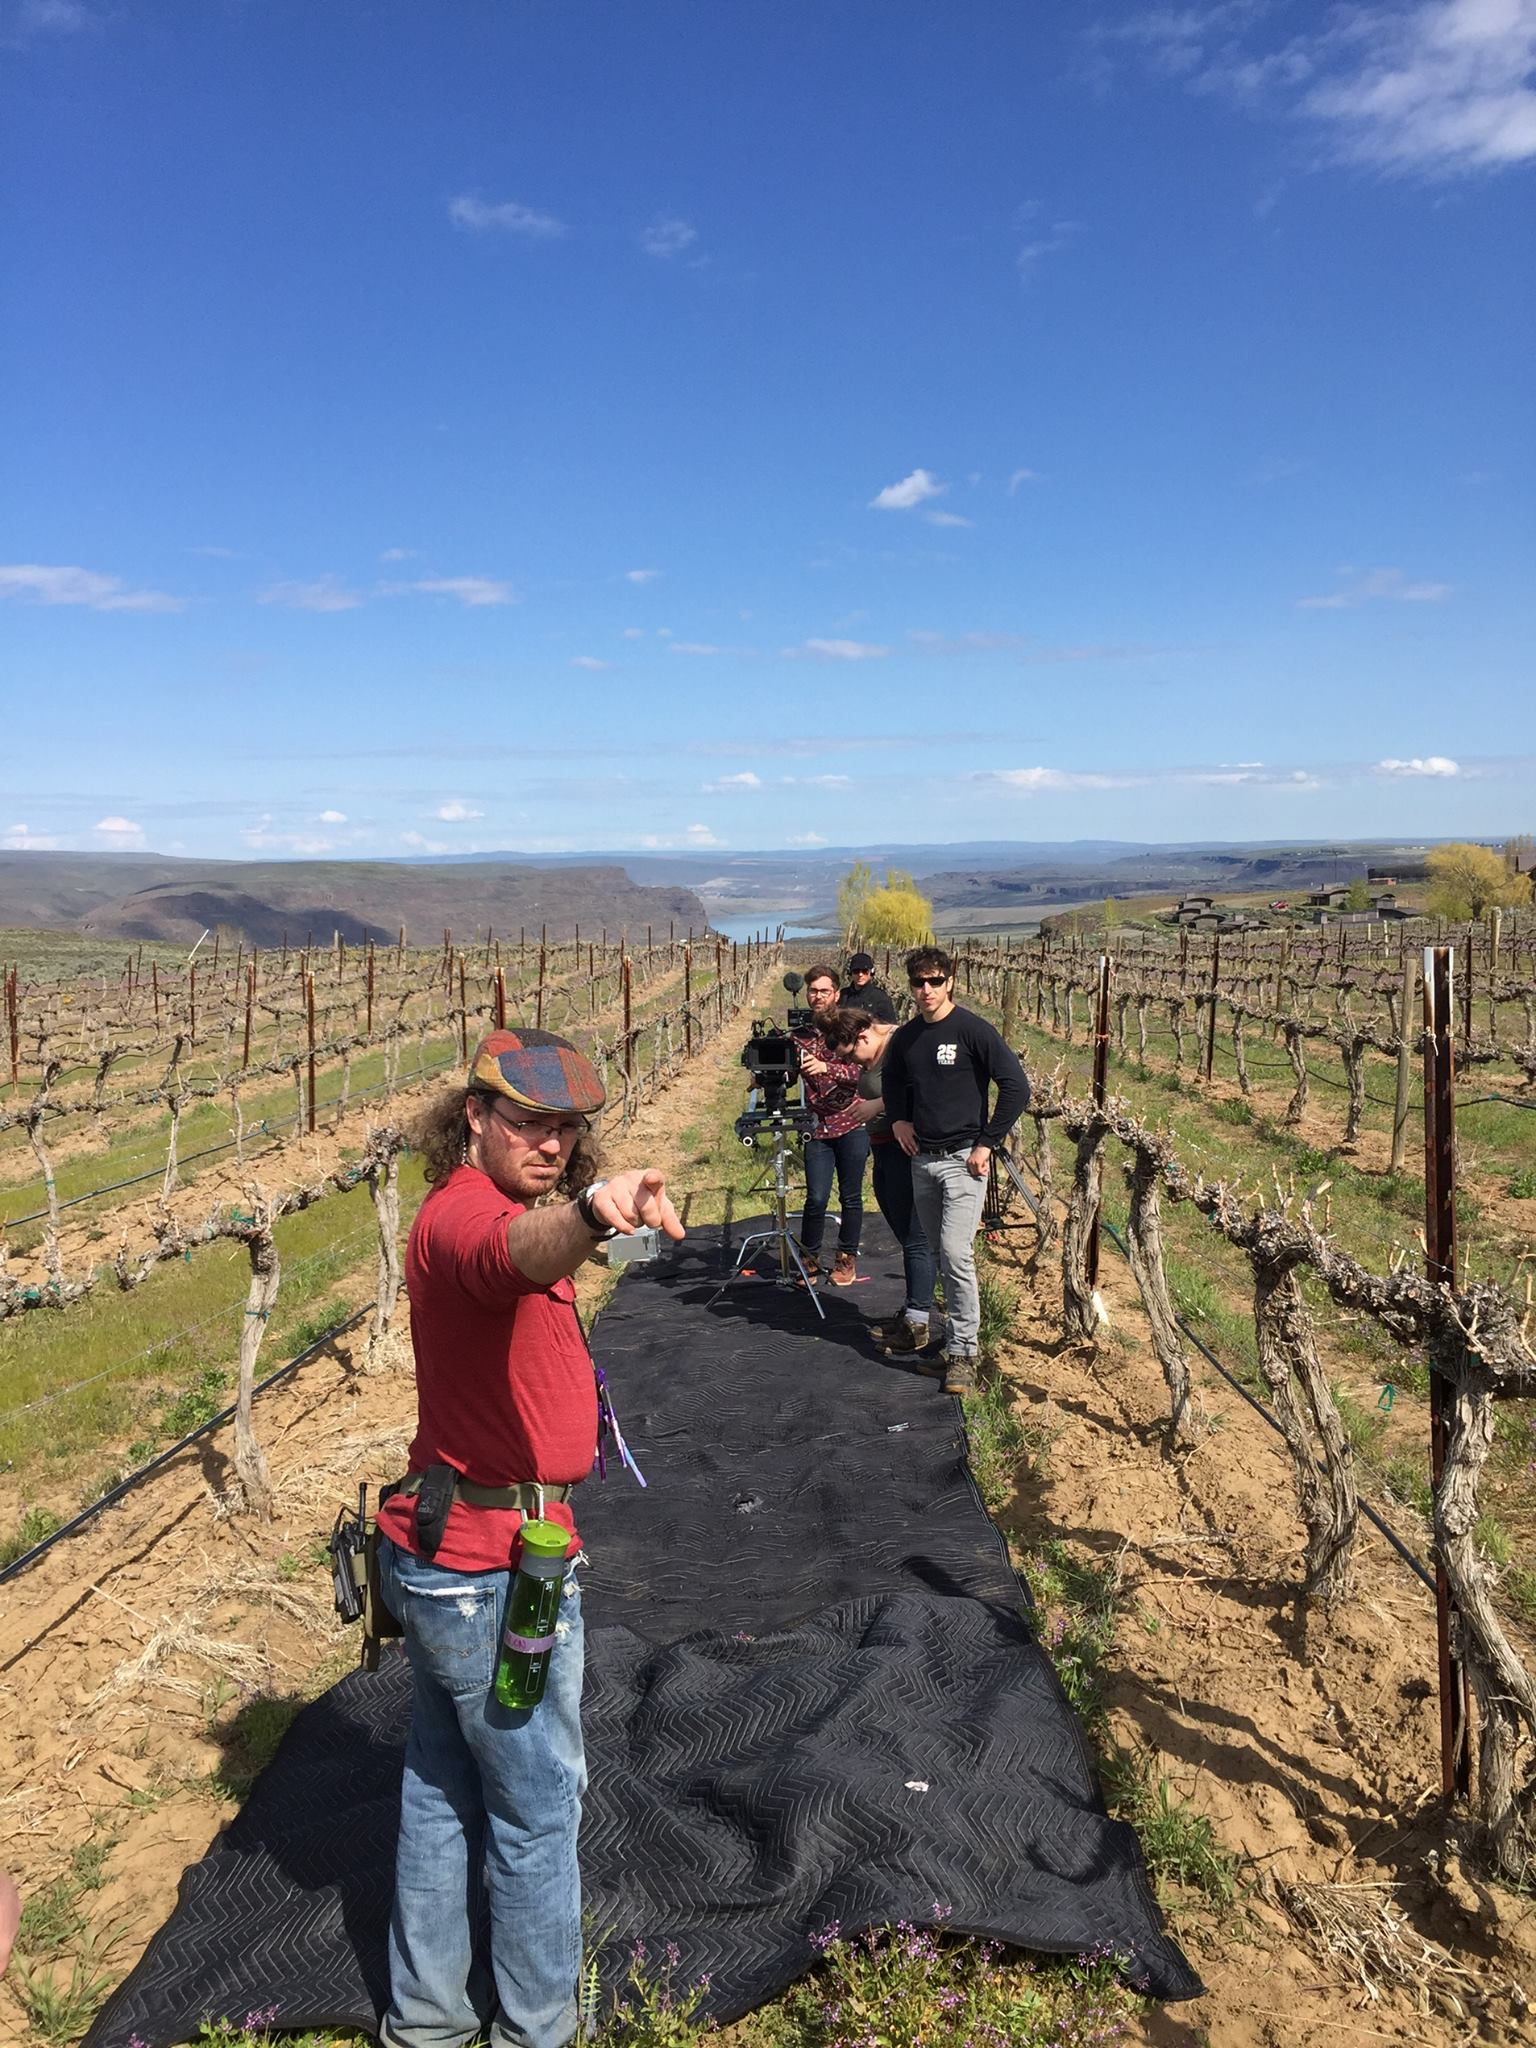
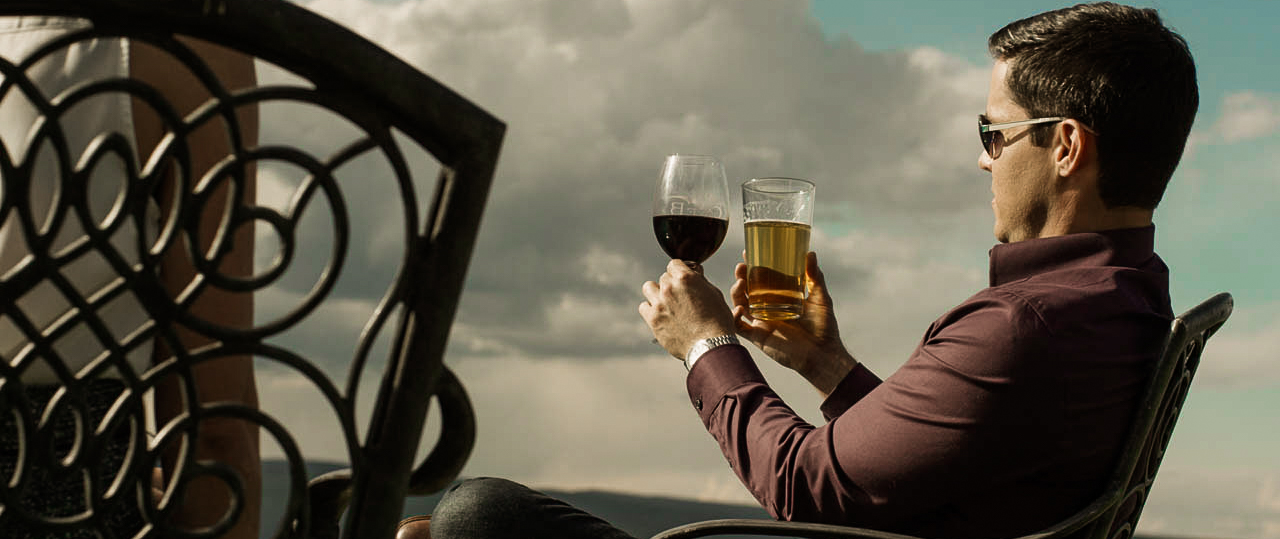
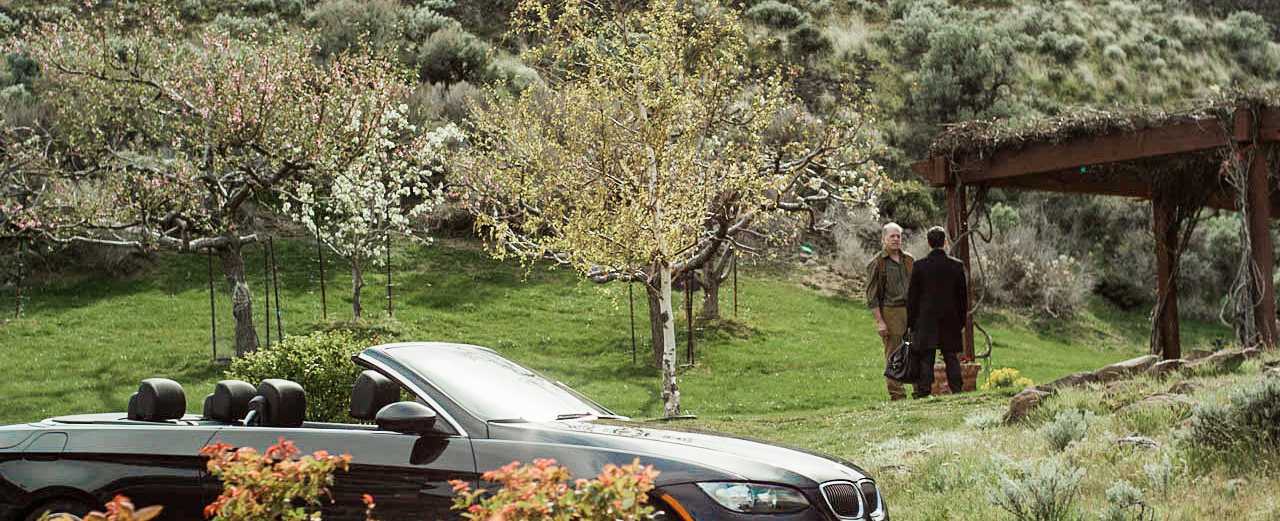
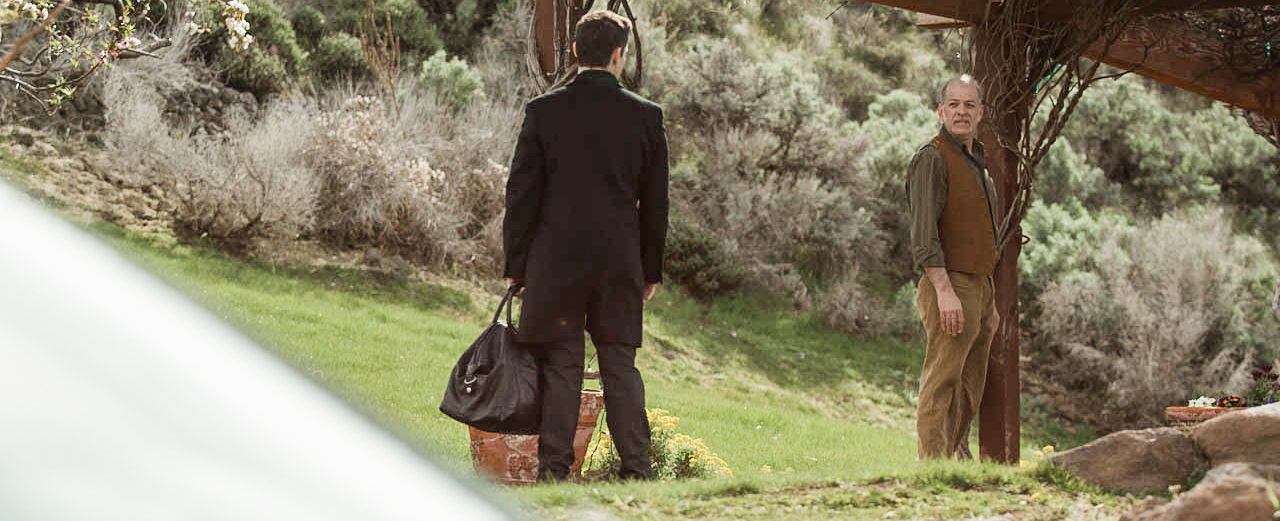
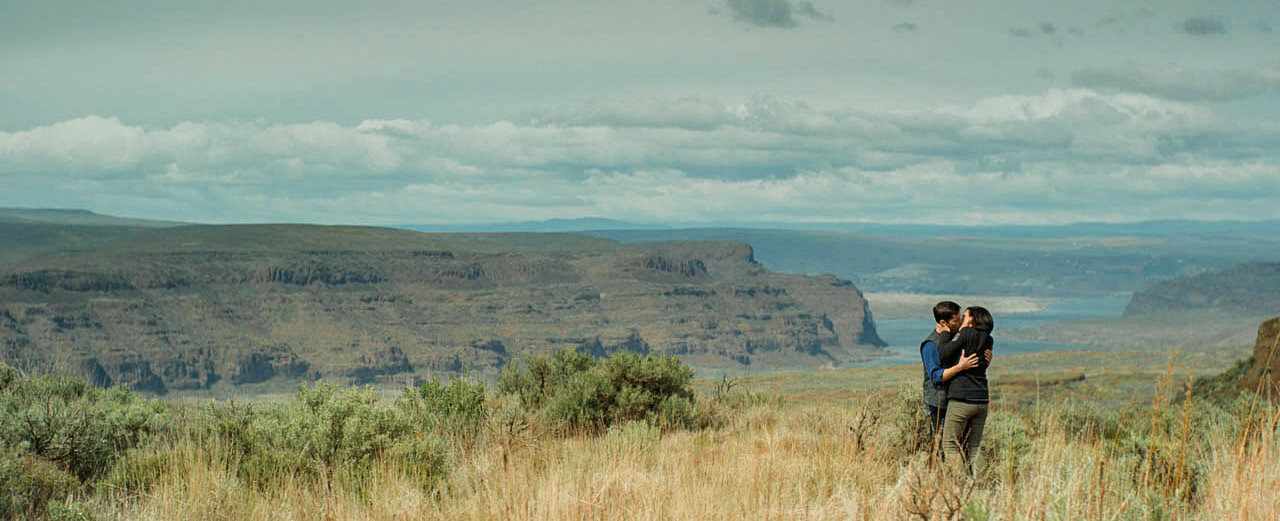
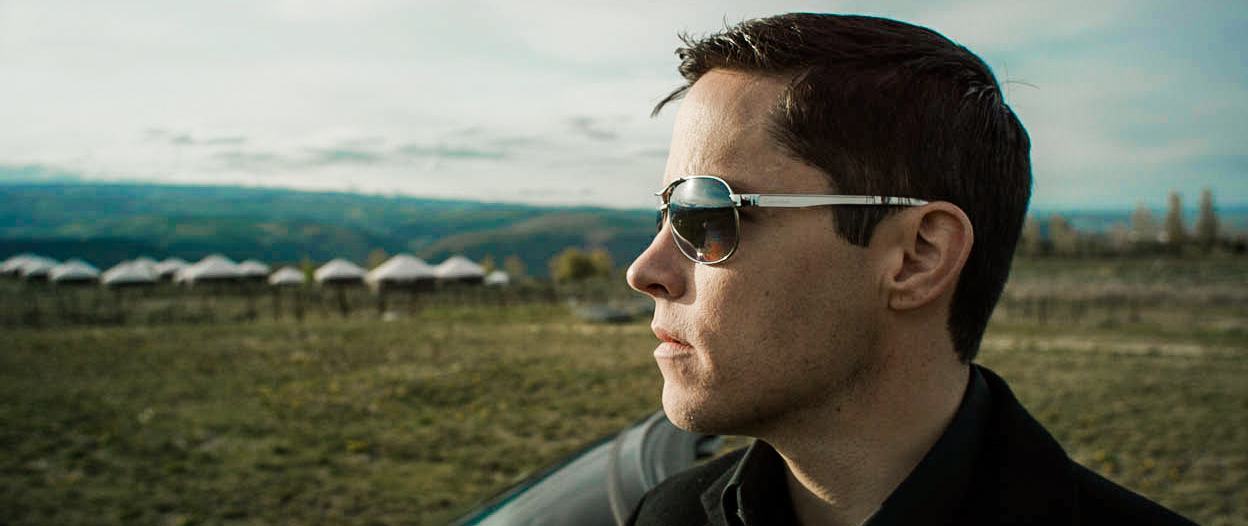
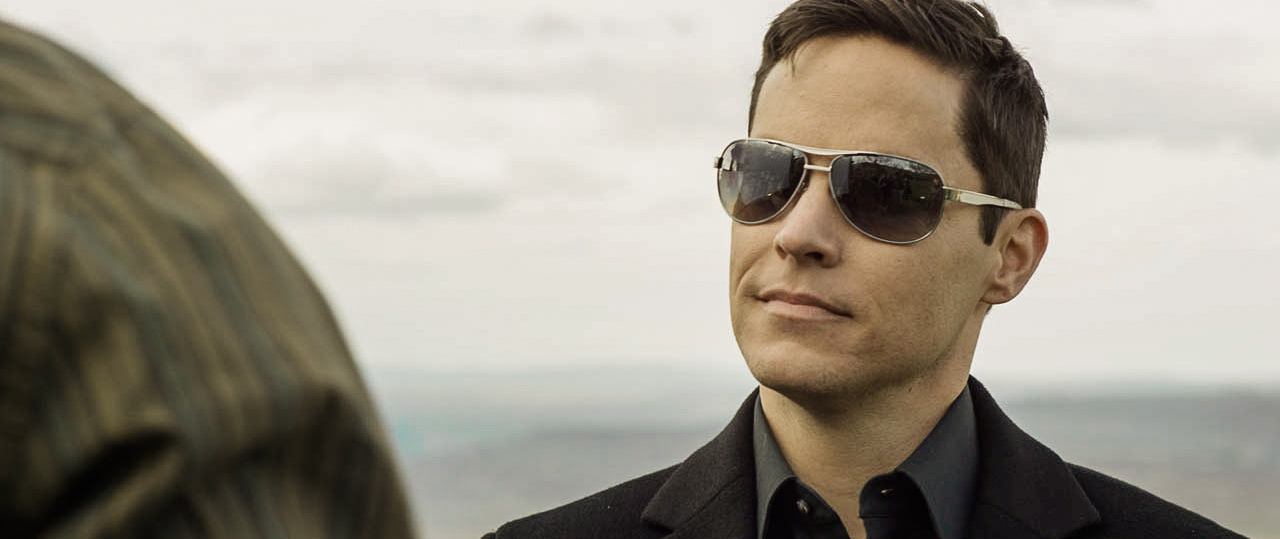
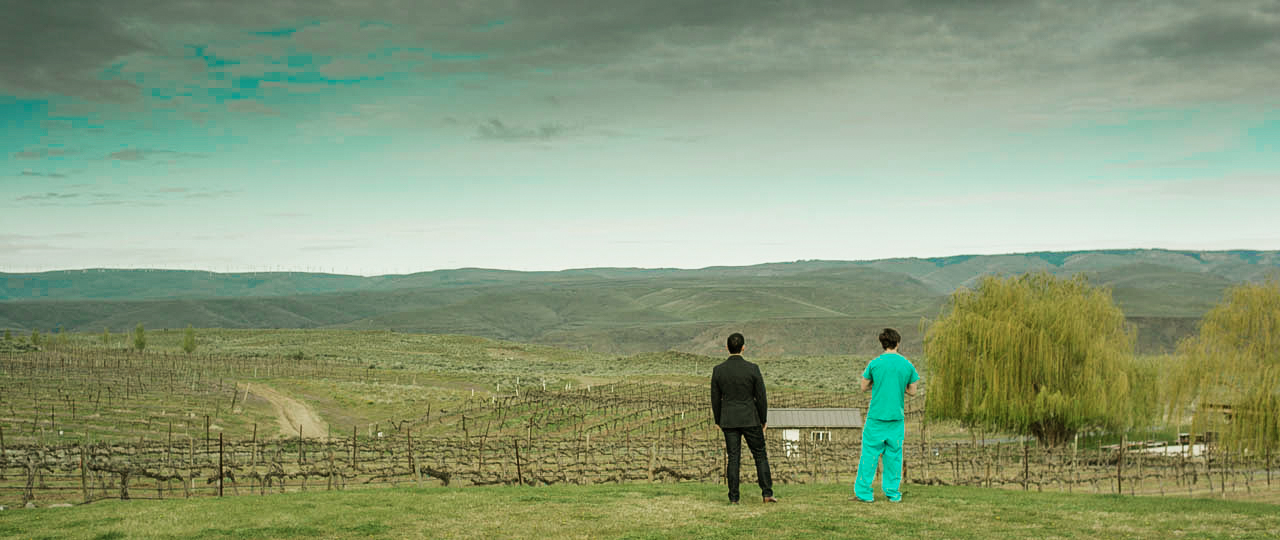
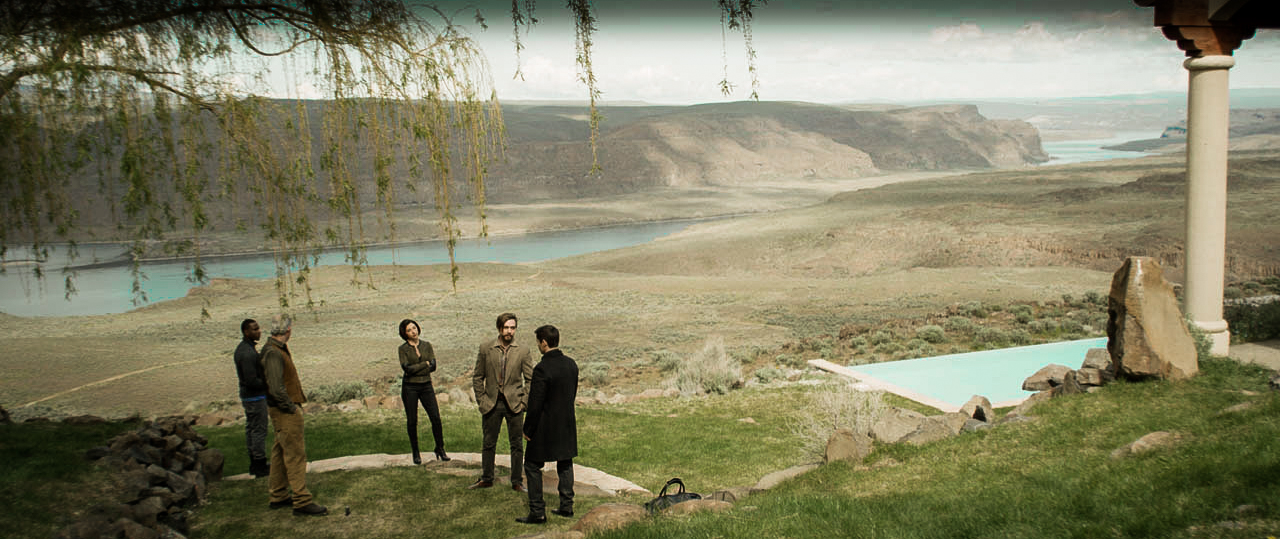
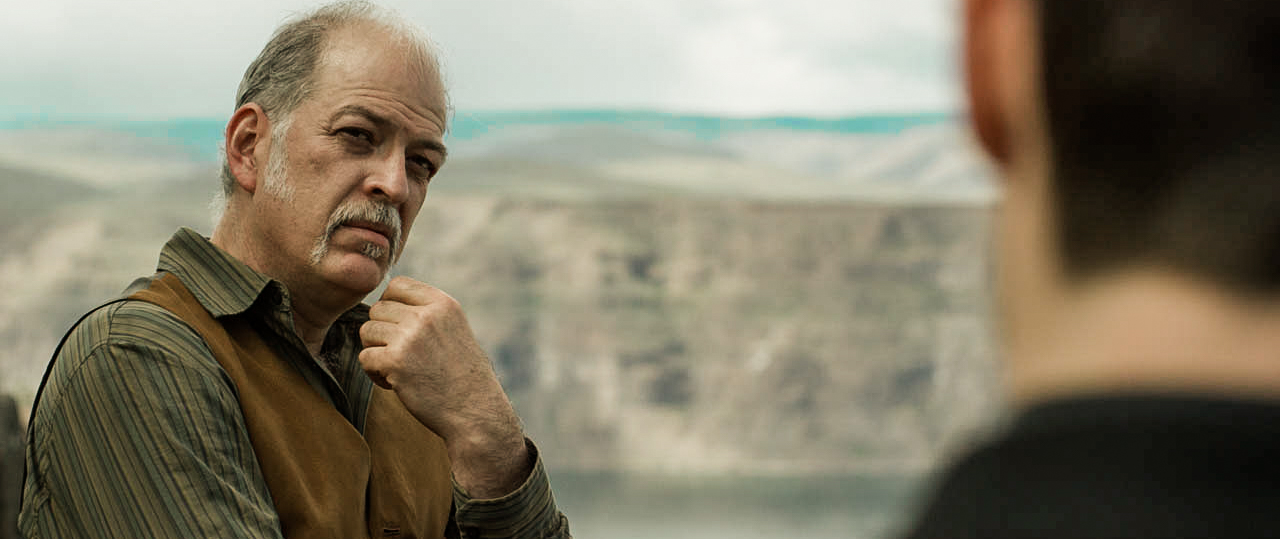
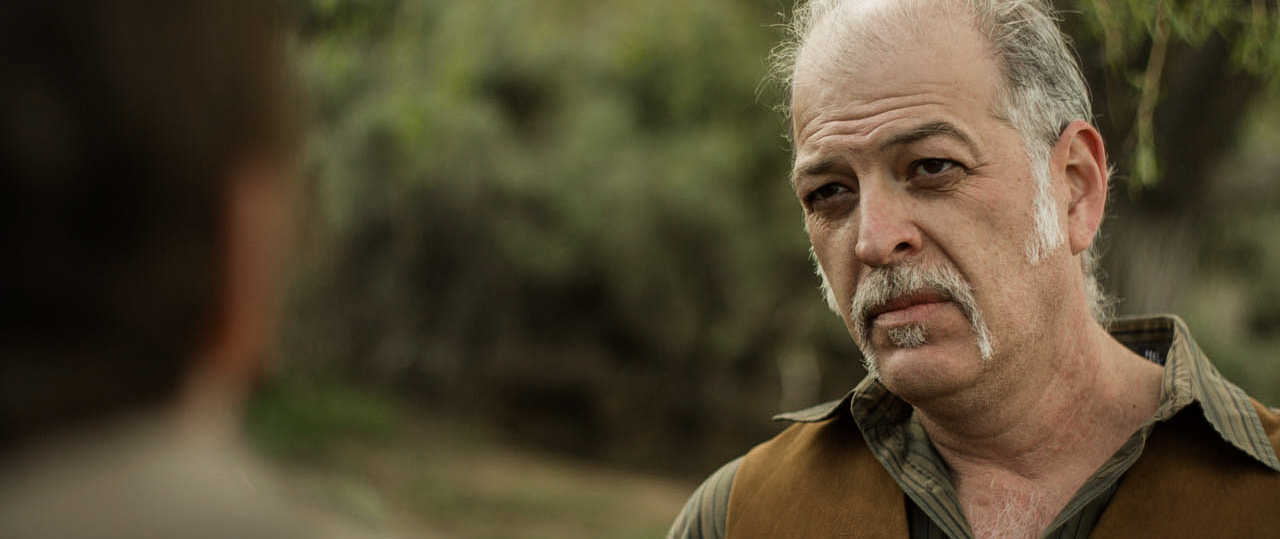
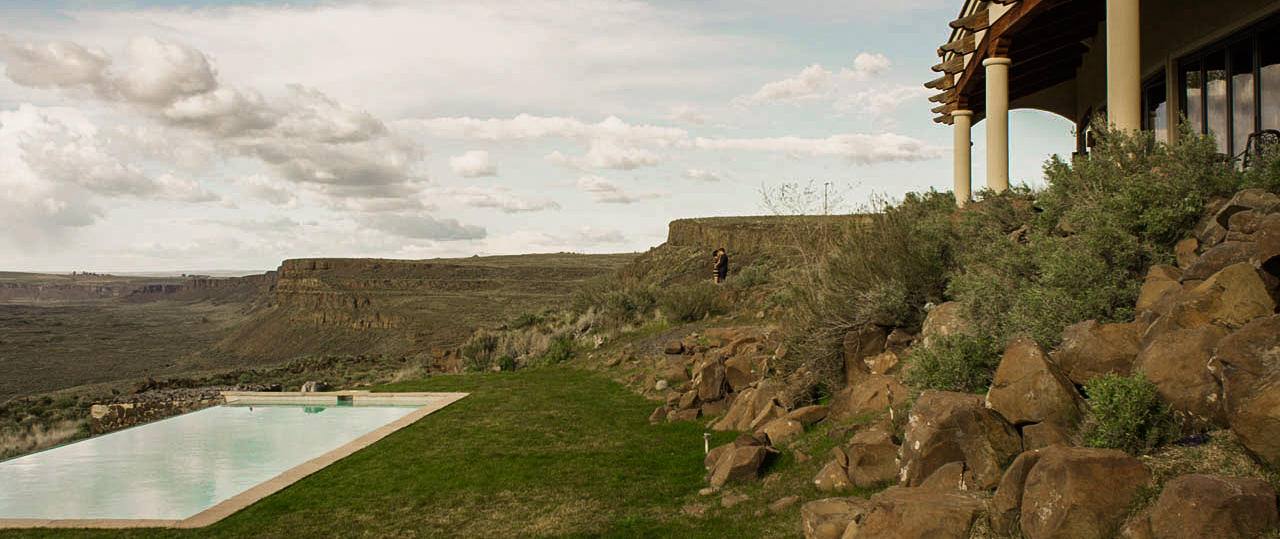
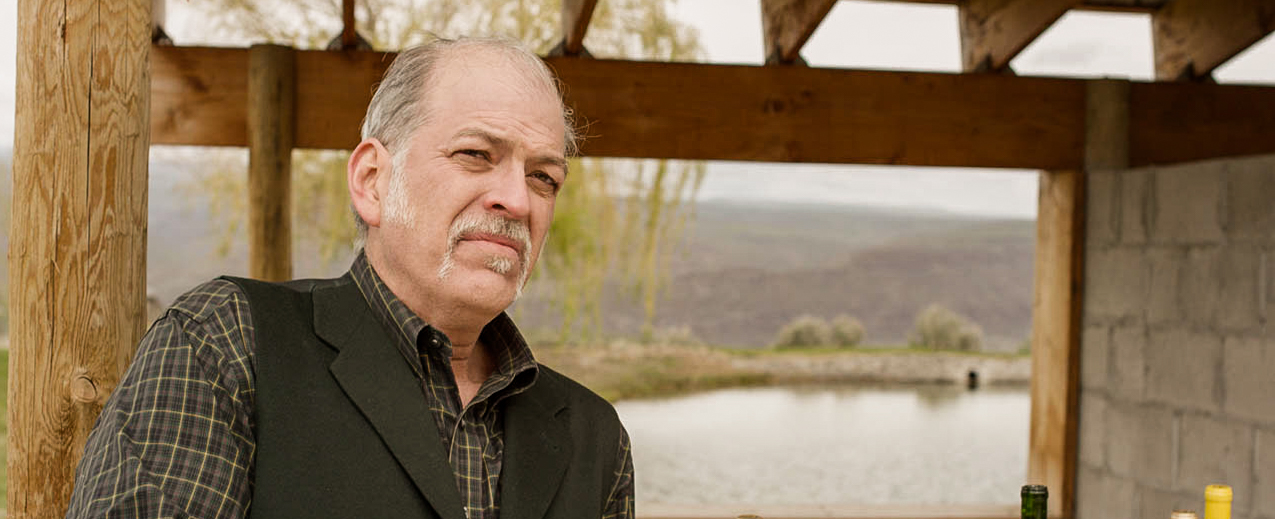
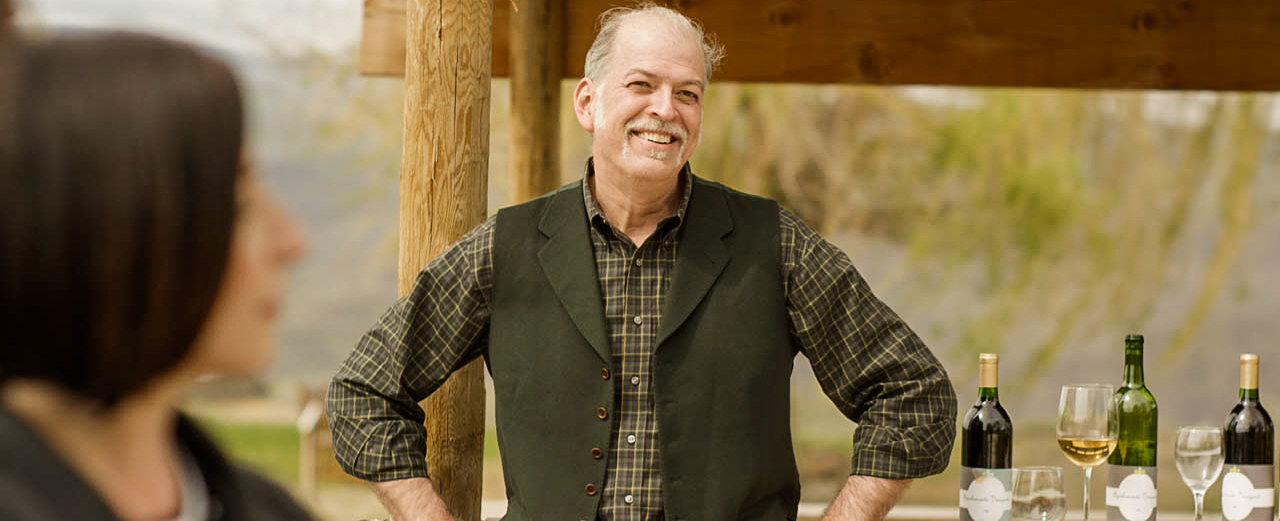
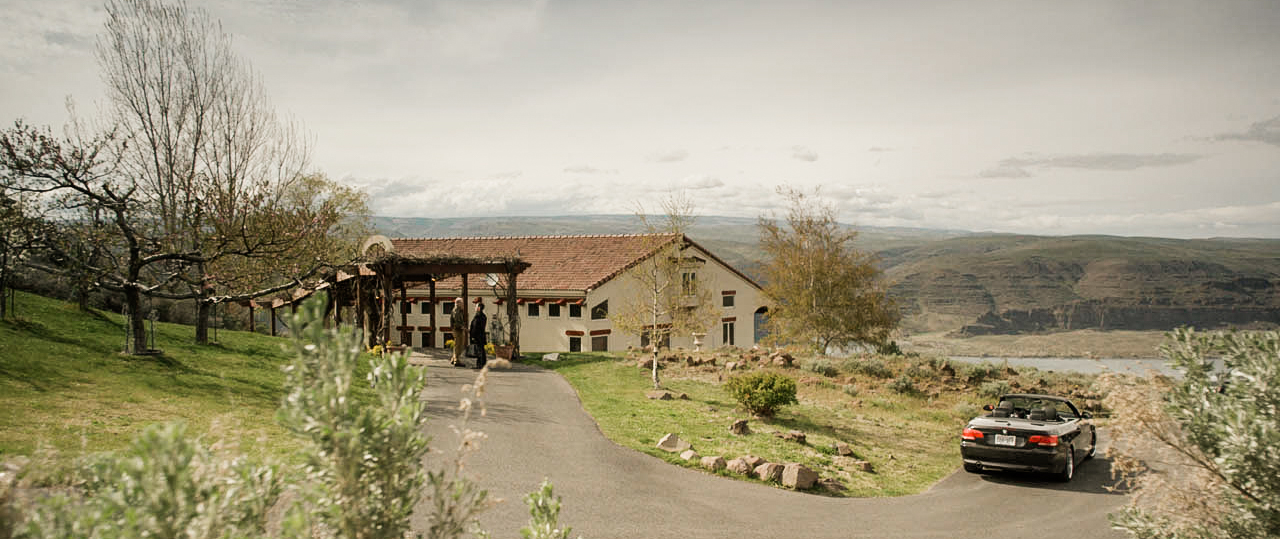
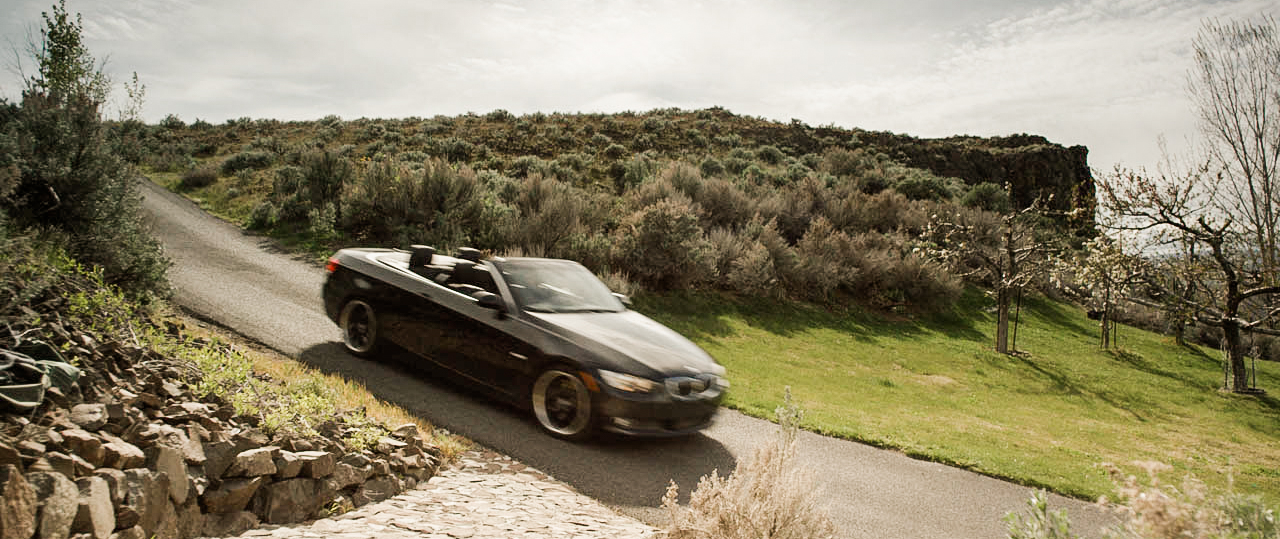
WINERY: The winery was a place in time before everything had hit the fan and where there was still some twisted magic in the air. Because of that, we chose to do things a bit differently for the winery. First off the color grade for the winery will most likely have a more orange, green, blue palate which will be far different than any other scenes in the movie. For lenses we chose to shoot these scenes on a set of Duclos modded Leica R primes. We had a set of 19,24,35,50,80,100. These lenses provided a softness that was very pleasing to the time period. the highlight rolloff, color cast and flaring on these lenses perfectly suited what we wanted to capture. We chose much wider wides in these scenes, more landscape, longer lenses even for wides and mediums, and did everything on sticks and dana dolly for the most part. We wanted the winery to feel mostly traditional and well put together.
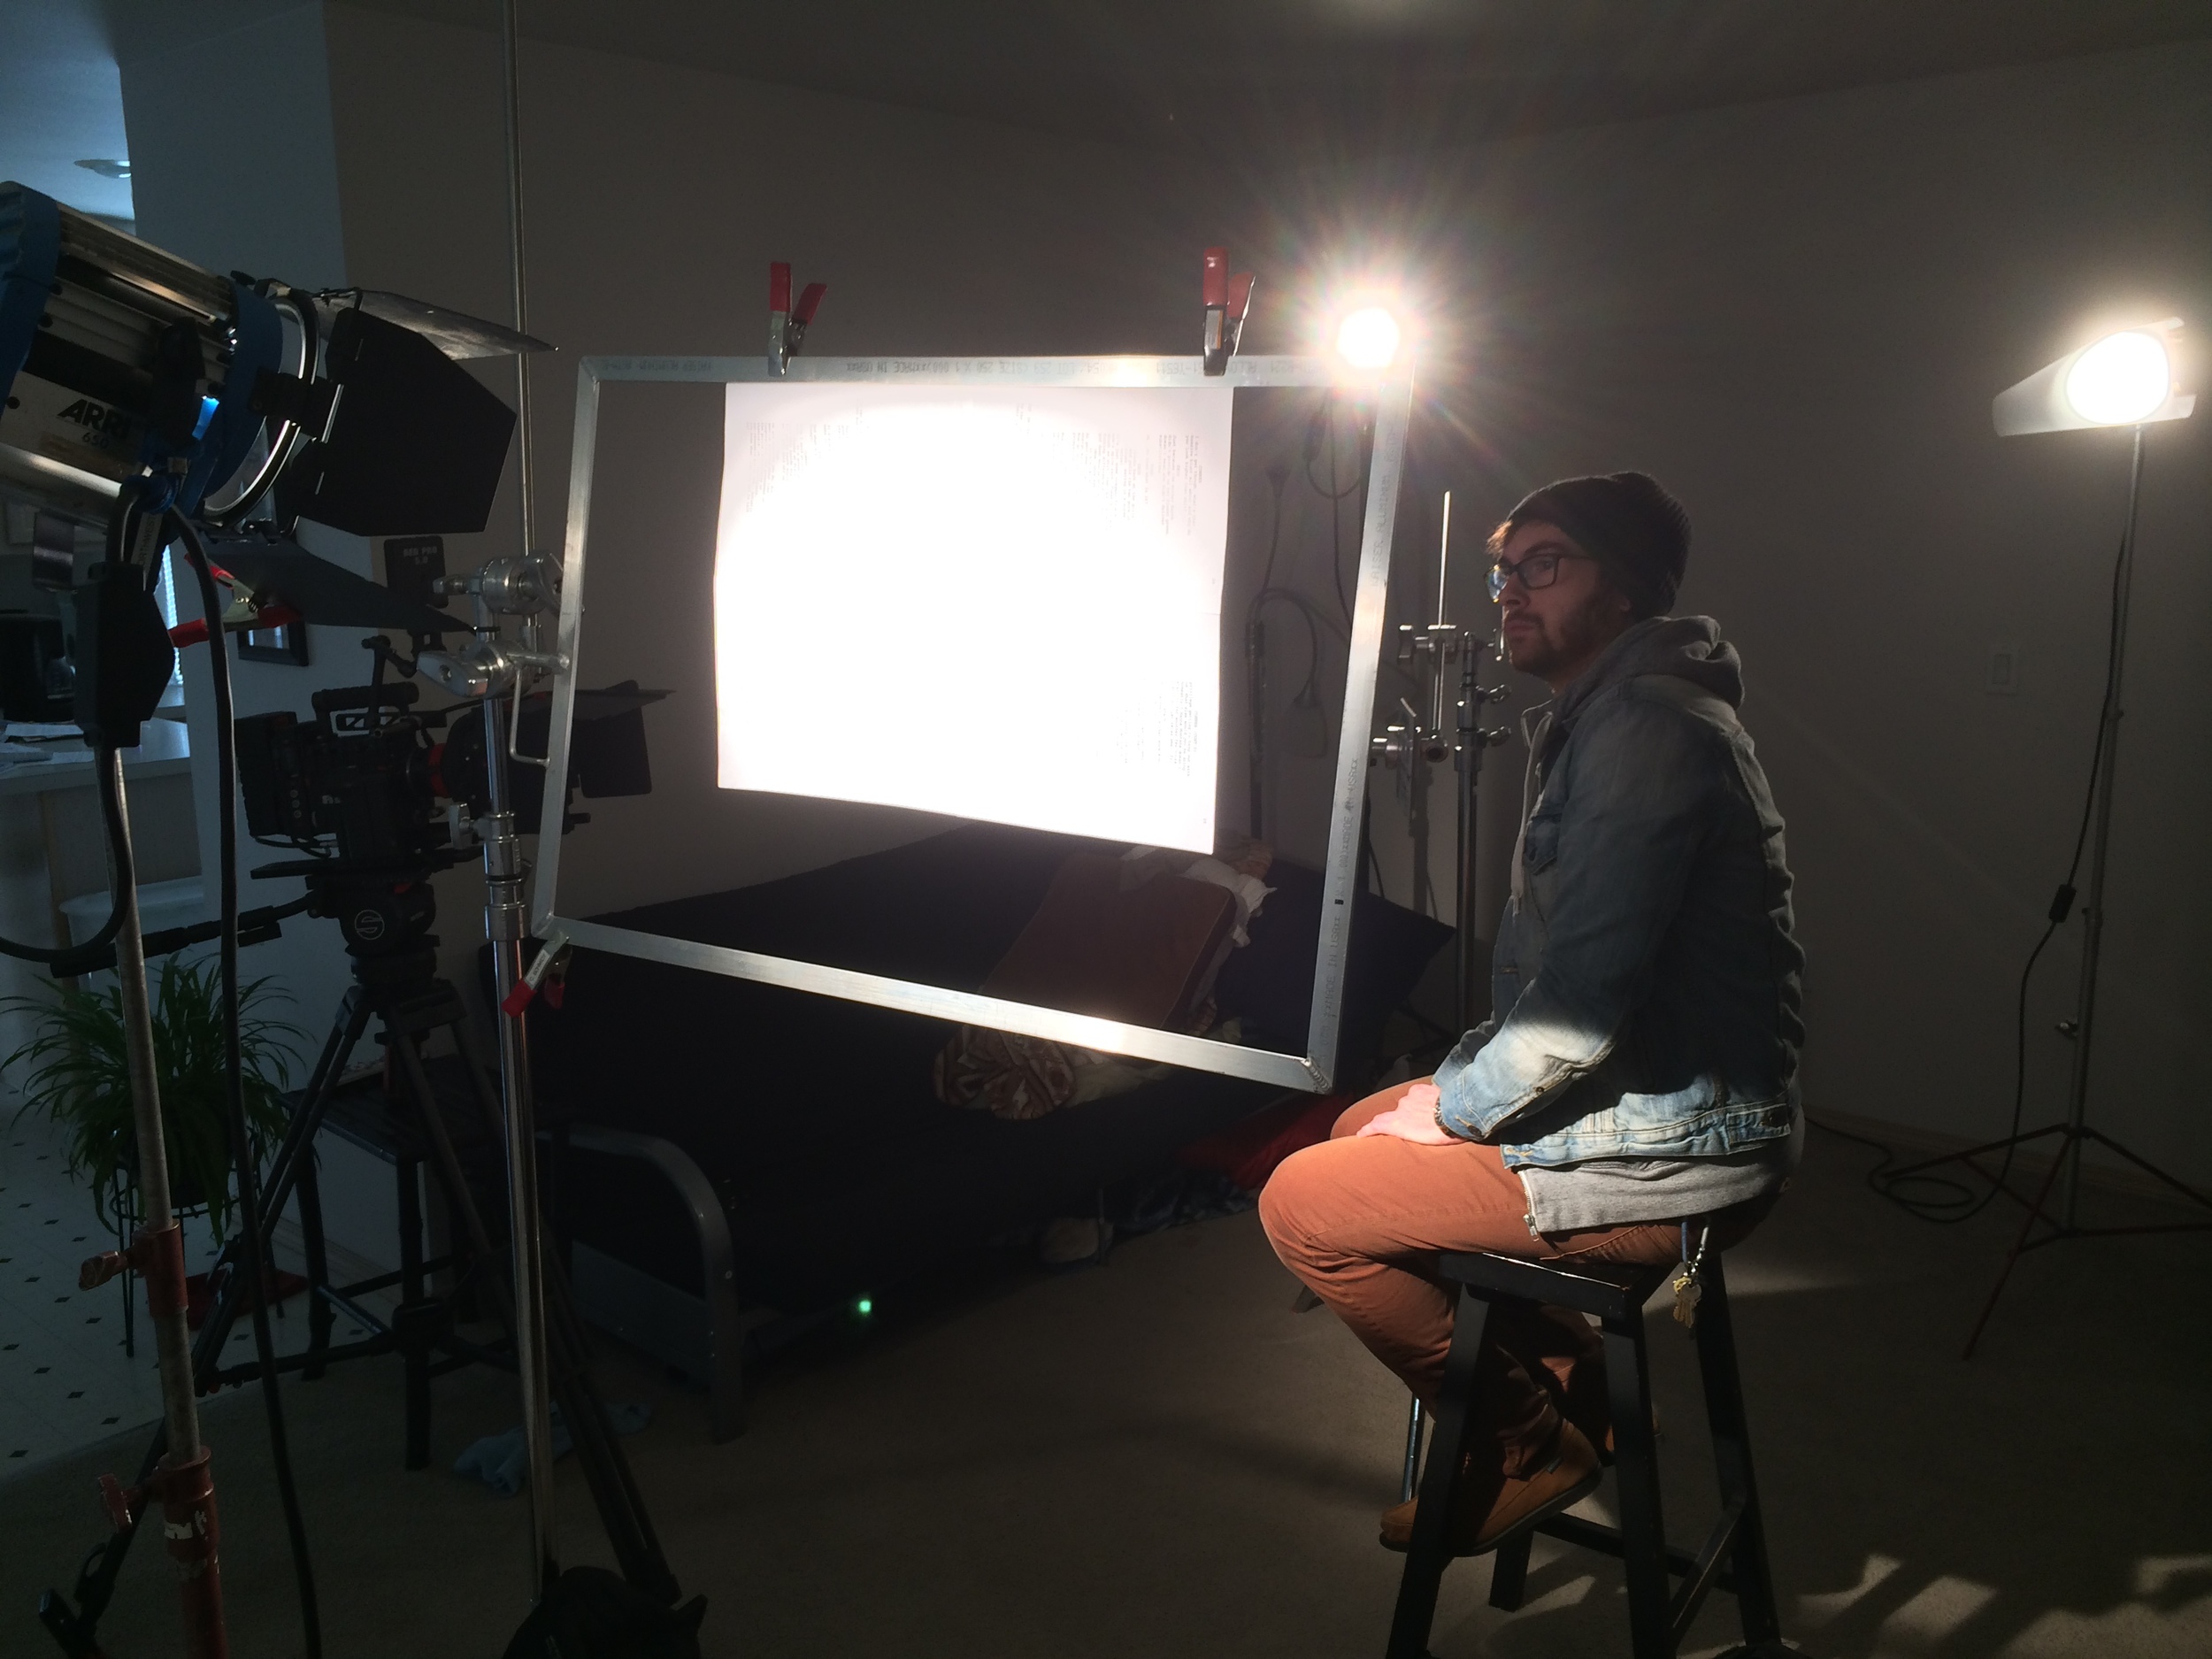
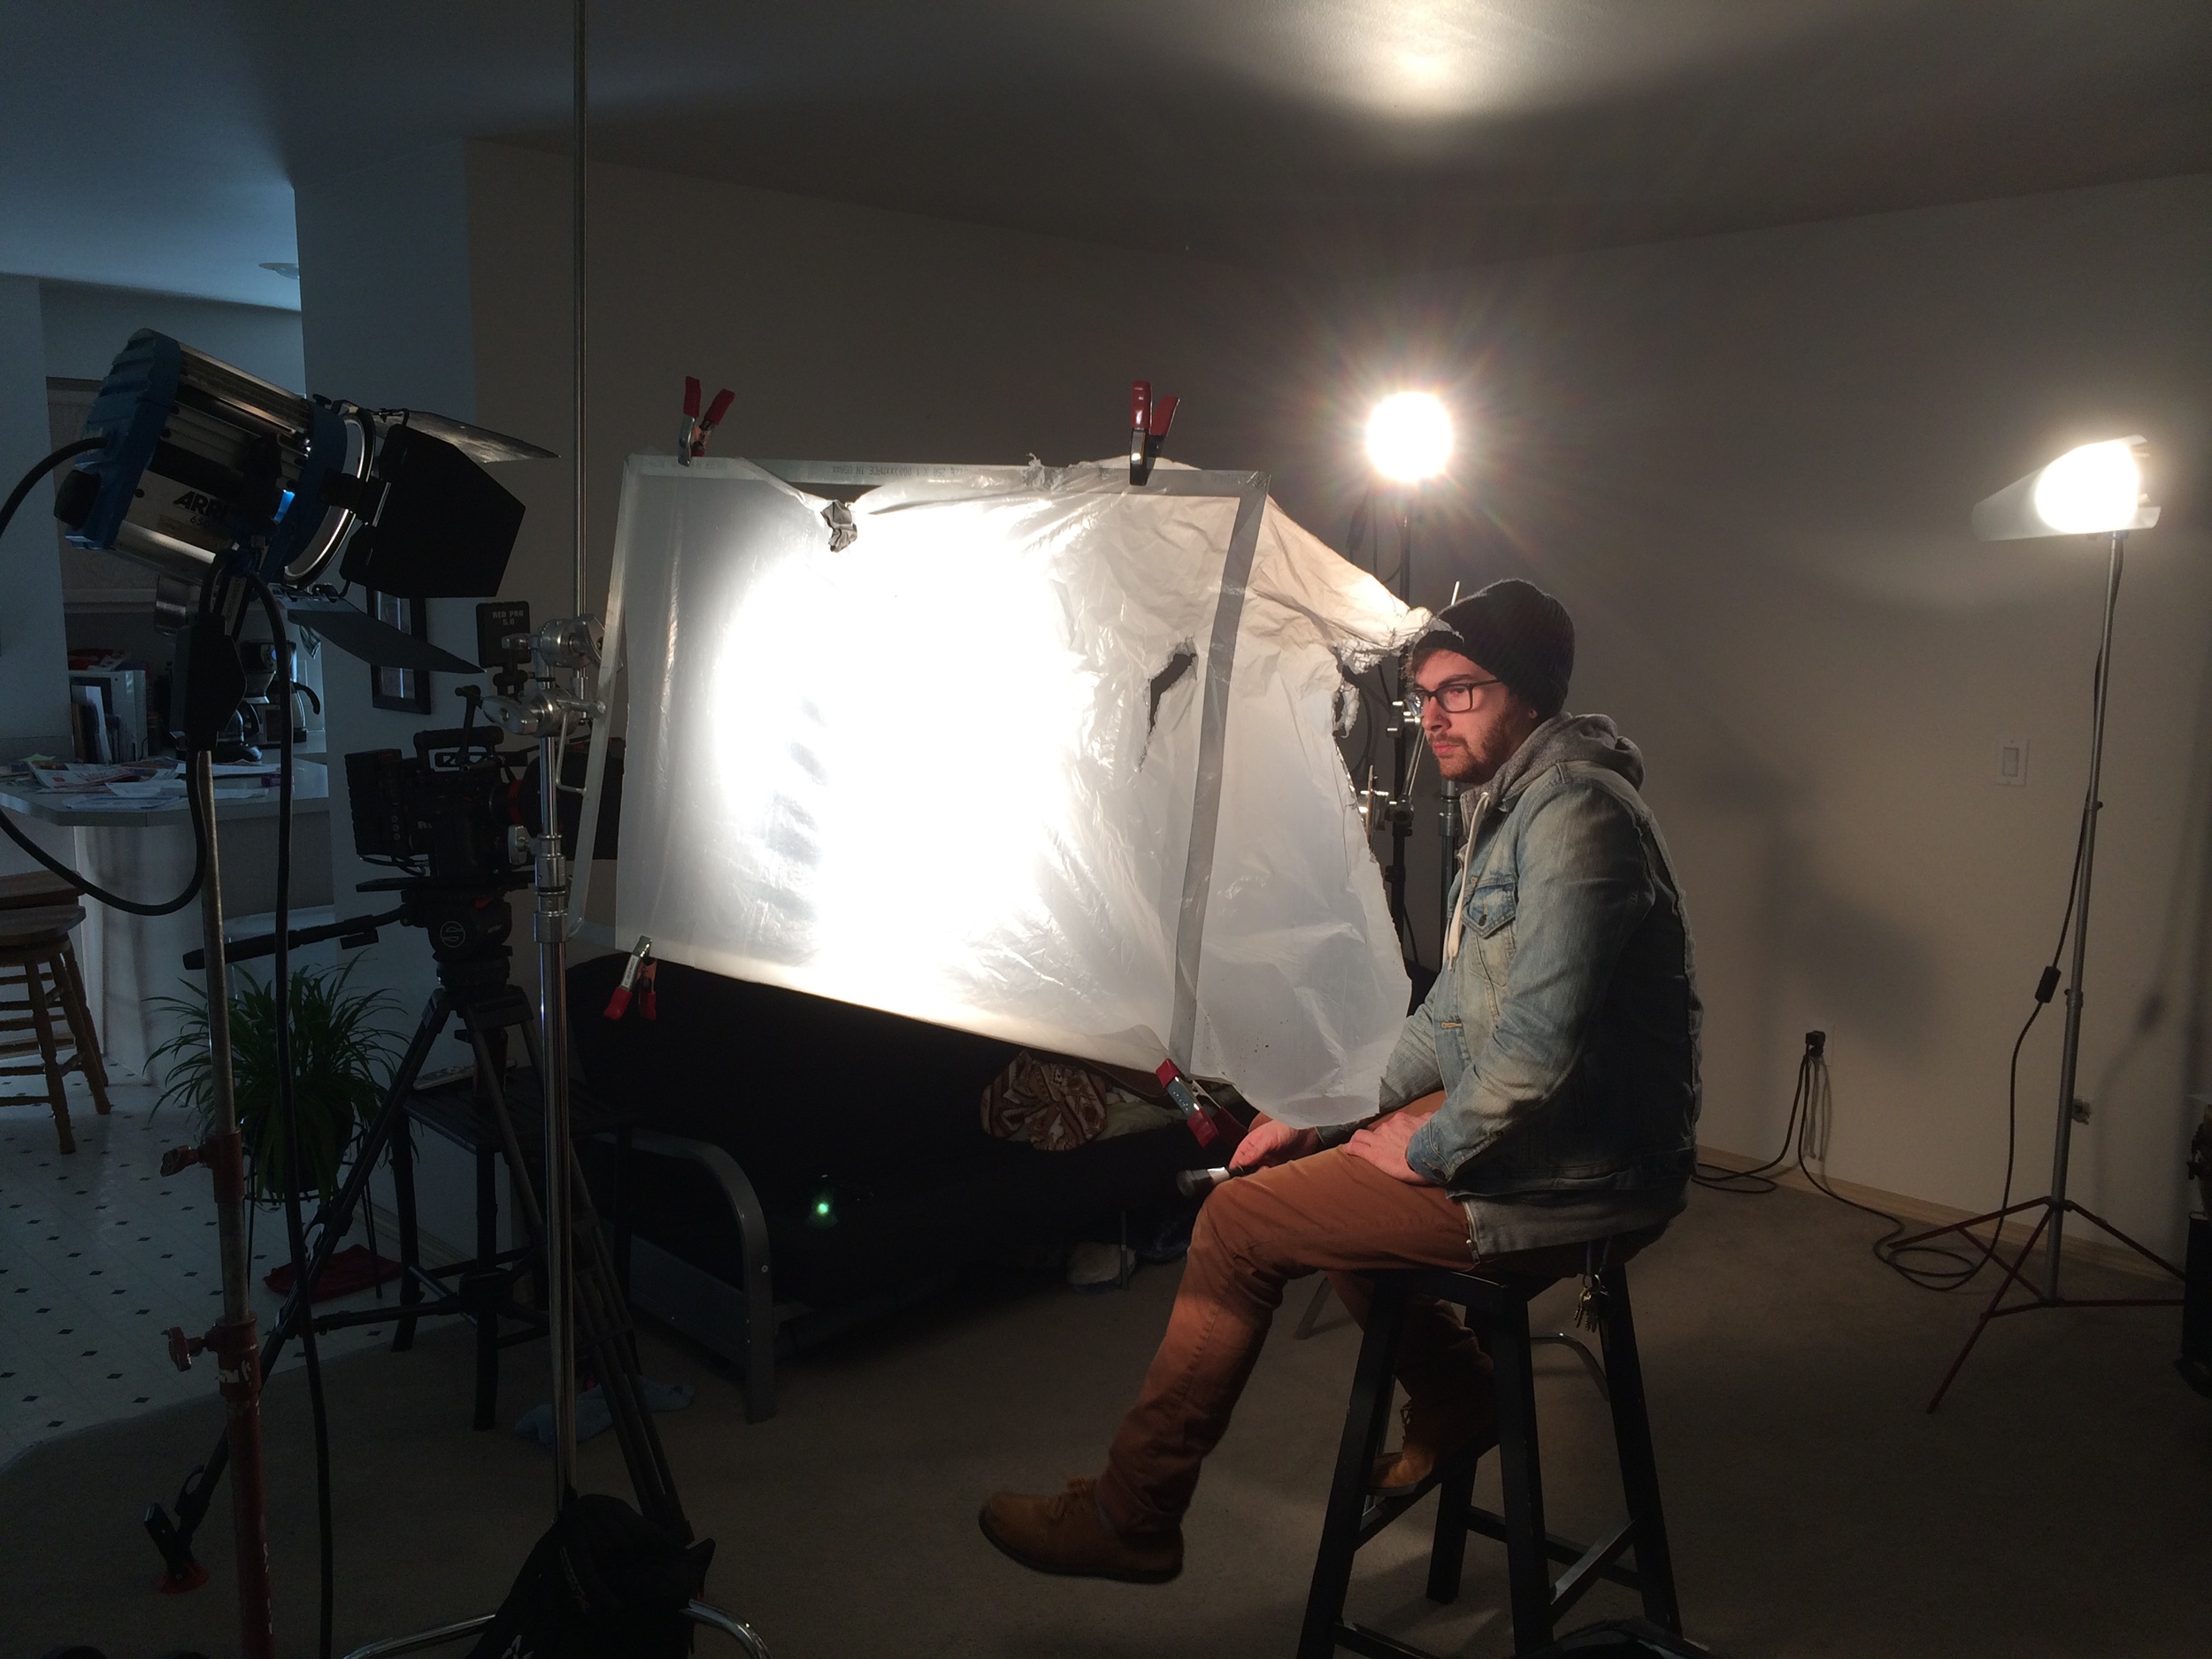
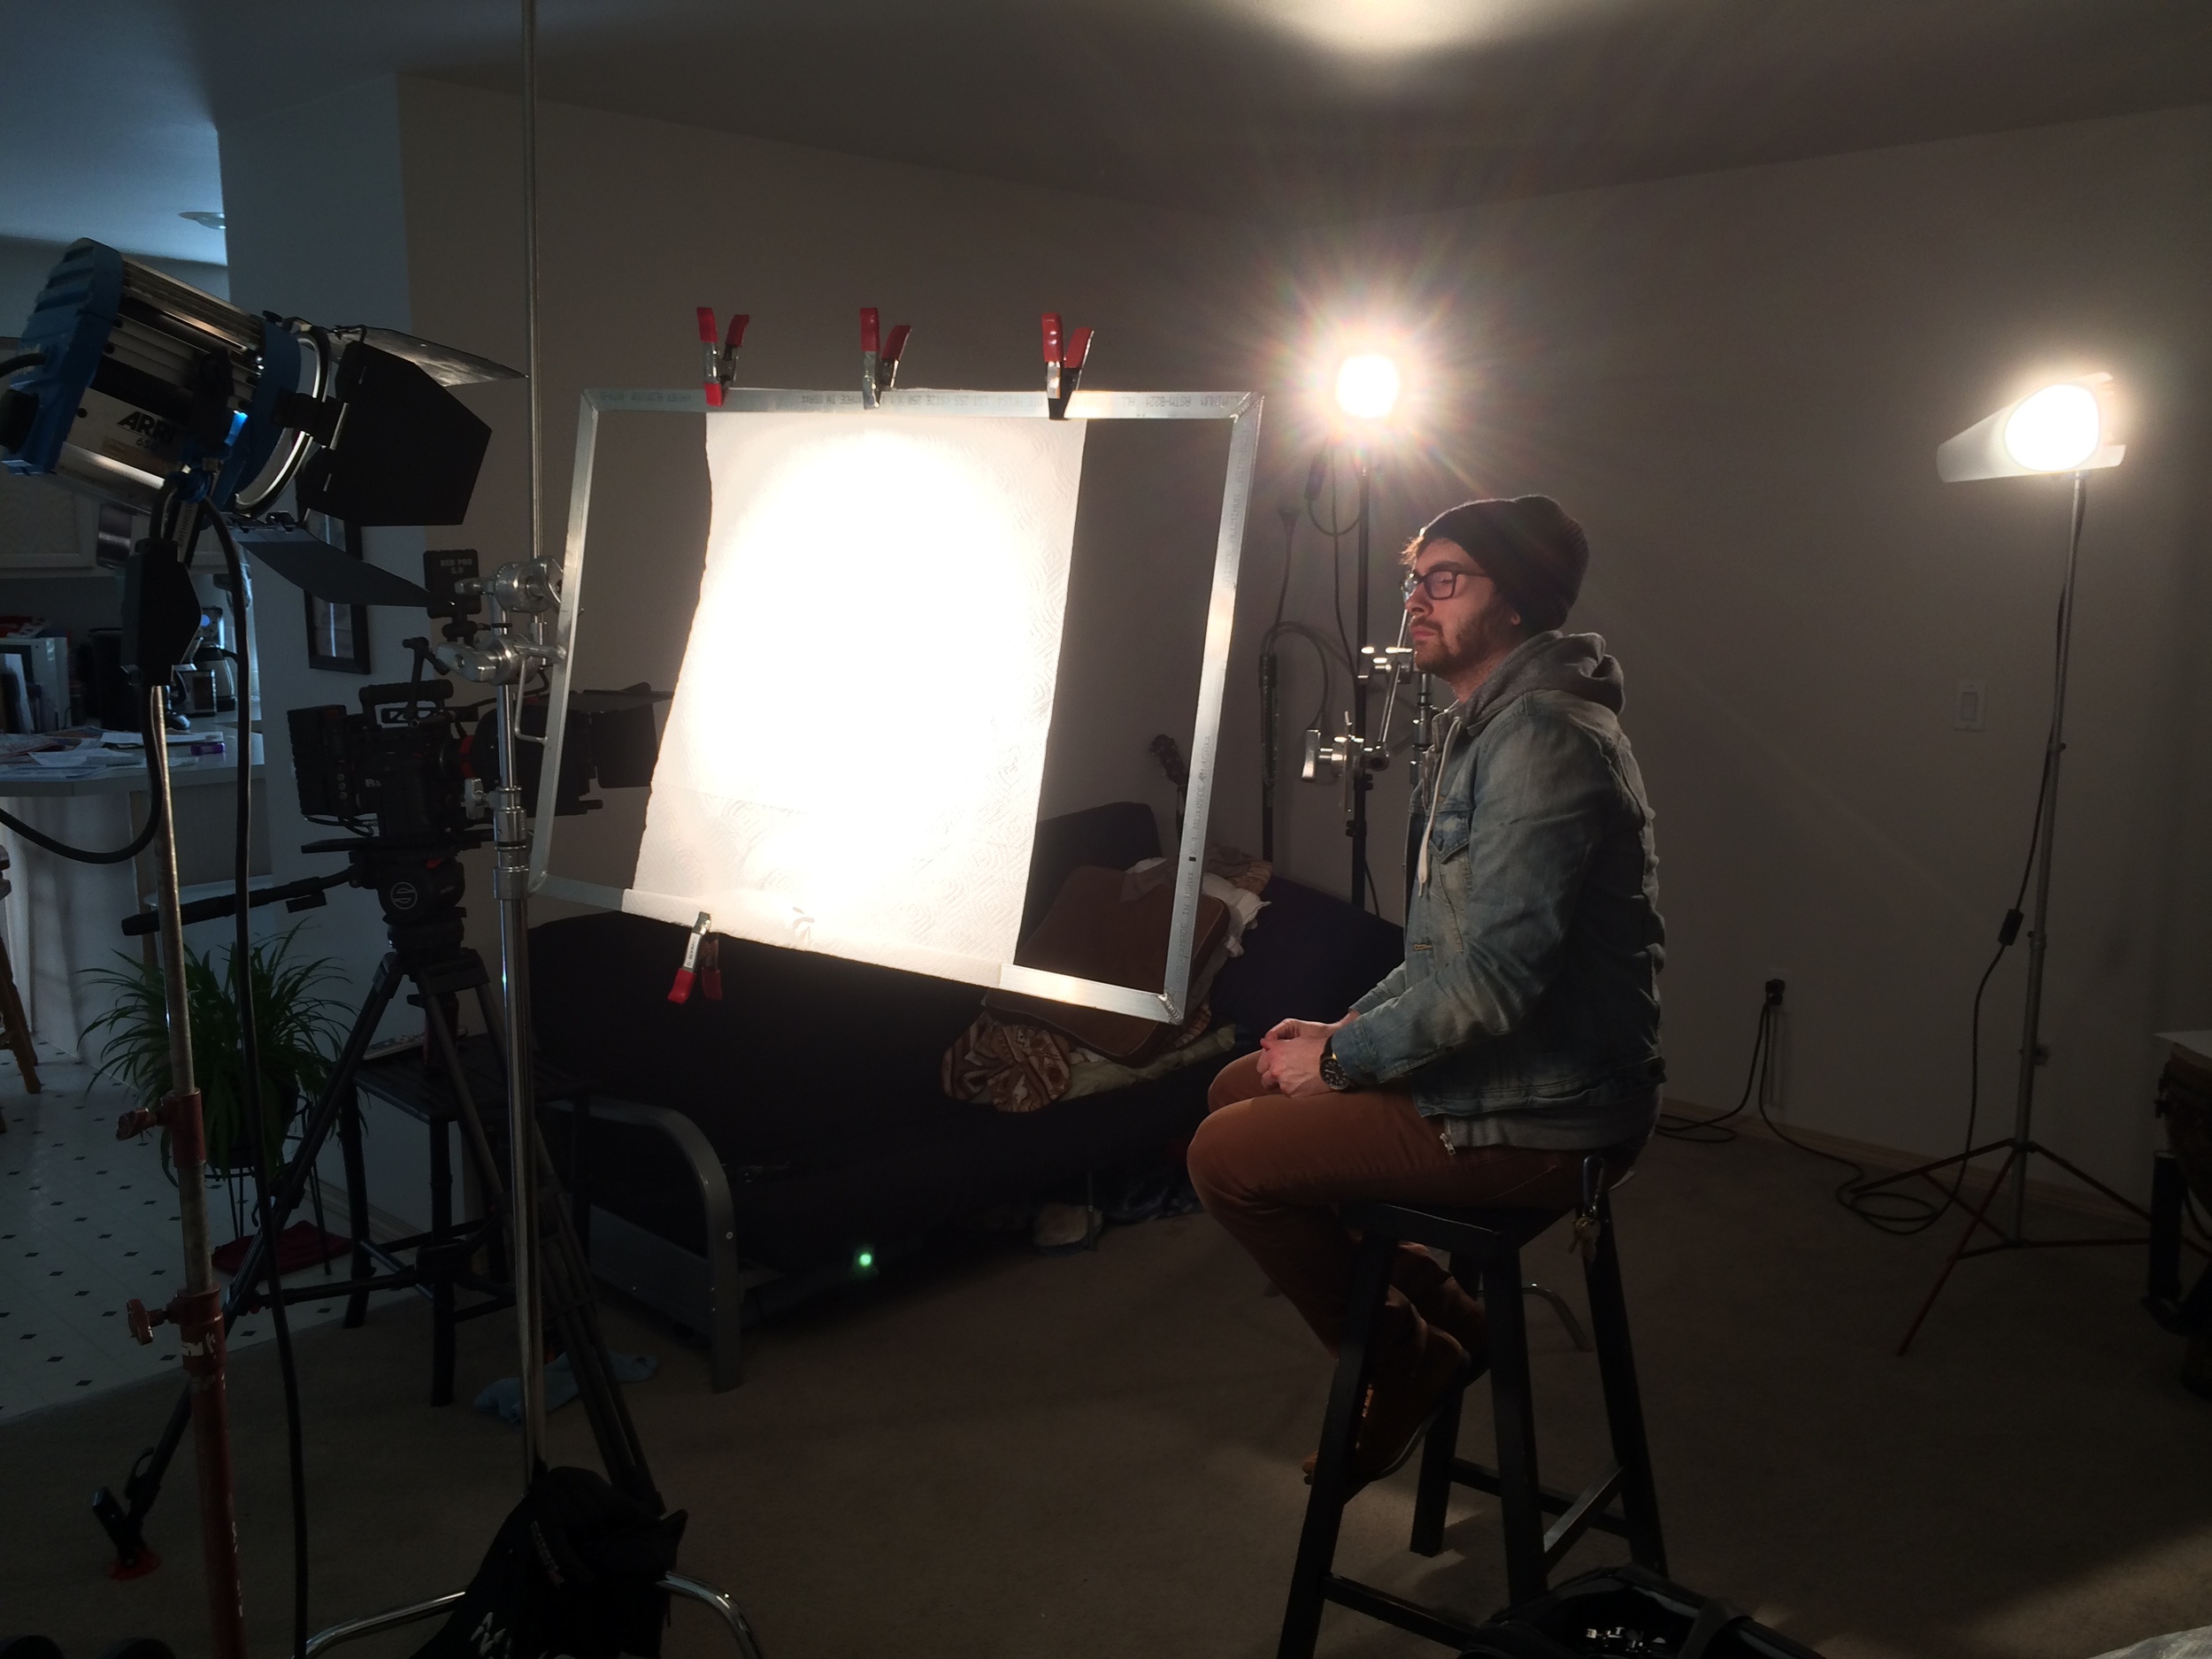
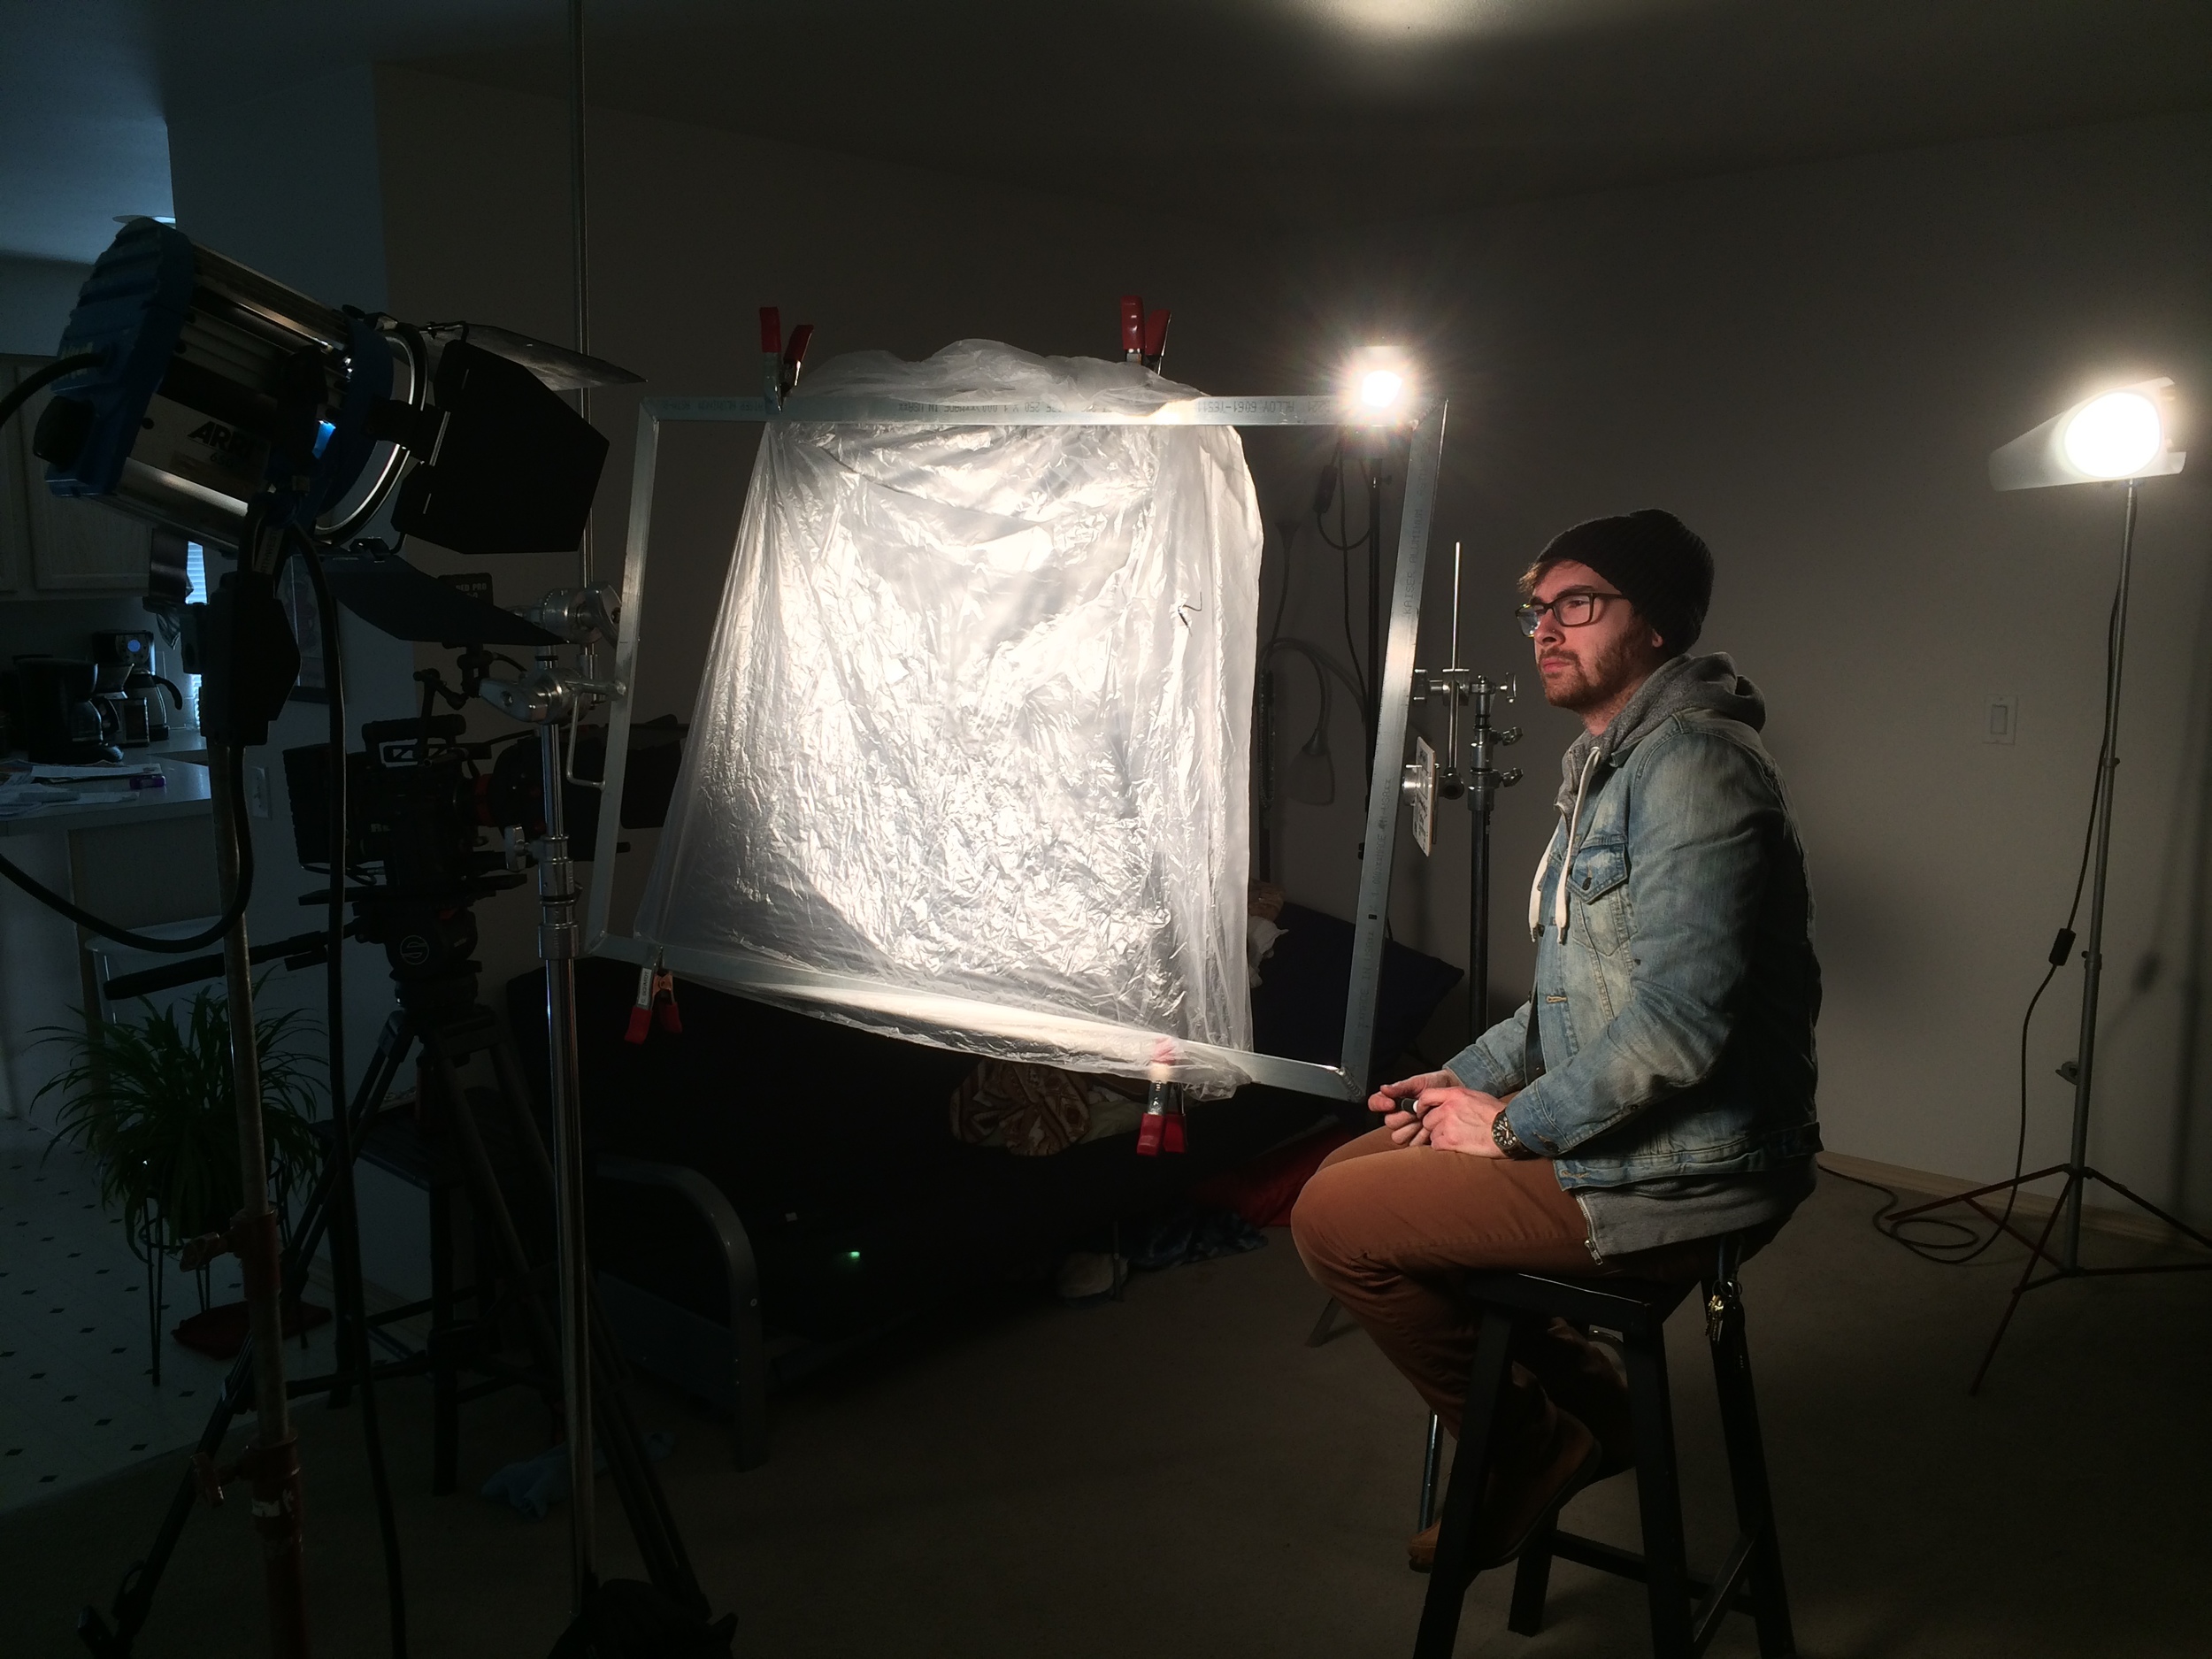
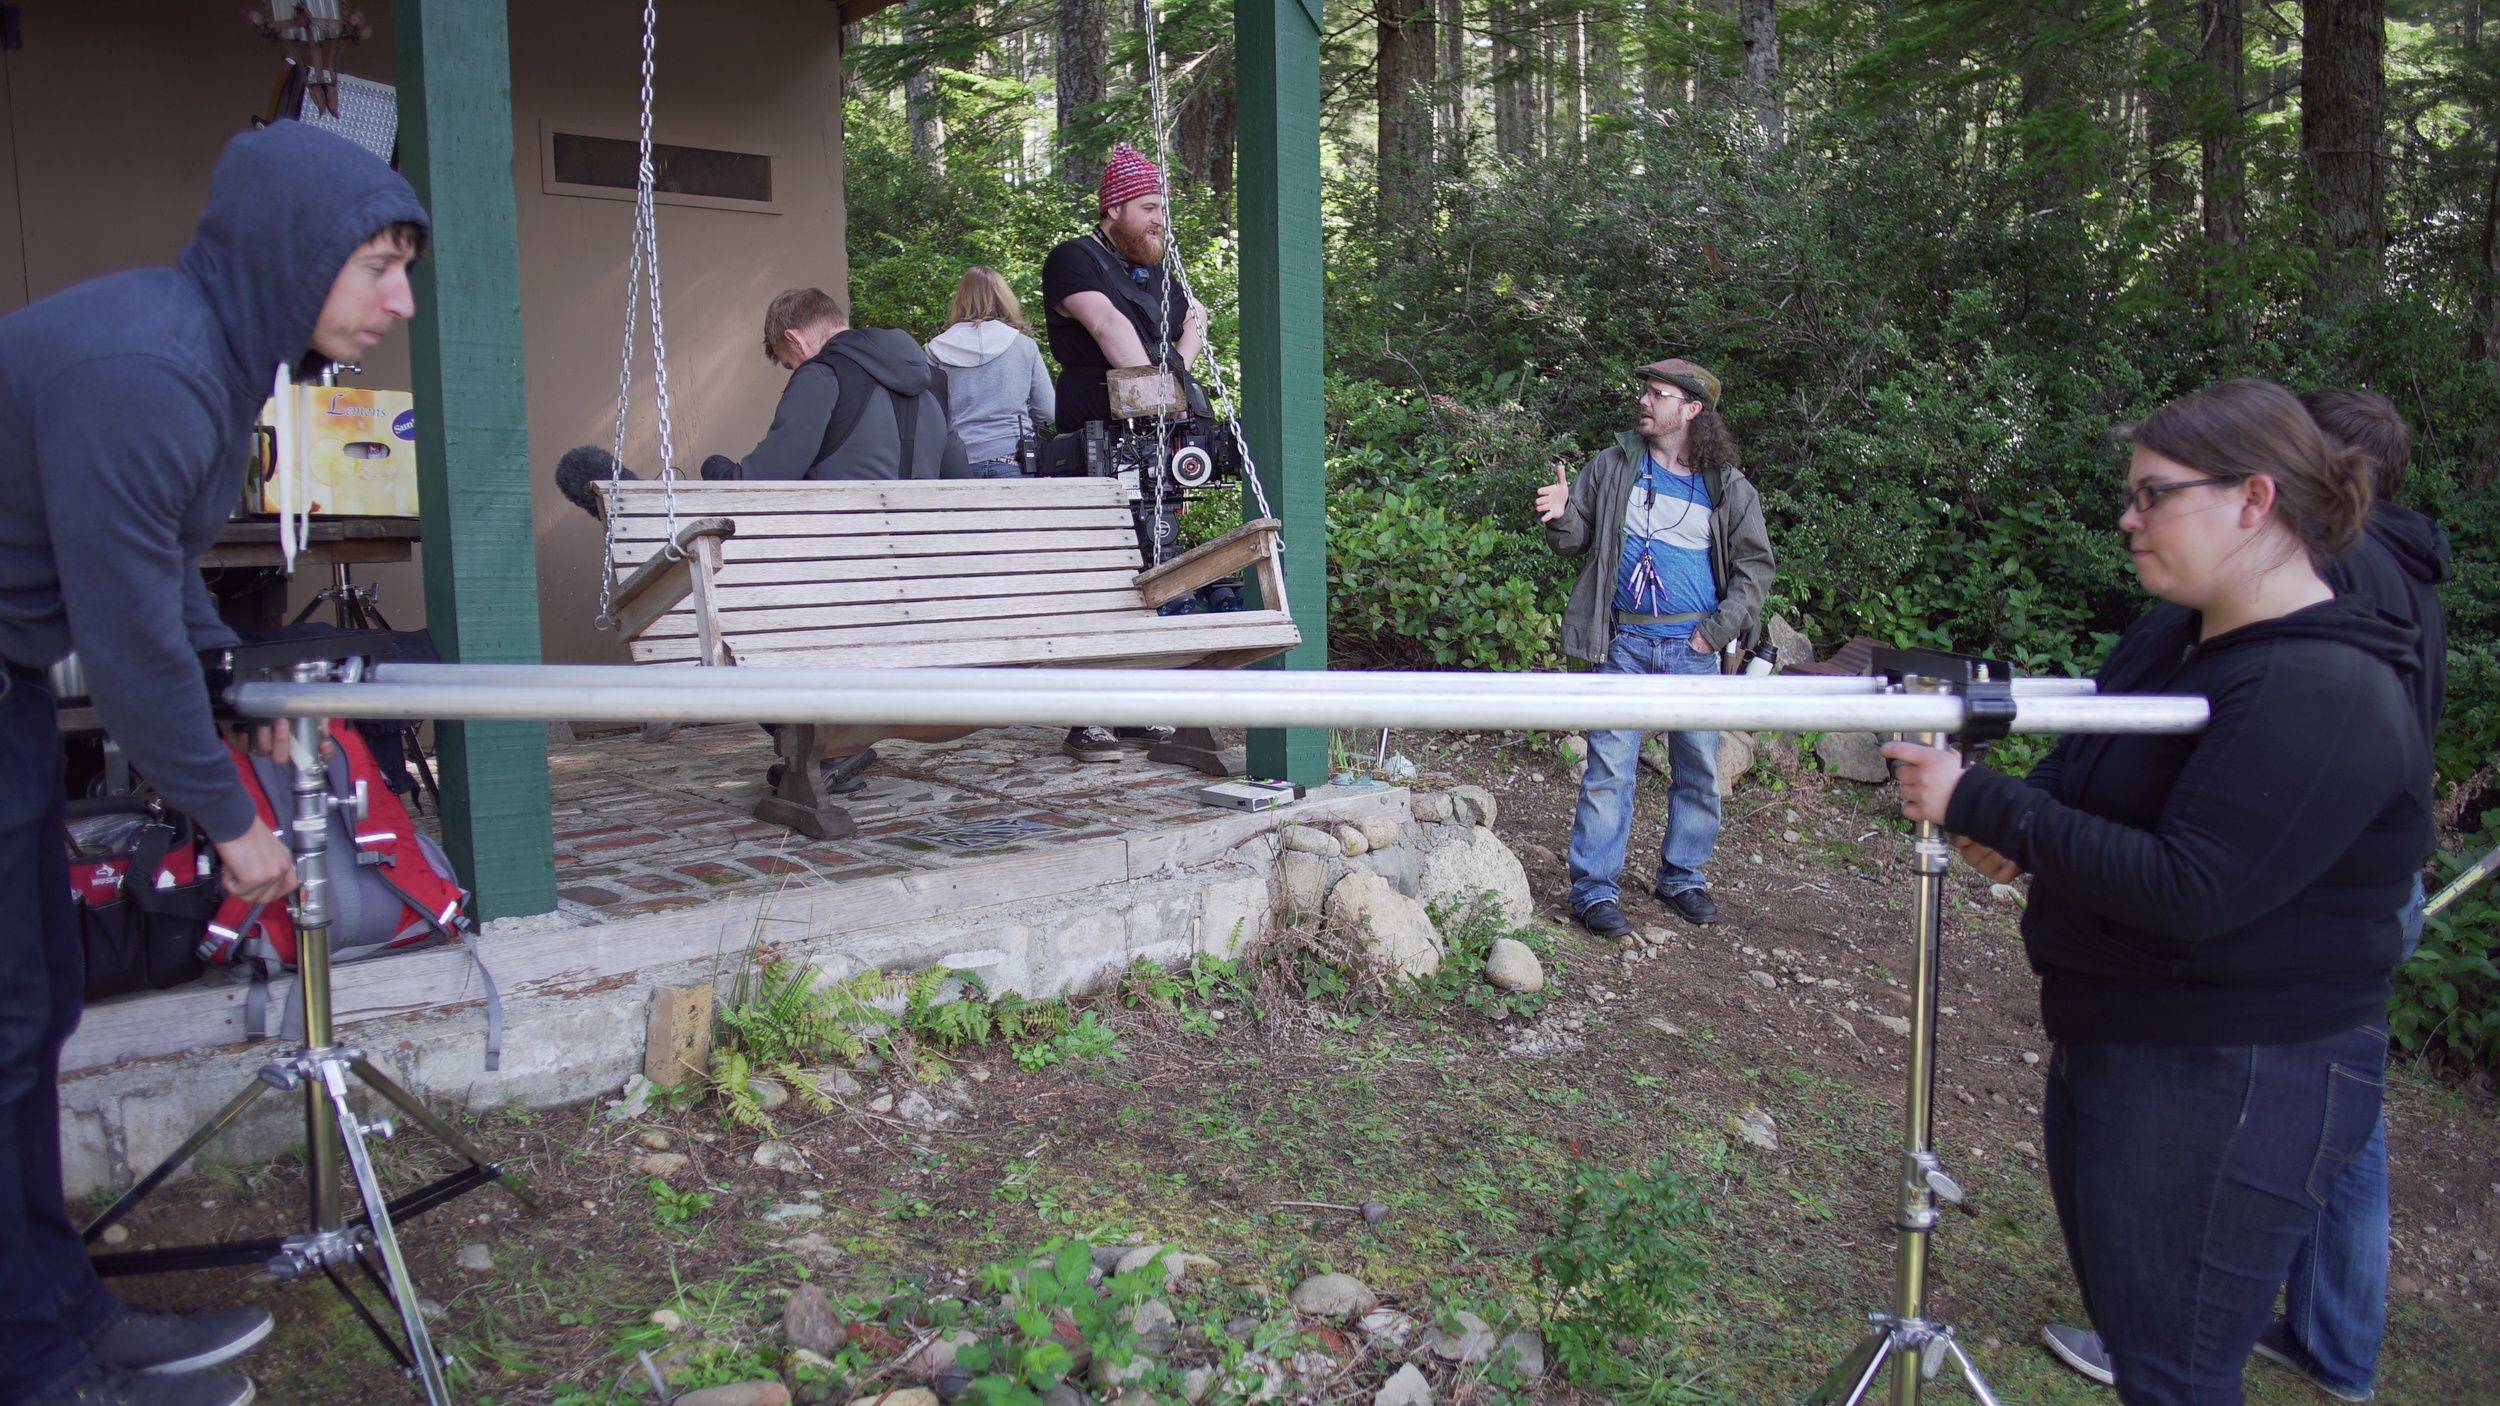
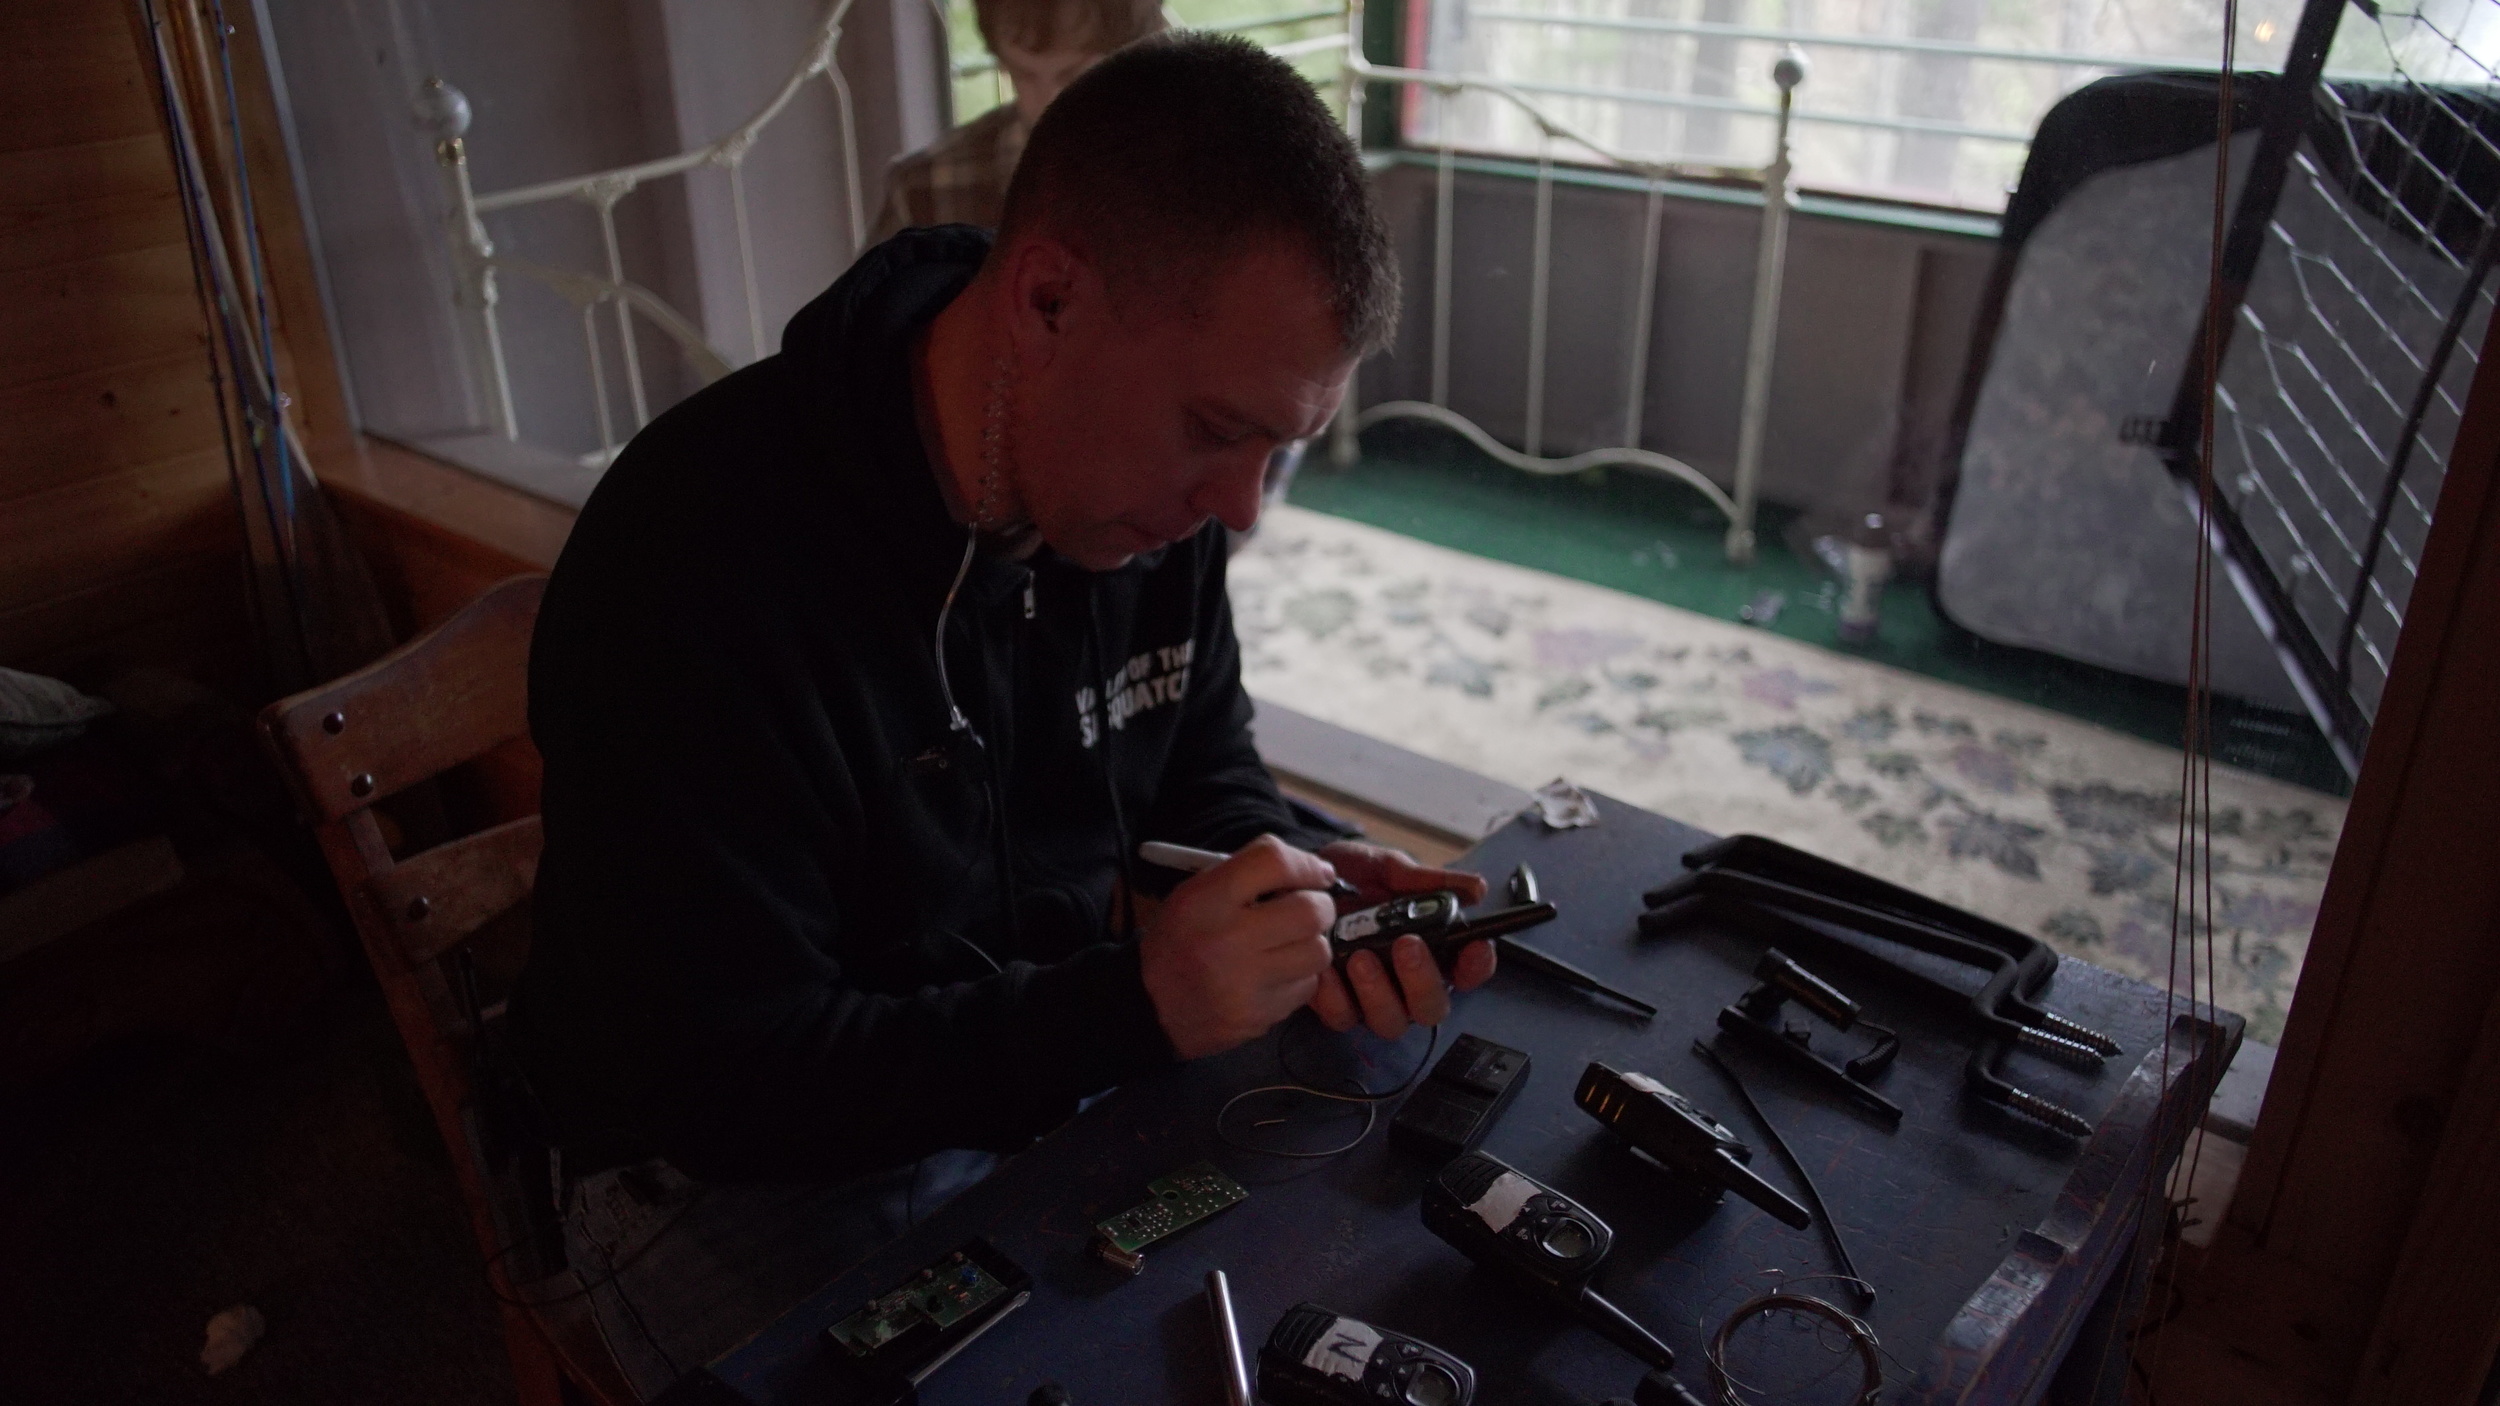
LIGHTING: Casey and I had to be light and nimble for our scenes that did involve some various degrees of lighting. We had a plethora of things to choose from but found ourselves mostly sticking to 1.2 HMI's, Dracast LED panels, some small tungsten fresnels, and then random practical lighting. We had 4x4 frames with 250 diffusion, 6x6 frames with various skins, and then the usual supply of 2x3 singles, doubles, silks, solids, etc for extra shaping. This setup allowed us to move pretty quickly when we did have to light scenes and all in all the package was just right for the size crew we had.
WARDROBE AND LOCATIONS: During preproduction I had sent Joey a long list of movie still color palates for him to choose from as well as how we wanted locations to look. Tim Keaty, the production designer, worked with my suggestions on finding lots of extra props, materials and misc stuff to give each location some added texture and depth and also stay within our color palate choices. For wardrobe, Tanya Carlson Jolly worked with Joey and I to find great wardrobe choices on the cheap that would not only fulfill our palate choices per scene but also have some interesting texture and feeling to them as well.
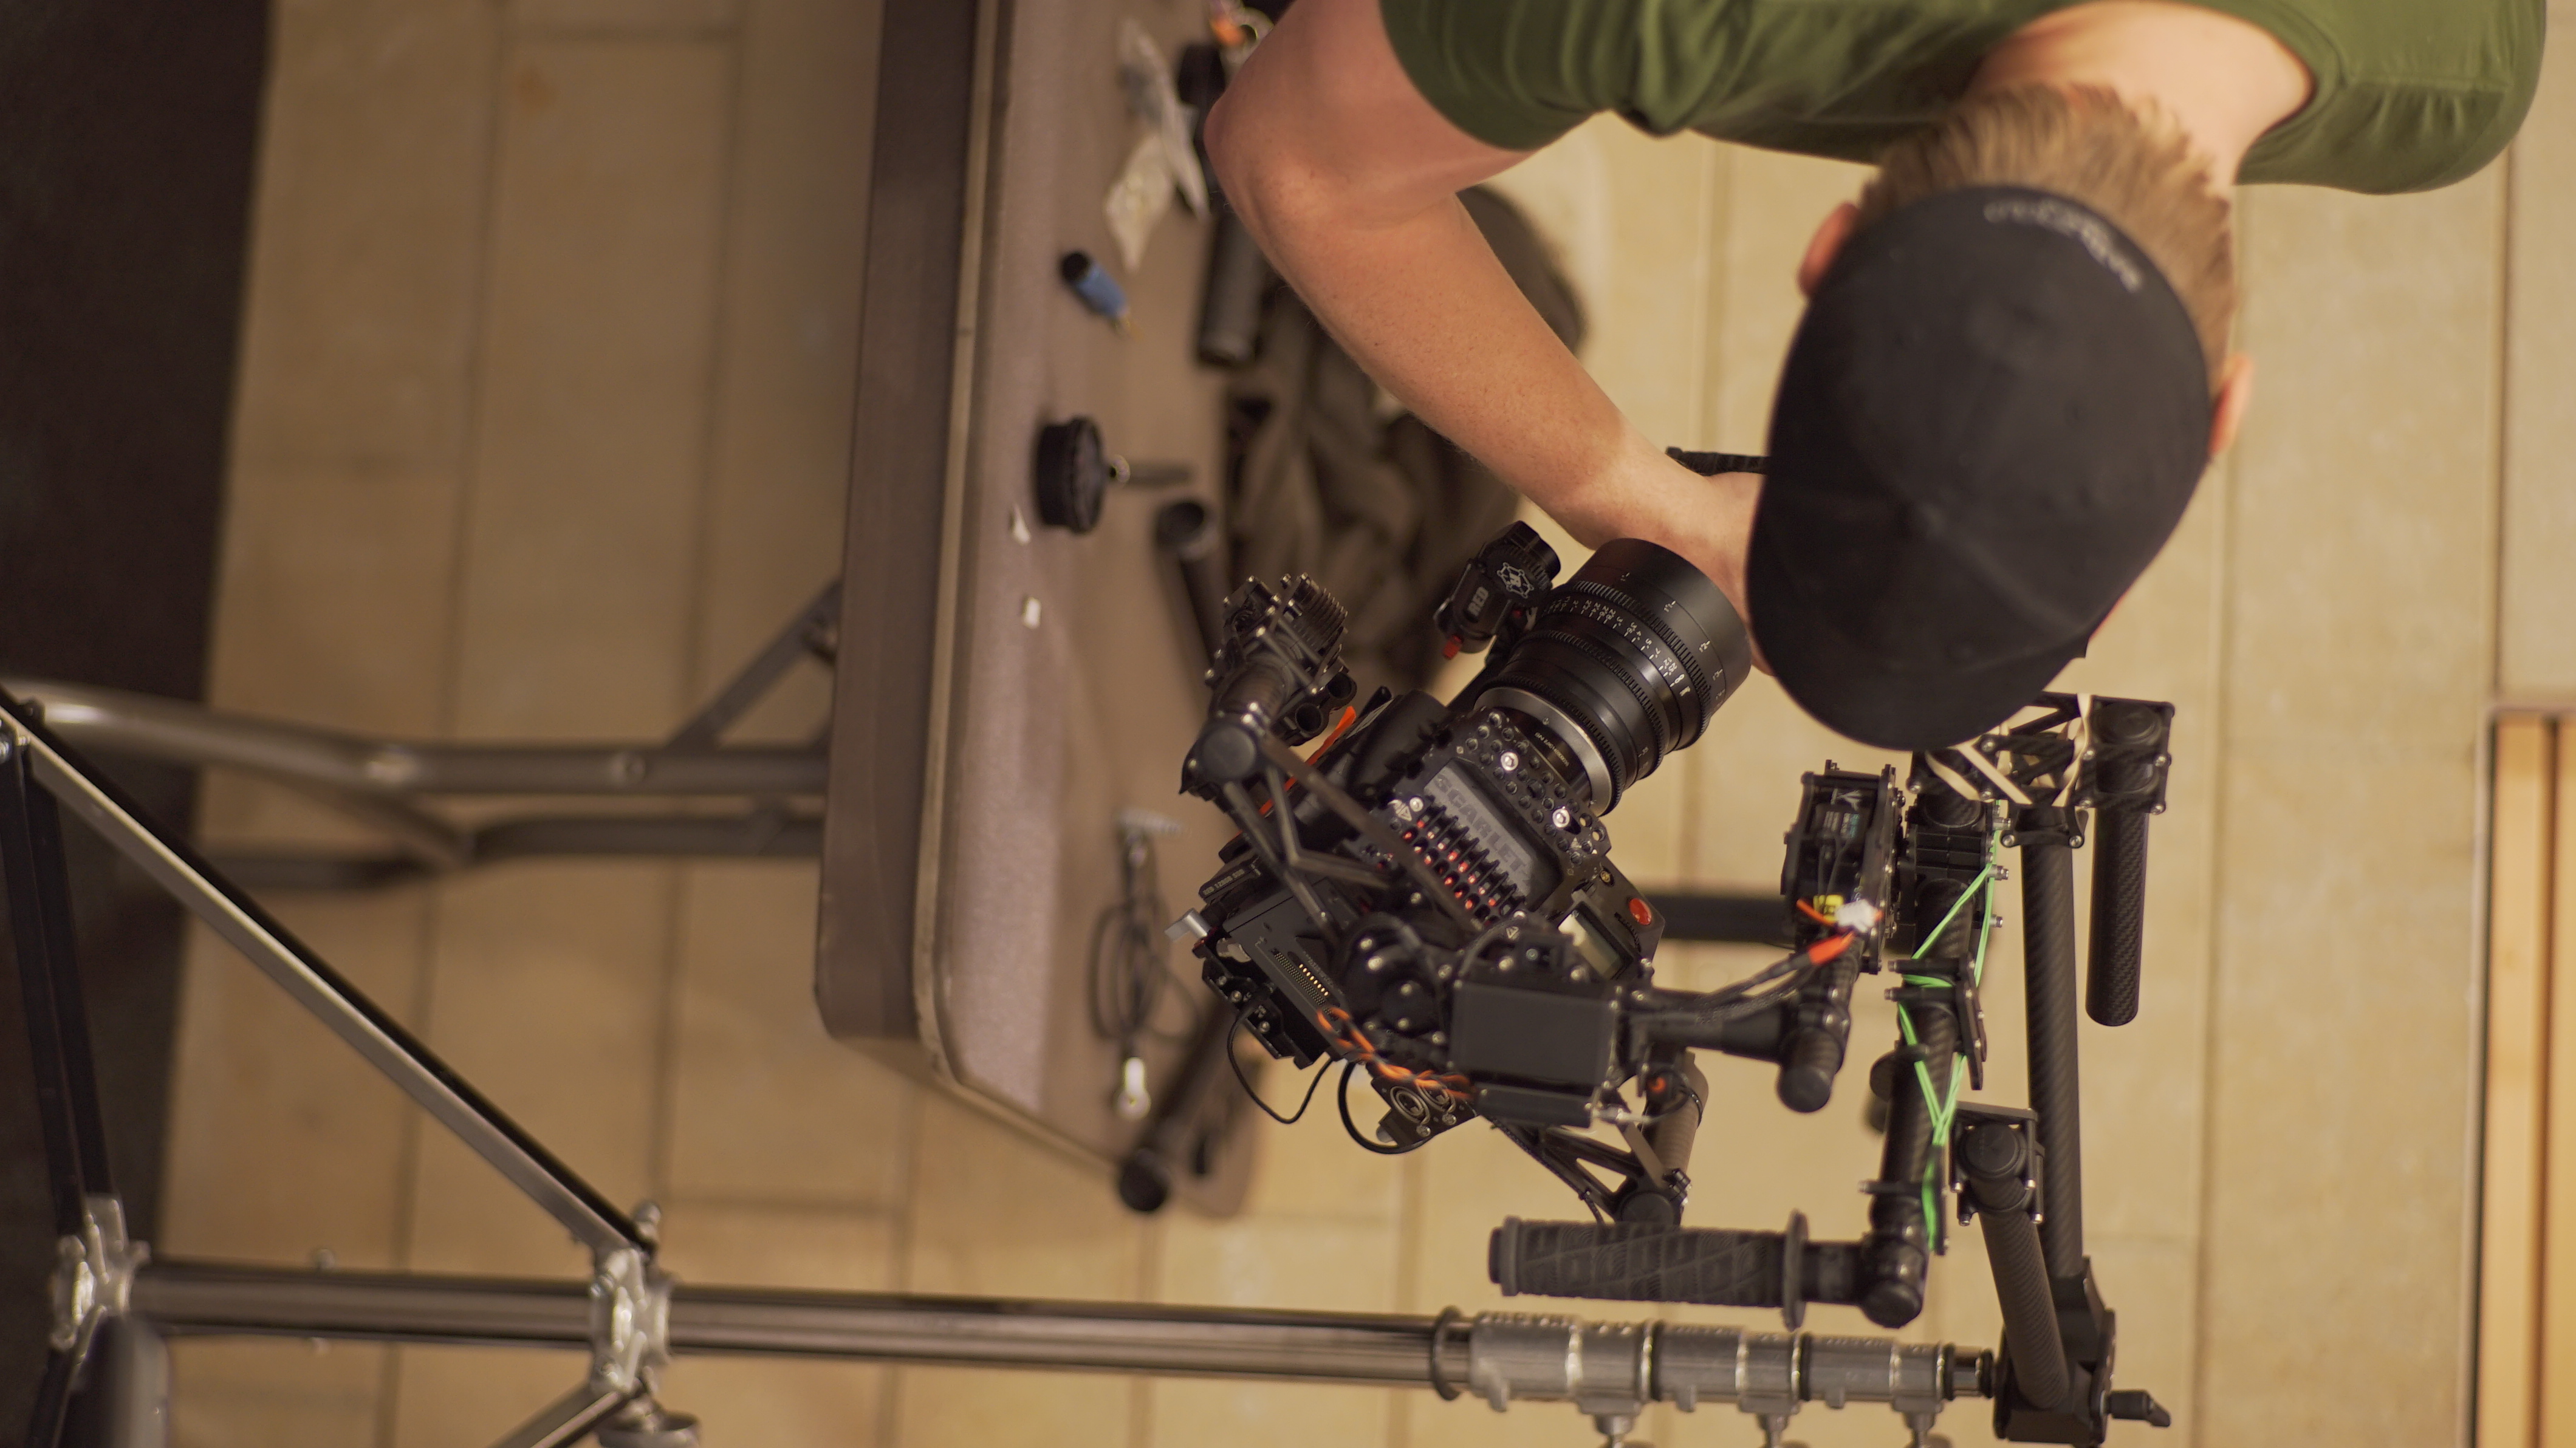
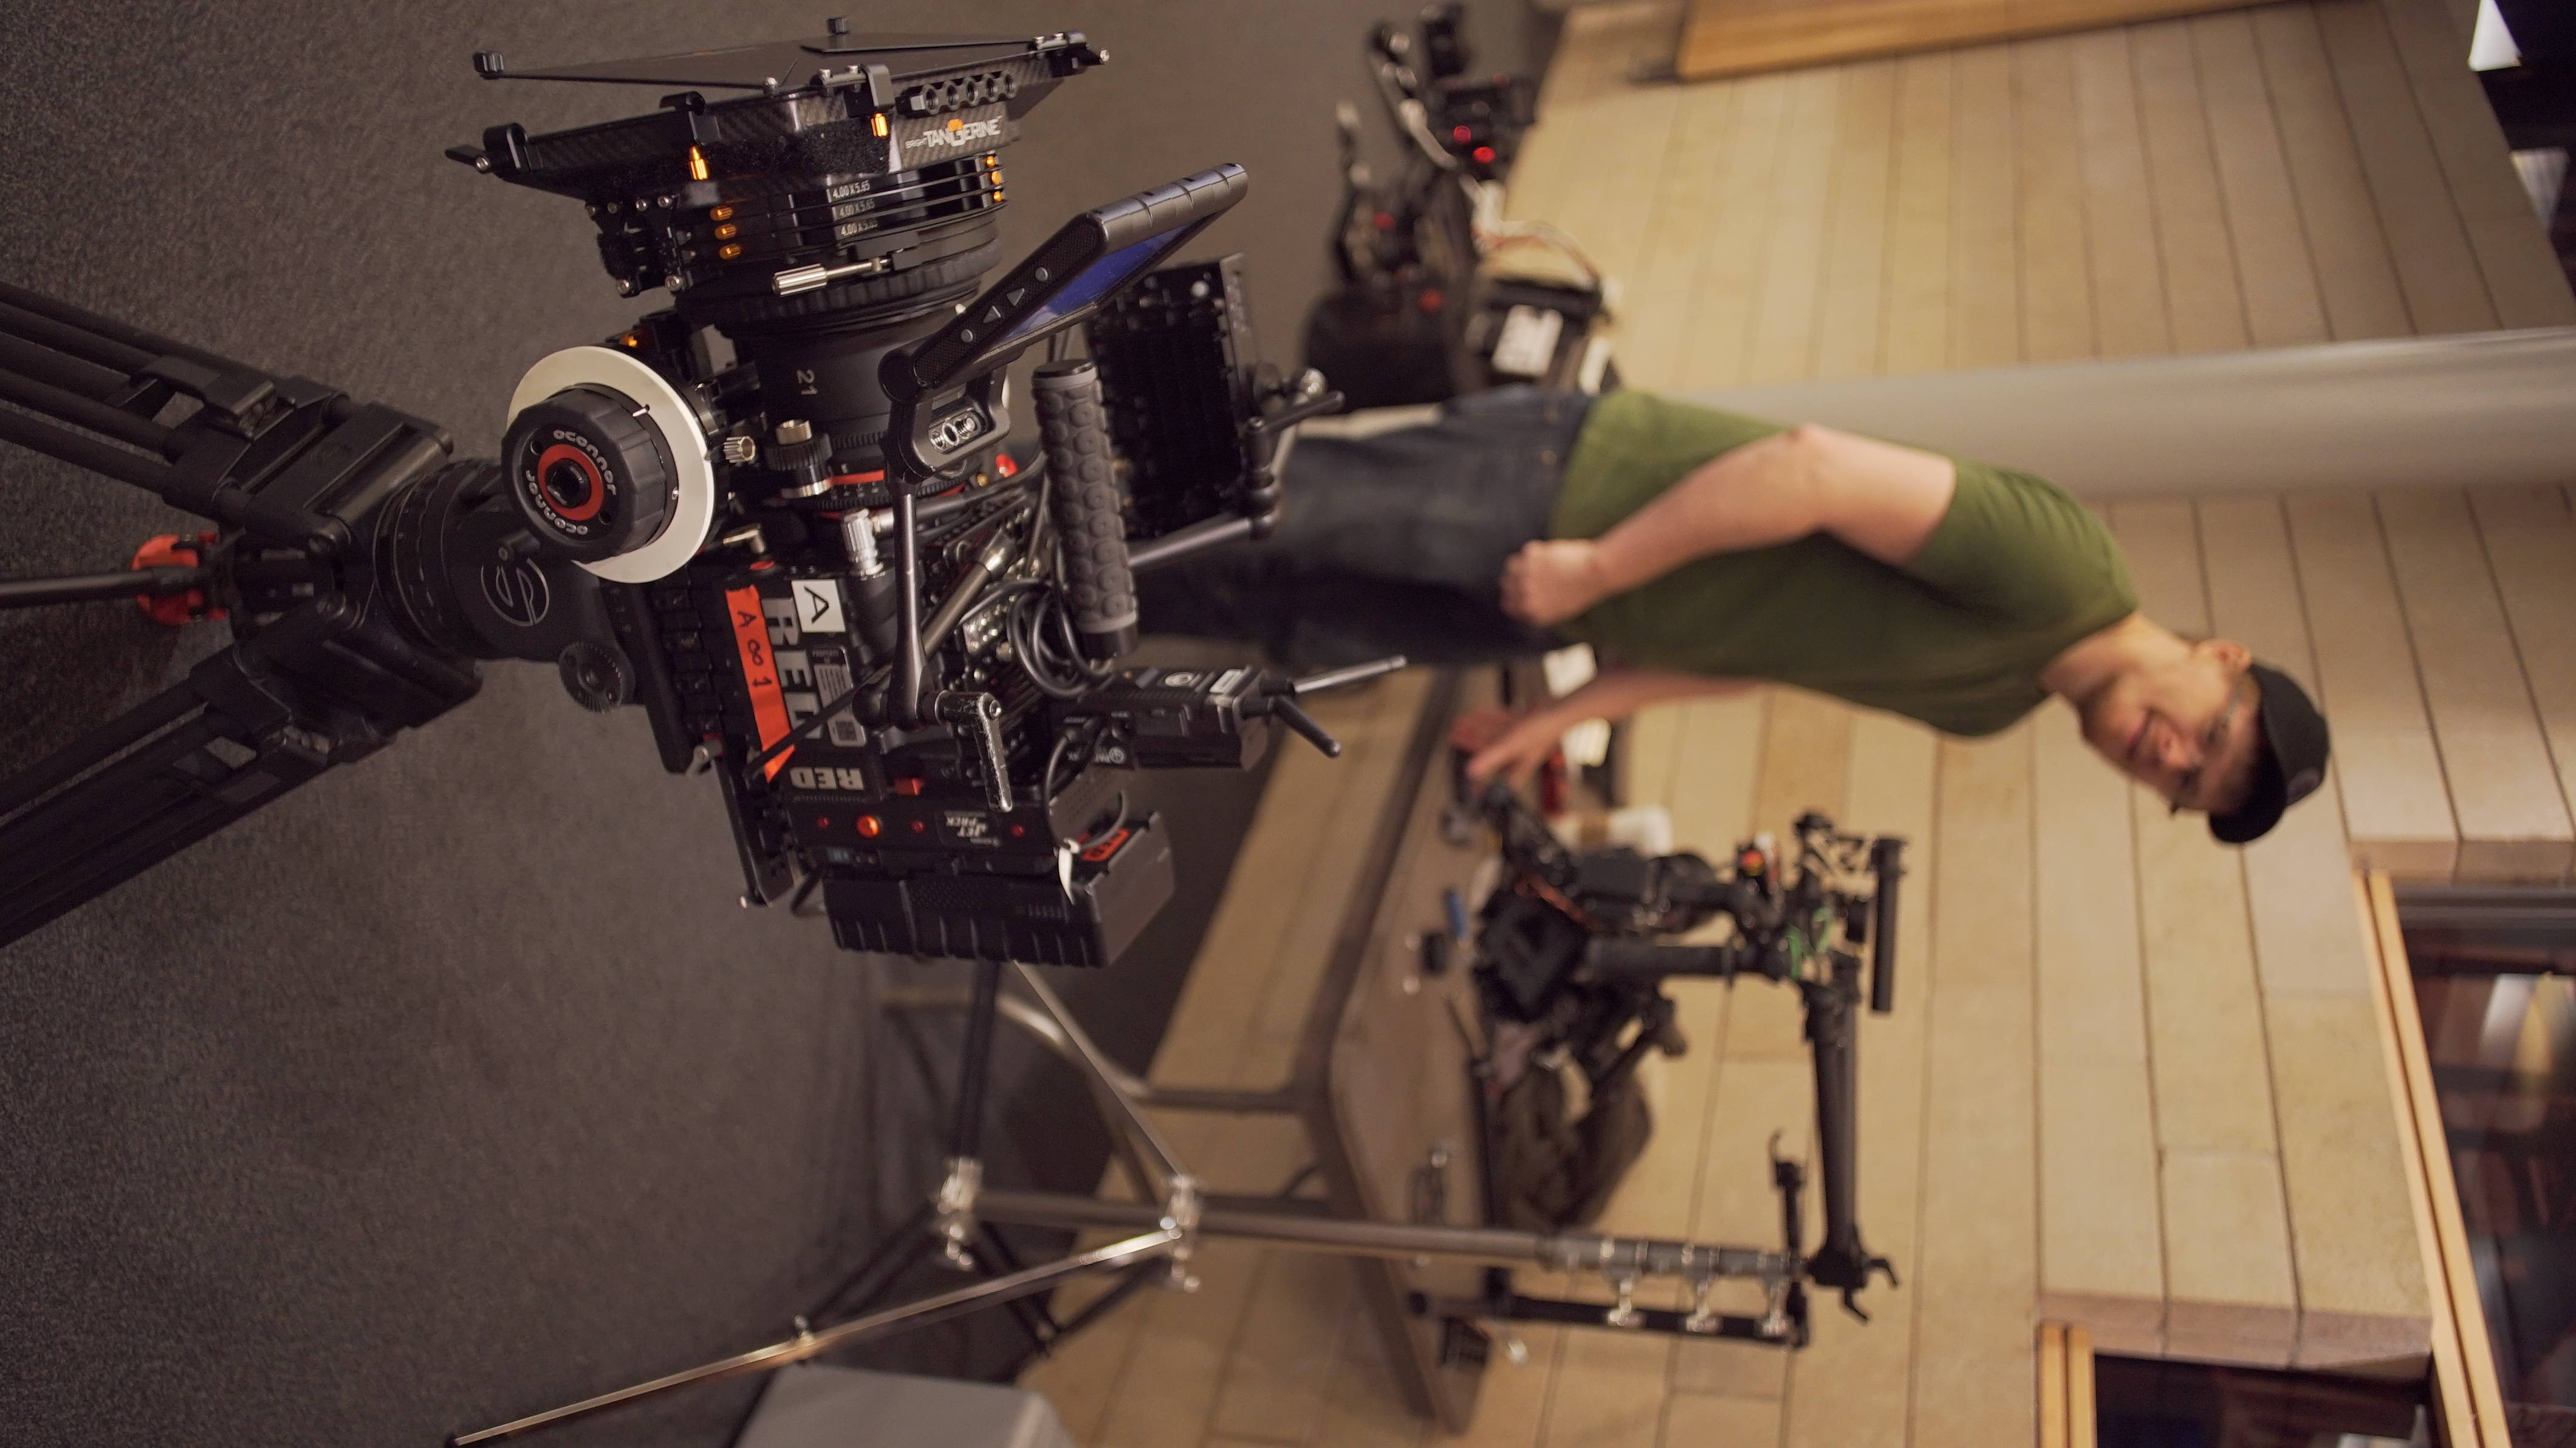
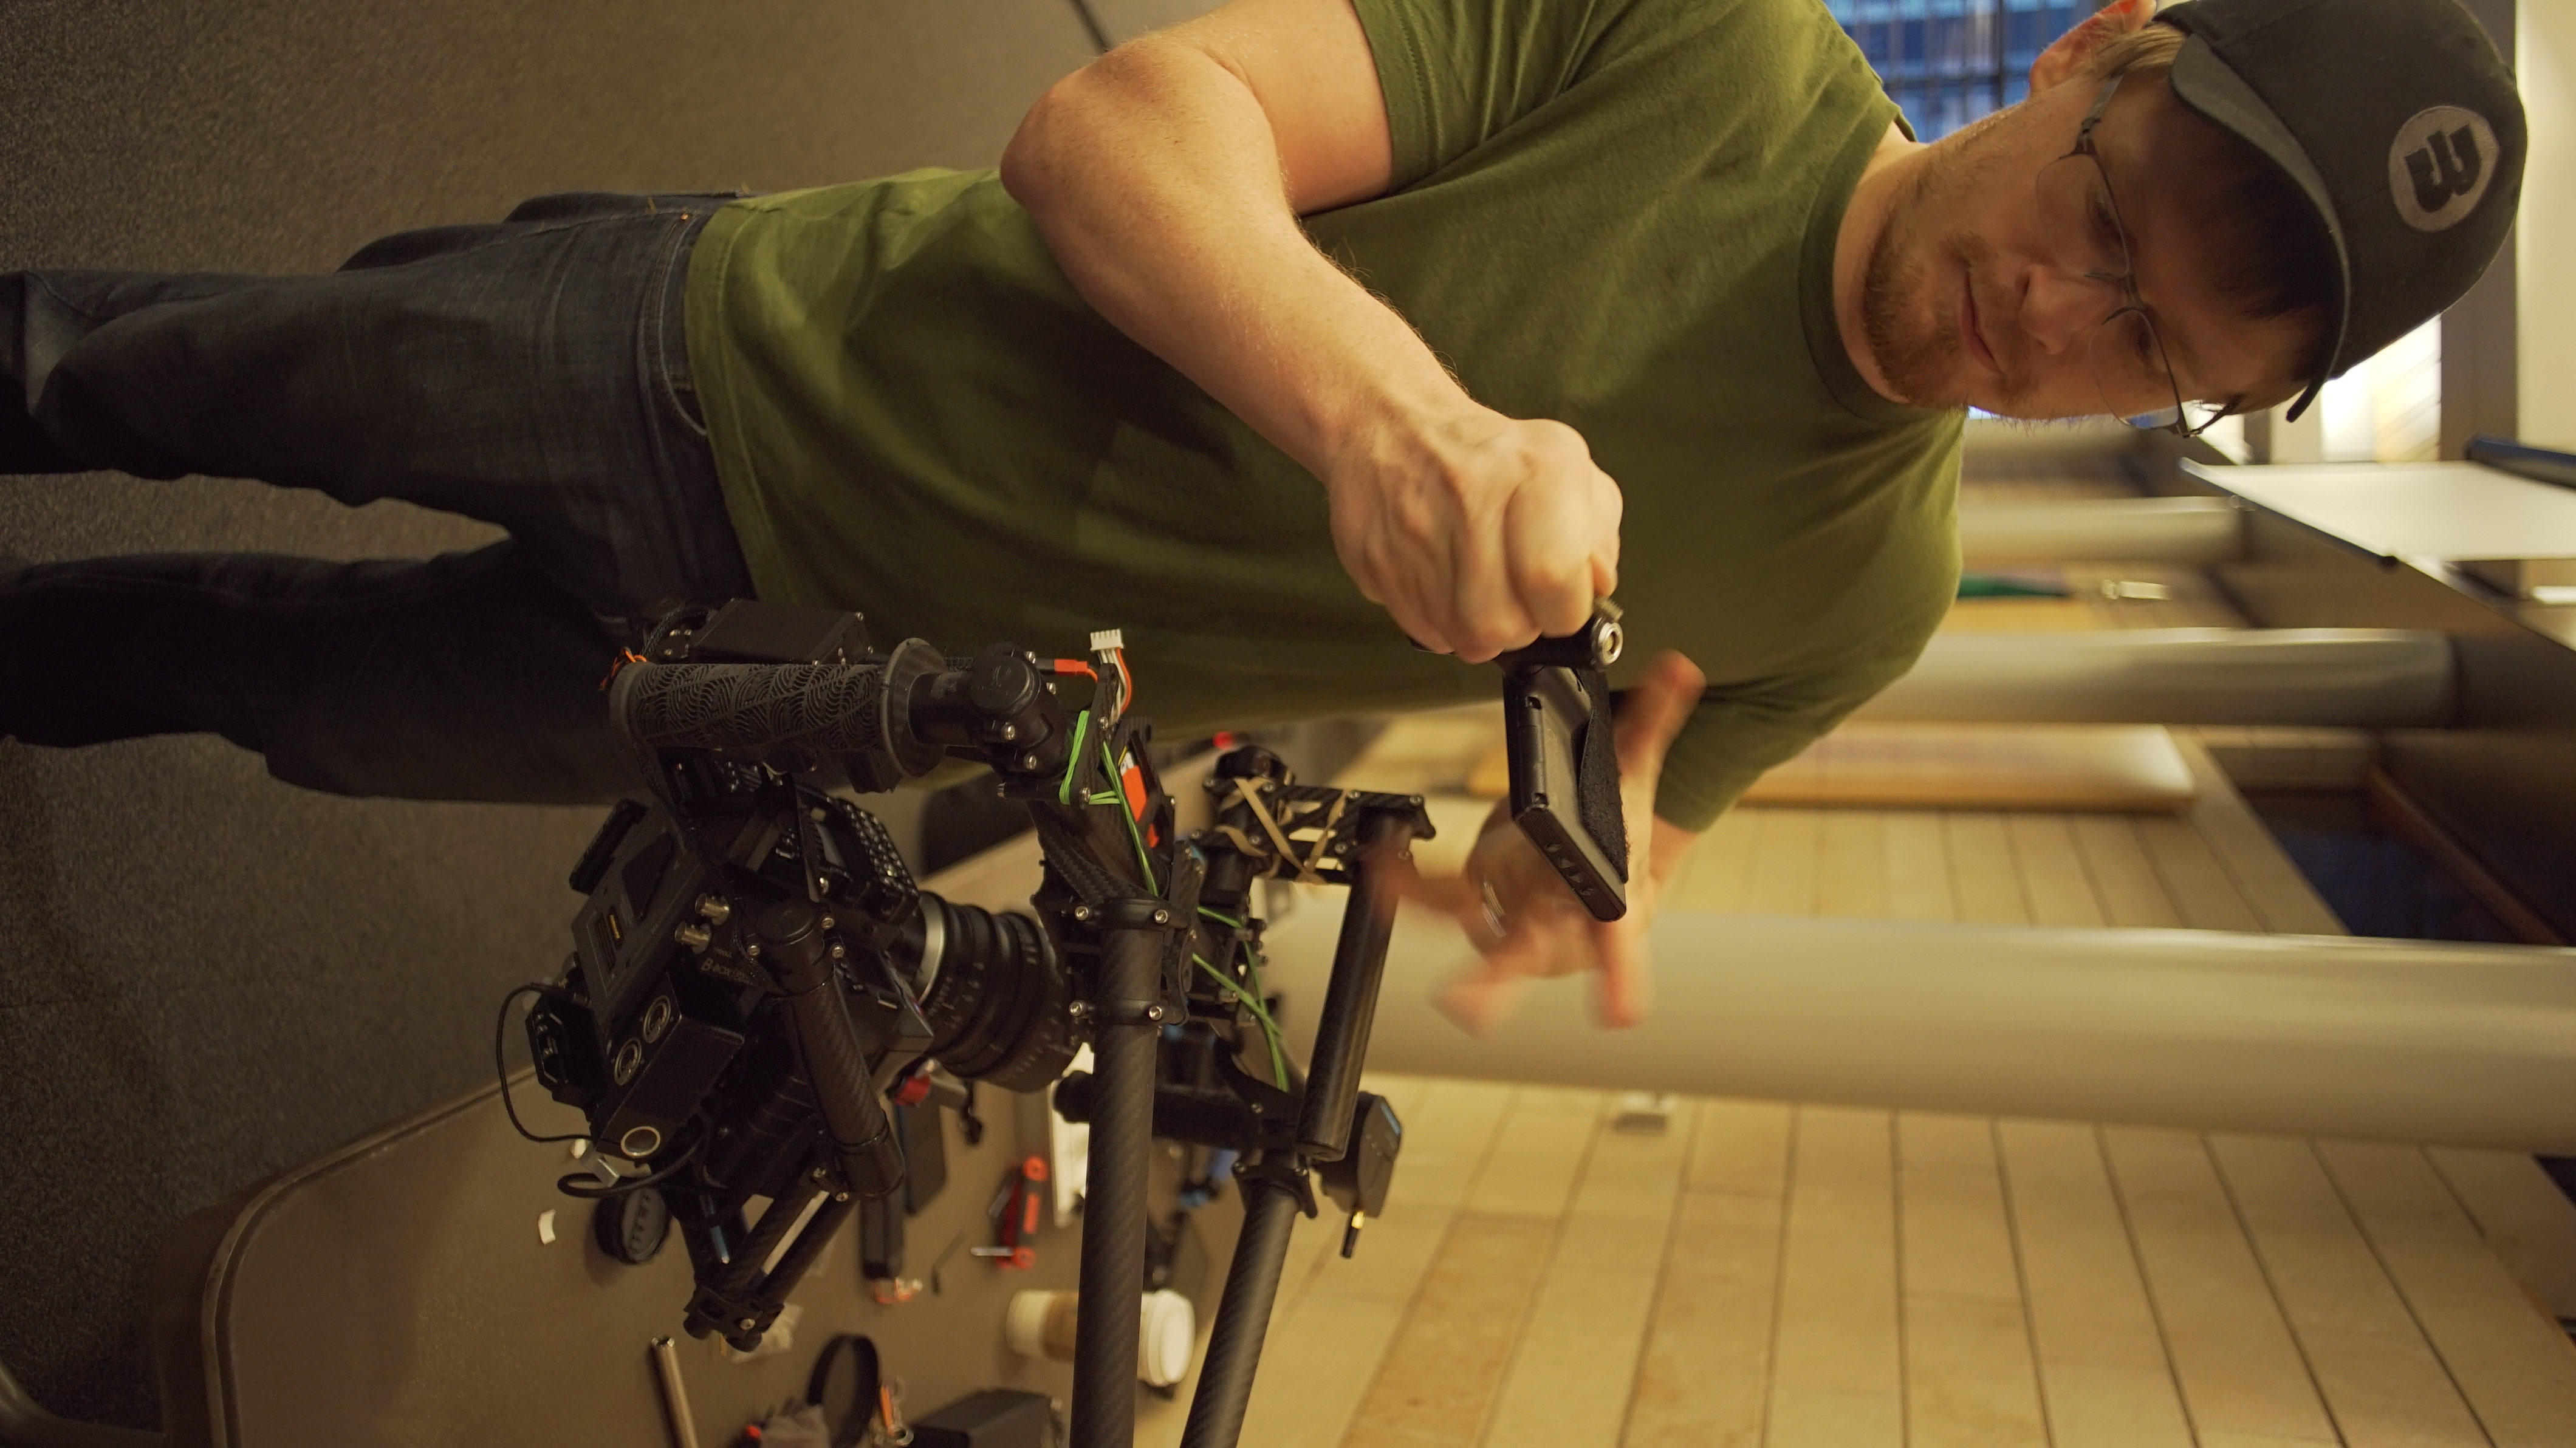
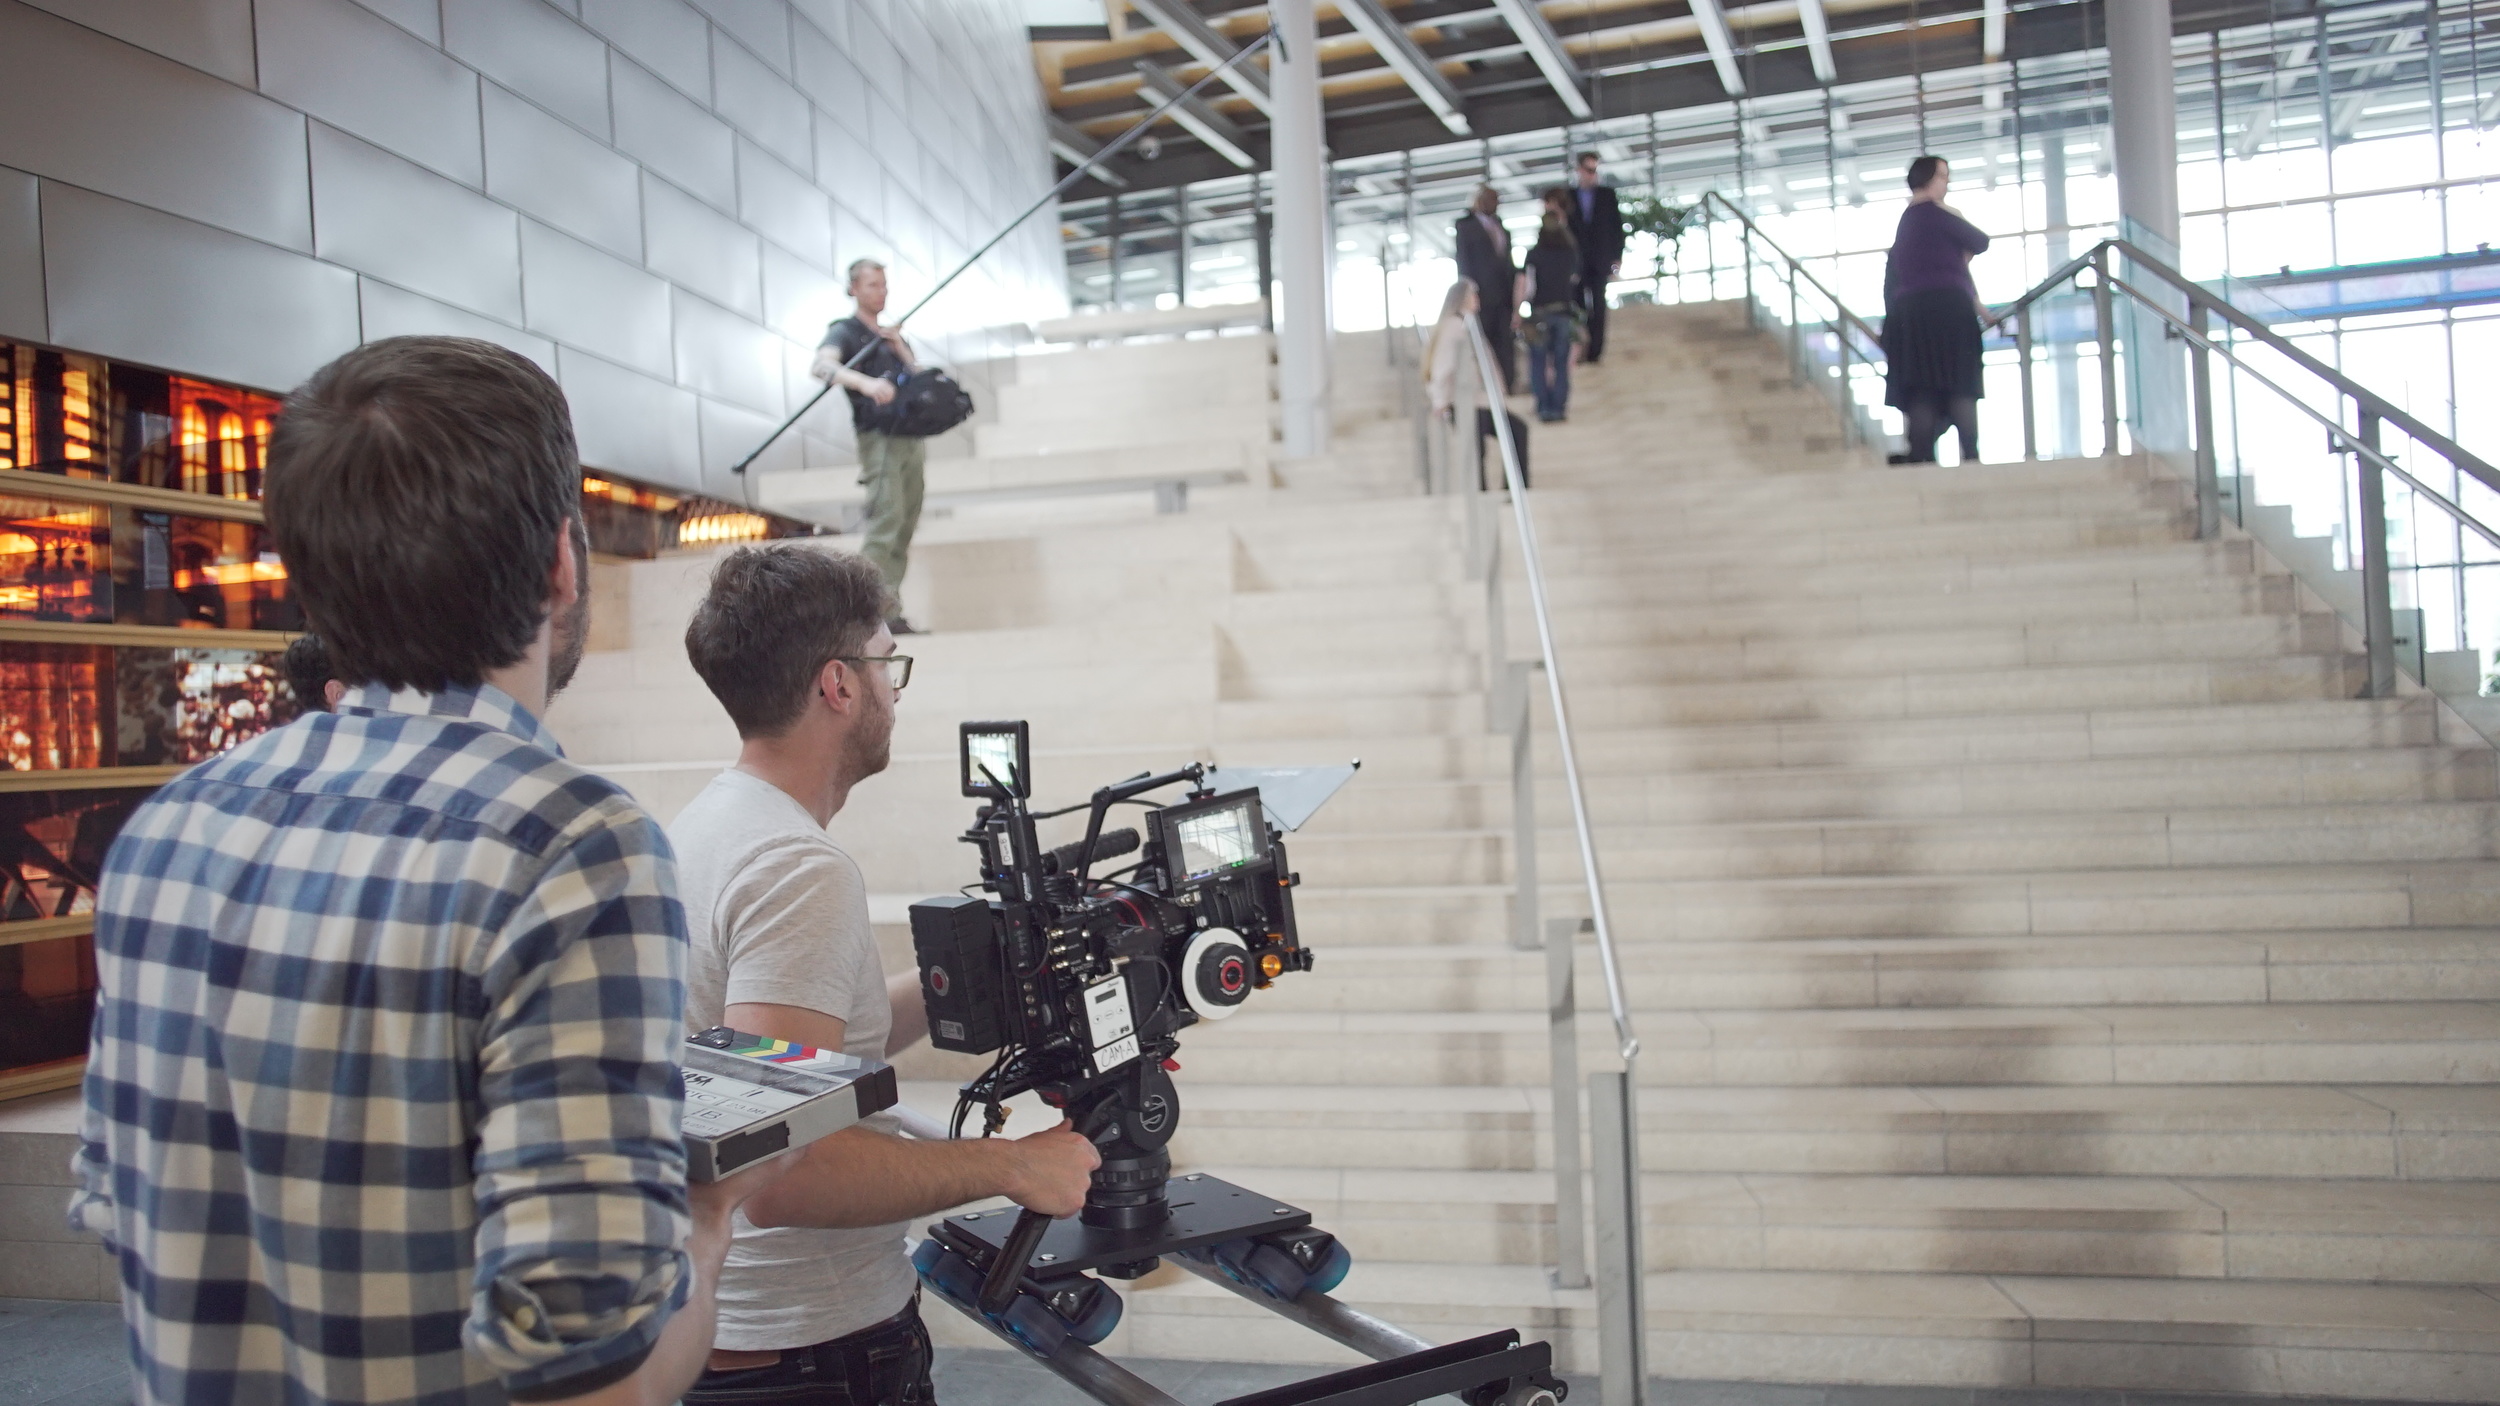
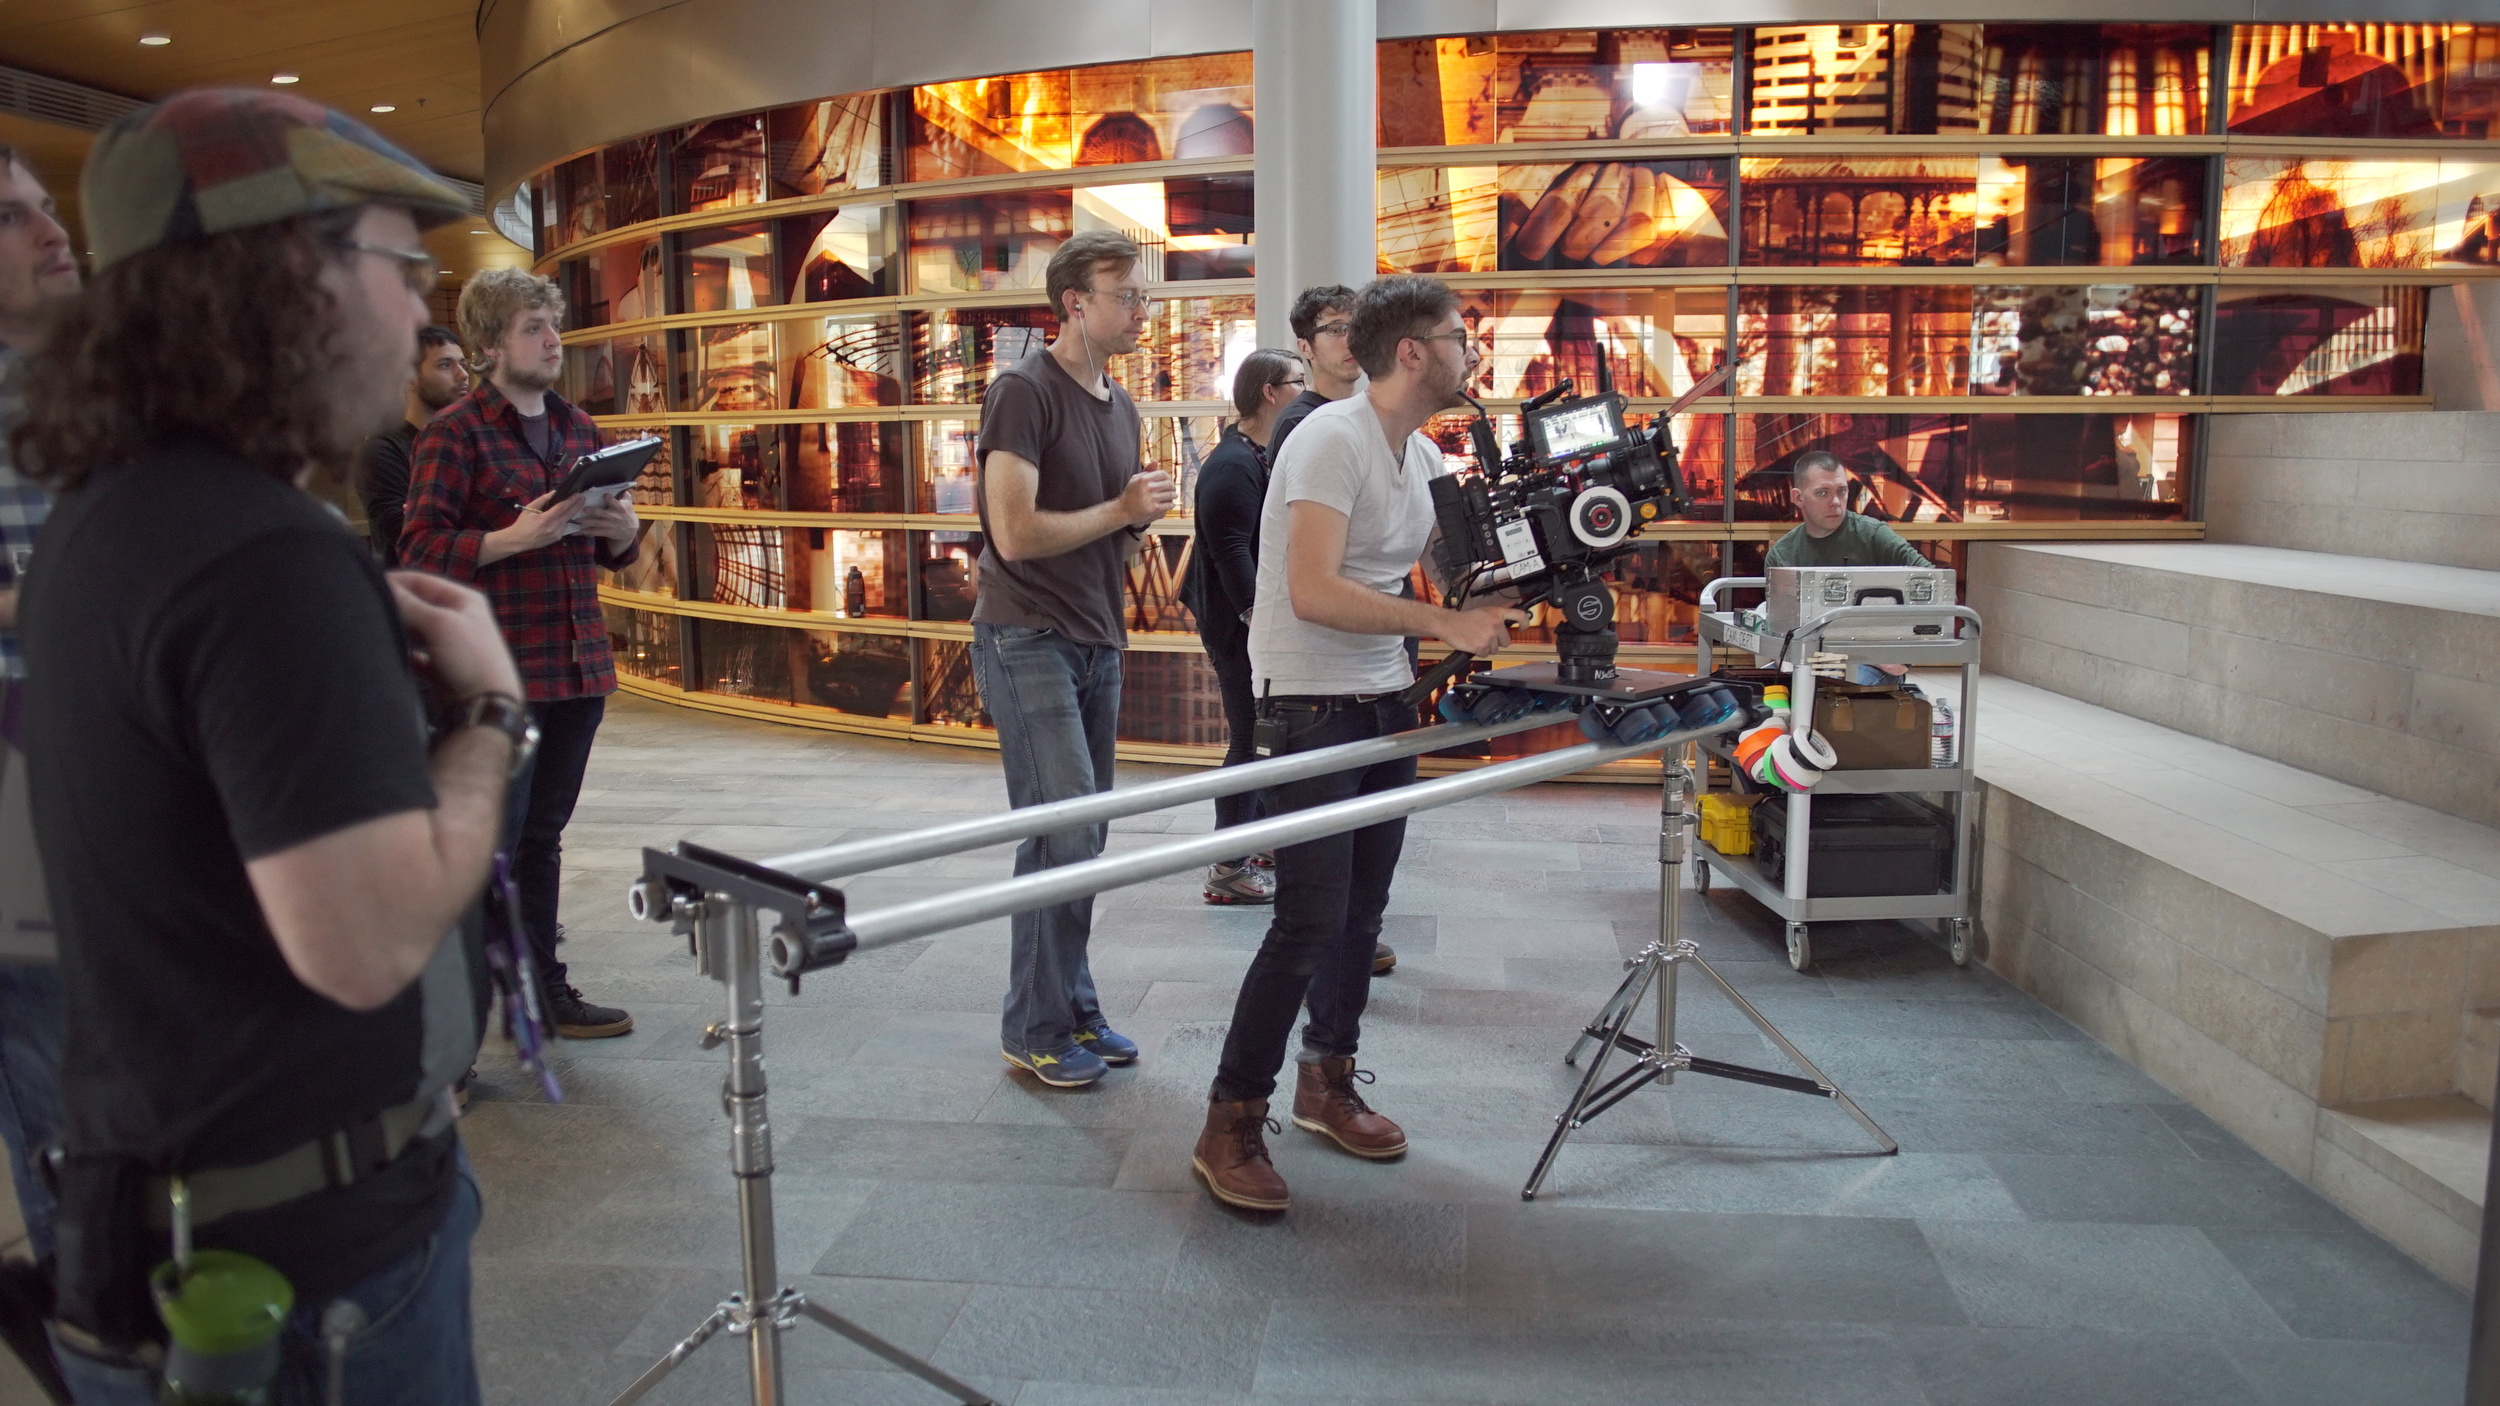


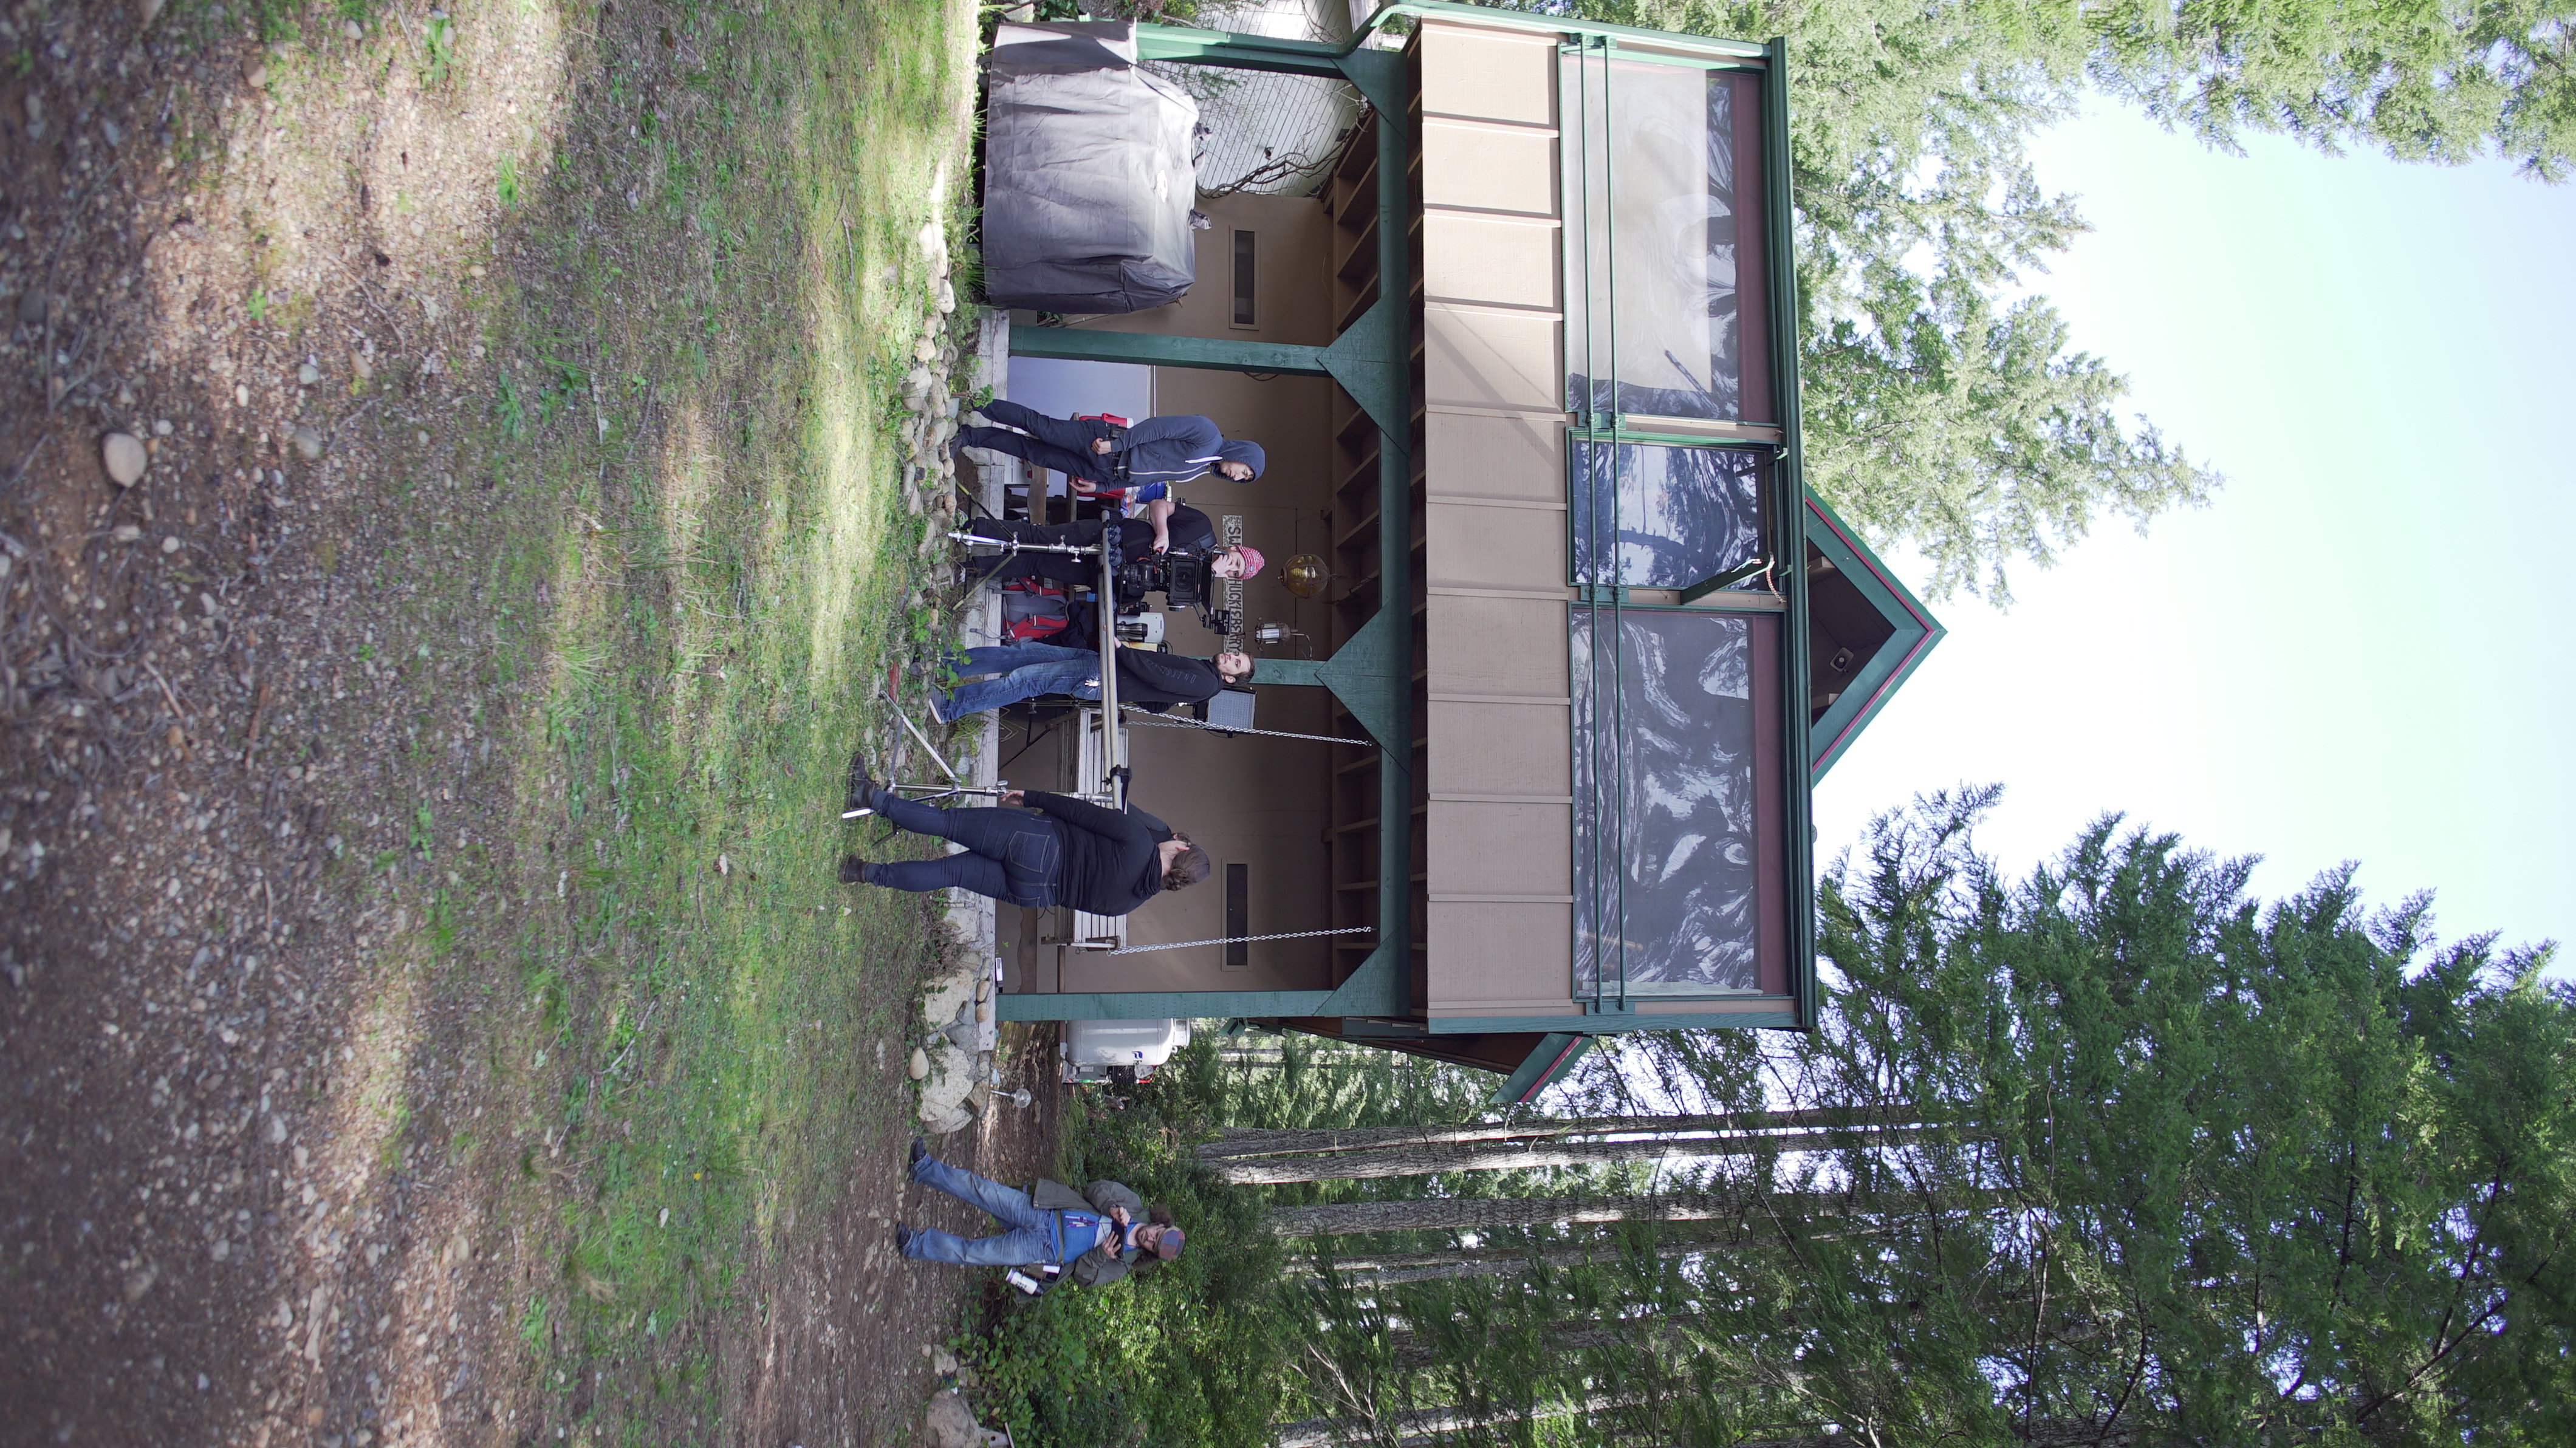


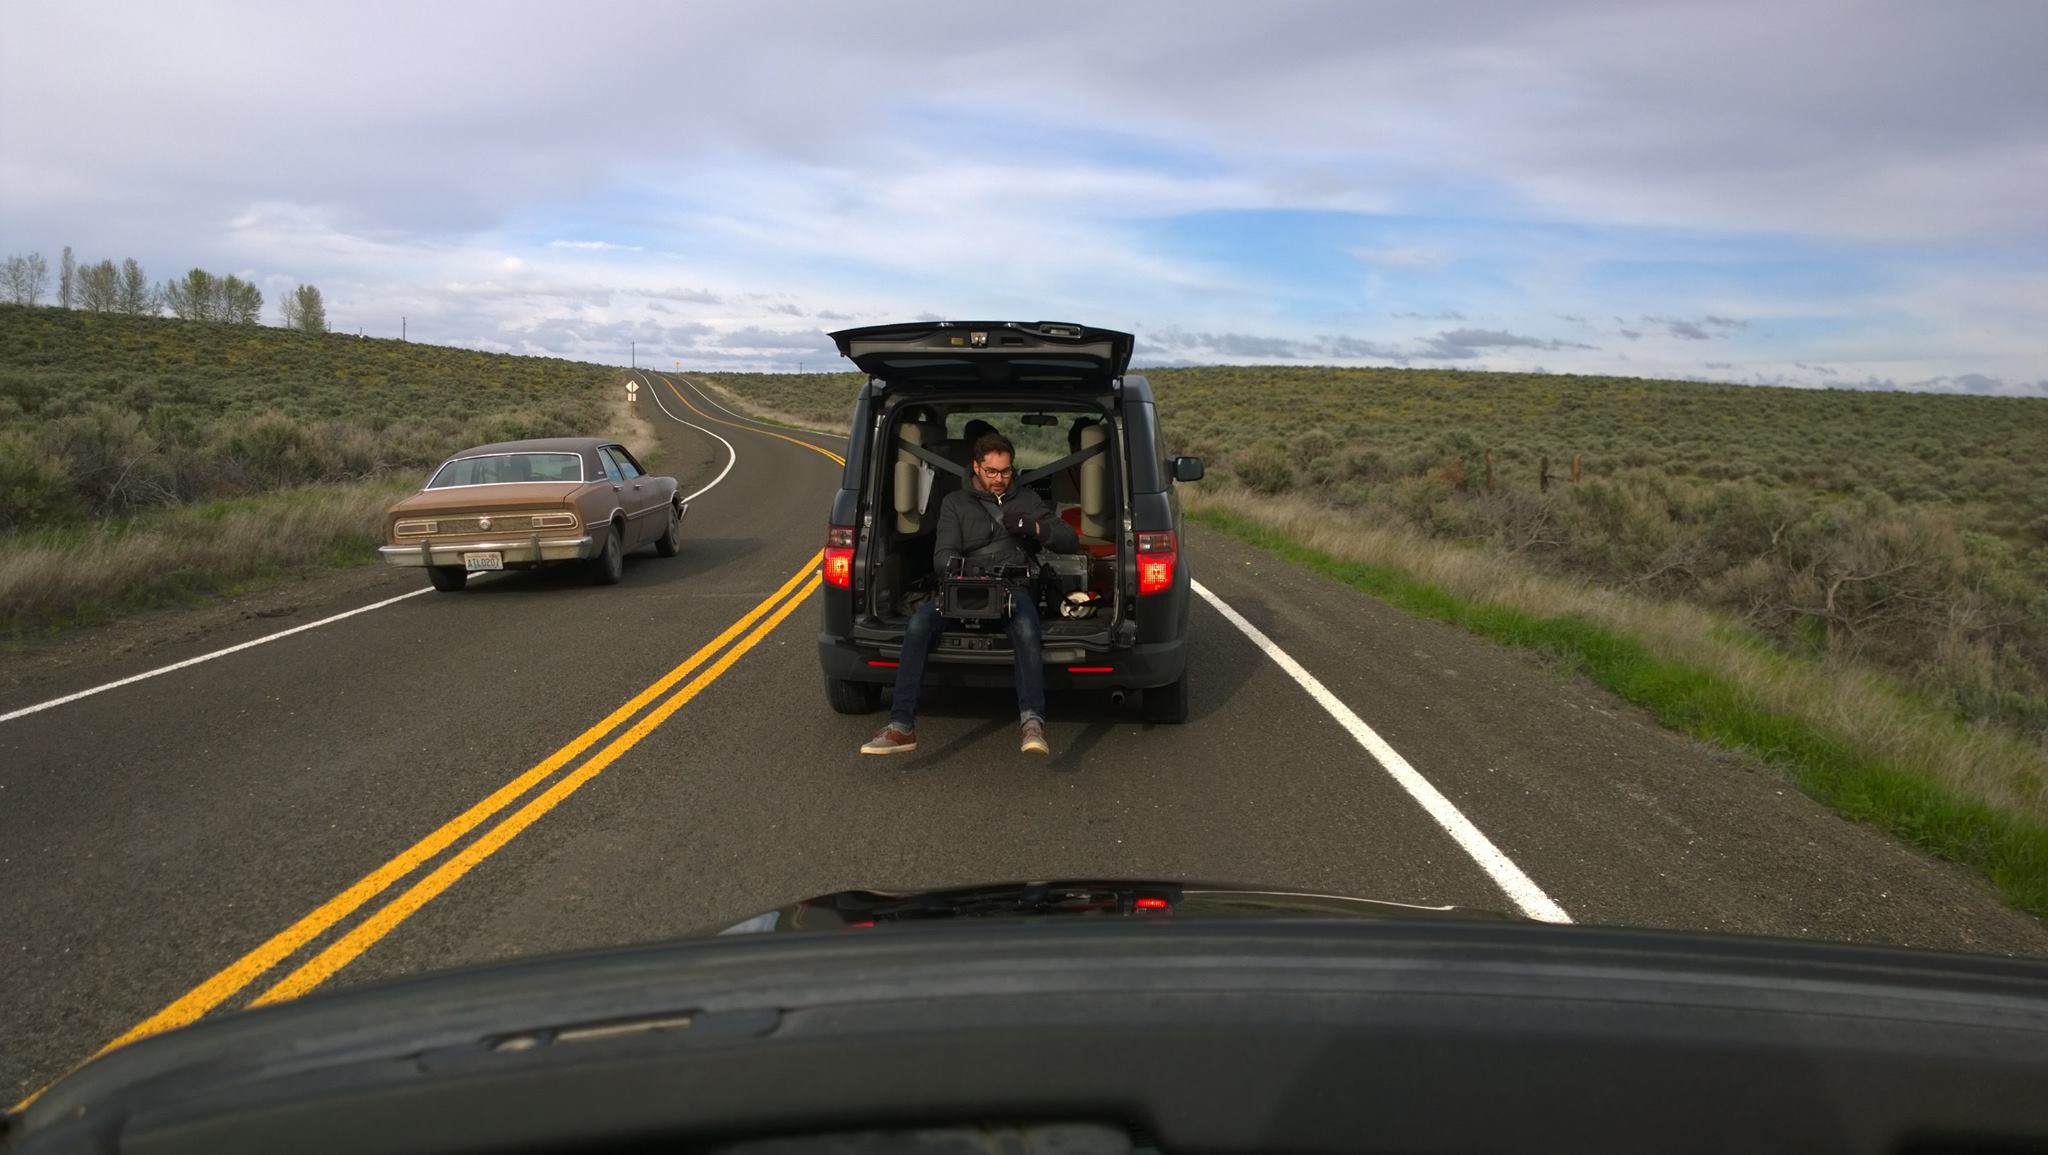
PRODUCTION: We spent a lot of time in preproduction trying to make sure we had enough resources to shoot this film right and do it effectively given our constraints. We had what we needed and were ready to begin principle photography. We had a 3 day stint in Seattle shooting some various pickup scenes that are related to flashbacks of the cartel meeting and doing jobs. The first day was our hardest with lots of extras, a city hall location, lots of complex blocking and character coverage. We had the Freefly Movi M10 there for the first day and we were using it for a lot of walk and talks as well as following some character action moving through the location. We managed to make our day though and get what we needed. The next two days were shot picking up long scenes of meetings between cartel members and our biggest struggle was sound. Lots of construction in the area we were shooting and needed a lot of time to hold so we could capture what we needed. The actors handled it like champs, that much is for sure.
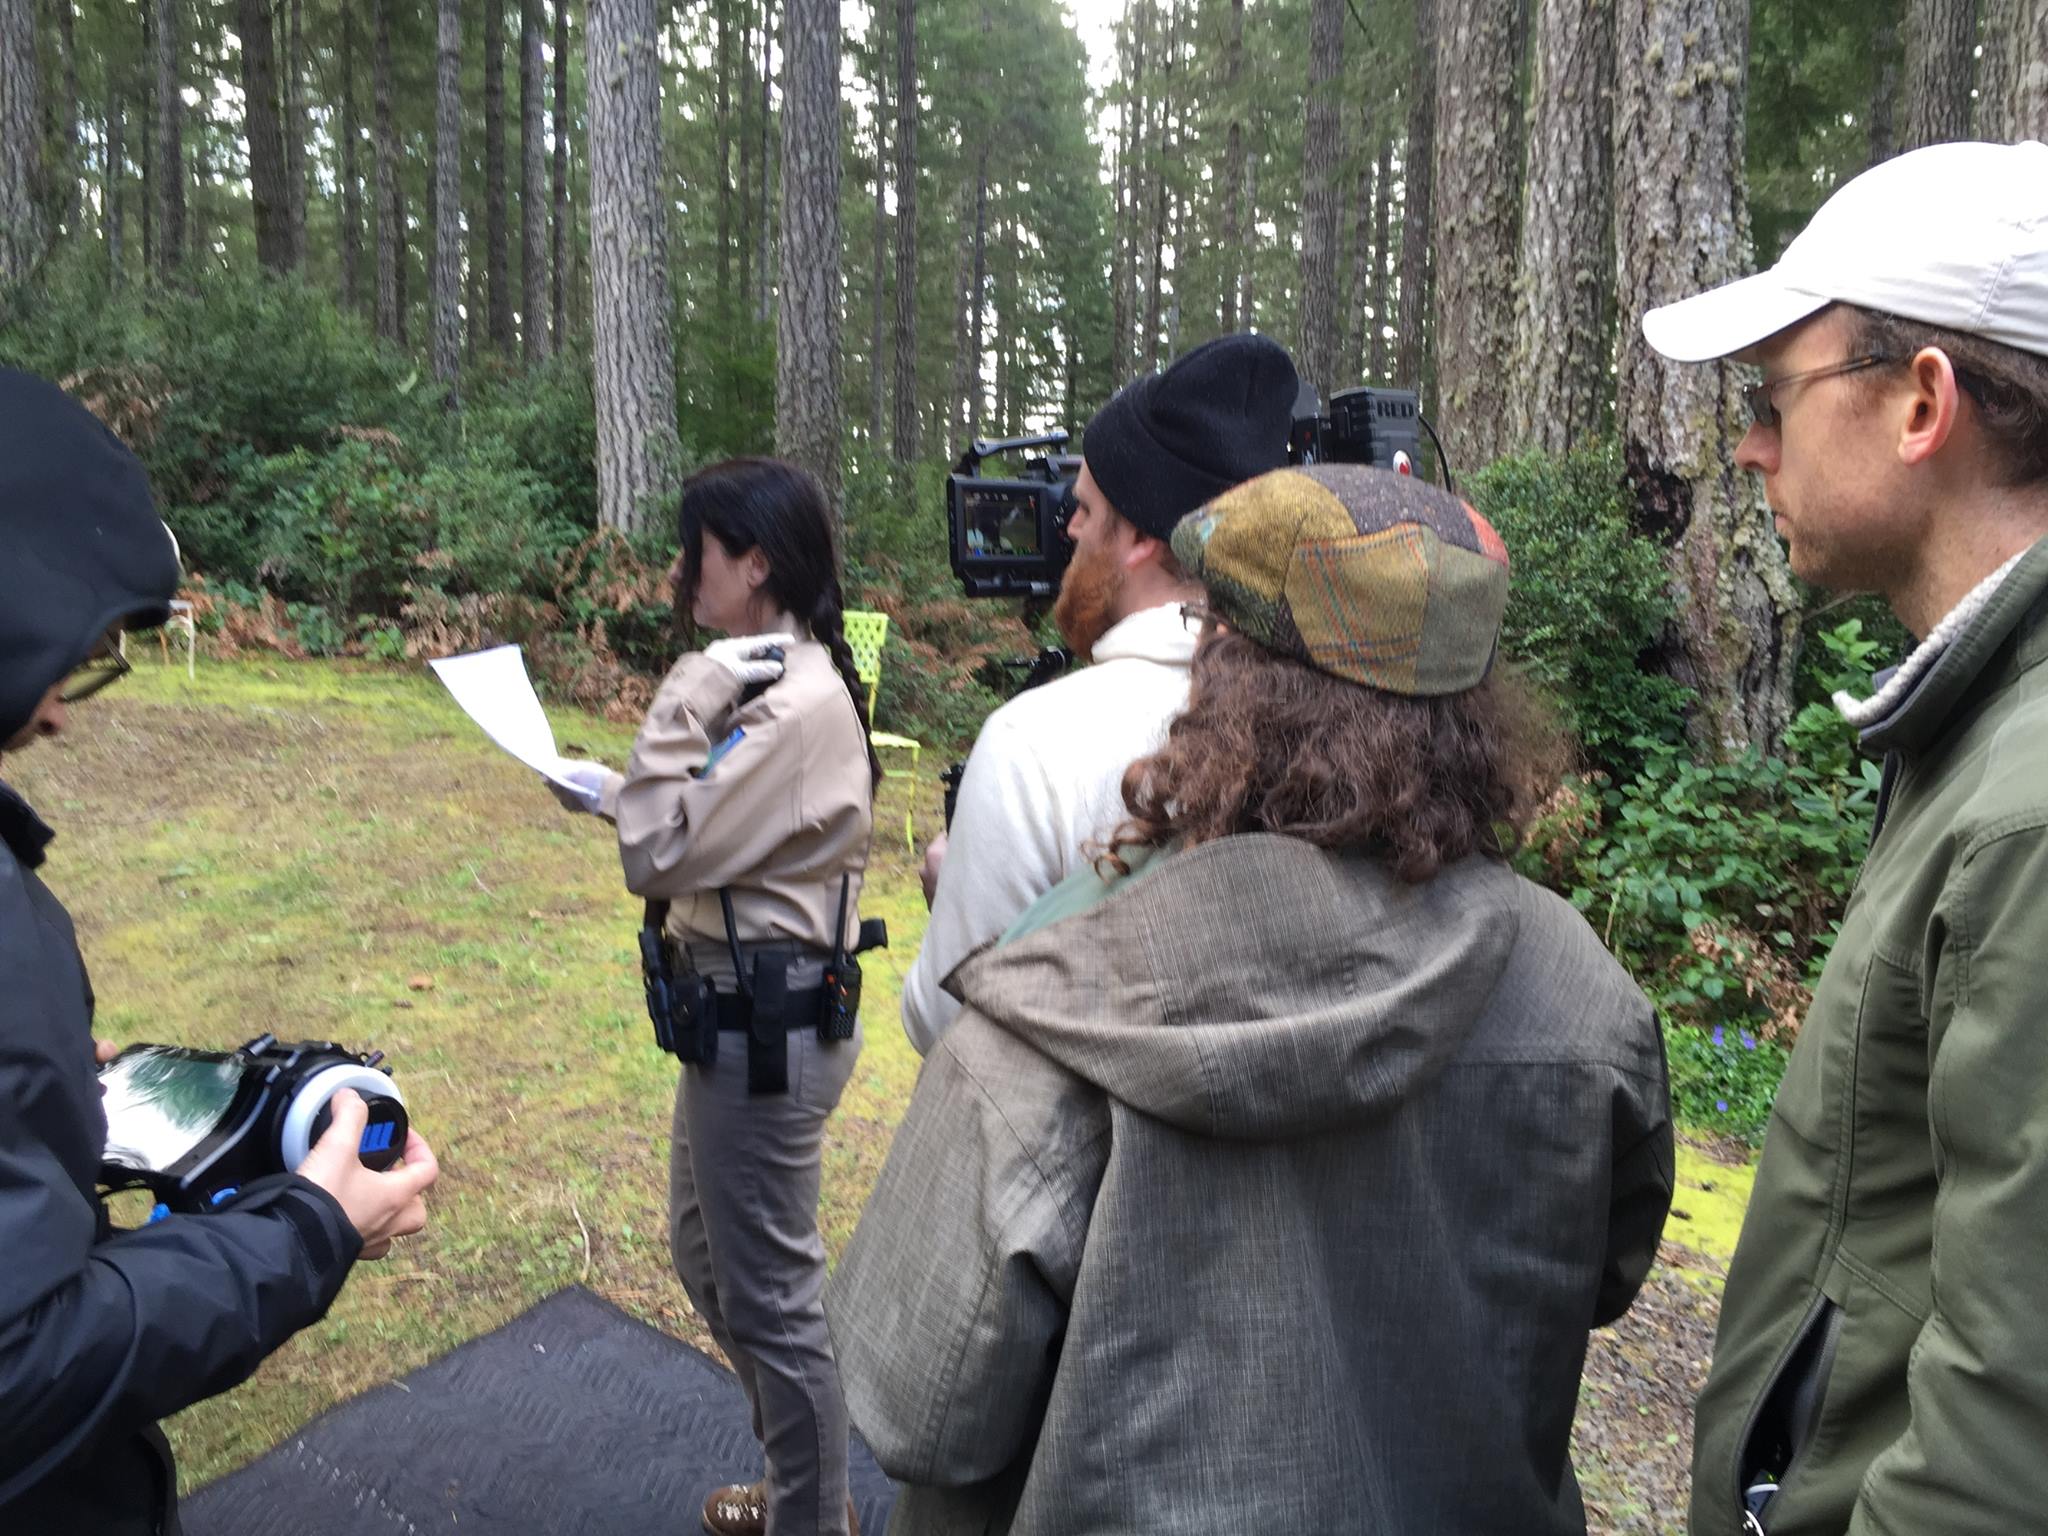
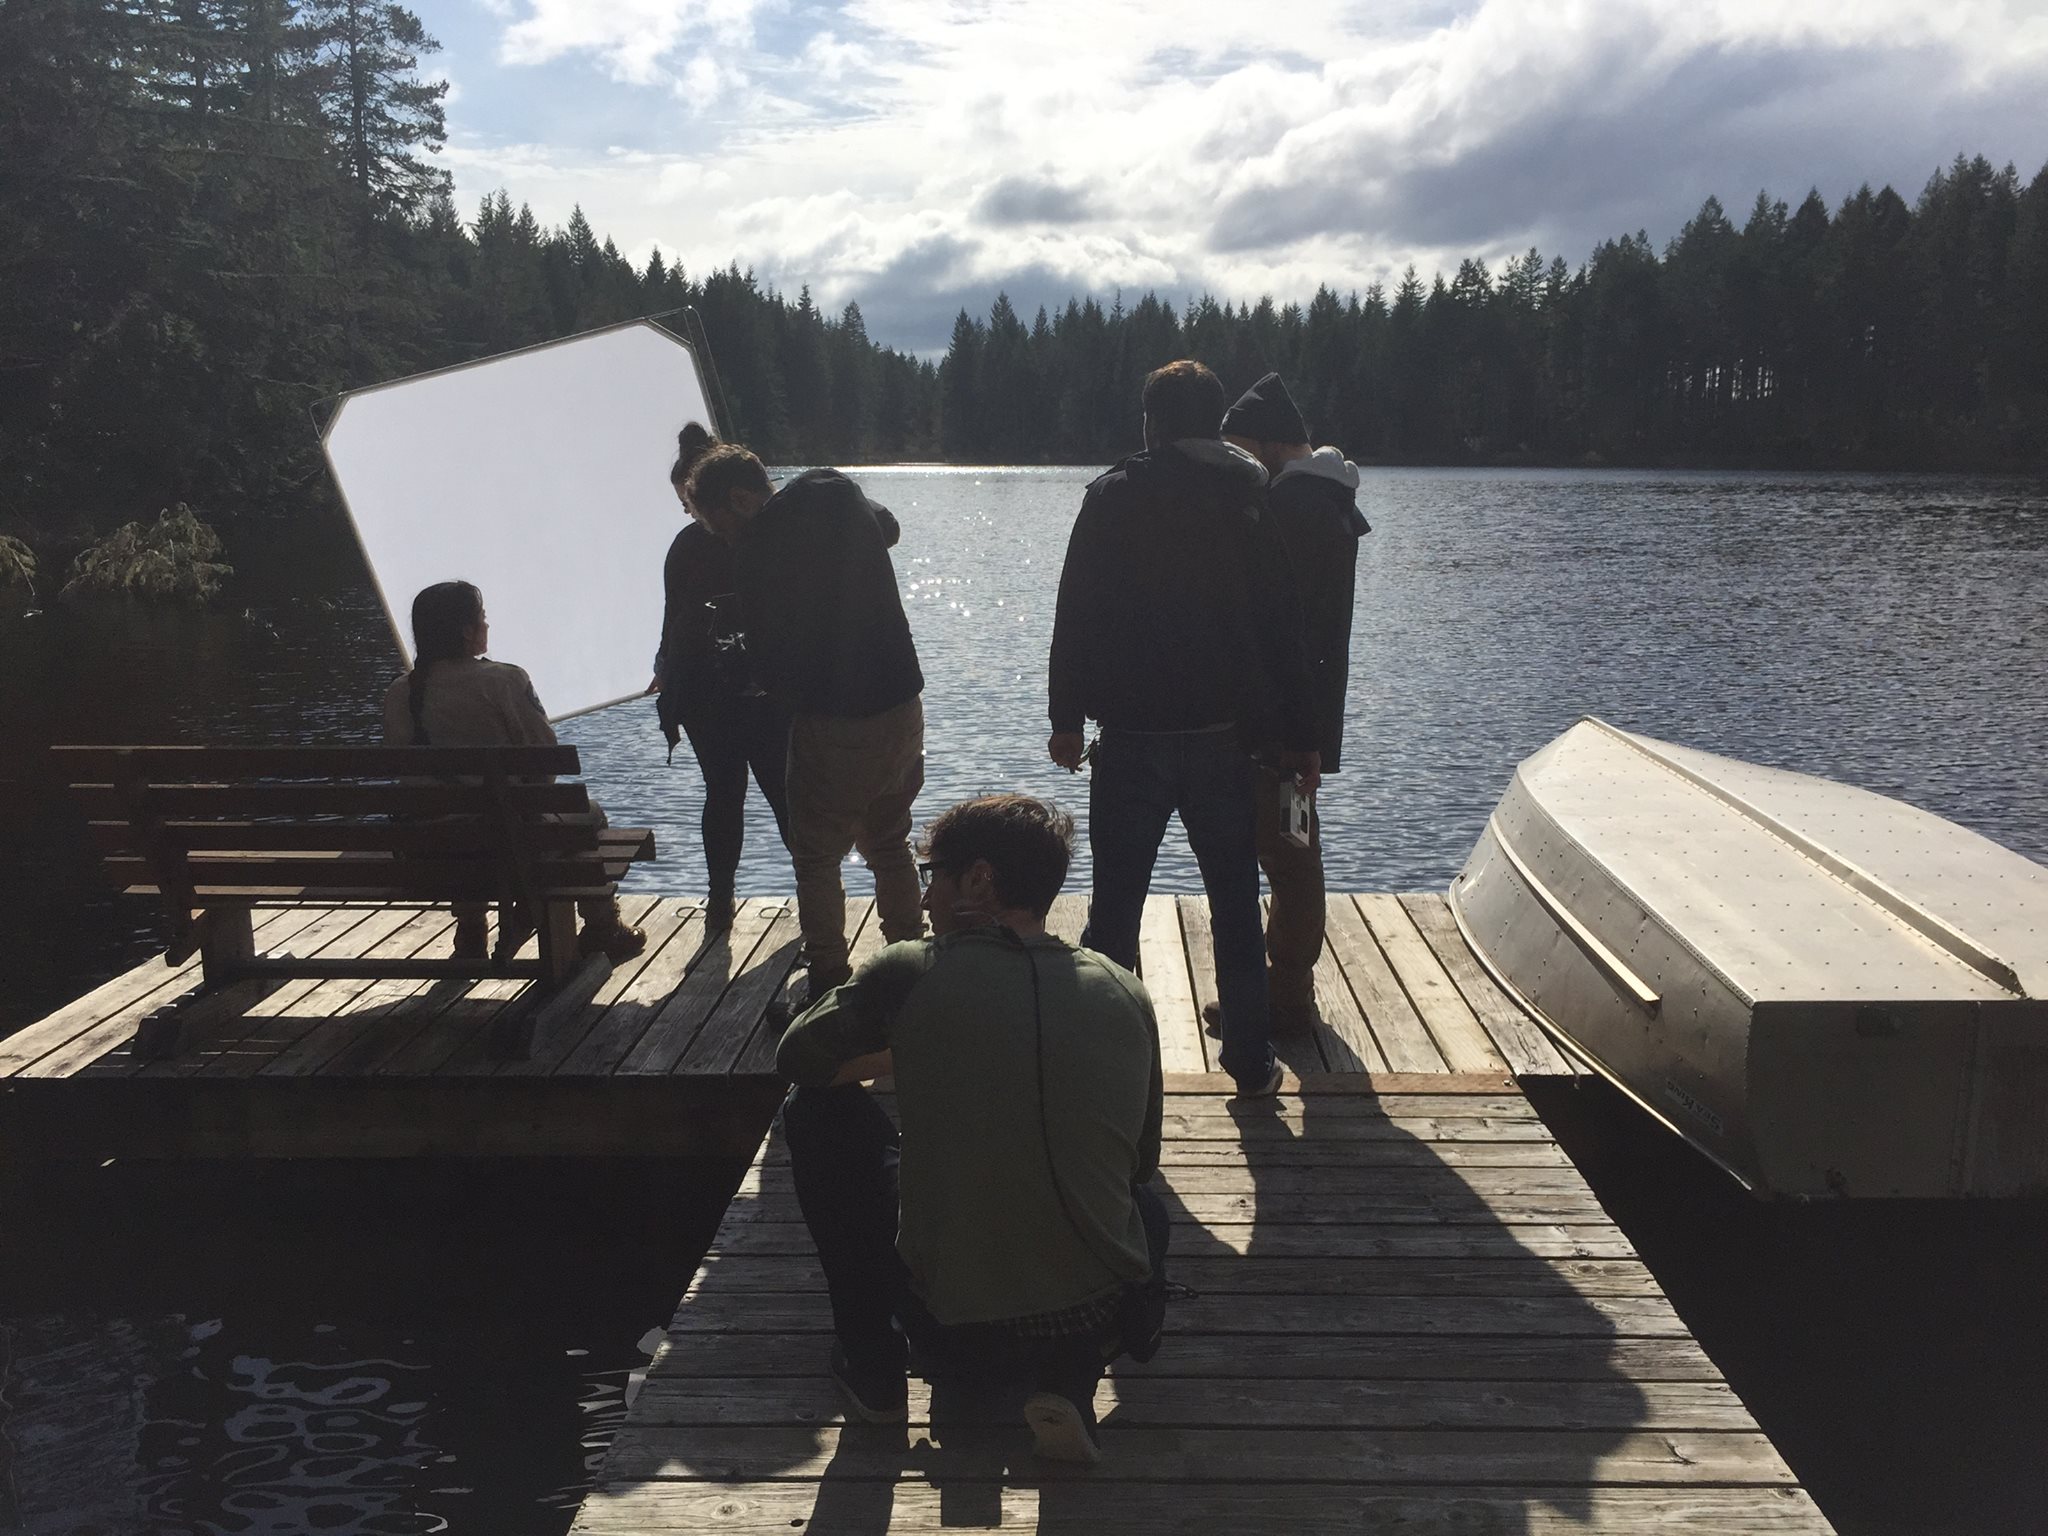
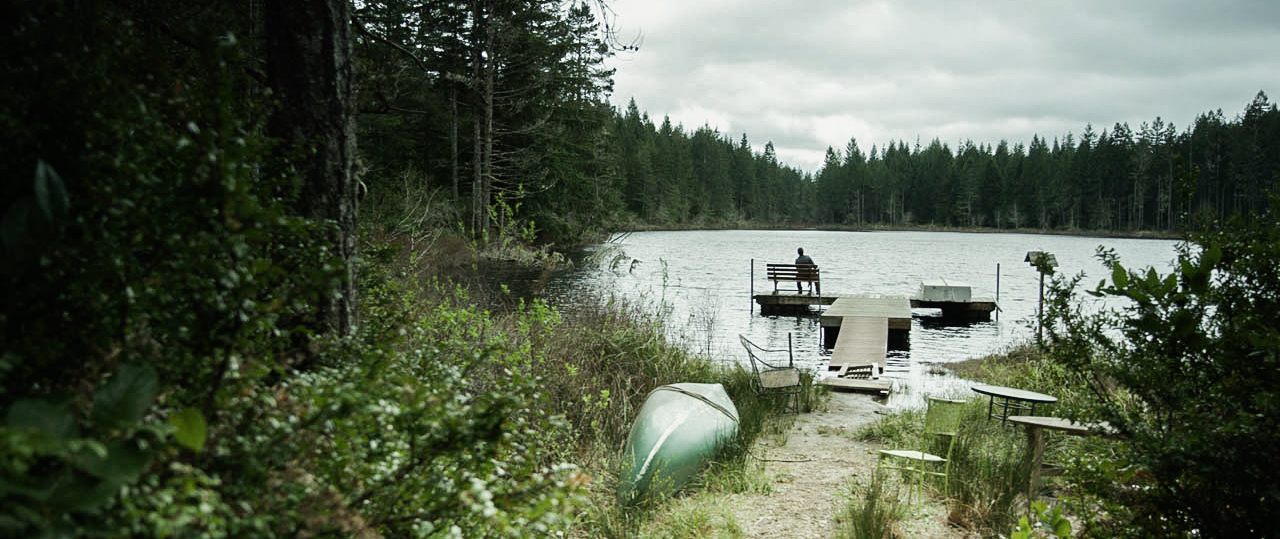
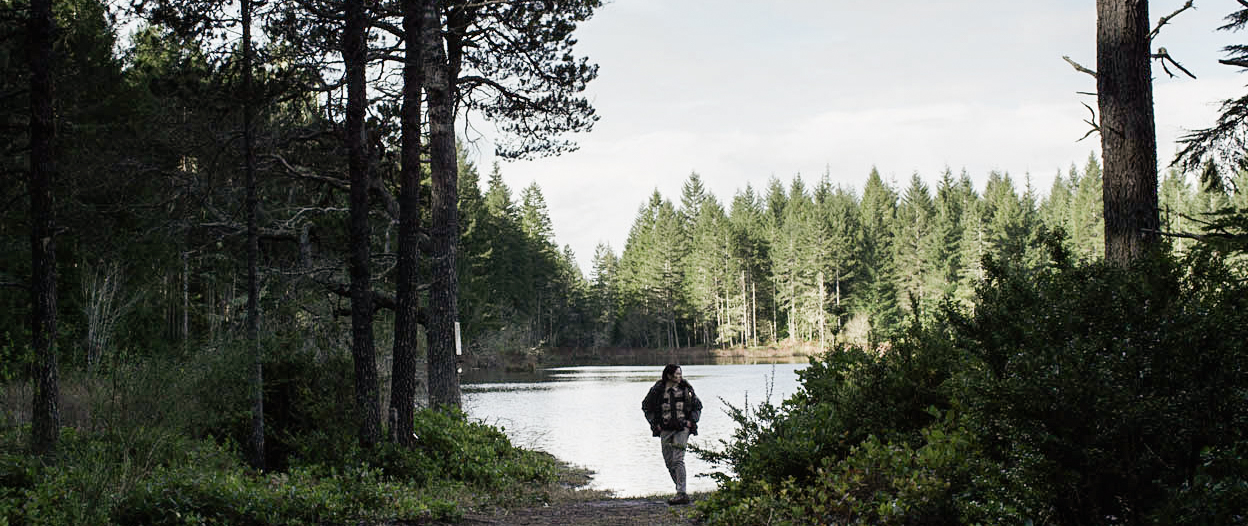
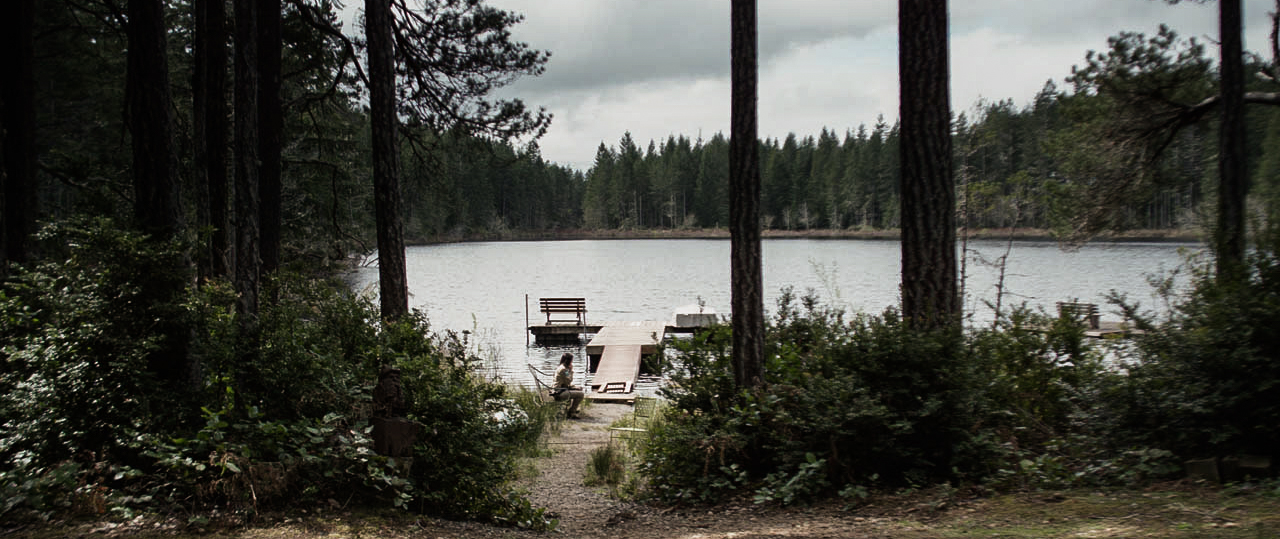
After a 2 day break we headed our production to Shelton Washington where we would shoot the Cabin scenes with Carson and Alice. This was our heavy shooting period and had about 6 days to shoot around 60 pages of script. A most challenging idea indeed. Now we only had a few bumps at this location and most of it was sound related. Whether it was the wind picking up, gunshots in the distance, roadwork on the lake (where there were only 5 houses) or crows in heat, there was always something just slightly too loud for us to shoot. Luckily Jason Alberts, our sound guy, is phenomenal and got us what we needed and kept it sounding good. The other issue was our always changing light. Sun moving in and out of clouds. Trying to keep continuity within a scene was sometimes tough with our main light source always fluctuating. We were able to employ our shooting methods here though and for the most part everything worked out exactly as we had hoped and came away with some great looking footage. We got everything we needed from that location and even finished a bit early. So we were able to get back to Seattle at a decent time and start prepping for the last leg.
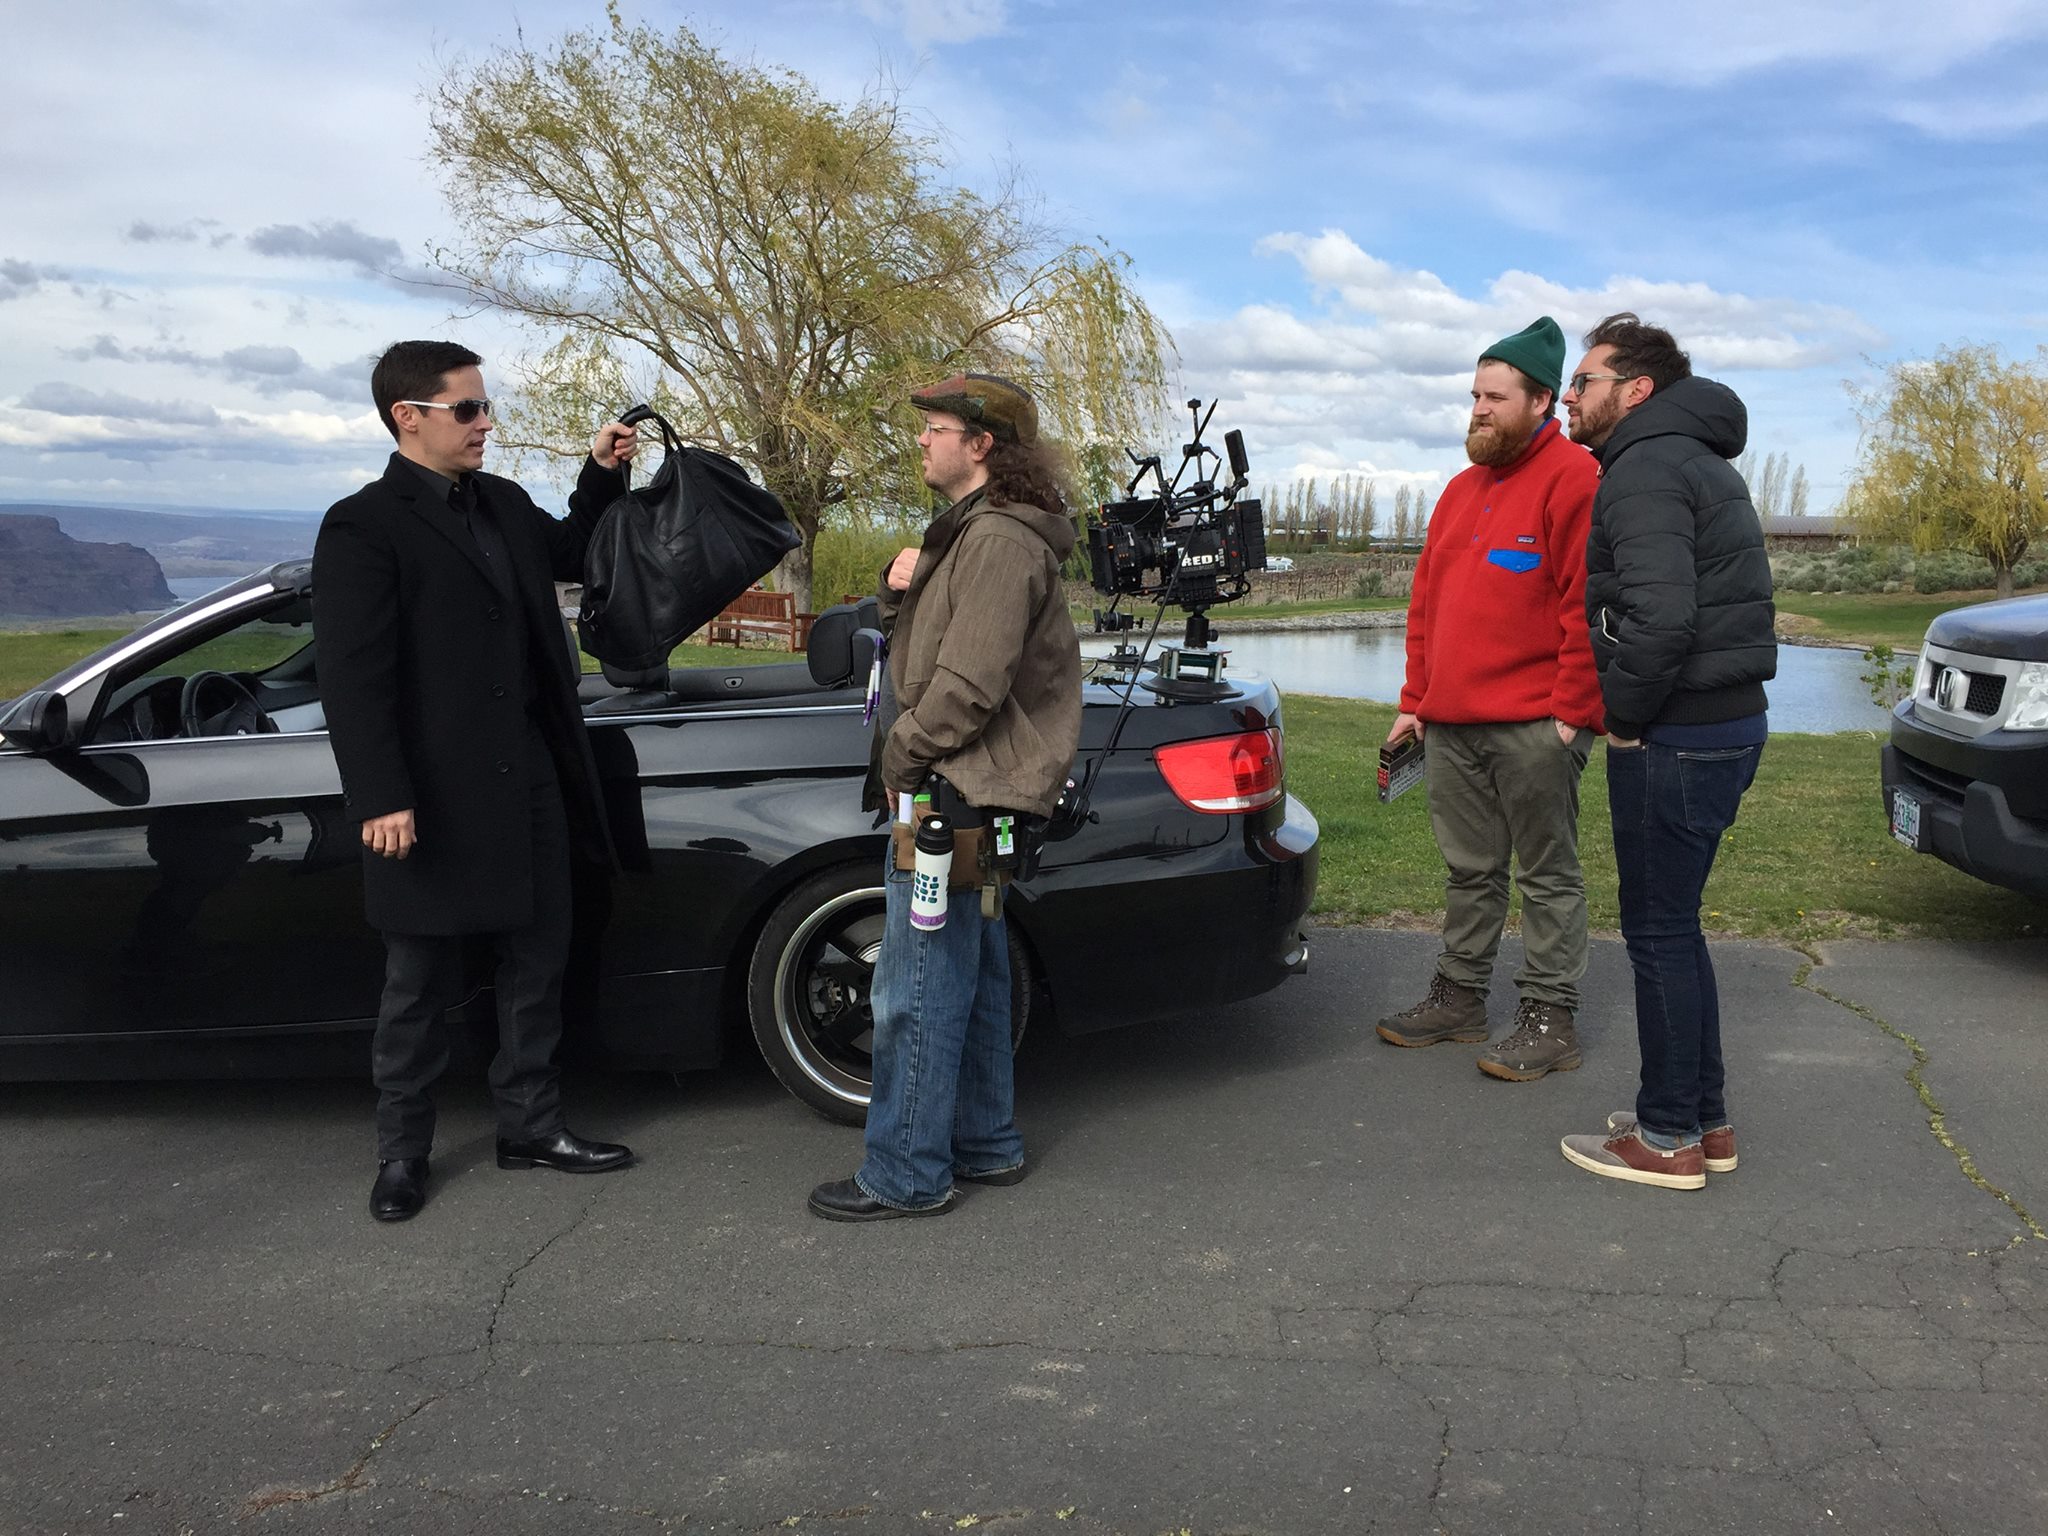
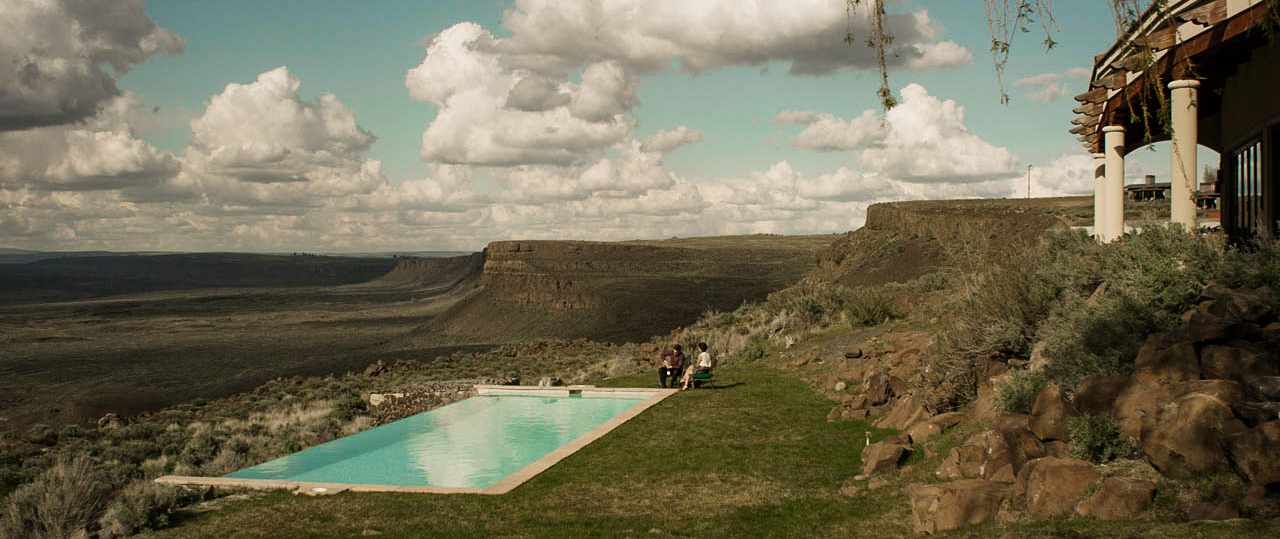
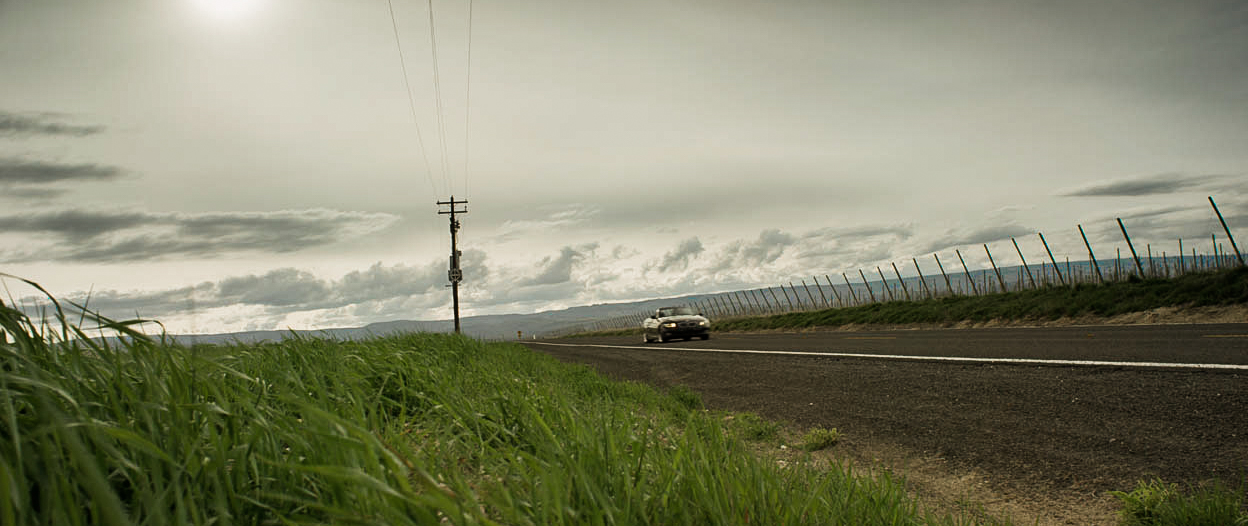
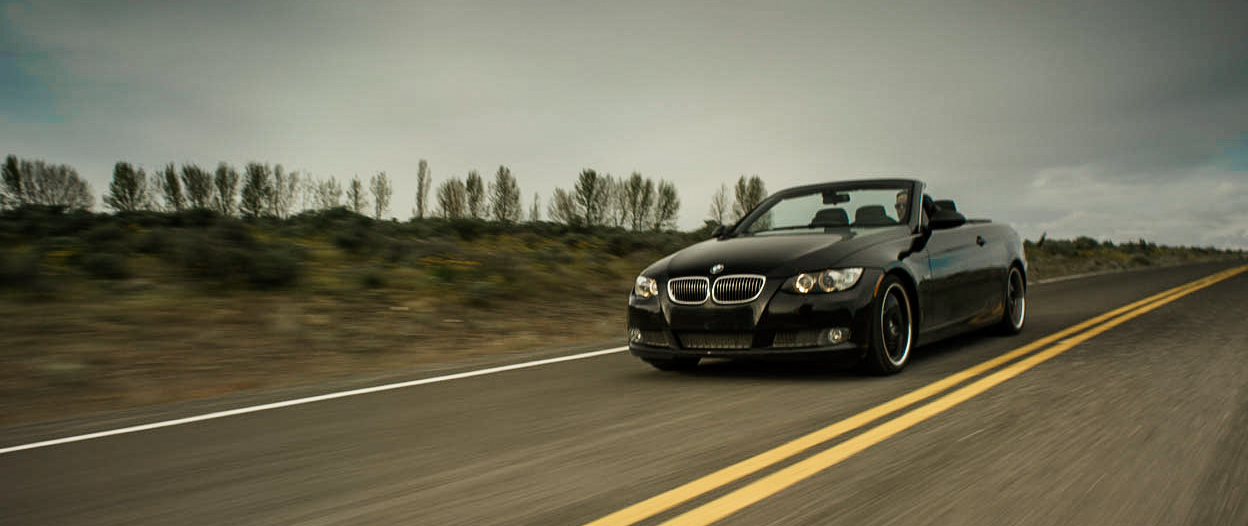
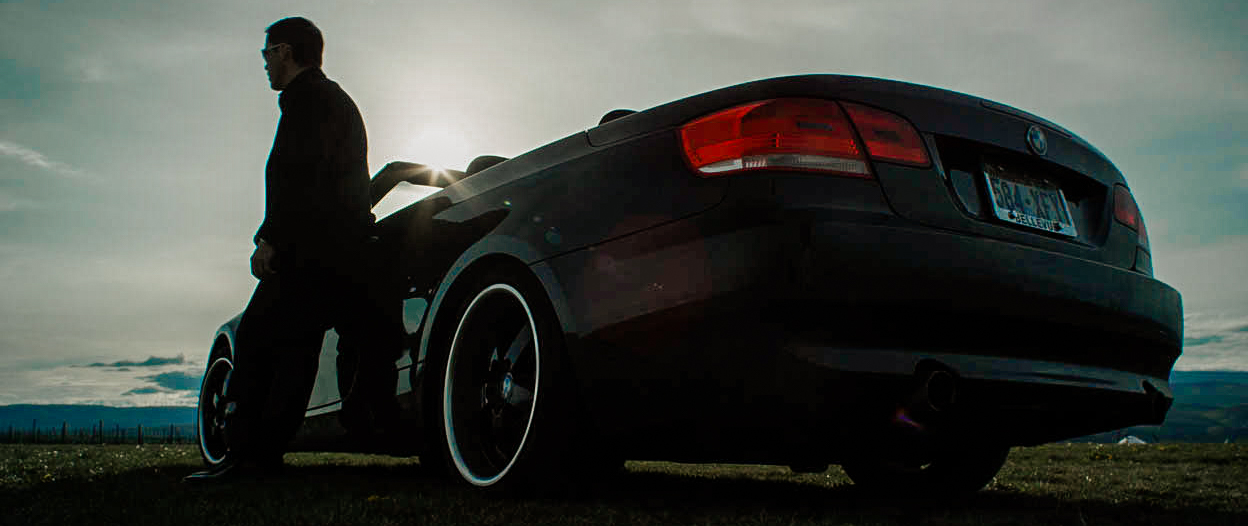
We ended Paralytic in a 3 day stint in eastern WA by the Columbia river near the Gorge Amphitheater. It was all sun all day long but still we had lots of movement through clouds we would have to wait for to keep continuity. Varying degrees of soft light through the clouds meant we would have to pick one look or another and go with it. Sometimes on our larger scenes this would hurt us a bit. But with this size budget and crew, we really didn't have much choice but to do the best we could to keep continuity on lock down. We did capture some great images at the winery though and the landscape here definitely looked beautiful and gave us a look that was far different than the cabin location. We were able to wrap on time and execute what we needed to in the short time we had there.


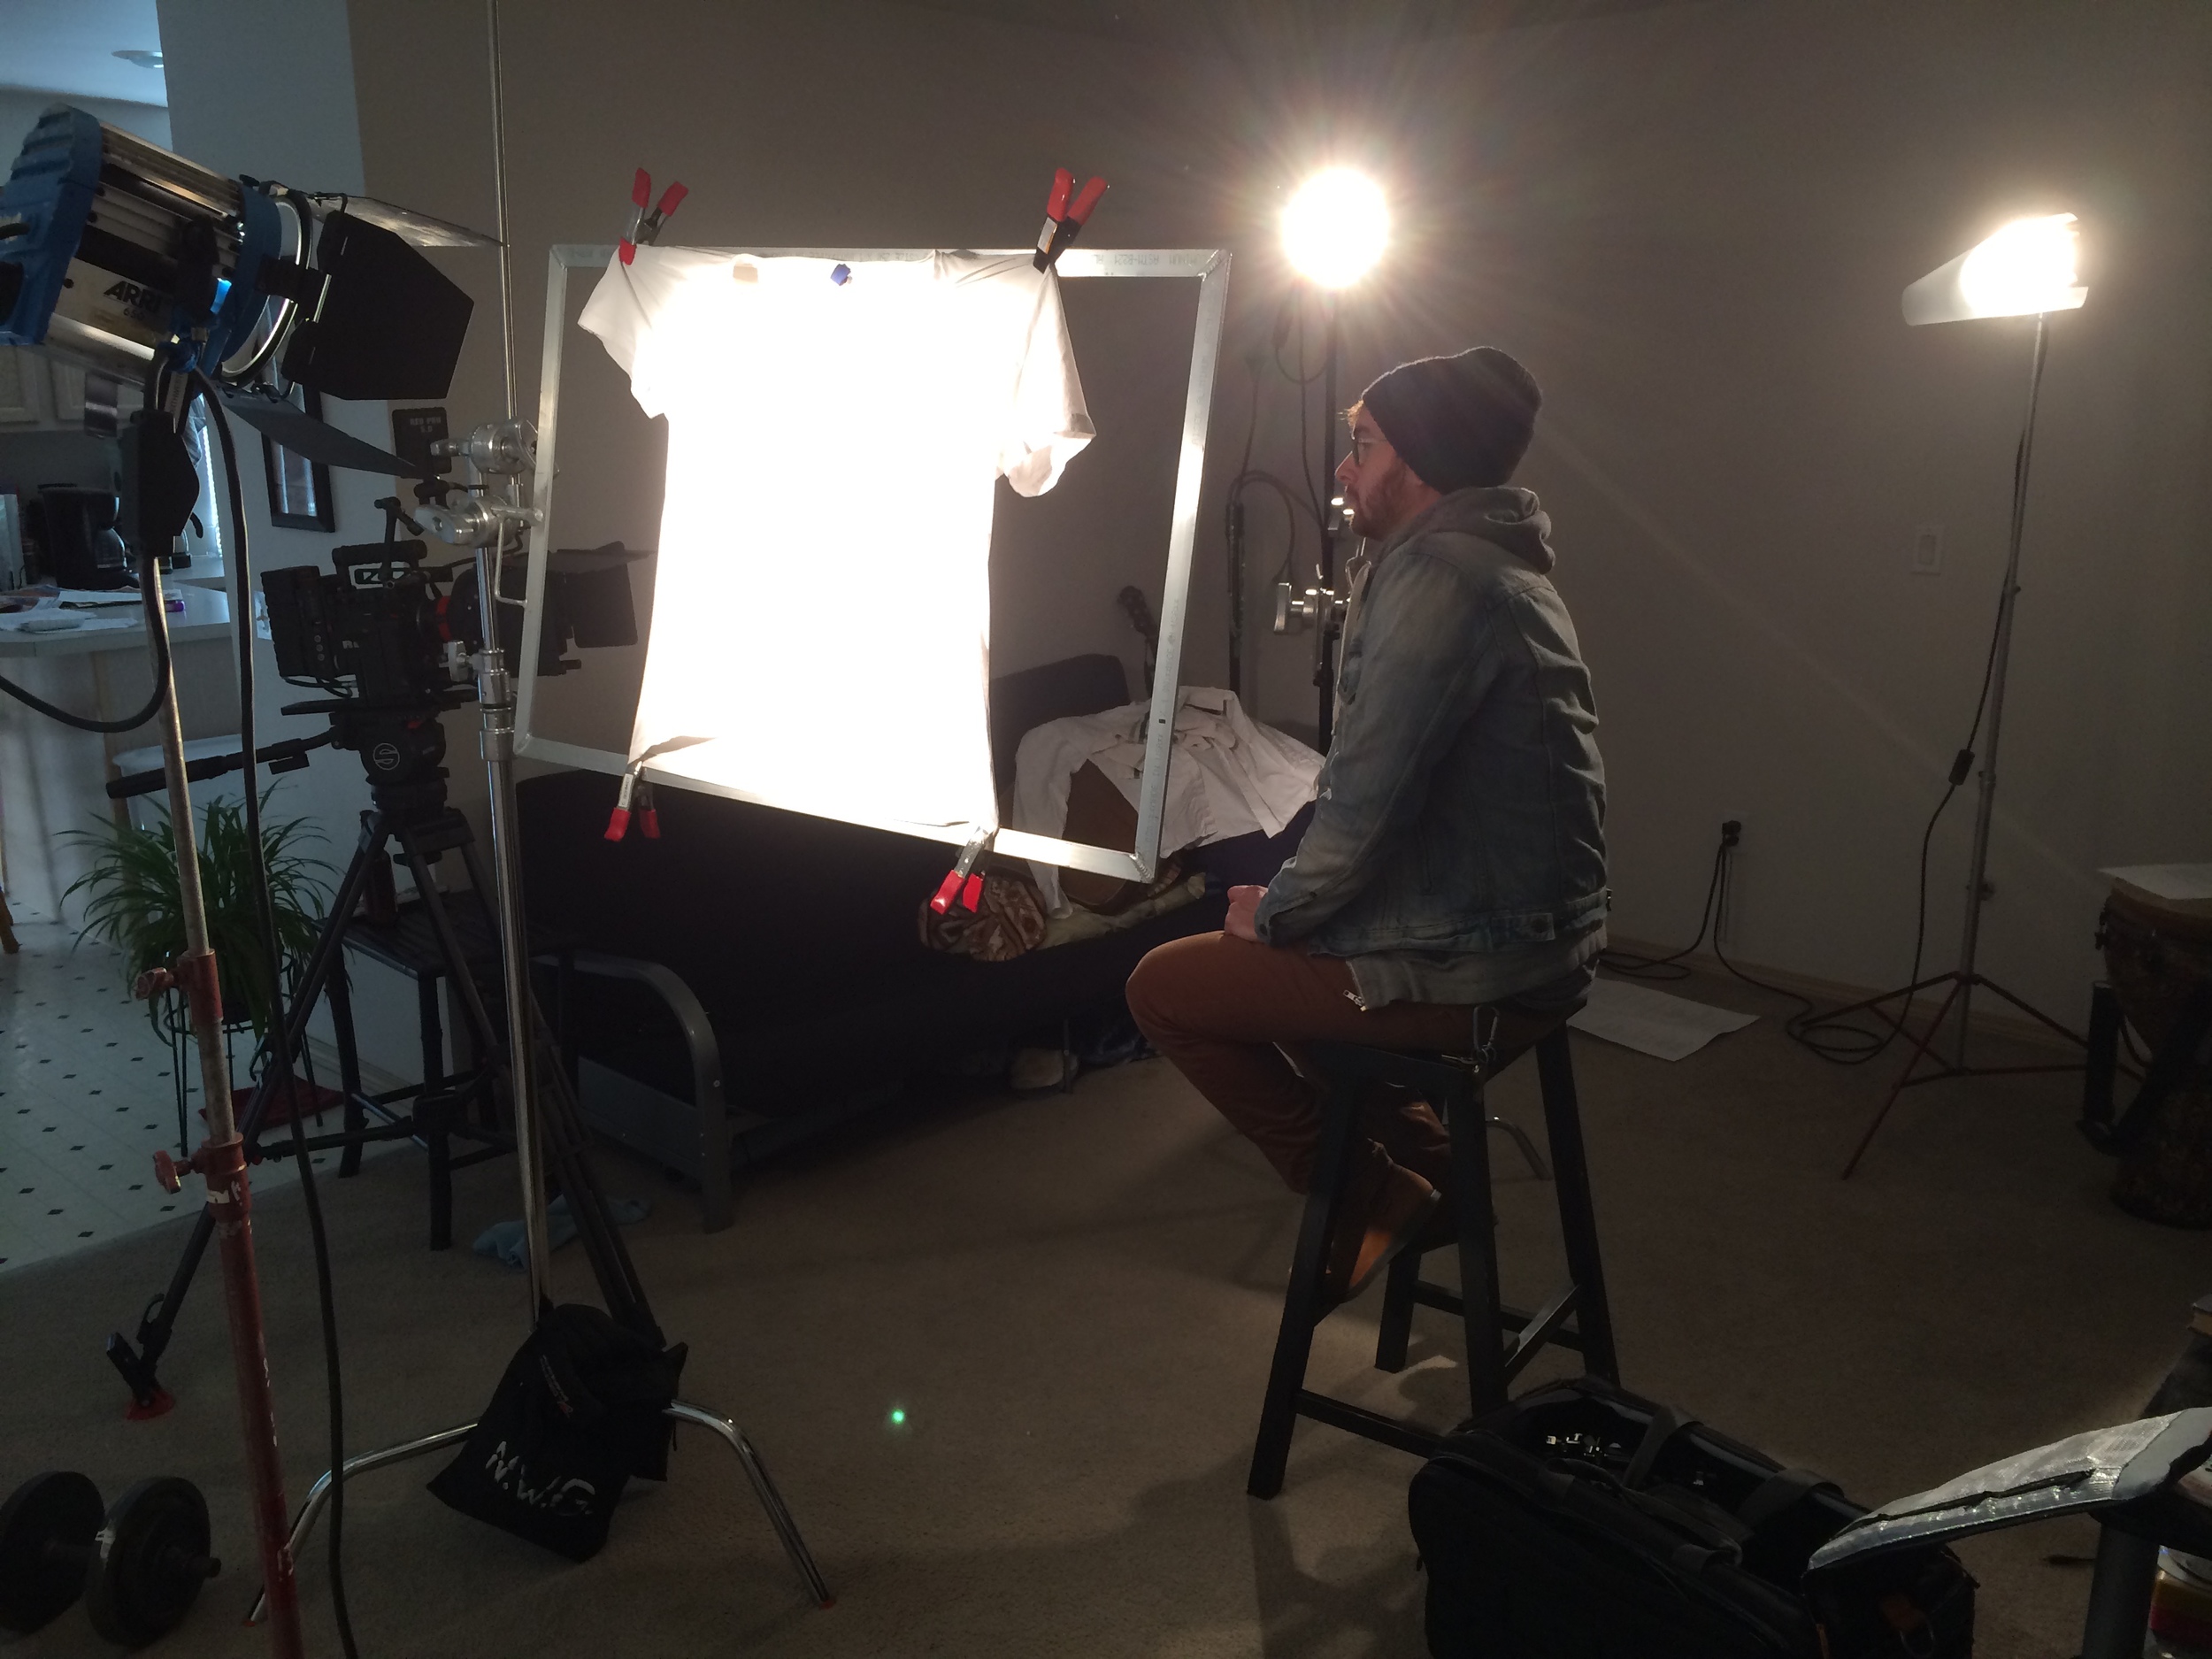
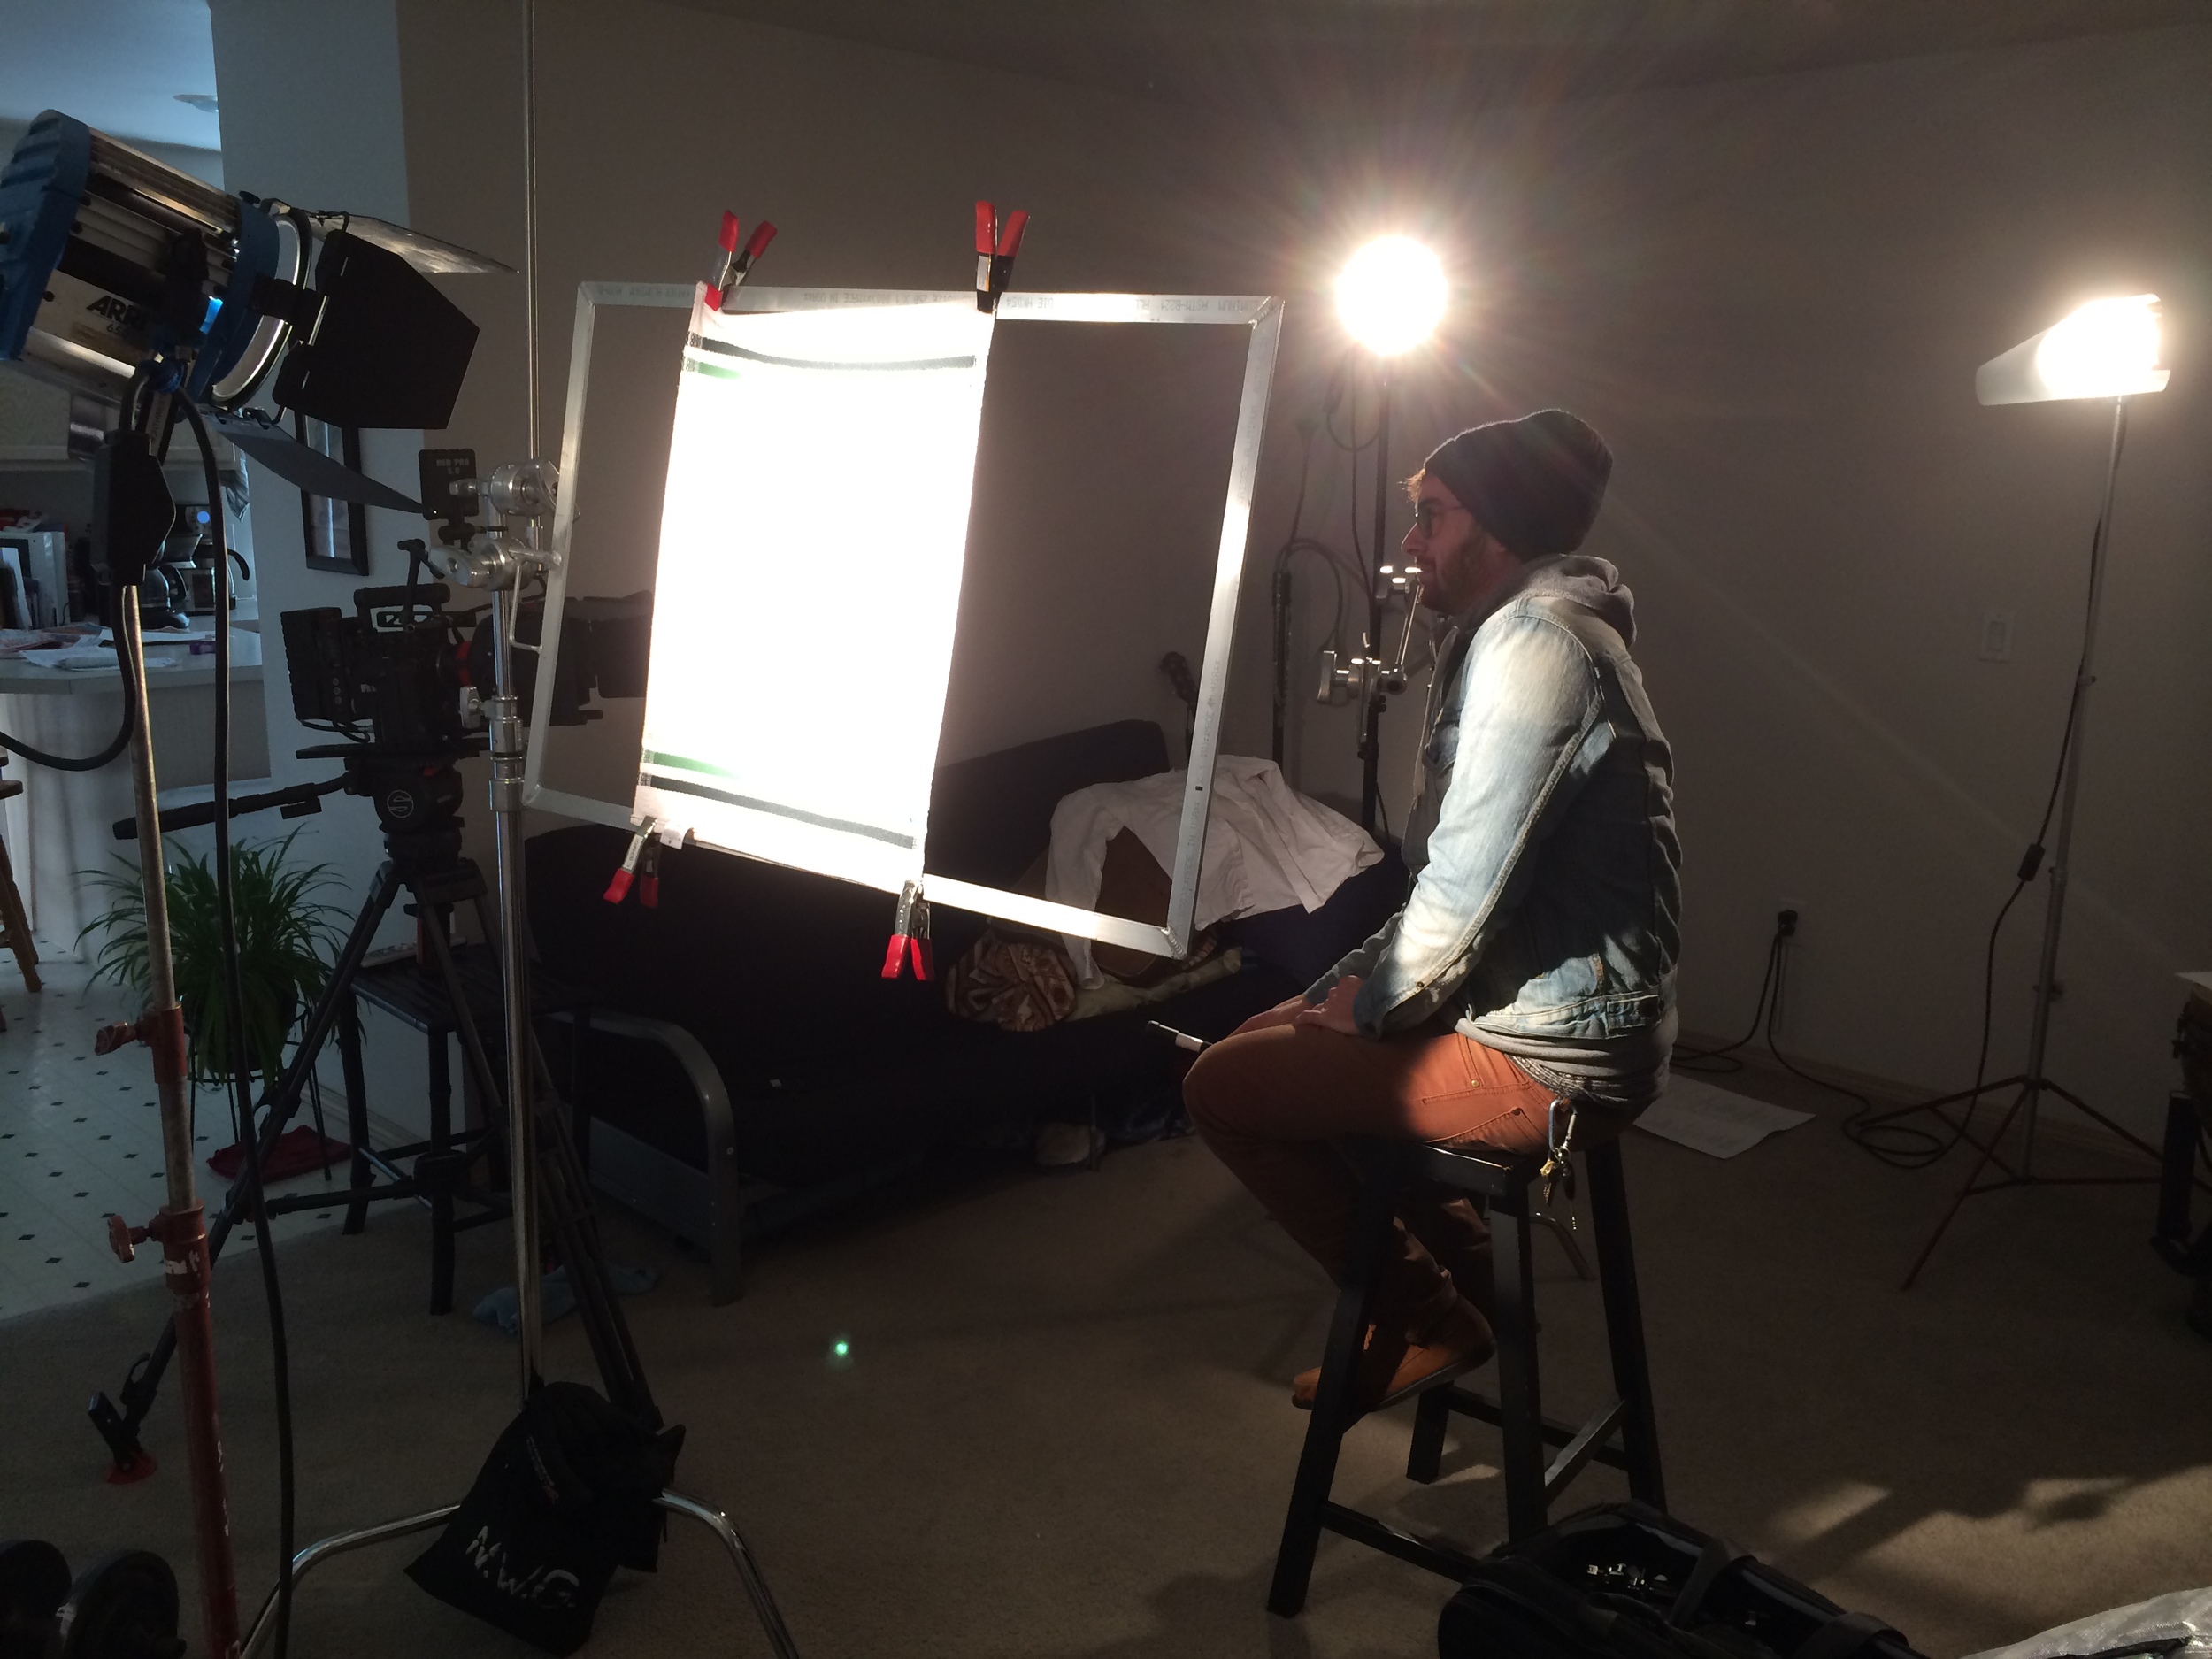
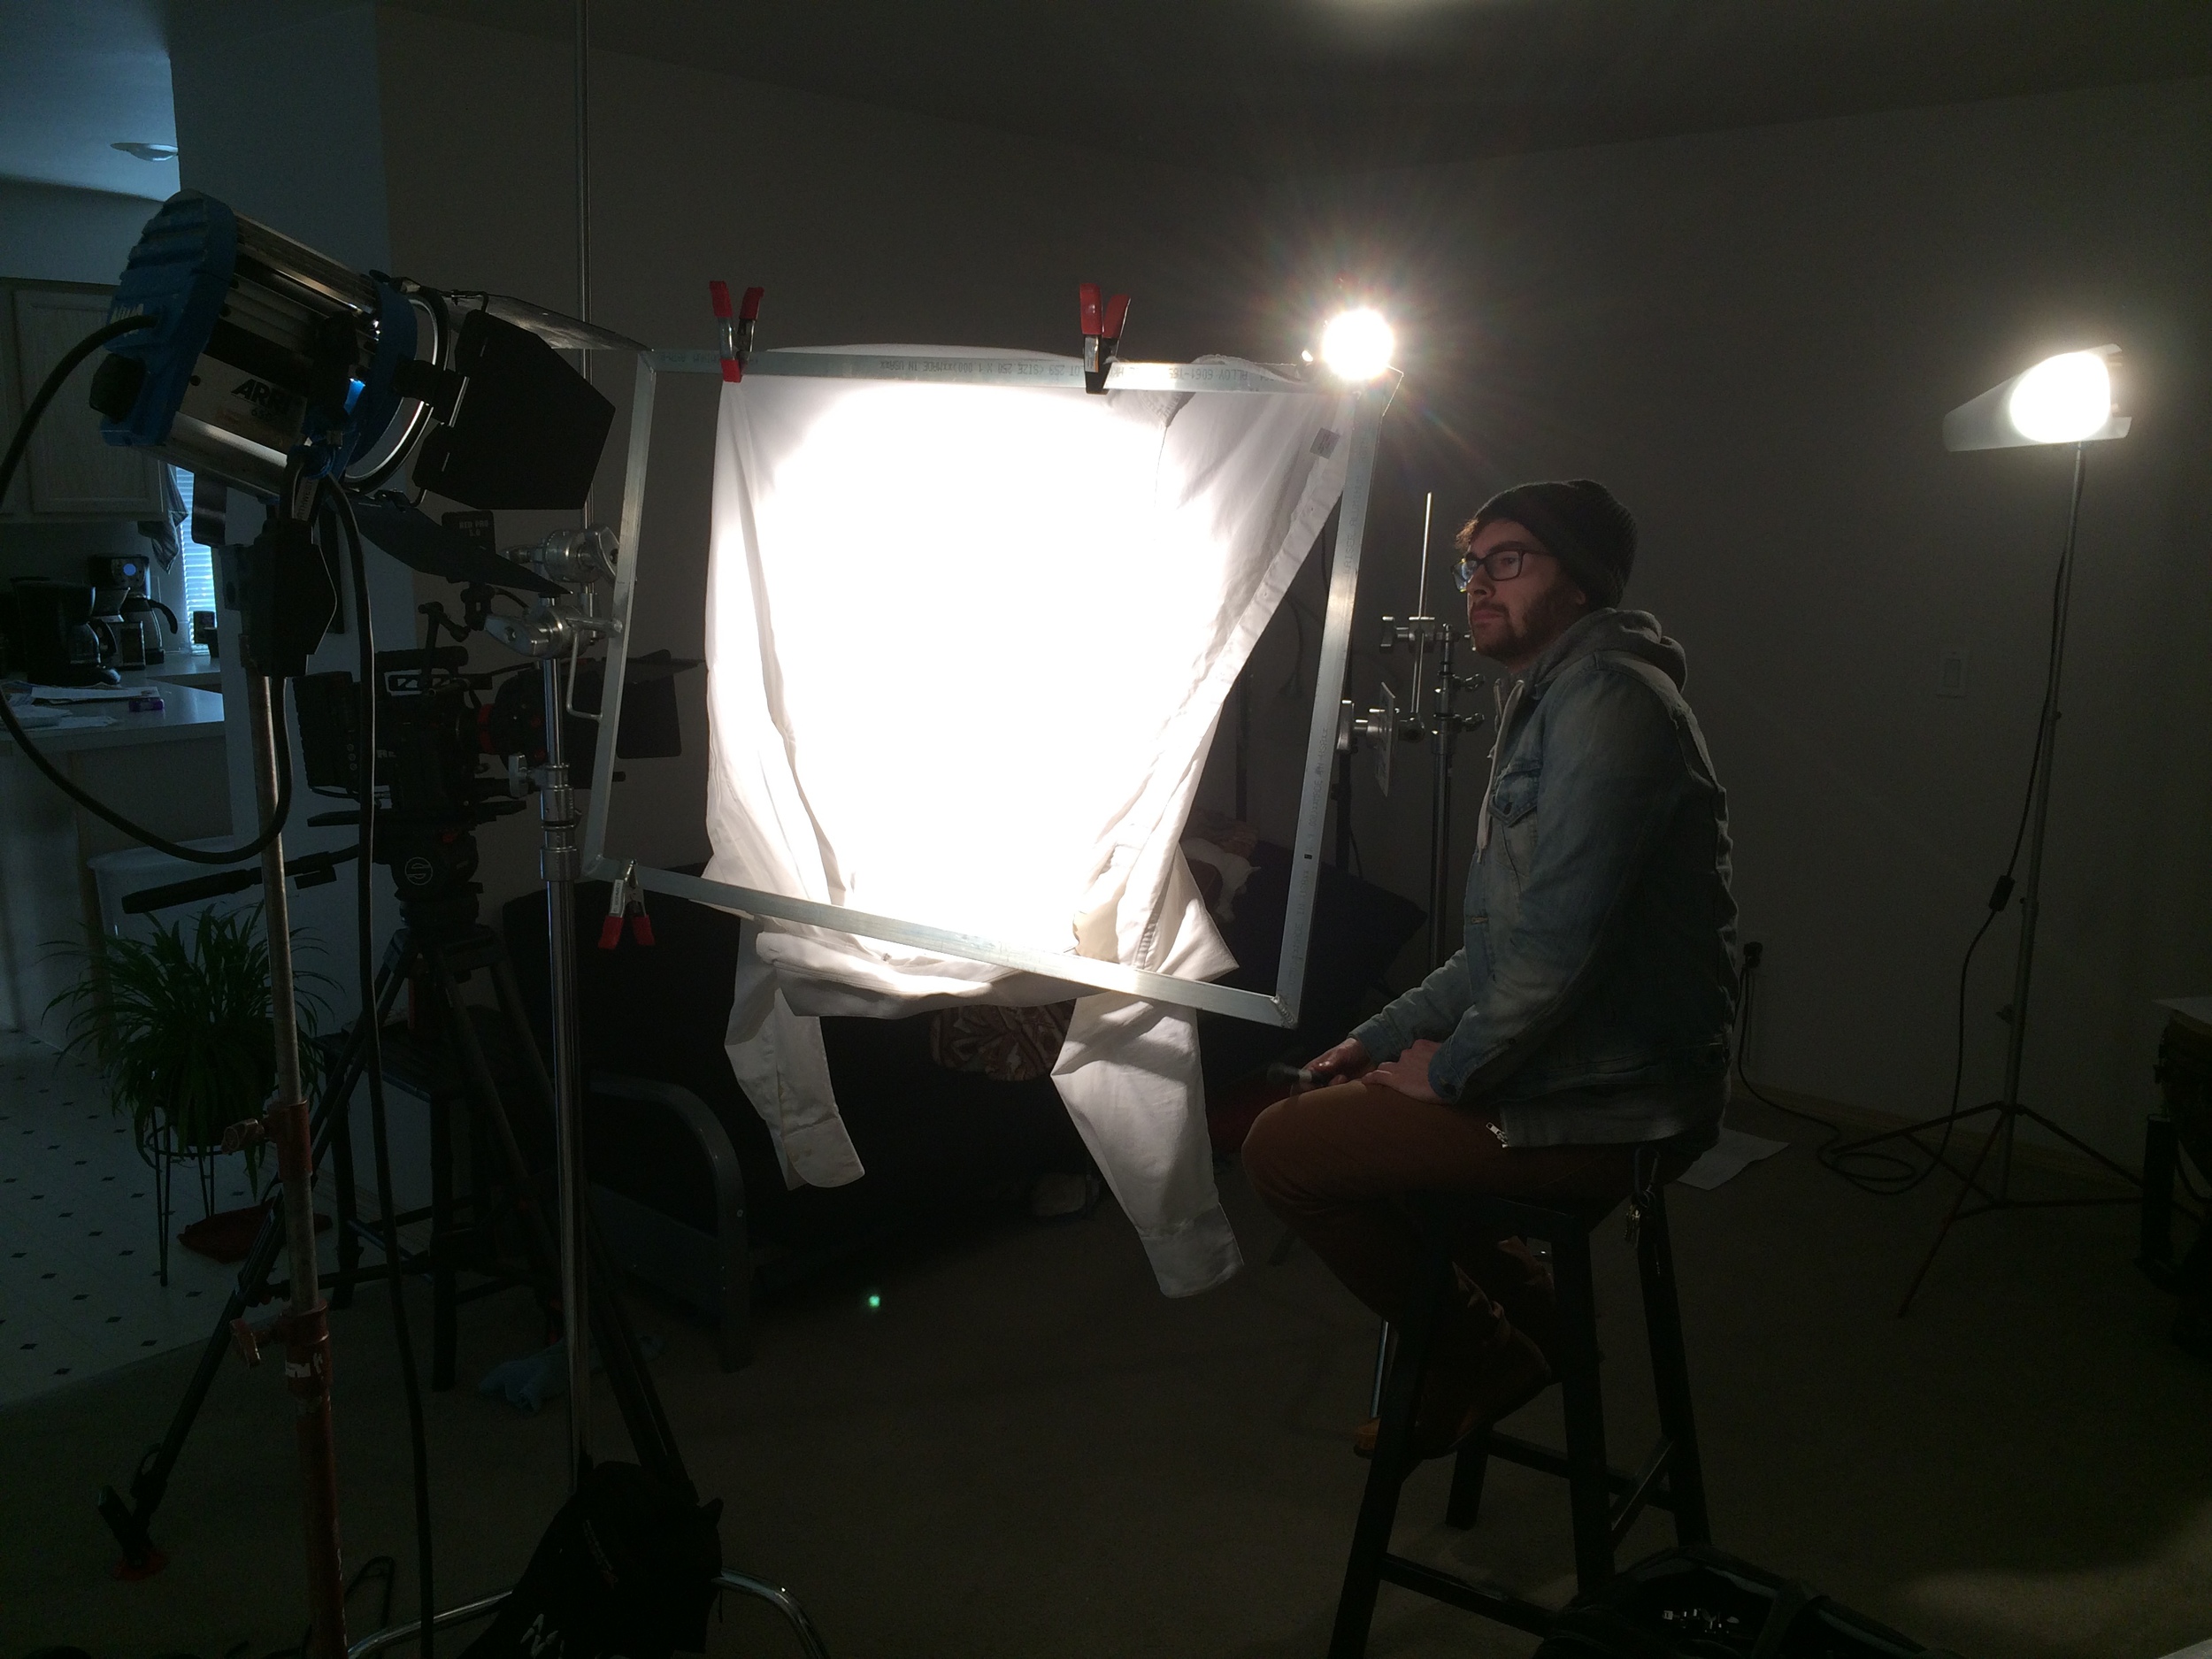
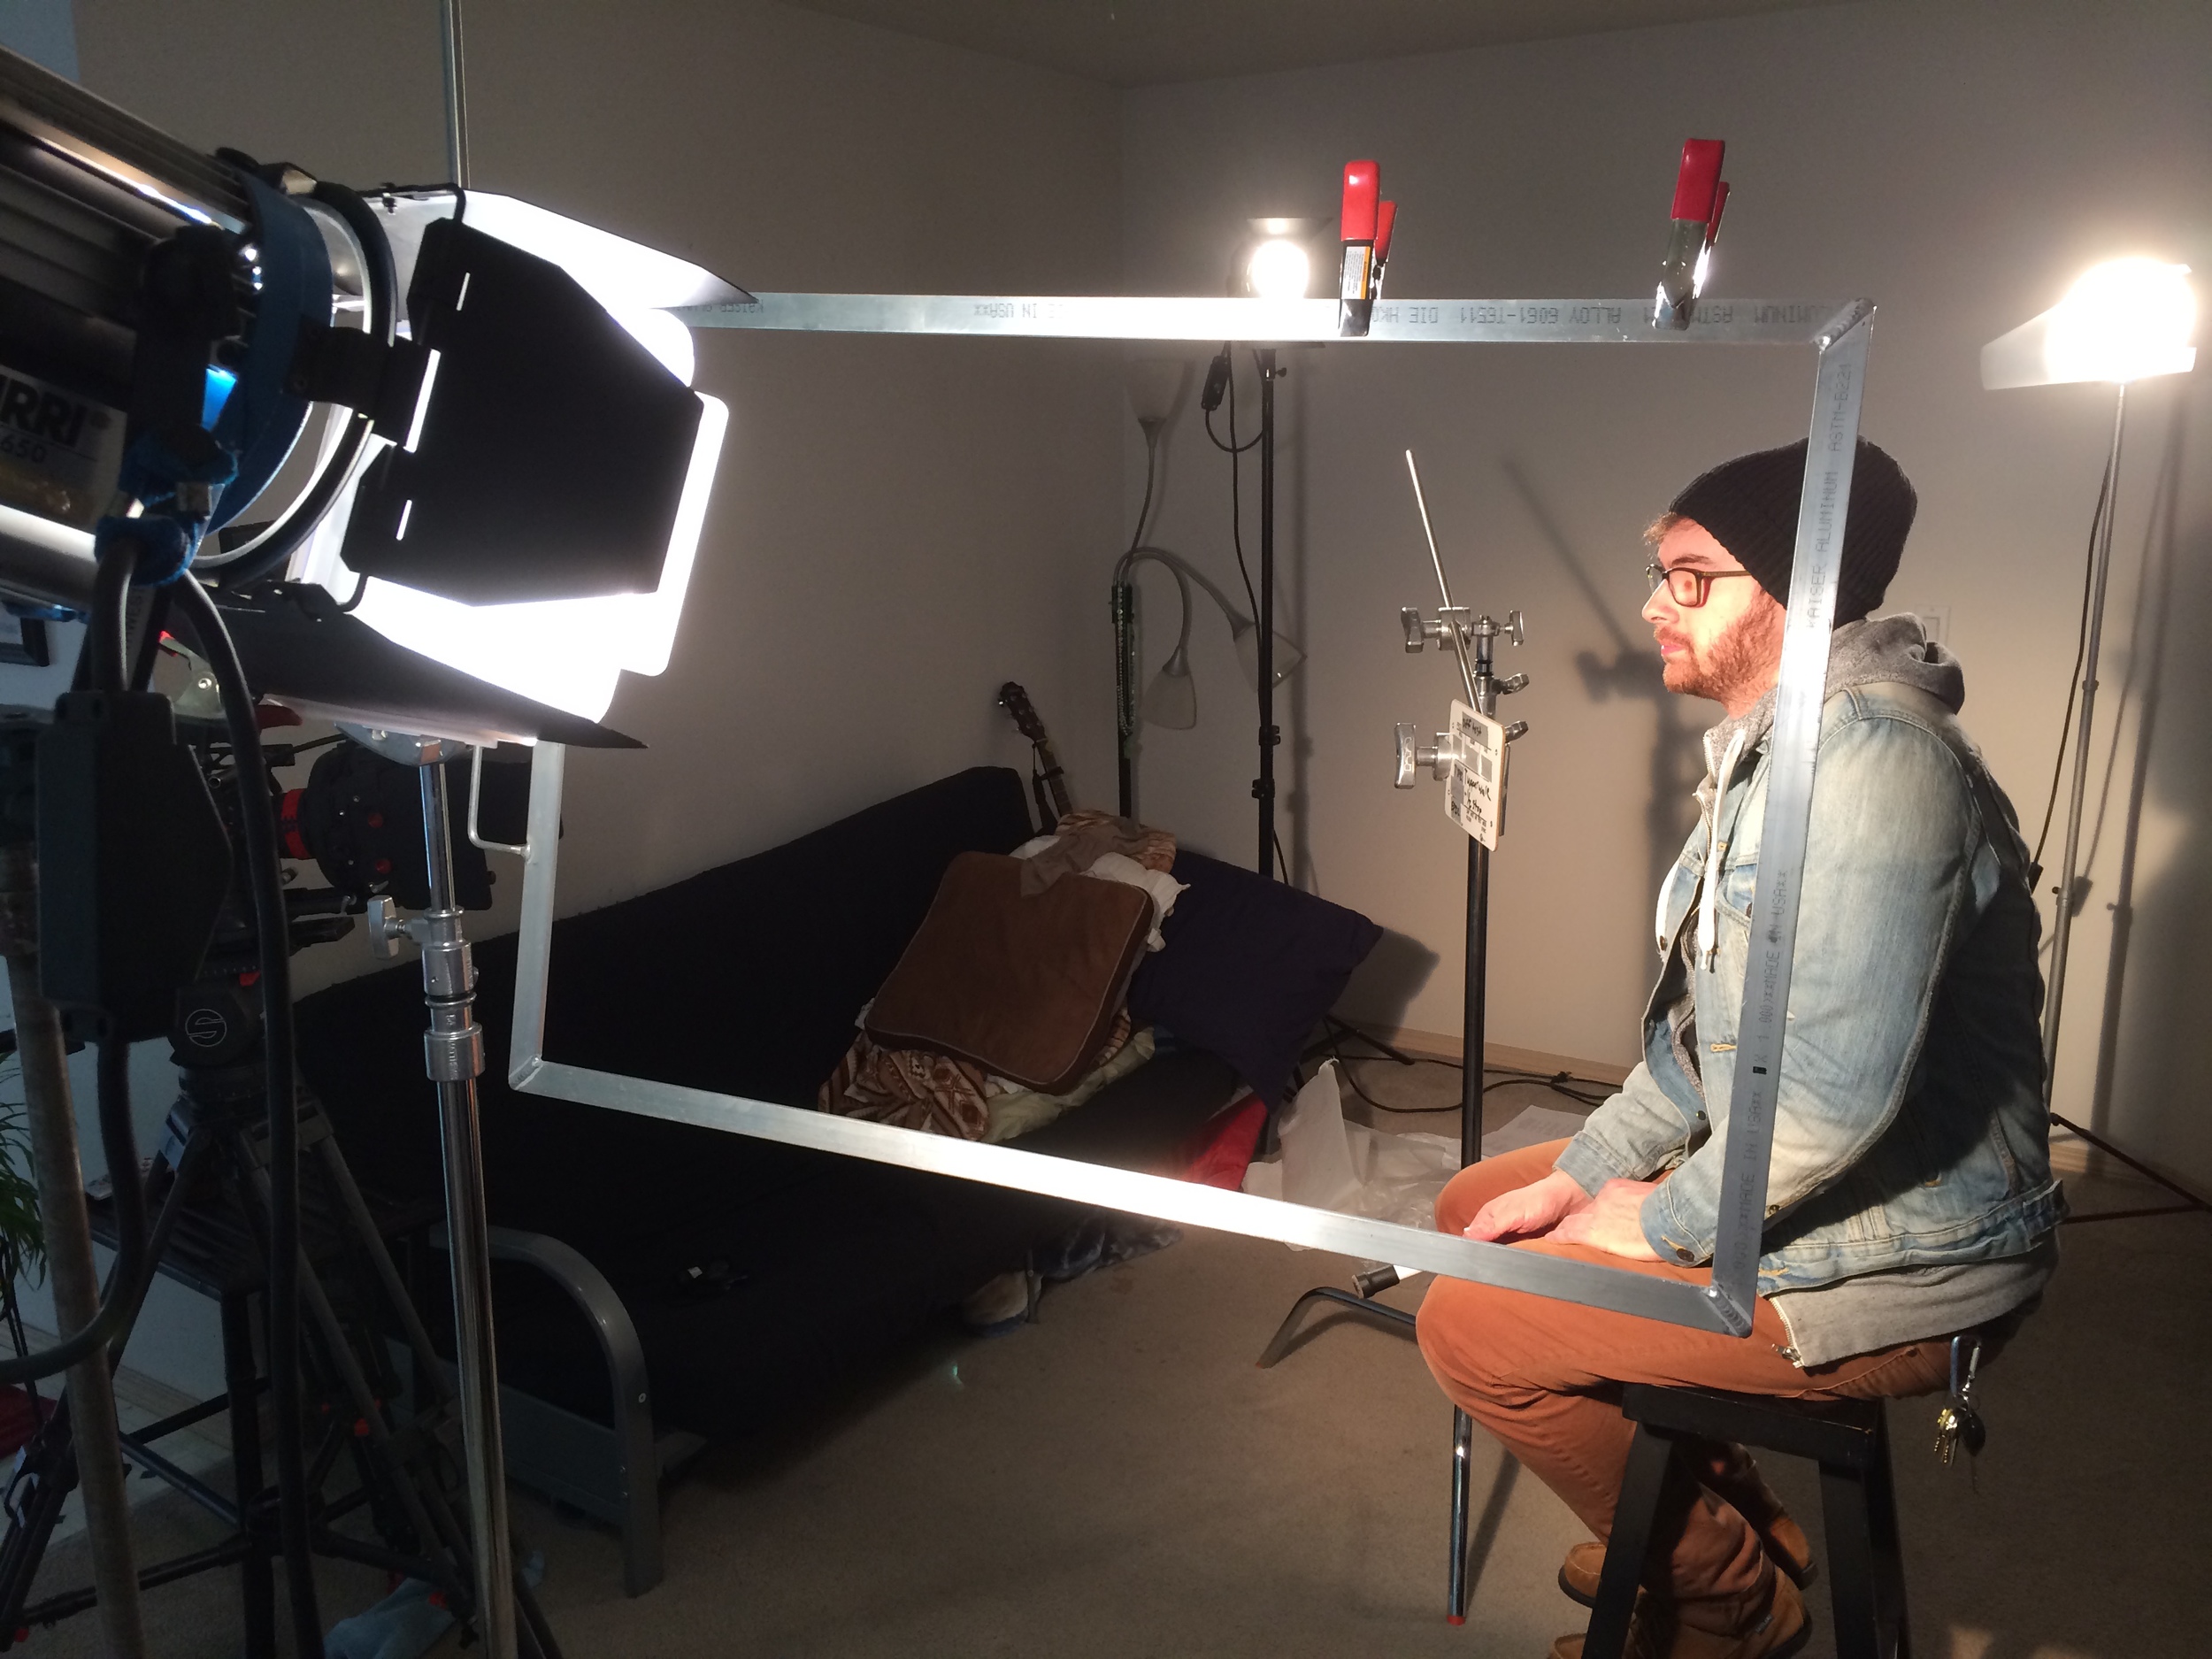
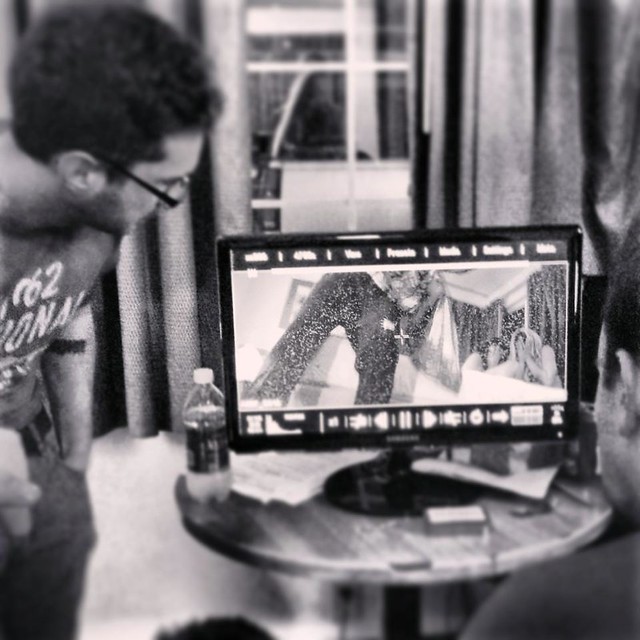
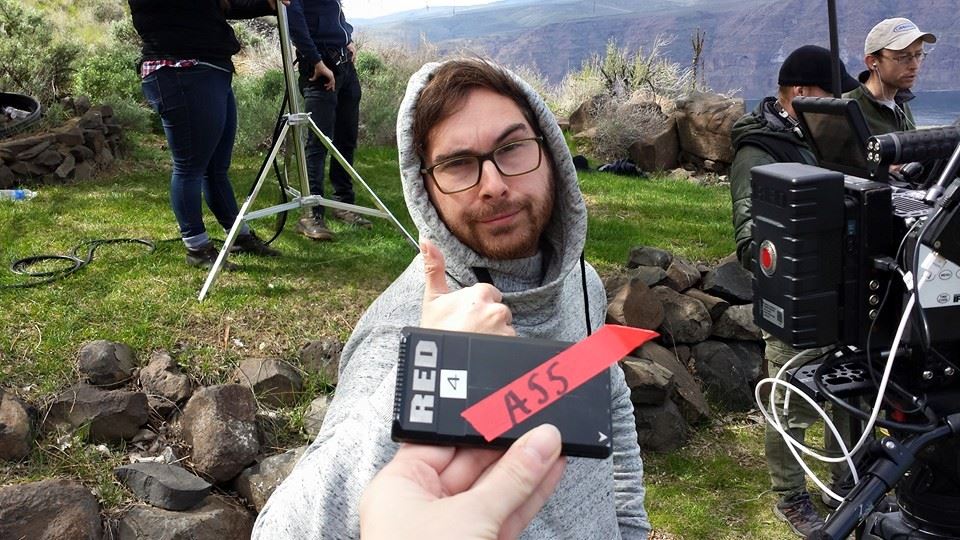
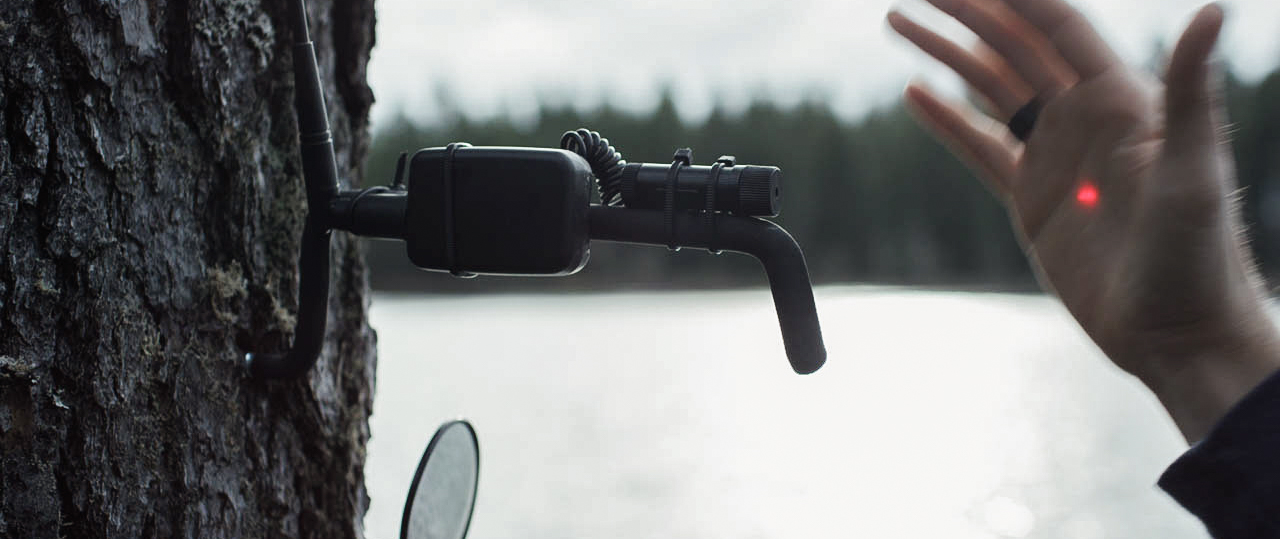
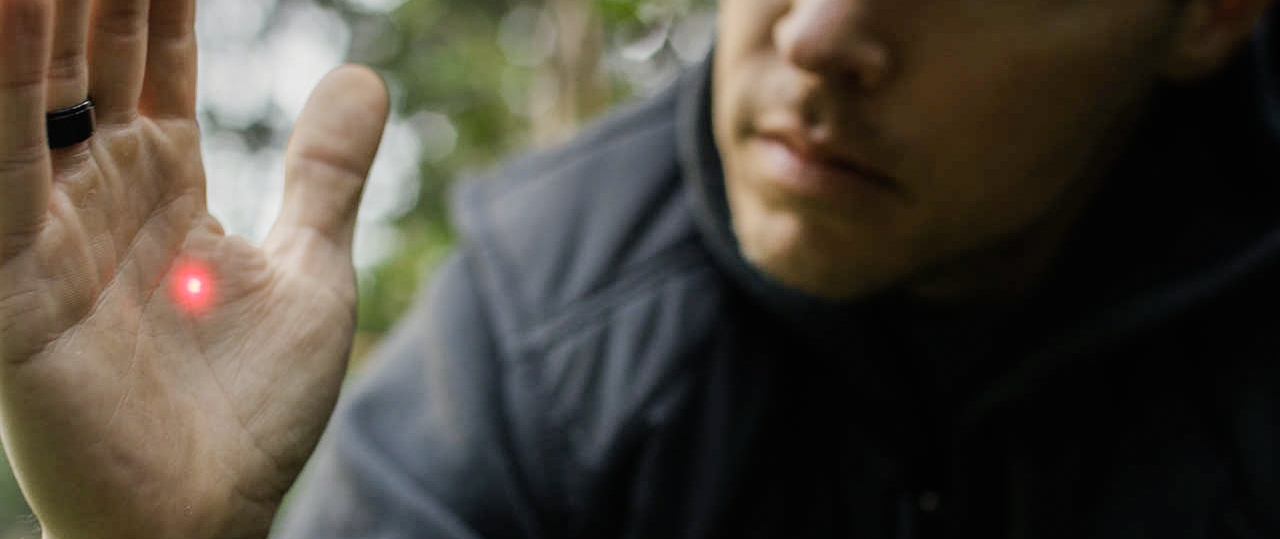
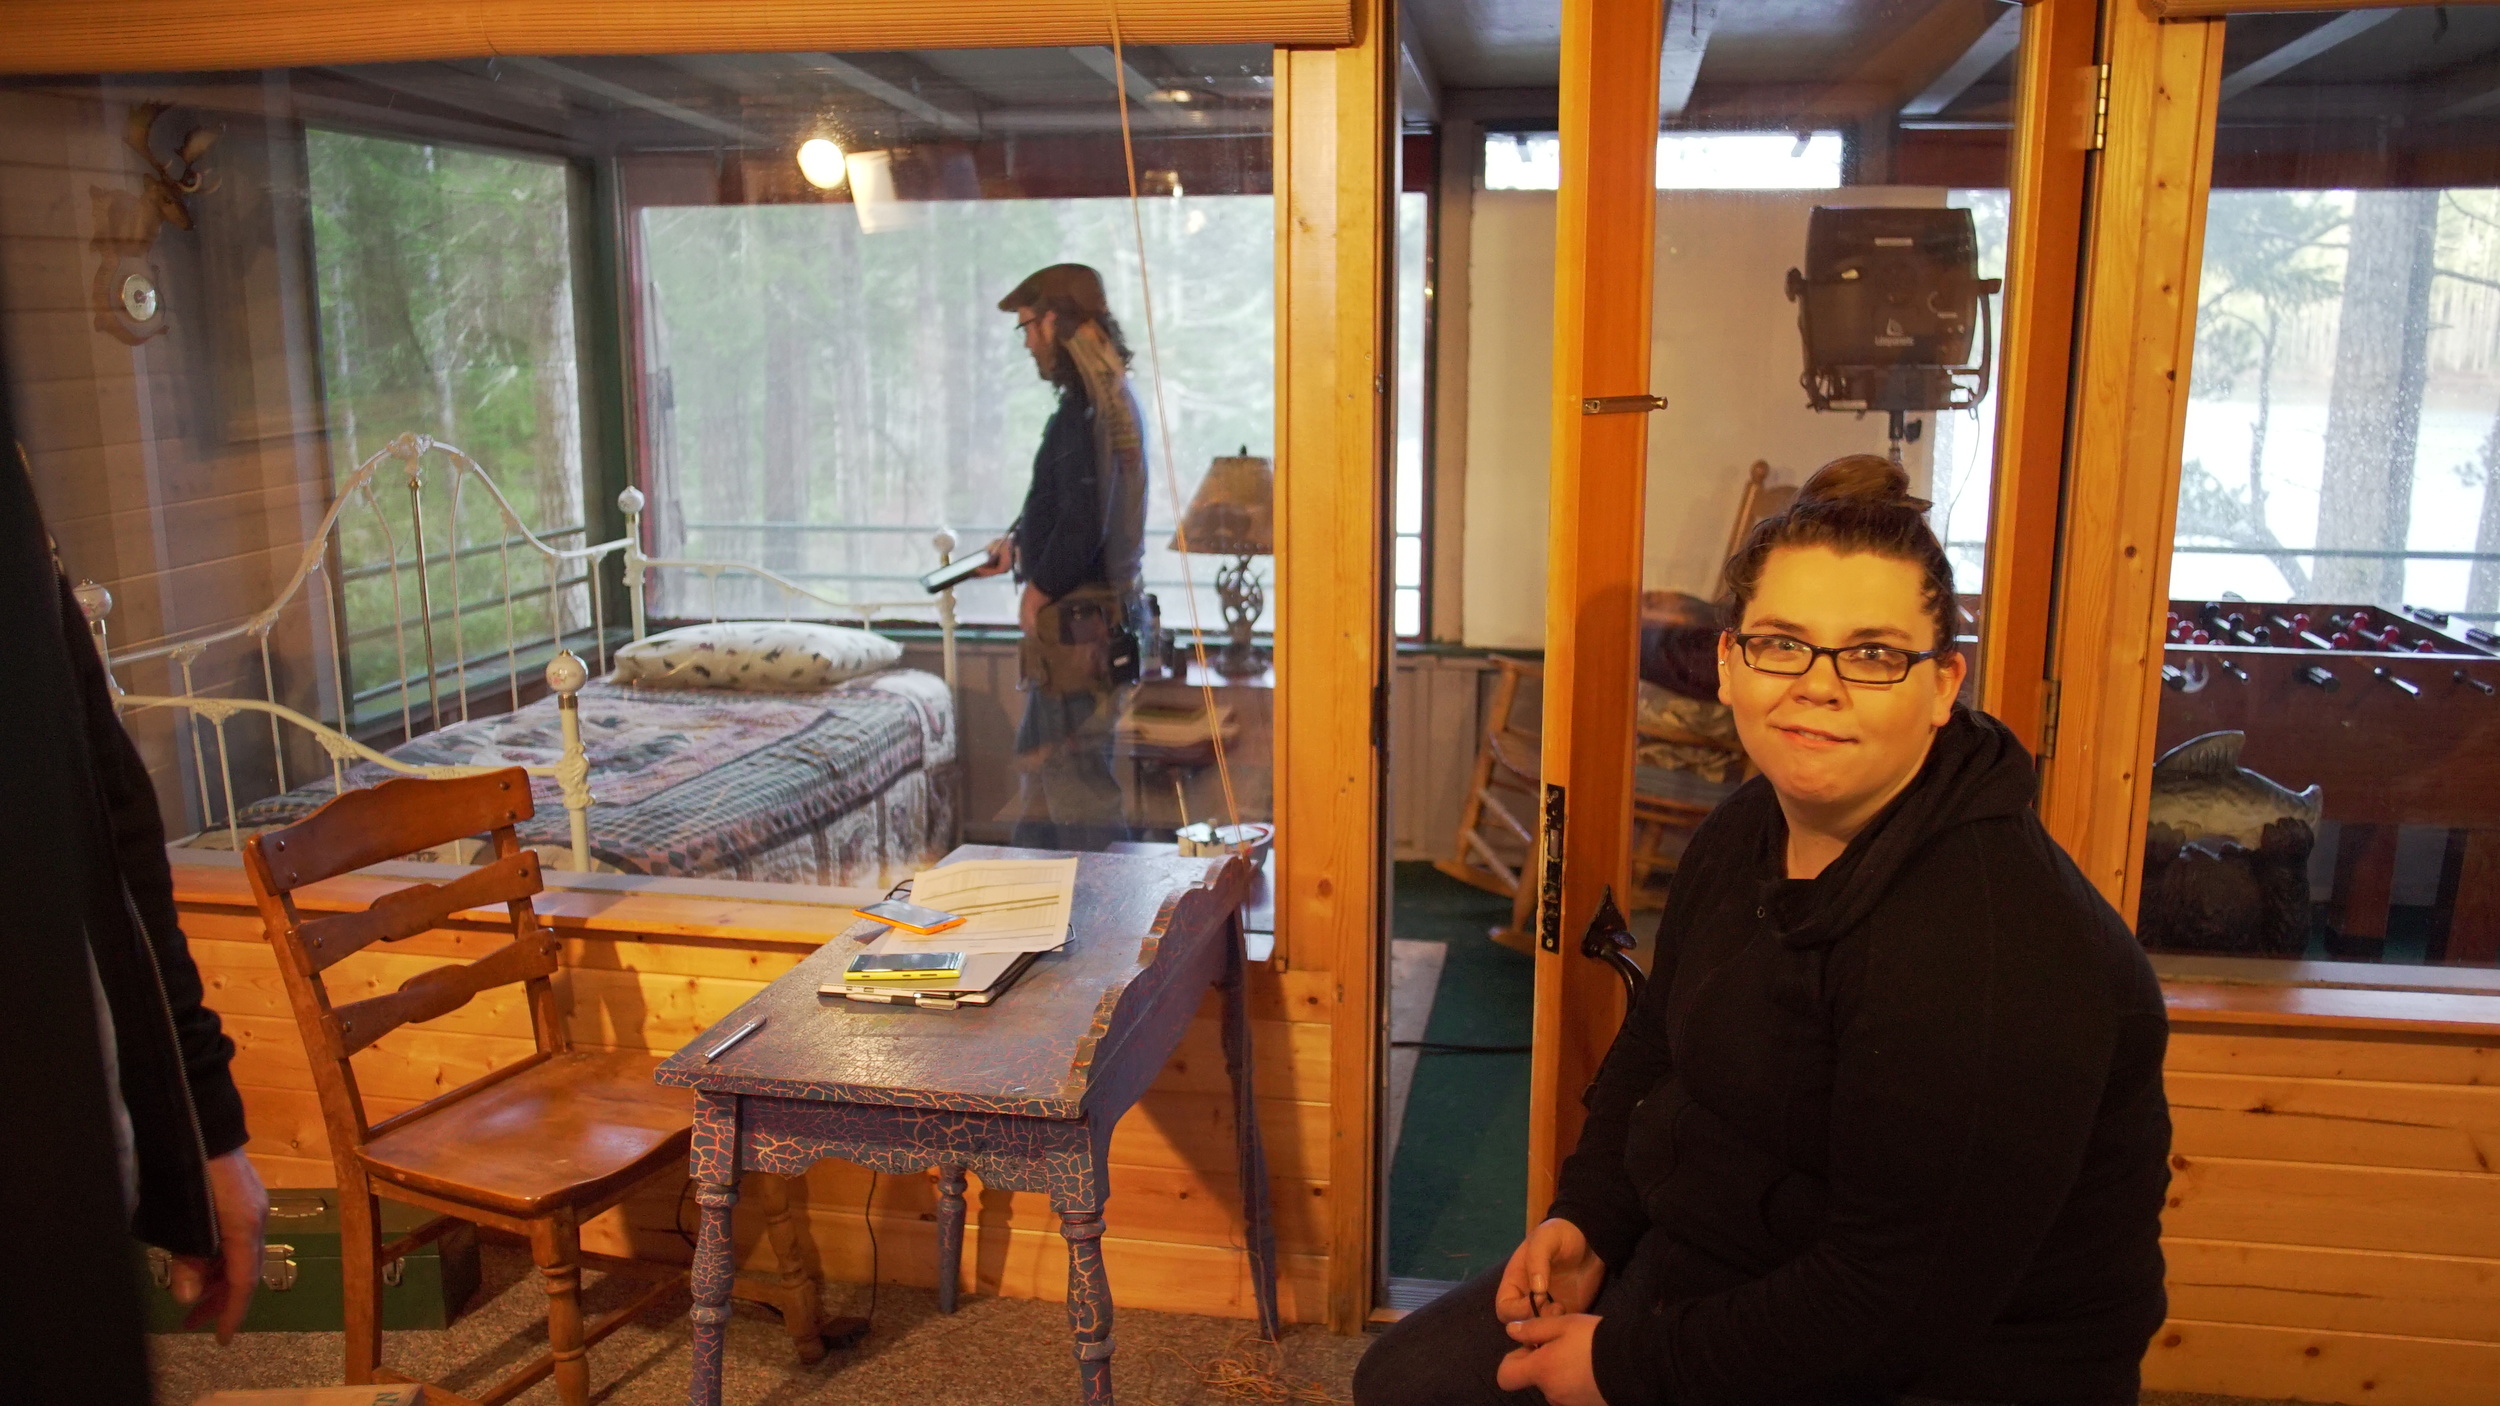
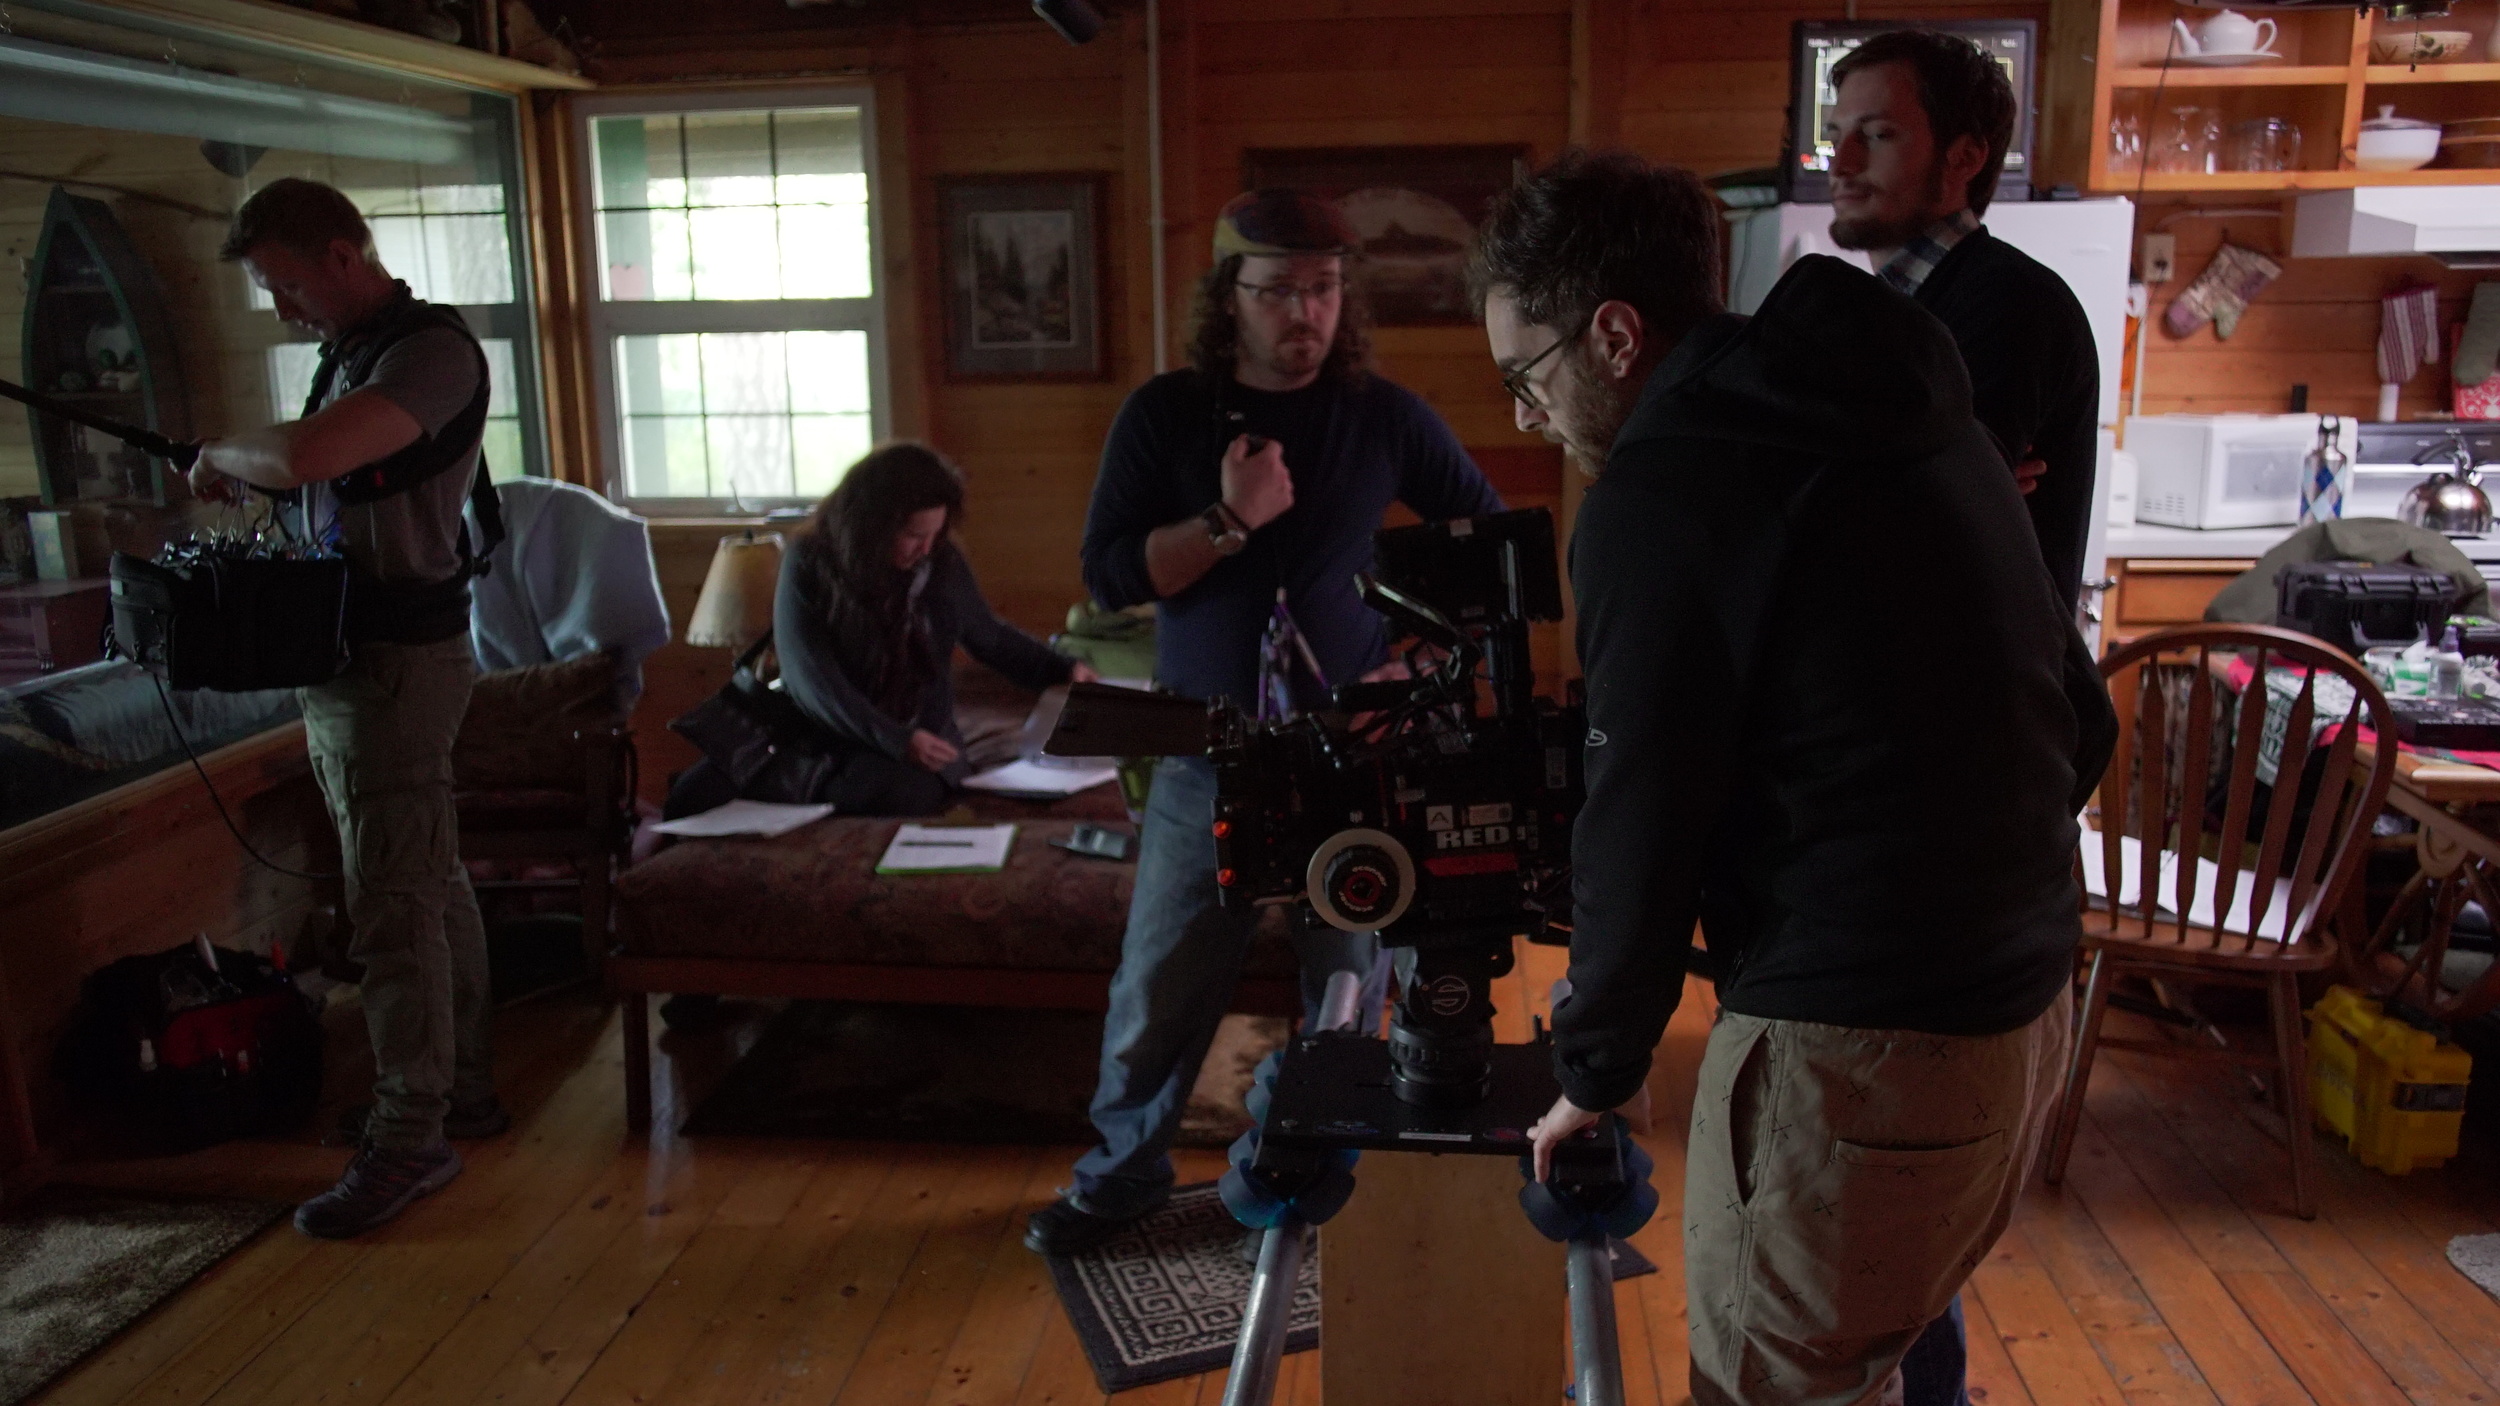
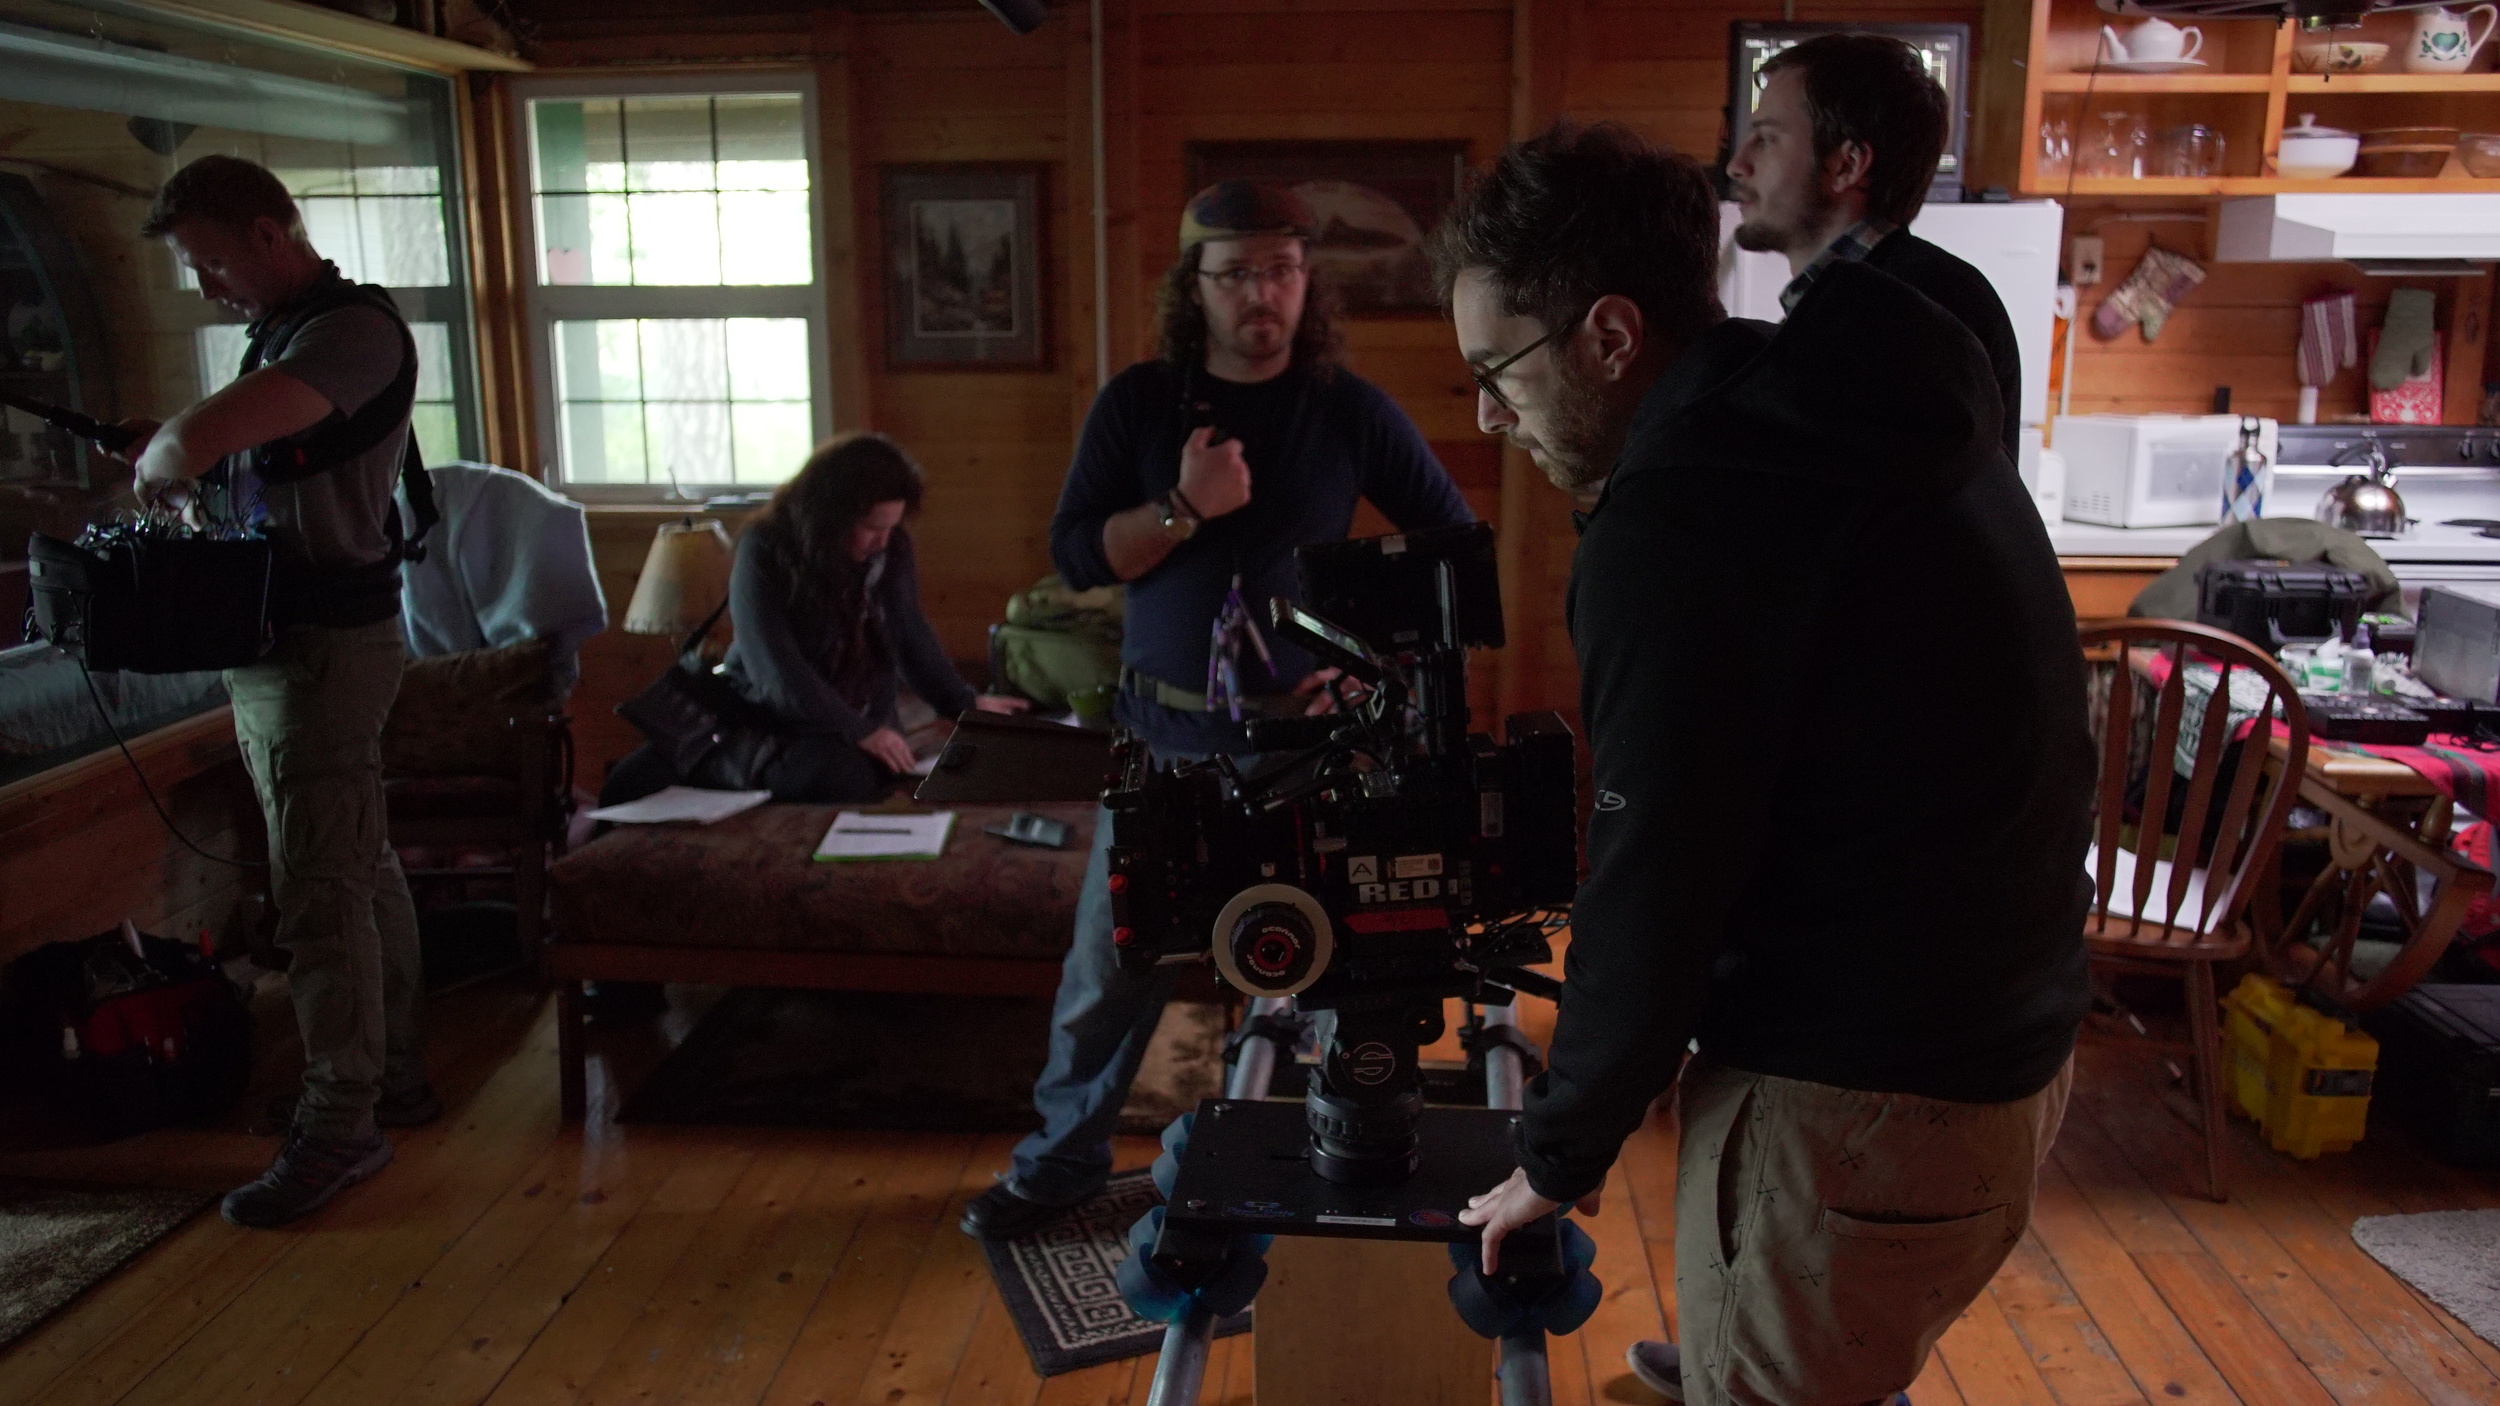
WRAP UP: Coming into this project I think everyone was a little bit nervous about the scope of what we were trying to accomplish in such a short amount of time with such limited resources. But we had a great crew and each person was insanely talented. Because of this I think we really were able to pull off something big. It really is important to spend adequate time in preproduction for all departments to be able to achieve something that looks and feels much larger than the budget you have. Spend your resources in the right places and don't be afraid to spend some time cold calling people. The recipe for success has many different ingredients. I've attached some galleries of low res and mostly ungraded still shots from the movie as well as some BTS pictures as well showing what we were working with and who was involved. THANKS AGAIN TO ALL THE CAST AND CREW!!! COULDN'T HAVE DONE IT WITHOUT YOU. How have your indie feature experiences been? Any success stories or words of wisdom to share? Would love to hear your thoughts in the comments below.
For more info and updates on paralytic, visit: www.facebook.com/paralyticmovie
PARALYTIC: WRITTEN AND DIRECTED BY JOEY JOHNSON
- RED EPIC DRAGON
- RED SCARLET DRAGON
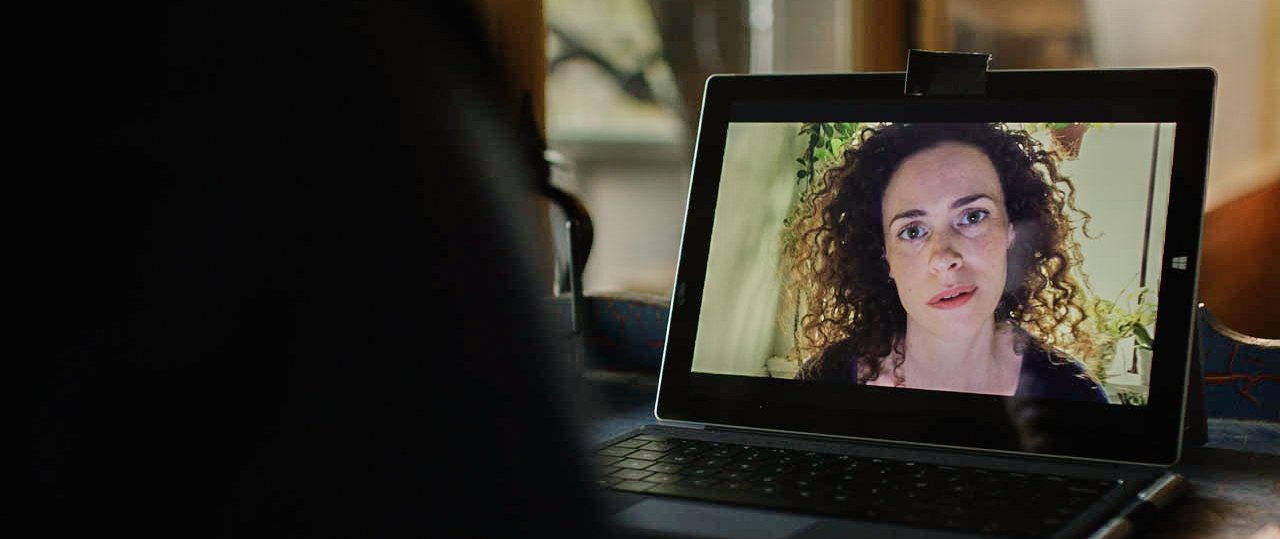
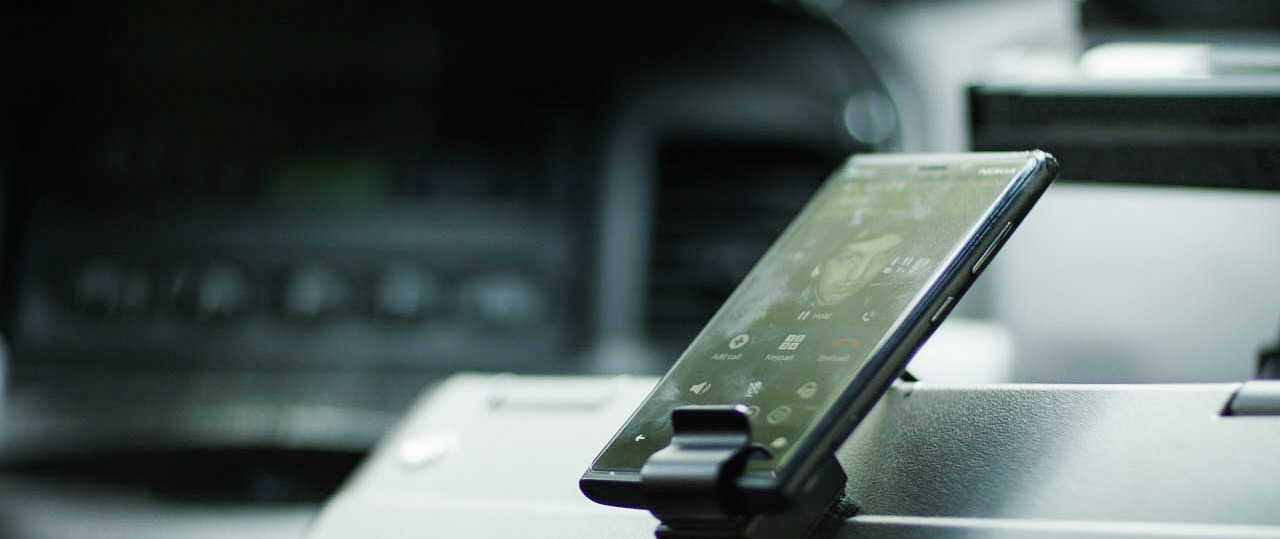
- IPHONE 6+ (VIDEO CONFERENCE SHOTS)
- CANON CNE PRIME LENSES
- DUCLOS LEICA R PRIME LENSES
- GL OPTICS CONTAX ZEISS PRIMES
- REDCODE RAW
- ASPECT 2.4:1